For night sky photography, you'll want to contemplate the Canon EOS Rebel T7 or Nikon D3500 as your entry-level DSLR. Both cameras offer 24MP sensors, manual controls, and ISO capabilities perfect for capturing stars and the Milky Way. You can find these models under $500, and they're compatible with a wide range of lenses for astrophotography. With the right settings and accessories, you'll access the full potential of these capable cameras for stunning celestial shots.
Why Choose a DSLR for Night Sky Photography
When diving into night sky photography, a DSLR camera offers the perfect blend of versatility and user-friendly features for beginners. You'll find these cameras provide excellent control over essential settings like ISO, shutter speed, and white balance without requiring extensive technical expertise.
What makes DSLRs particularly appealing is their cost-effectiveness compared to specialized astronomy cameras. With quality used models under $250, you can start capturing stunning night sky images without breaking the bank. The ability to review photos instantly on your camera's screen lets you make quick adjustments during shoots, ensuring you get the shots you want.
Additionally, you won't need a computer in the field, and you can easily pair your DSLR with various lenses or even telescopes. This flexibility allows you to explore different types of astrophotography, from wide-field Milky Way shots to detailed Moon images.
Top Entry-Level DSLR Models Under $500
When you're looking for budget-friendly DSLRs that capture the night sky, Canon's EOS Rebel series offers excellent starter options like the T7 and T6, which feature intuitive interfaces and APS-C sensors perfect for astrophotography.
Nikon's entry-level cameras, particularly the D3500 and D3400, provide exceptional value with their 24.2MP sensors and specialized guide modes to help you master night photography. The D3500's dedicated Guide mode makes it particularly appealing for complete beginners learning night sky photography techniques.
Both manufacturers' models under $500 give you access to a wide range of compatible lenses and manual controls essential for photographing stars and celestial objects.
Budget-Friendly Canon Models
Three budget-friendly Canon DSLRs stand out for aspiring night sky photographers in the sub-$500 range. The EOS Rebel T7/2000D leads the pack with its 24.1MP APS-C sensor and ISO capabilities up to 6400, making it ideal for capturing starlit scenes.
You'll appreciate its straightforward interface and RAW format support for post-processing flexibility. Before investing, consider exploring LinkedIn Learning tutorials to master essential photography fundamentals.
The EOS Rebel T6 offers similar core features at a lower price point, though with slightly reduced resolution.
If you can find a refurbished or used model, consider the EOS Rebel SL3/250D, which adds a vari-angle touchscreen and enhanced low-light performance.
All three cameras support manual controls essential for night photography, and they're compatible with Canon's wide range of affordable lenses.
For best results, you'll want to pair any of these bodies with a tripod and remote shutter release.
Starter Nikon Camera Options
Like Canon, Nikon offers several wallet-friendly DSLRs that excel at night sky photography. The D3500 stands out as the most popular choice, featuring a capable 24.2MP sensor and an intuitive Guide Mode that'll help you master night shots.
If you're shopping used, consider the D3400 or D3300, which offer similar performance at lower prices. Avoid camera bundles that include low-quality filters and other accessories marketed to beginners, as they often reduce overall value.
When choosing your Nikon for stargazing, look for these essential features:
- Manual controls for precise exposure adjustments
- Strong low-light sensor performance for cleaner star images
- Compatible lens mount for wide-angle glass options
- Durable battery life for long shooting sessions
- Easy-to-navigate menu system for quick settings changes
While the D5300 packs more advanced features, it's typically pricier than $500. The D3500 remains your best bet for balancing cost and capability.
Essential Camera Features for Dark Sky Imaging
Before diving into night sky photography, you'll need to understand the key camera features that make capturing the cosmos possible. Full-frame and back-illuminated CMOS sensors provide superior low-light performance, though APS-C sensors can still deliver quality results.
Advanced sensors are the gateway to astrophotography, with full-frame and back-illuminated CMOS technology leading the way in low-light performance.
Many beginners find success starting with Canon Rebel series cameras for their first astrophotography setup.
You'll want effective image stabilization, either in-body or lens-based, along with a sturdy tripod for those long exposures.
Fast, accurate autofocus and Live View help you precisely target celestial objects, while tracking mounts compensate for Earth's rotation.
Always shoot in RAW format to preserve maximum image data for post-processing.
Don't overlook durability features – weather sealing and robust build quality protect your investment during those late-night sessions.
Consider battery life and power options, as you'll likely spend extended periods shooting in remote locations.
Understanding ISO Performance in Night Photography
When you're shooting the night sky, you'll need to balance your ISO settings carefully between brightness and noise levels.
Your camera's ISO performance determines how much digital noise appears in your images, with lower ISOs (like 1600) producing cleaner shots but requiring more light, while higher ISOs (like 6400) brighten your image but introduce more grain.
You'll want to start with ISO 3200 as a baseline for most night sky photography, adjusting higher or lower based on your specific lighting conditions and your camera's noise handling capabilities. Finding the right settings often requires some photo quality compromises between achieving proper exposure and minimizing unwanted noise in your final image.
ISO Noise Vs Brightness
Understanding the relationship between ISO noise and brightness is essential for capturing stunning night sky photographs. As you increase your camera's ISO sensitivity, you'll notice your images become brighter but also grainier. Modern DSLRs handle this trade-off better than older models, but you'll still need to find the sweet spot between visibility and noise. Digital sensors manage high ISO performance significantly better than older technology.
Consider these key visual elements when adjusting your ISO:
- Stars appearing as clear, distinct points rather than fuzzy blobs
- Dark spaces between stars remaining rich and deep
- Milky Way details emerging without excessive graininess
- Color retention in nebulae and star clusters
- Balanced exposure across the entire frame
You'll typically want to work within ISO 1600-6400 for night sky shots.
Using RAW format and post-processing noise reduction tools will help you maintain image quality while achieving the brightness you need.
Low Vs High ISO
Since night photography demands precise control over your camera settings, mastering the differences between low and high ISO performance becomes essential for capturing clear star-filled skies.
When you're shooting at low ISO (100-400), you'll get cleaner images with minimal noise, but you'll need longer exposure times to capture enough light. This mightn't always be practical for night sky shots.
High ISO settings (800-6400) will help you capture more light quickly, but they'll introduce more noise into your images, especially in darker areas. Using a modern camera's technology allows for shooting at higher ISOs with minimal noise impact.
Your camera's sensor technology plays a significant role here – newer DSLRs and full-frame sensors handle high ISOs better than older or crop-sensor models.
You'll need to find your camera's sweet spot where it balances brightness and noise for best results.
Selecting the Right Lens for Your DSLR
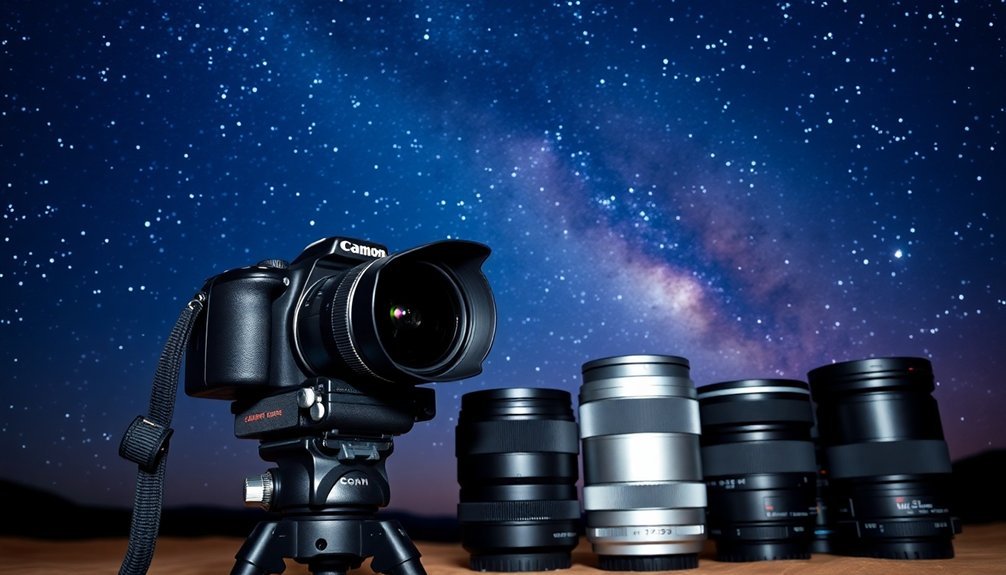
The right lens can make or break your night sky photography experience. For night sky shots, you'll want to focus on wide-angle lenses with large apertures (f/2.8 or lower) to capture expansive views and maximize light gathering.
Whether you're using a full-frame or crop-sensor camera, select a lens that matches your sensor type. While a fixed focal length prime lens offers superior image quality for night photography, it requires more skill to use effectively.
Consider these essential characteristics when choosing your lens:
- A 14-24mm lens capturing the entire Milky Way arc
- Fast prime lenses letting in starlight like a bucket
- Wide apertures creating sharp, bright star points
- Quality glass minimizing lens distortion
- Secure mounting options preventing equipment mishaps
If you're on a budget, don't worry. Affordable options like the Canon 50mm f/1.8 or Samyang 14mm f/2.8 can still produce stunning night sky images while helping you master the basics.
Camera Settings for Capturing the Stars
Mastering your camera's settings becomes essential when photographing the night sky.
Night photography demands technical precision – mastering your camera's settings is the key to unlocking the mysteries above.
You'll want to start in manual mode, setting your aperture as wide as possible (typically f/2.8) to capture maximum light. When shooting stars, keep your shutter speed under 30 seconds to avoid star trails – use the 500 rule (500/focal length) as your starting point. Full-frame cameras typically handle high ISO settings with minimal noise compared to other camera types.
For ISO, you'll need to find the sweet spot between brightness and noise. Start between ISO 1600 and 6400, but test different settings with your specific camera model.
Don't forget to focus manually using live view, magnifying on distant stars for sharp results. If you're including landscape elements, you might need to adjust your aperture slightly higher to maintain depth of field.
Always use a tripod and check your histogram to guarantee proper exposure.
Common Mistakes to Avoid When Starting Out
While capturing stunning night sky photographs requires practice, recognizing common pitfalls can fast-track your learning curve. You'll want to avoid exposure issues that can wash out star colors or leave your images too dark.
Understanding your camera's manual settings is essential, as autofocus won't serve you well in low-light conditions. Using a proper sturdy tripod will help eliminate unwanted camera shake during those critical long exposures.
Watch out for these common beginner mistakes:
- Forgetting to test your settings before the actual shoot
- Relying too heavily on post-processing to fix poorly captured images
- Not considering light pollution and weather conditions
- Skipping proper camera setup and forgetting to disable autofocus
- Overlooking the moon's phase and its impact on exposure
Remember to plan your shoots carefully, bring backup batteries, and keep detailed records of your settings to learn from each experience.
Required Accessories for Better Results
Successful night sky photography requires more than just a camera and basic lens. You'll need several key accessories to capture stunning celestial images.
Night sky photography demands specialized gear beyond basic equipment to unlock the true majesty of celestial photography.
Start with a sturdy tripod and remote shutter to eliminate camera shake during long exposures. A wide-angle lens (around 14mm f/2.8) will help you capture expansive night skies, while light pollution filters can enhance image quality. The ANKER 757 Portable Power Station provides a highly reliable power source for uninterrupted shooting sessions.
For tracking celestial objects, consider investing in a star tracker or basic equatorial mount.
Don't forget practical items that'll make your shooting sessions more comfortable and efficient. A red-light headlamp will preserve your night vision, while dew heaters protect your equipment from moisture.
Cable management tools keep your setup organized, and a reliable power supply guarantees you won't miss vital shots. Consider adding a battery grip to extend your camera's operational time.
Best Locations for Night Sky Photography
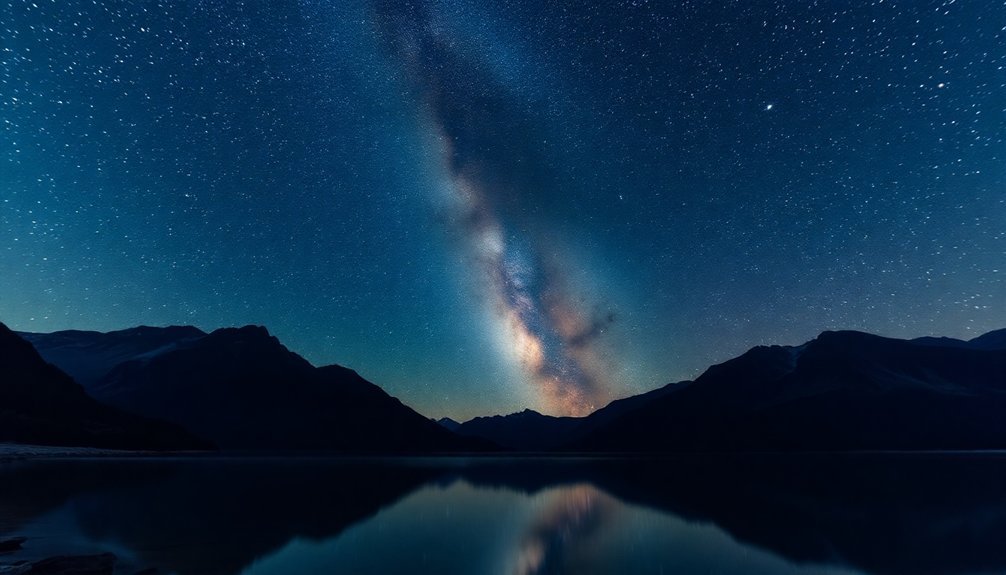
Location selection stands as the cornerstone of exceptional night sky photography. You'll find the world's premier spots in places far from light pollution, where dark skies reveal the universe's hidden wonders.
From North America's pristine national parks to remote international reserves, these locations offer unparalleled opportunities for capturing celestial magic. Remember to pack essential photography gear like sturdy tripods and remote shutter releases for stable long-exposure shots.
- Death Valley's vast desert expanse reveals countless stars against inky black skies
- Kerry, Ireland's gold-tier reserve showcases the Milky Way in breathtaking clarity
- Uluru's red rock formations create striking silhouettes against starlit horizons
- Jasper National Park pairs northern lights with reflective mountain lakes
- Namibia's NamibRand Reserve offers crystal-clear African night skies
When choosing your location, prioritize areas with minimal artificial light, clear weather patterns, and interesting foreground elements to create compelling compositions.
Post-Processing Your Night Sky Images
Transforming raw night sky images into stunning celestial photographs requires strategic post-processing techniques. You'll need Adobe Lightroom and Photoshop to enhance your captures through image stacking, noise reduction, and color adjustments. Start by setting your white balance to daylight (4000-5000K) and fine-tune your exposure, contrast, and shadows to reveal hidden details. For advanced editing skills, consider exploring panorama stitching techniques to create expansive night sky compositions.
| Technique | Purpose | Software | Result |
|---|---|---|---|
| Image Stacking | Reduce Noise | Photoshop | Cleaner Images |
| Luminosity Masks | Control Brightness | Lightroom | Enhanced Detail |
| Color Grading | Artistic Touch | Both | Vibrant Colors |
| Focus Stacking | Sharp Focus | Photoshop | Crisp Stars |
Don't forget to work with RAW files for maximum flexibility. Using tools like luminosity masks and local contrast adjustments, you'll bring out the Milky Way's natural colors while maintaining image quality.
Taking Your Skills to the Next Level
Once you've mastered the basics of post-processing, advancing your night sky photography skills opens up new creative possibilities.
Consider investing in specialized equipment and exploring advanced techniques to capture more dramatic images.
Specialized gear and advanced methods unlock stunning possibilities, transforming ordinary night shots into spectacular celestial masterpieces.
Key areas to focus on for skill advancement:
- Using a star tracker to capture longer exposures without star trails
- Learning deep-sky photography with tracking telescopes for nebulae and galaxies
- Experimenting with image stacking to reduce noise and enhance detail
- Building connections with other astrophotographers to share techniques
- Practicing in different locations to understand light pollution effects
Join online communities, attend workshops, and consistently practice your craft. Setting your ISO between 3200 to 6400 will generally provide the optimal exposure for night sky shots.
Don't forget to keep spare batteries handy and maintain familiarity with editing software like Lightroom.
The more you experiment with different techniques, the more you'll develop your unique photography style.
Frequently Asked Questions
Can I Use Autofocus for Night Sky Photography?
You shouldn't rely on autofocus for night sky photography as it's unreliable in low light. Instead, use manual focus with your camera's live view to zoom in and focus on bright stars.
How Long Will My Camera's Battery Last During Cold Night Shoots?
In cold conditions, your camera's battery life will likely be cut in half. You'll get 2-3 hours if you're careful, but it's smart to carry spare batteries and keep them warm in your pockets.
Should I Remove UV Filters When Photographing the Night Sky?
Yes, you'll want to remove UV filters when shooting the night sky. They can cause unwanted flares and ghosting in your images, and since digital cameras already have built-in UV protection, they're unnecessary.
Will Condensation Damage My Camera During Nighttime Photography Sessions?
While condensation won't usually cause immediate damage, you'll want to protect your camera. Gradually acclimate your gear to outdoor temperatures and use desiccants in your camera bag to prevent moisture-related issues.
Are Mirrorless Cameras Better Than DSLRS for Night Sky Photography?
Modern mirrorless cameras offer some advantages for night sky photography, like better autofocus and lighter weight. However, you'll get great results with either type if you've got the right lens and technique.
In Summary
You'll find that starting night sky photography with a beginner DSLR opens up an exciting world of possibilities. Whether you've chosen a Nikon D3500, Canon T7, or another entry-level model, remember to focus on mastering the basics of long exposures, ISO settings, and lens selection. With the right accessories and post-processing skills, you'll soon capture breathtaking images of stars, planets, and the Milky Way.


Leave a Reply