
For amateur astrophotography, you'll find the Carson Universal and Celestron NexYZ adapters offer the best balance of quality and usability under $100. These universal mounts let you connect almost any camera to your telescope while providing stable alignment and precise focus control. The Carson excels in ease of use, while the Celestron NexYZ stands out for its three-axis adjustment and superior build quality. Exploring deeper into adapter options will reveal additional features to enhance your imaging capabilities.
Understanding Camera-to-Telescope Adapter Basics
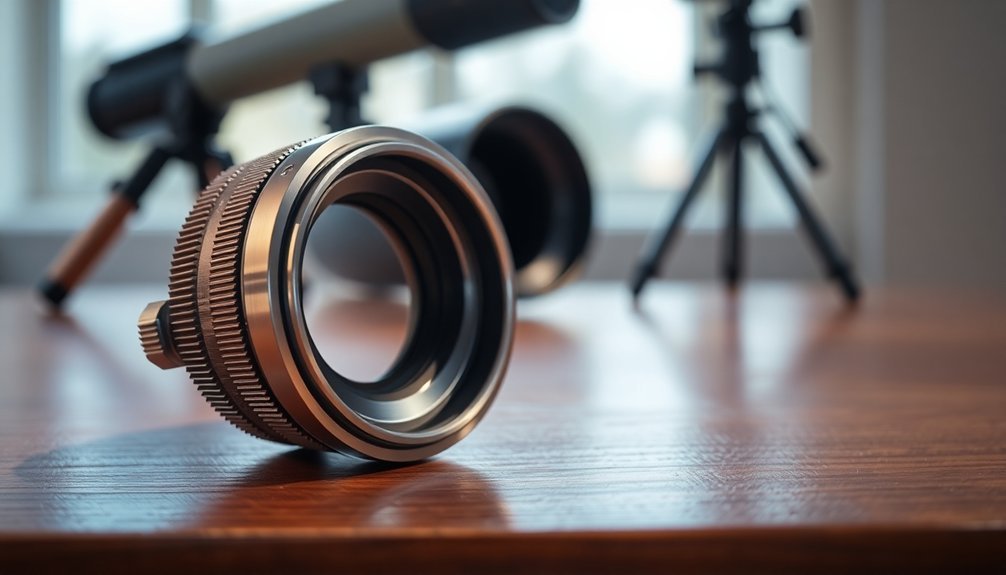
The world of camera-to-telescope adapters might seem intimidating at first, but understanding the basics will help you capture stunning astrophotography images.
You'll need two essential components: a T-Ring that attaches to your camera body like a lens, and a T-Adapter that connects to your telescope's focuser.
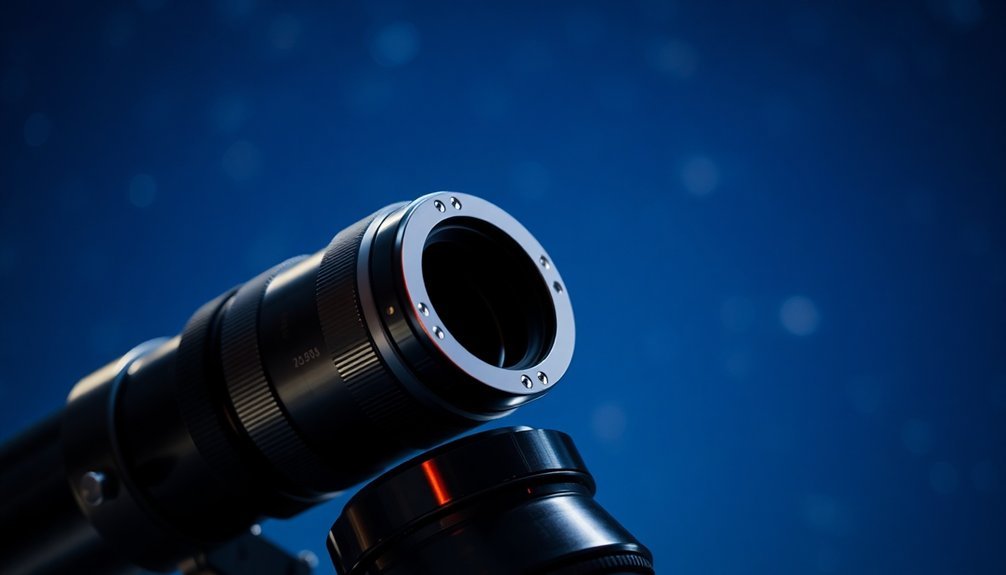
Most adapters use standard 42mm T-threads, making them widely compatible across different setups. Before attaching any camera equipment, be sure to remove all accessories like star diagonals and visual backs from your telescope.
You can mount your camera using three main methods: prime focus (using the telescope as your lens), eyepiece projection (incorporating an eyepiece for additional magnification), or afocal (using both your camera lens and telescope eyepiece).
When selecting your adapter, make certain it's made from durable metal and can support your camera's weight.
You'll also need to match the adapter's nosepiece size (1.25" or 2") to your telescope's focuser.
Types of Universal Adapters for Different Cameras
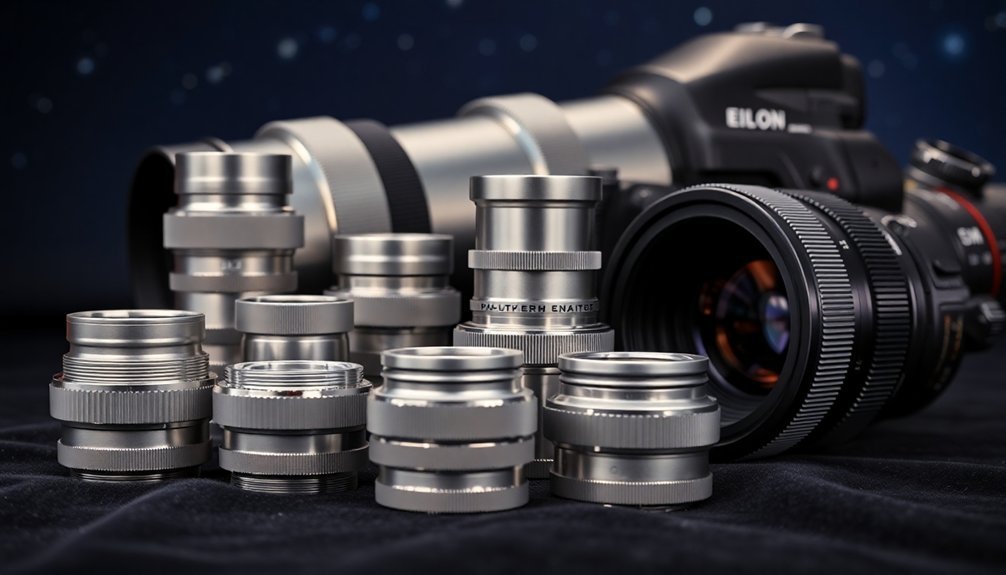
After grasping adapter basics, you'll find that different camera types require specific universal adapters to achieve ideal astrophotography results.
For DSLR/SLR cameras, you'll need T-adapters and camera-specific T-rings to enable prime focus imaging through 1.25" focusers. With options like the Universal T-Adapter for just $27.95, getting started in astrophotography remains affordable.
Mirrorless cameras work similarly but often require longer T-rings for proper spacing.
If you're using a compact camera, you'll typically rely on eyepiece projection adapters, which need long eye relief eyepieces to prevent vignetting.
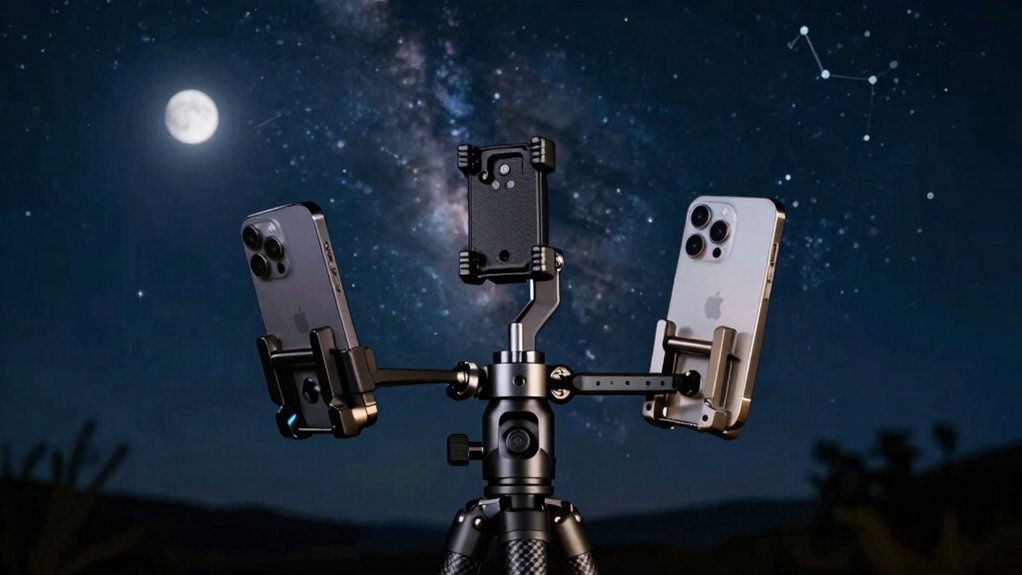
Smartphone users can opt for clip-based mounts that accommodate eyepieces up to 68mm in diameter.
For specialized needs, consider variable adapters that offer both prime focus and eyepiece projection capabilities, along with T2 thread compatibility and integration with field flatteners or Barlow lenses.
Top-Rated Universal Adapters Under $100

When searching for budget-friendly astrophotography solutions, you'll find several top-rated universal adapters under $100 that deliver reliable performance.
The Celestron Universal Digital Camera Adapter stands out as a beginner-friendly option, offering straightforward operation and compatibility with various camera types.
You'll discover the Lumicon Universal DigiCam Adapter provides excellent flexibility, though it's best suited for lighter cameras.
The ScopeTronix EZ-Pix II impresses with its compact design and user-friendly features, while the Orion SteadyPix Universal Camera Mount offers stability for most setups, despite some limitations with wider eyepieces.
These adapters typically support both 1.25" and 2" eyepieces, with plastic construction that's adequate for point-and-shoot cameras. Avoid using these adapters with cameras that have extending zoom lenses to prevent potential damage to your equipment.
While they're ideal for moon and planetary imaging, you'll want to take into account higher-end options for deep-sky photography.
Essential Features to Look for in Universal Adapters
Since choosing the right universal adapter can greatly impact your astrophotography results, you'll need to focus on several critical features before making a purchase.
Look for adapters that offer broad compatibility with various cameras and telescope eyepiece sizes, particularly those supporting both 1.25" and 2" eyepieces. The adapter's build quality should be sturdy enough to support your camera's weight while resisting environmental conditions. Maintaining proper optical alignment is essential for achieving clear, focused images.
You'll want fine-tuning capabilities with adjustment knobs for precise alignment and ideal focus. Consider adapters that minimize vignetting and support both planetary and deep-sky photography.
Don't forget to check if the adapter integrates well with your existing equipment, including tracking mounts and filters. The best adapters also offer room for future upgrades as your astrophotography skills advance.
Setting Up Your Universal Adapter for First Use
To start working with your universal adapter, you'll need to align it perfectly with both your camera body and telescope focuser, ensuring there's no rotation or tilt that could affect image quality.
You'll want to secure the camera position by double-checking that the T-ring is firmly locked to your camera and the adapter is tightly fastened to the focuser using the locking screws. For optimal results when using DSLR or mirrorless cameras, always use a longer style T-ring to minimize potential issues.
Once the basic setup is complete, you can fine-tune the alignment by focusing on a bright celestial object and making any necessary adjustments to eliminate vignetting or off-center positioning.
Initial Alignment Steps
Three critical steps mark the beginning of setting up your universal camera-to-telescope adapter.
First, you'll need to remove all visual accessories, including eyepieces, from your telescope's focuser.
Next, locate the alignment markers on your T-Ring and camera body – they'll guide you in achieving proper orientation when connecting these components.
Finally, you'll thread your T-Ring onto the T-Adapter, ensuring a secure connection that won't loosen during imaging.
As you complete these steps, make sure you're working with the correct adapter size for your telescope's focuser (either 1.25" or 2").
Don't forget to check that your camera's specific mount type matches your T-Ring – whether it's Canon EF, Nikon F, or Sony E – before proceeding with the final assembly.
Many astrophotographers start with a smartphone camera setup before investing in more advanced equipment.
Securing Camera Position
Proper camera position begins with selecting the right combination of adapters for your setup. You'll need to match your camera's lens mount with the appropriate T-Ring and guarantee compatibility with your telescope's focuser size.
| Telescope Type | Required Adapters | Common Issues | Solution |
|---|---|---|---|
| Newtonian | 1.25" T-Adapter | Field distortion | Add corrector |
| Refractor | Prime-focus adapter | Vignetting | Check alignment |
| SCT | Specific T-adapter | Focus travel | Use extension |
| Dobsonian | Universal adapter | Stability | Add lock screws |
Once you've assembled your adapters, secure them using the telescope's locking screws. Don't forget to use a remote shutter release to prevent camera shake. For deep-sky imaging, you'll want to guarantee your focuser's drawtube can support your camera's weight and consider adding a field flattener to reduce distortion. To achieve optimal image quality in deep-sky astrophotography, using long exposure times is essential for capturing faint celestial objects.
Common Challenges and Their Solutions
While setting up a camera-to-telescope adapter might seem straightforward, photographers often encounter several technical hurdles that can affect image quality.
You'll need to address common issues like vignetting from incorrect focal lengths and focus difficulties due to temperature changes.
If you're using afocal methods, you'll have to guarantee precise alignment and secure your setup to prevent shakiness.
Different camera brands require specific T-rings, and you'll find that thread compatibility is essential for stable connections. When connecting components, make sure to verify the standard M42x0.75 thread specifications. For mirrorless cameras, you'll need longer T-rings and special adapters for prime focus.
To overcome these challenges, incorporate field flatteners when necessary, verify thread sizes before purchasing, and regularly check your equipment's alignment.
If you're switching between eyepieces, be mindful of parfocal issues and make necessary adjustments to maintain image quality.
Maximizing Image Quality With Universal Adapters
Achieving exceptional astrophotography results with universal adapters depends heavily on your setup's precision and the quality of your equipment connections. You'll need to focus on proper alignment, stable mounting, and ideal focus adjustment to capture clear, detailed images of celestial objects. Most modern smartphone telescope adapters incorporate three-axis adjustments for optimal camera positioning.
| Element | Challenge | Solution |
|---|---|---|
| Focus | Image blur | Use manual focus controls |
| Stability | Camera shake | Add stabilizing equipment |
| Vignetting | Dark corners | Select longer focal lengths |
| Distortion | Field curvature | Install field flatteners |
| Alignment | Poor centering | Utilize precision adjustments |
For the best results, you'll want to integrate corrective elements like field flatteners and coma correctors into your setup. Don't forget to experiment with different eyepiece combinations and verify all connections are firmly secured. Consider using a remote shutter release to minimize vibrations during exposure.
Maintaining and Caring for Your Adapter
The long-term success of your astrophotography setup depends on how well you maintain your camera-to-telescope adapter.
Keep your adapter clean using a microfiber cloth and soft brush for threaded areas, avoiding harsh chemicals that could cause damage.
Store your adapter in a protective case with silica gel packets to prevent moisture buildup, and keep it away from direct sunlight and extreme temperatures.
You'll want to handle your equipment carefully to prevent scratches and cross-threading. The anodized finish helps protect against wear, but proper care is still essential. When mounting, verify your T-Ring and camera connections are securely locked.
Regularly inspect your adapter for signs of wear or corrosion, and maintain proper alignment during use.
Apply a small amount of silicone spray to keep threading smooth, and keep records of your adapter's performance to track any potential issues that may need addressing.
Upgrading Your Universal Adapter Setup
You'll find significant improvements in your astrophotography by upgrading your universal adapter setup with precision-machined components like high-quality T-rings and field flatteners.
Many astronomers find that using Celestron 93625 adapters provides an excellent starting point for building a reliable imaging system.
Adding stabilization elements such as reinforced mounting plates and vibration suppression pads can dramatically reduce unwanted movement during long exposures.
For ideal results, consider incorporating motorized focusing controls and premium corrective optics that match your specific telescope design.
Essential Hardware Enhancements
While basic telescope adapters offer a starting point for astrophotography, upgrading your universal adapter setup with essential hardware enhancements can dramatically improve image quality and shooting flexibility.
You'll want to start with the right adapter types for your equipment – T-rings for your specific camera brand and universal adapters that fit various telescope configurations.
To achieve sharper images, consider adding Barlow lenses for increased magnification and corrector lenses to compensate for field curvature.
Don't overlook the importance of focusing enhancements like motorized systems and focus extenders.
For serious imaging, you'll benefit from GOTO mounts and autoguiding systems that enable precise tracking of celestial objects.
Adding cooling systems for your camera and multi-bandpass filters will further enhance your ability to capture clear, detailed astronomical images.
A ZWO ASIAIR Plus controller can streamline your imaging workflow by managing multiple adapter components and automating the capture process.
Stabilization Modifications That Work
Successful astrophotography hinges on rock-solid stabilization modifications to your universal adapter setup.
You'll want to swap out any plastic components for metal T-rings and adapters to minimize flexure and enhance stability during long exposures.
Install vibration dampening pads between your camera and adapter, and don't forget proper cable management to prevent unwanted movement.
You can further reduce vibrations by using remote shutter releases and anti-vibration pads under your mount. For heavier DSLR setups, add counterweights to maintain perfect balance.
If you're struggling with focus, consider adding extension tubes or adjusting your primary mirror position. Achieving optimal back focus is crucial for sharp, well-defined images.
Many photographers find success using autoguiding systems and motorized interfaces for precise tracking.
For the best results, guarantee your entire payload is properly balanced and all locking mechanisms are secure.
Choosing Between Budget and Premium Options
Two distinct paths await astrophotographers when selecting camera-to-telescope adapters: budget options ranging from $10-$50, and premium choices exceeding $100.
If you're just starting out, budget adapters like the Celestron Digital Camera Adapter offer basic functionality for afocal imaging and smartphone compatibility, perfect for capturing the Moon and planets. Utilizing StarBright XLT coatings enhances light transmission through these adapters for brighter, clearer images.
For serious imaging, premium adapters deliver these key advantages:
- Precise three-axis alignment systems for superior image stability
- CNC machined aluminum construction for long-term durability
- Variable projection distance controls for fine-tuned magnification
You'll need to evaluate your astrophotography goals against your budget.
While basic adapters work well for beginners, you might want to contemplate upgrading to premium options as your skills advance, especially if you're pursuing detailed deep-sky imaging or professional-quality results.
Real User Experiences and Reviews
After examining hundreds of user reviews and firsthand accounts, several camera-to-telescope adapters consistently stand out for their performance and reliability.
You'll find users frequently praising the Carson Universal Smartphone Adapter for its ease of use and versatility across different eyepieces. The adapter's lens spacer feature helps users achieve optimal focus when capturing celestial objects.
The Celestron NexYZ has earned a strong reputation for its superior build quality and precise three-axis alignment system.
While the Baader Universal Camera Adapter gets high marks for its all-metal construction, some users report that the Orion SteadyPix has limitations with eyepiece compatibility.
The Lumicon Universal DigiCam Adapter, though generally effective, has received mixed feedback due to flexing issues when supporting heavier cameras.
For most beginner astrophotographers, the Carson and Celestron models offer the best balance of quality and user satisfaction.
Frequently Asked Questions
Can I Use My Telescope Adapter for Both Daytime Photography and Astrophotography?
Yes, you can use your telescope adapter for both daytime and astrophotography. Many adapters, especially T-Rings and universal models, work well in both settings, though you'll want to check their specific compatibility features first.
How Often Should I Recalibrate the Alignment of My Universal Adapter?
You'll need to recalibrate your adapter's alignment when you move your setup or make significant changes. If you keep it stationary and stored properly, you won't need frequent recalibration between uses.
Will Extreme Temperatures Affect the Performance of My Camera Adapter?
Yes, extreme temperatures can affect your adapter's performance through expansion and contraction. You'll notice more impact with plastic adapters than metal ones. Keep monitoring the connection during significant temperature changes for ideal results.
Can Telescope Adapters Be Used With Microscopes or Spotting Scopes?
Yes, you can use telescope adapters with microscopes and spotting scopes. While you'll get the best results with dedicated adapters, universal mounting systems like the Pullox Mobile Phone Adapter work across multiple optical devices.
Do Camera Adapters Affect the Weight Capacity of Telescope Mounts?
Camera adapters won't greatly affect your mount's weight capacity. They're usually lightweight, adding only a few ounces to your setup. You'll still need to stay within your mount's recommended payload limits for stability.
In Summary
Universal camera-to-telescope adapters can transform your stargazing into stunning astrophotography. When you're ready to purchase, focus on adapters that match your camera mount, offer solid build quality, and provide secure connections. Don't forget to check compatibility with your specific telescope model. Whether you choose a budget-friendly option or invest in premium gear, you'll find that the right adapter makes capturing the cosmos considerably easier and more enjoyable.
Leave a Reply