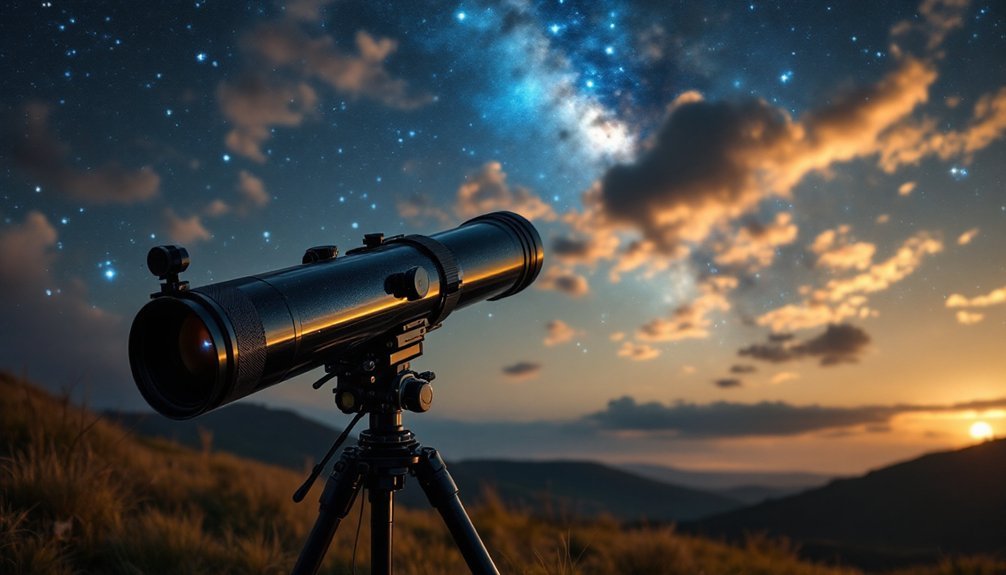
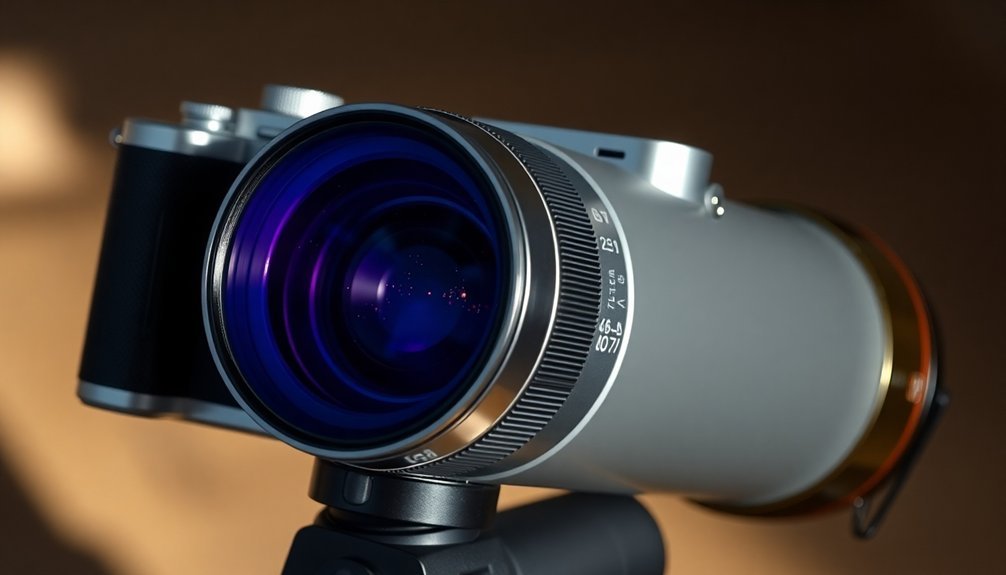
To connect your mirrorless camera to a telescope, you'll need a T-ring adapter specific to your camera mount and a matching nosepiece for your telescope's focuser. Start by removing your camera lens, attaching the T-ring to your camera body, and connecting it to the telescope's focuser via the nosepiece. Confirm everything's locked securely, and adjust your camera settings for manual mode with high ISO (800-1600). Understanding the complete setup process will release your telescope's full astrophotography potential.
Understanding T-Ring Adapters and Nosepieces
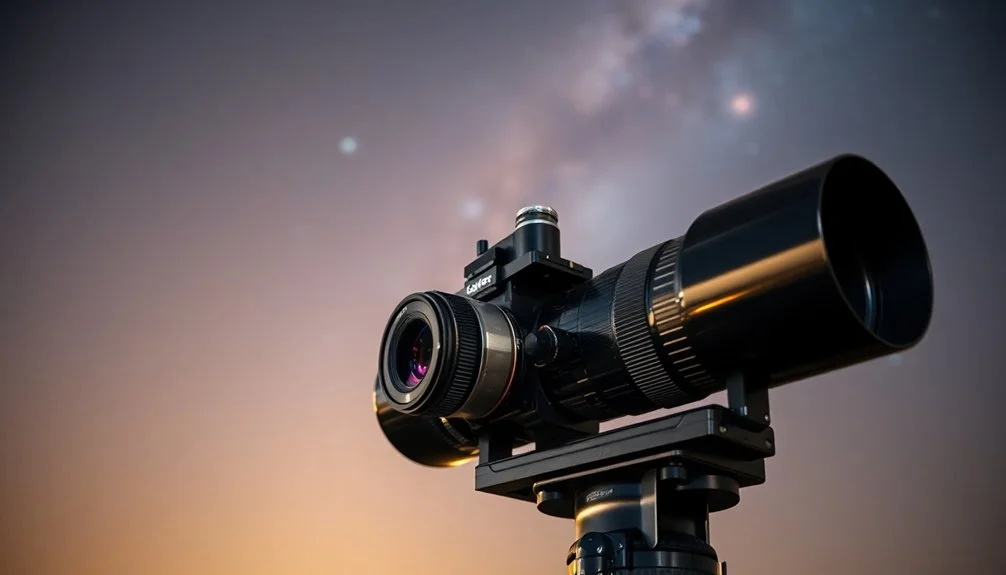
When you're ready to connect your camera to a telescope for astrophotography, you'll need to understand two essential components: T-ring adapters and nosepieces.
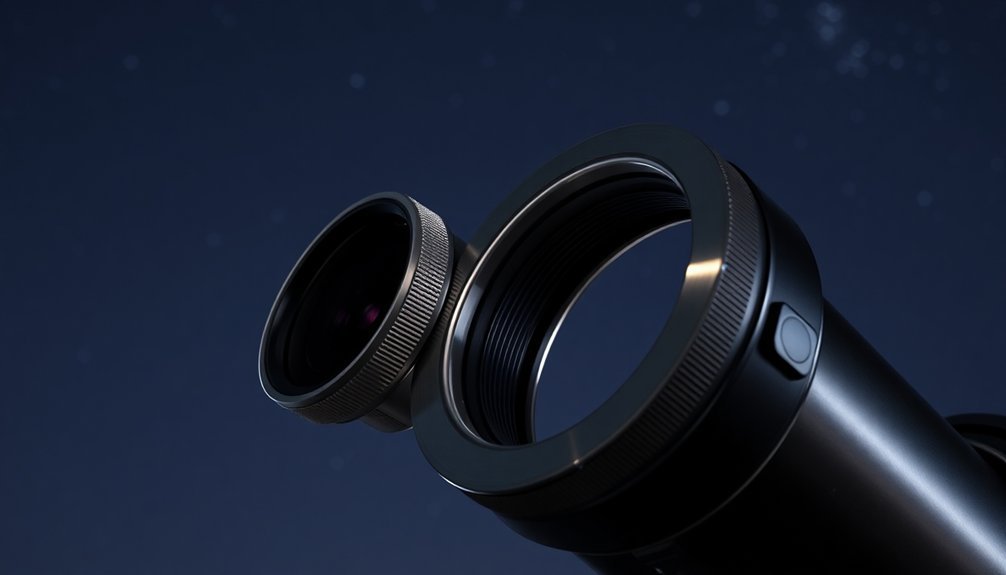
T-ring adapters serve as the bridge between your camera and telescope, with different versions available for Canon, Nikon, Sony, and other camera mounts. While traditionally using M42x0.75 threads, you'll now find larger options like M48 and M54 that offer better compatibility with modern equipment. These components achieve a total optical length of 50mm when properly assembled with your camera.
Your nosepiece, available in 1.25" or 2" sizes, connects directly to your telescope's focuser. If you're using a full-frame camera, you'll want to choose a 2" nosepiece to avoid vignetting.
Verify your T-ring's thread matches your adapter or accessory, as proper connection is vital for achieving sharp images through prime focus imaging.
Essential Equipment for Telescope-Camera Connection
You'll need two primary components to connect your camera to a telescope: a T-ring adapter specific to your camera's brand and a nosepiece that matches your telescope's focuser size.
When selecting these parts, make sure to check your camera's mount type (Canon, Nikon, Sony, etc.) and your telescope's focuser diameter (typically 1.25" or 2") for proper compatibility.
Your camera's mounting system must be secure and properly aligned to prevent any unwanted movement during long exposure shots, so investing in high-quality adapters is essential. Once connected, you'll need to detach the camera lens to allow the telescope to serve as your primary optical system.
Basic Adapter Components Needed
The basic connection between a camera and telescope requires several essential adapter components working together. You'll need a T-Ring specifically designed for your camera's mount type and a T-Adapter to connect the T-Ring to your telescope. These components must have matching thread sizes to guarantee proper attachment. Using a remote shutter release will help prevent camera shake during long exposures.
| Component | Purpose |
|---|---|
| T-Ring | Attaches to your camera's mount |
| T-Adapter | Connects T-Ring to telescope |
| Nosepiece | Inserts into telescope focuser |
| Field Flattener | Corrects optical aberrations |
Pay attention to barrel sizes (1.25" or 2") when selecting your nosepiece, as it must match your telescope's focuser. For best results, you might need additional corrective elements like field flatteners or focal reducers, depending on your telescope's design and imaging goals.
Camera Mount Selection Guide
Selecting the right camera mount stands as one of the most critical decisions in astrophotography setup.
You'll need to prioritize payload capacity to guarantee your mount can safely support your telescope, camera, and accessories without compromising stability.
For serious astrophotography, you'll want an equatorial mount rather than an alt-azimuth design. Experienced astrophotographers rely on polar axis alignment for superior tracking performance.
Equatorial mounts track celestial objects more accurately and eliminate field rotation issues that can blur your images.
Look for mounts with autoguiding capabilities and built-in polar alignment tools to streamline your setup process.
Consider your specific needs: If you'll be traveling, choose a lightweight option like the Sky-Watcher AZ-GTI.
For permanent setups, the Sky-Watcher EQ6-R Pro offers excellent stability and tracking accuracy.
Don't forget to factor in your budget while guaranteeing the mount matches your imaging goals.
Step-by-Step Mounting Process
Before diving into astrophotography, properly mounting your telescope creates the foundation for capturing stunning celestial images.
Start by selecting a sturdy surface and setting up your German Equatorial Mount, ensuring it's properly aligned to the north if you're in the Northern Hemisphere.
Attach your telescope to the mount using a dovetail bar, carefully balancing the setup and tightening all screws.
Proper balance and secure attachment of your telescope using a dovetail bar are crucial steps for successful astrophotography sessions.
Next, remove your camera's lens and secure the T-Ring that matches your camera's mount type.
Connect the T-Ring adapter to your telescope's focuser, making sure it's the correct size (1.25" or 2").
Lock everything firmly in place using the focuser's screws to prevent any movement during imaging sessions.
For refractor telescopes, you'll need to add a star diagonal, while Newtonian reflectors can skip this step.
Ensuring a sturdy mount reduces vibrations during imaging, which is essential for achieving clear, sharp photographs of celestial objects.
Camera Settings for Optimal Results
You'll need to master key camera settings to capture stunning telescope astrophotography, starting with manual exposure controls and proper ISO selection for your specific camera model.
For cameras with crop sensors, ISO settings between 800-1600 work best for telescope imaging.
When shooting star trails, you can extend your exposure times using bulb mode while maintaining sharp focus through the telescope's live view display.
For ideal focus results, you'll want to zoom in on a bright star using your camera's live view function, then carefully adjust the focus until the star appears as a crisp point of light.
Basic Exposure Control Settings
Mastering basic exposure control represents a critical foundation for successful telescope astrophotography. You'll need to manage three key settings: aperture, shutter speed, and ISO.
Set your aperture as wide as possible (around f/2.8) to capture maximum light. For shutter speed, you'll typically work between 5-30 seconds, switching to Bulb mode for longer exposures. Keep your ISO between 1600-3200 to balance light sensitivity with digital noise. Using a cable shutter release will help minimize camera shake during long exposures.
- Picture your aperture like the pupil of your eye – wider lets in more starlight.
- Think of shutter speed as a light collection bucket – longer exposures gather more celestial detail.
- Visualize ISO as an audio amplifier – higher settings boost the signal but also increase background noise.
Set exposure compensation to zero and disable image stabilization when using a tripod.
Long Exposure Star Trails
While creating stunning star trail photographs requires patience, the right camera settings can make or break your final image. You'll want to disable noise reduction and shoot in RAW format for maximum flexibility during post-processing. Balance your exposure settings by keeping ISO between 800-3200 and aperture between f2.8-f5.6. For optimal results, a sturdy tripod support is essential to prevent any unwanted camera movement during the long exposures.
| Setting Type | Recommended Range | Why It Matters |
|---|---|---|
| Shutter Speed | 20-90 seconds | Ideal trail length |
| ISO | 800-3200 | Balances noise/light |
| Aperture | f2.8-f5.6 | Star clarity |
| Focus | Manual/Infinity | Sharp stars |
| Drive Mode | Continuous | Multiple exposures |
Take multiple exposures rather than a single long one to maintain image quality. Using an intervalometer, you'll capture sequential shots that you can later stack in software like StarStaX or Sequator for the final composition.
Live View Focus Tips
Getting sharp focus on stars through Live View requires specific camera settings and careful technique. Set your camera to manual mode and focus, using the widest aperture and high ISO around 1600. Turn on exposure simulation and disable noise reduction to maximize visibility in Live View.
- Find a bright star in your field of view and zoom in to 10x magnification – you'll see the star as a glowing dot against the dark sky.
- Slowly turn your focus ring back and forth until the star appears at its smallest, most pinpoint size. Faster optical systems have critical depth of focus, requiring extra attention during the focusing process.
- Take a test shot and preview at 100% magnification to confirm your focus is tack-sharp before starting your imaging session.
Remember to lock your telescope's focuser once you've achieved sharp focus to prevent any accidental movement during your exposures.
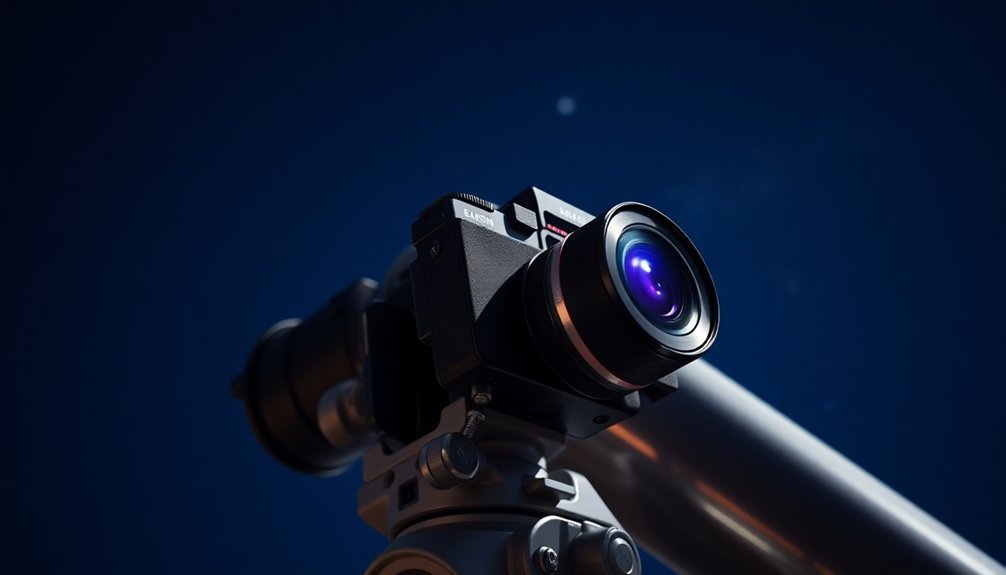
Common Adapter Types and Compatibility
Three essential adapter types form the backbone of telescope astrophotography: T-Rings, T-Adapters, and field flatteners. You'll need specific combinations depending on your telescope and camera type. For mirrorless cameras, you'll typically need both a T-Ring and T-Adapter to achieve prime focus. Understanding backfocus requirements is crucial when setting up your imaging train for optimal performance.
| Adapter Type | Common Uses |
|---|---|
| T-Ring | Connects camera body to telescope adapter |
| T-Adapter | Links T-Ring to telescope's focuser |
| Field Flattener | Corrects curvature in refractor images |
| Extension Tube | Adds needed back focus distance |
| Barlow Lens | Increases magnification 2x or 3x |
When shooting with a refractor, you'll often need a field flattener for sharp corner-to-corner images. For SCTs, consider a focal reducer to improve your field of view. Remember to match thread sizes carefully – M42x0.75 and M48x0.75 are most common.
Choosing the Right Focal Length Setup
Selecting the right focal length setup stands as a critical decision in telescope astrophotography.
Mastering focal length selection is fundamental to successful astrophotography, determining what celestial wonders you can effectively capture.
For best results as a beginner, choose telescopes with under 1000mm focal length to minimize mistakes and make field of view easier to understand.
You'll need to match your focal length to your intended targets – wider angles for landscapes and the Milky Way, medium focal lengths for deep sky objects, and longer focal lengths for planetary details.
Consider your camera's sensor size too, as crop sensors will affect your effective focal length.
- For sweeping Milky Way shots, you'll want a 14-24mm setup that captures the grand expanse of stars stretching across the night sky.
- To capture distant nebulae and galaxies, aim for around 400mm which brings out intricate cloud details.
- When shooting planets like Jupiter or Saturn, opt for 2000mm+ to reveal surface features and ring systems.
Troubleshooting Connection Issues
When connecting your camera to a telescope setup, various issues can arise that may disrupt your imaging session. First, check your USB connections by testing different cables and ports, as faulty cables often cause connection failures.
Make certain your camera's custom functions are properly configured, especially the "shutter release without lens" setting for telescope compatibility.
If you're experiencing device recognition problems, verify that your camera appears in the Device Manager and update all necessary drivers. Consider using prime focus method when initially troubleshooting your telescope-to-camera connection setup.
For physical connections, ascertain you're using the correct T-adapter for your camera type, as mirrorless and DSLR cameras require different mounting solutions.
Don't forget to check if you need spacer rings to achieve proper focus.
If issues persist, verify your software's compatibility with your specific camera model and keep all programs updated.
Additional Accessories for Better Images
You'll need a field flattener or coma corrector to prevent distorted, stretched stars at the edges of your images, especially when using fast telescopes or wide-field setups.
Good dew control equipment, including heater strips and controllers, will keep your optics clear and functional during humid nights. Having proper cable management clips will help organize and secure your dew heater wires effectively.
Electronic focus controllers allow you to achieve precise focus without touching your telescope, reducing vibrations and improving your final image quality.
Field Flatteners and Correctors
A telescope's optics often produce curved or distorted star fields that can diminish the quality of your astrophotography. To combat this, you'll need a field flattener or corrector. These essential accessories help create sharp, well-defined stars across your entire image frame. Visual clarity improves dramatically across the entire field of view when using quality flatteners.
When selecting a flattener, consider your telescope type and guarantee proper spacing. You'll find options from brands like Stellarvue and William Optics, ranging from $166 to $930. Remember that incorrect spacing can ruin your images, so pay attention to your camera's back focus requirements.
- Stars appear as perfect pinpoints instead of elongated shapes at the edges
- The Milky Way stretches naturally across your frame without distortion
- Deep-sky objects maintain their true shape from center to corner
Select a flattener that's compatible with your specific telescope and camera combination for best results.
Dew Control Equipment
Moisture buildup on telescope optics can quickly ruin an imaging session, making dew control equipment crucial for successful astrophotography.
You'll need dew heater bands that wrap around your optical tube, camera lens, and finderscope to prevent condensation. These heaters connect to controllers that regulate their temperature and power output.
For setup, wrap the heater bands near the base of your optical tube and around other important components. You can power them through USB ports or dedicated 12V controllers. The Pegasus Astro Pocket Powerbox and Astrozap Dual Channel Controller are popular options that let you manage multiple heaters simultaneously.
Don't forget to add a dew shield for extra protection, and organize your cables to prevent tangling during telescope movement. Turn on your dew heaters before starting your imaging session to prevent any moisture issues, especially on humid nights.
Proper dew management will maximize your imaging time and guarantee consistent results.
Electronic Focus Controllers
While manual focusing can be frustrating during long imaging sessions, electronic focus controllers provide precise, automated adjustments for sharper astrophotos.
These devices use stepper motors to make tiny focus adjustments, and they're compatible with popular platforms like ASCOM and INDI. You'll find options from brands like ZWO, Pegasus, and ToupTek that offer USB connectivity for both power and data transmission.
- Watch as your telescope automatically maintains perfect focus throughout the night
- See temperature-compensated focusing eliminate drift as conditions change
- Experience hands-free operation while capturing deep-sky objects
To get started, you'll need to check your telescope's compatibility and install the necessary brackets.
Most controllers now feature simple USB connections and support various telescope brands, making setup straightforward.
The integration with astrophotography software enables advanced features like backlash compensation and temperature monitoring.
Maintenance and Care of Adapter Equipment
Proper maintenance of your telescope adapters is essential for achieving consistent, high-quality astrophotography results. You'll need to handle them with care, clean them regularly, and store them properly to prevent damage and corrosion.
| Task | Frequency | Method |
|---|---|---|
| Basic Cleaning | Weekly | Soft microfiber cloth |
| Thread Care | Monthly | Silicone spray application |
| Deep Cleaning | Quarterly | Damp cloth, thorough drying |
| Inspection | Before Use | Visual check for damage |
Keep your adapters in protective cases when not in use, and store them in a cool, dry place away from sunlight. Apply dielectric grease to metal connections to prevent corrosion, and avoid touching optical surfaces. Before each imaging session, inspect all threads and connections for wear. You'll extend your equipment's life by following these maintenance practices, ensuring peak performance for your astrophotography pursuits.
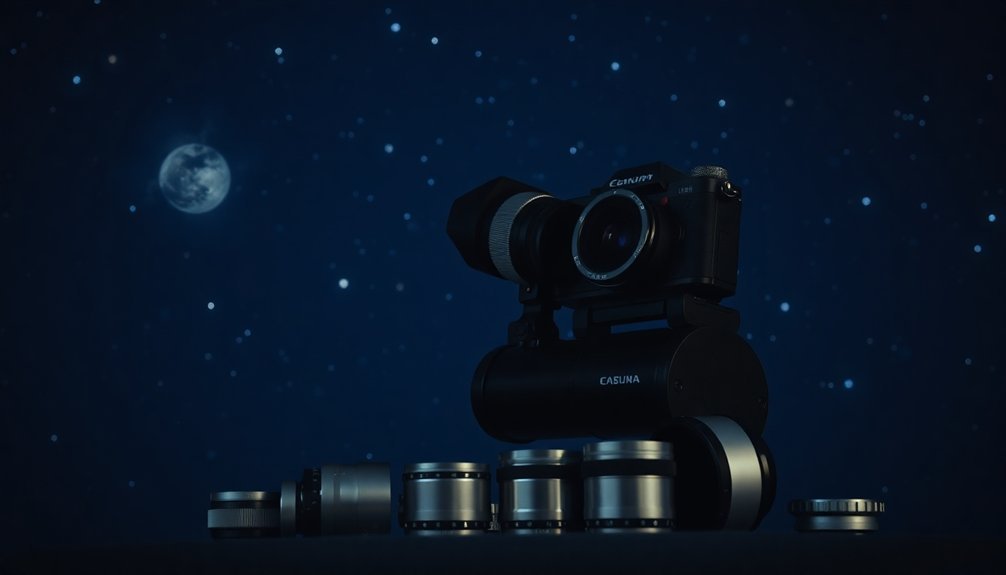
Advanced Mounting Techniques and Tips
Beyond maintaining your adapters, mastering advanced mounting techniques will dramatically improve your astrophotography results.
Verify your telescope is properly balanced with all equipment attached, as even slight imbalances can affect tracking accuracy during long exposures. You'll want to use T-rings and appropriate nosepieces that match your camera's mount system while maintaining ideal stability.
- Position your camera directly into the focuser instead of using a diagonal to reduce light loss and minimize potential vibration points.
- Install a field flattener between your camera and telescope to eliminate edge distortion, especially when shooting wide-field objects.
- Add a rotator device to adjust your camera's orientation without disturbing the mount's balance or polar alignment.
Remember to organize your cables neatly and use USB management solutions to prevent snags during tracking.
Frequently Asked Questions
Can Using Adapters Affect the Telescope's Original Warranty?
Using standard adapters typically won't void your telescope's warranty unless they cause damage. However, you'll want to check your specific warranty terms, as manufacturers' policies vary regarding aftermarket accessories and modifications.
How Long Can I Safely Leave My Camera Attached to the Telescope?
You can leave your camera attached as long as it's properly secured and balanced. Just guarantee you're monitoring the mount's weight limits, protecting it from weather, and checking connections during extended imaging sessions.
Does Weather Affect the Durability of Telescope-Camera Adapter Connections?
Yes, weather considerably affects your adapter connections. Temperature changes cause expansion and contraction, while moisture can corrode connections. You'll need to check adapters regularly and verify they're properly sealed against environmental damage.
Will Frequent Adapter Changes Damage My Camera's Mount or Telescope's Focuser?
With proper handling, you won't damage your equipment. Use high-quality adapters, avoid over-tightening, and make gentle connections. Regular maintenance and inspection will help guarantee your camera mount and focuser stay healthy.
Can Telescope-Camera Adapters Be Used With Vintage or Antique Telescopes?
You can use adapters with vintage telescopes, but you'll need to verify thread compatibility and may require custom solutions. T-adapters and T-rings work well if your telescope's rear cell has standard threading.
In Summary
You've now learned how to connect your mirrorless camera to virtually any telescope for astrophotography. With the right T-ring adapter, proper mounting technique, and ideal camera settings, you're ready to capture stunning deep-sky images. Remember to maintain your equipment and troubleshoot any issues promptly. Don't forget that practice makes perfect – start with easier targets before moving on to more challenging celestial objects.


Leave a Reply