You'll get superior value from a DIY star tracker compared to expensive commercial mounts that cost 20 times more. Building your own tracker for as little as $30 lets you capture stunning wide-field astrophotos with exposures up to 420 seconds. You'll gain hands-on experience with celestial navigation while creating a lightweight, portable system that's easy to repair and upgrade. The active DIY community and open-source designs will help guide your journey into advanced astrophotography.
Cost-Saving Benefits for Amateur Astrophotographers

While commercial star trackers can cost hundreds or even thousands of dollars, building your own DIY version offers substantial savings for amateur astrophotographers.
The modular design approach makes it easy to start with basic components and gradually expand your setup as needed.
You'll spend as little as $30 on a basic barn door tracker, using cost-effective materials like ABS or ASA instead of expensive metal components.
You can further reduce costs by utilizing open-source designs from GitHub repositories and incorporating scrap materials like plywood and spare parts.
For structural integrity, combine fiber-reinforced components with regular ABS where needed.
When you're ready to upgrade, you won't need to buy new equipment – just enhance your existing tracker with affordable components from local suppliers or second-hand sources.
Real-World Performance Advantages
Although commercial star trackers offer reliable performance, DIY versions provide unique advantages that can enhance your astrophotography results.
You'll benefit from longer exposure times, allowing you to capture more light while reducing ISO noise and lens distortions. The DIY barn-door tracker achieves 420 second exposures using a 50mm lens on APS-C sensors. Your images will show sharper stars and clearer details across the frame.
Building your own tracker helps you master celestial navigation and polar alignment through hands-on experience. You'll gain valuable troubleshooting skills and deeper understanding of astrophotography principles.
DIY trackers excel particularly in wide-field imaging, letting you perfectly combine landscape elements with celestial objects.
The open-source nature of DIY designs means you can customize and modify your tracker based on specific needs, while benefiting from continuous improvements shared by an active community of fellow astrophotographers.
Portability and Field Setup Efficiency
Your DIY star tracker's portability comes from using lightweight materials and modular construction methods that let you pack it into carry-on luggage for travel.
You'll appreciate how the components break down into manageable pieces, making transport to remote observation sites much easier than with bulky commercial units. The minimal weight of DIY trackers, often under 2.2 pounds, mirrors leading portable models like the Sky-Watcher Star Adventurer.
Setting up in the field becomes quick and straightforward when you've designed your system with pre-assembled modules and streamlined polar alignment procedures.
Lightweight Travel and Transport
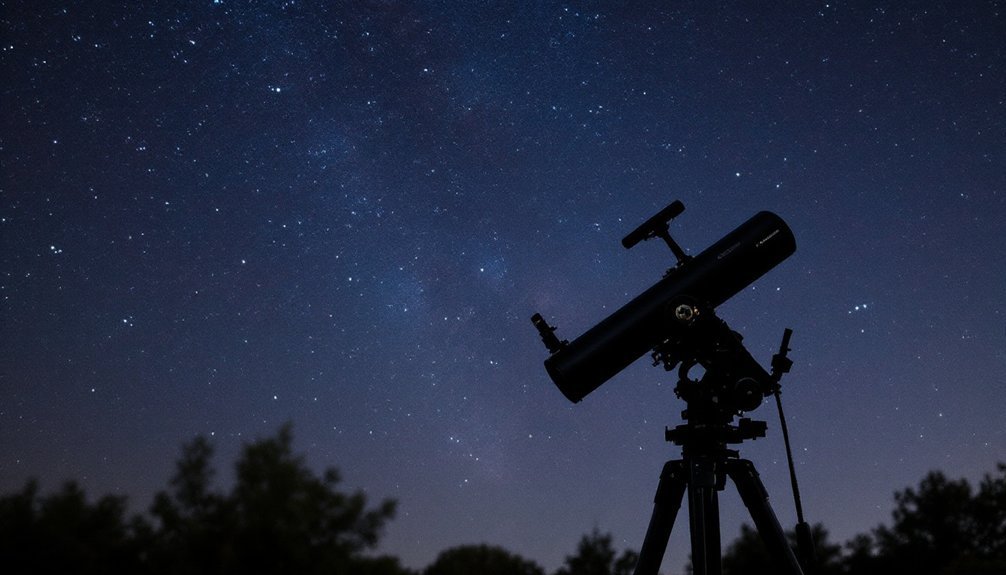
Since astrophotography often requires traveling to remote locations, a DIY star tracker's portability can make or break your viewing experience.
You'll find these lightweight systems considerably easier to transport than bulky commercial mounts, especially when hiking to dark sky sites.
You can easily fit a DIY tracker in your existing luggage or backpack, saving valuable space for other essential photography gear.
The reduced weight means you won't tire as quickly during long treks, and you'll spend less on airline baggage fees.
When you arrive at your destination, you'll appreciate the quick setup time and intuitive design, similar to the compact Move-Shoot-Move Star Tracker that professionals trust for its efficiency.
Your DIY tracker's adaptability allows for easy modifications in the field, and if something breaks, you can usually fix it with readily available materials.
Quick Field Assembly Steps
Three key principles make field assembly of DIY star trackers remarkably efficient: modular design, minimal components, and intuitive connections.
You'll find that the simple barn door design lets you quickly put together your tracker using basic materials like hinges, aluminum sheets, and standard screws.
You can set up your DIY tracker in minutes once you've reached your shooting location. The compact nature of these systems means you won't need much space, and you'll appreciate how easily they adapt to different environments.
Since most components are readily available, you can even make quick repairs or adjustments in the field using local resources. For night setup, you'll only need basic tools like a red light and binoculars to align your tracker with the North Star. A telescope finder scope offers improved accuracy when aligning the hinge axis with Polaris.
Power Management and Energy Solutions
When building a DIY star tracker, power management plays a crucial role in ensuring reliable and consistent performance.
You'll want to focus on implementing efficient power solutions that keep your system running smoothly while maintaining portability and ease of use. Taking inspiration from professional systems like the STOS star sensors, proper power planning helps ensure accurate celestial tracking.
- Choose the right battery type – lithium-ion or alkaline batteries offer excellent power-to-weight ratios and reliable performance.
- Integrate solar panels for sustainable operation, especially if you're setting up in remote locations.
- Install voltage regulators to maintain consistent power supply and protect sensitive components.
- Implement smart battery management systems to monitor and optimize power consumption.
You can enhance your tracker's efficiency by selecting low-power components and optimizing your software for minimal energy usage.
Consider adding portable power banks as backup and incorporating external power connectors for flexibility in different environments.
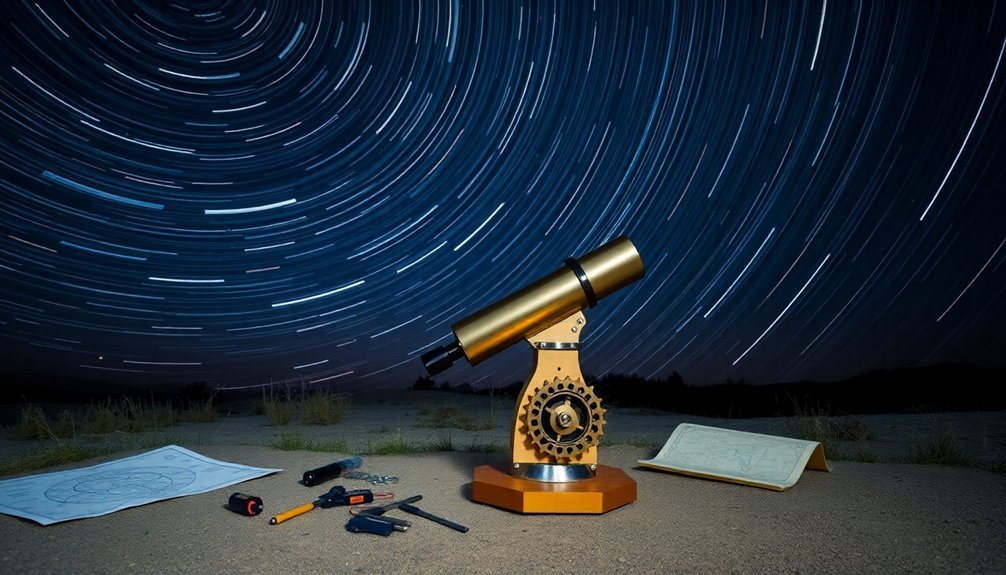
Building Your First DIY Star Tracker
Building a DIY star tracker might seem intimidating at first, but the basic principles are straightforward and achievable with common materials. You'll need two connected plates, hinges, and a rotation mechanism – either a simple bolt or a motor-driven system.
Start by selecting durable materials like wood or aluminum, then cut and assemble the plates according to your design. Add hinges and your chosen rotation mechanism, ensuring everything's properly tightened to prevent wobble. Using Teflon pieces can significantly reduce bolt wobble during operation.
Choose sturdy materials, carefully cut and assemble your base components, then secure all moving parts to create a stable tracking system.
You'll want to include a way to mount your camera, typically using a ball head for flexible positioning. The key to success lies in proper alignment with Earth's rotational axis. In the Northern Hemisphere, you'll align with Polaris.
You can customize the tracker's angle based on your latitude, and even add features like curved rods for improved accuracy.
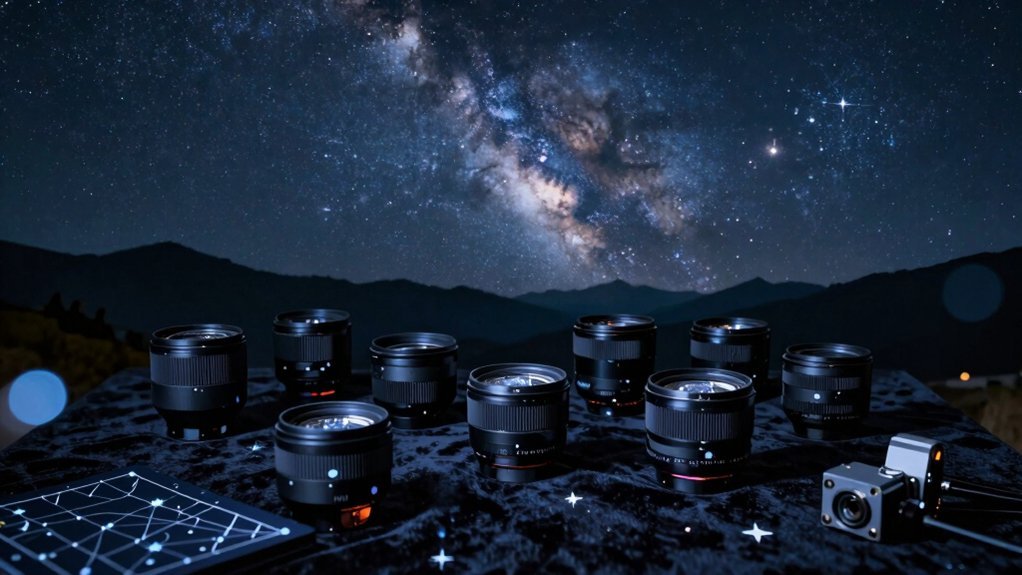
Essential Components and Materials
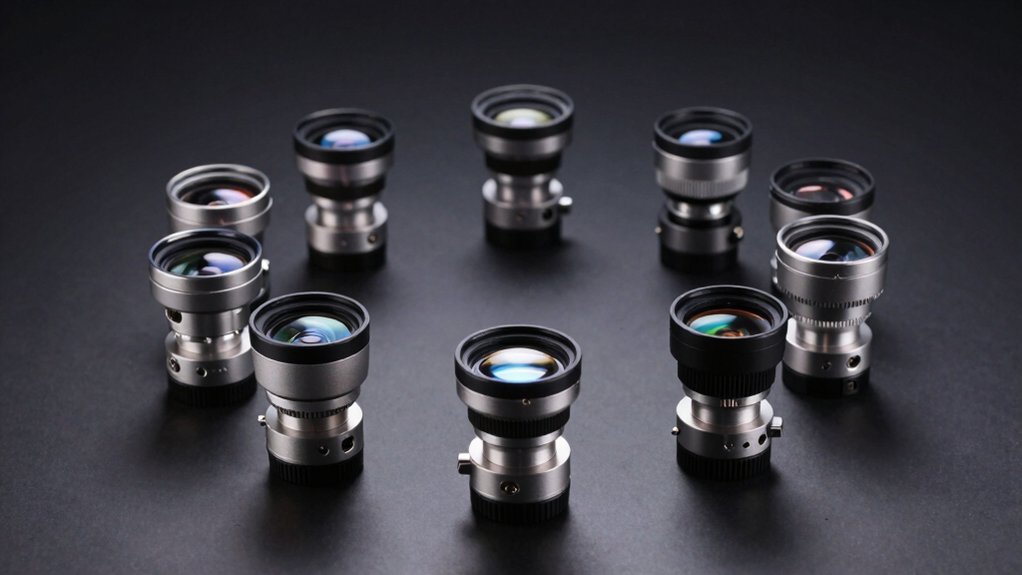
To build your first star tracker, you'll need essential mechanical parts like a stepper motor, gears, and mounting plates alongside electronic components such as a microcontroller and motor driver.
You can keep costs down by choosing affordable materials like plywood or aluminum for the base structure, while wood or acrylic work well for custom components. The project uses an Arduino Nano as the brain to control the tracking system.
Your core assembly should focus on achieving precise movement control through proper motor selection and gear reduction, making these elements your primary investment priorities.
Core Assembly Requirements
Successful DIY star trackers require several essential components that work together to achieve precise celestial tracking.
You'll need to focus on four core assembly groups that form the foundation of your build.
- A robust motor system using either stepper or synchronous motors, paired with precision gear reducers to match Earth's rotation speed
- Reliable control components, including a microcontroller like Arduino or ESP32, along with proper cable management and power supply
- Durable materials such as aluminum sheets or wooden boards, combined with essential fasteners, hinges, and mounting hardware
- Precision alignment tools and adjustable components that allow for accurate polar alignment and geographical latitude settings
These elements guarantee your DIY tracker delivers professional-grade performance while maintaining cost-effectiveness compared to commercial alternatives. Installing a red dot sight is crucial for proper alignment with Polaris and achieving optimal tracking results.
Budget-Friendly Material Options
While assembling your star tracker's core components might seem challenging, you can greatly reduce costs by choosing the right materials. Start with aluminum sheets for the main plates and utilize scrap wood for the base structure.
You'll need basic motors from hardware stores, along with belts and gear systems for smooth movement. The device should support up to 3 kg of equipment while maintaining steady tracking performance.
For control systems, opt for an Arduino unit instead of expensive commercial controllers. You can 3D print many custom parts using durable ABS or PETG plastic, which will hold up well outdoors.
Don't overlook simple solutions like piano hinges for tracking movement and metal braces for support. Consider using open-source designs to customize components based on your needs and local material availability.
Ball heads offer flexible camera positioning at a fraction of the cost of professional mounts.
Community-Driven Innovation and Support
Because DIY star trackers thrive on collaborative development, the community's role in innovation and support has become instrumental to their success. The project enables complete design flexibility for photographers to adapt and enhance their builds.
DIY star trackers exemplify the power of community, where shared knowledge and collaborative spirit drive innovation forward.
You'll find active forums, Discord channels, and GitHub repositories where enthusiasts share knowledge, troubleshoot problems, and continuously improve designs.
The open-source spirit driving these projects guarantees you're never alone in your build journey:
- Access free, detailed documentation and step-by-step tutorials
- Get real-time support from experienced builders who've tackled similar challenges
- Contribute your own improvements and modifications to benefit others
- Stay updated with the latest innovations and bug fixes through version control
This collaborative ecosystem not only accelerates development but also creates a knowledge base that makes advanced astrophotography accessible to beginners and experts alike.
Customization Options for Specific Needs
Since every astrophotographer has unique requirements, DIY star trackers offer extensive customization possibilities to match your specific needs.
You can tailor your build using affordable 3D-printed components made from ASA or ABS, or fabricate custom parts from aluminum sheets. The modular design lets you easily upgrade or replace components as your needs evolve.
You'll find endless ways to optimize your tracker's performance. Choose between different motors and gear systems for precise speed control, implement belt drives for smoother operation, or add microcontrollers for automation. Powered by a USB battery pack, these systems offer convenient portable operation without complex power setups.
For portability, you can design a foldable system that fits in your backpack. Best of all, you can incorporate sensors and feedback systems to enhance tracking accuracy while keeping costs low by using readily available materials and repurposed components.
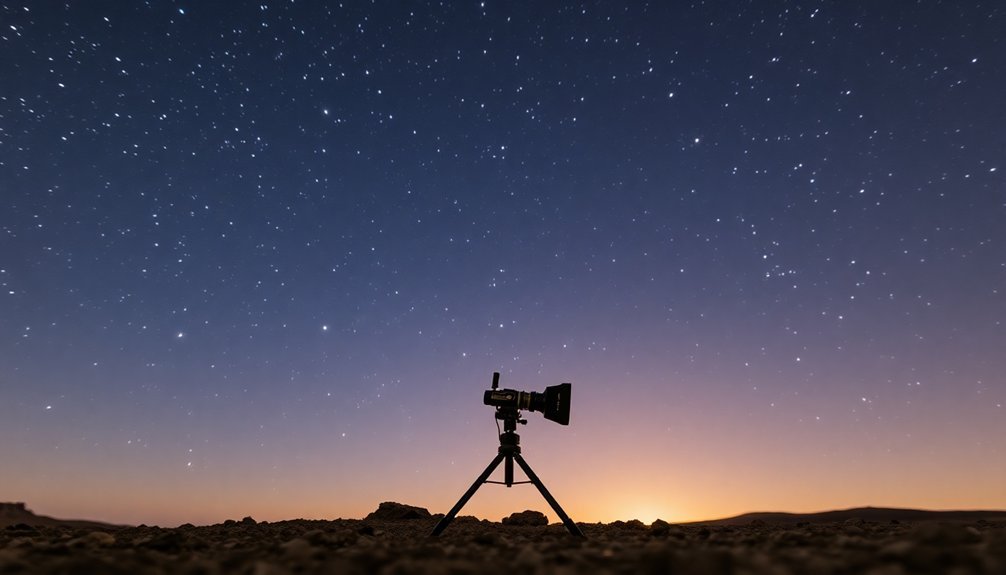
Reliability in Remote Locations
When setting up your DIY star tracker in remote locations, reliability becomes paramount for successful astrophotography sessions.
You'll appreciate the ultra-portable design and simple setup that doesn't rely on complex technology or external power sources. The lightweight aluminum plate provides a stable platform for mounting your camera while keeping the overall system portable. These trackers excel in adapting to various environmental conditions while offering dependable performance for wide-field targets.
- Your DIY tracker's manual polar alignment works perfectly in remote areas with clearer skies.
- You can easily repair or adjust the simple control mechanisms in the field.
- You won't need to worry about sophisticated electronics failing in harsh conditions.
- You'll find it's easier to transport and set up compared to commercial mounts.
The durability of homemade materials, combined with proper moisture protection and cold-weather adaptations, guarantees your tracker performs consistently even in challenging environments.
Your understanding of basic celestial navigation will prove more valuable than automated systems.
Long-Term Value and Upgradability
While commercial star trackers offer convenience, DIY solutions provide exceptional long-term value through their upgradability and cost-effective maintenance. You'll benefit from modular designs that let you swap components as your needs evolve, without being locked into proprietary systems. Unlike commercial options that are typically limited to 3-5kg payload capacity, DIY systems can be engineered to handle more substantial equipment.
| Aspect | DIY Advantage |
|---|---|
| Initial Cost | ~€75 vs. expensive commercial options |
| Repairs | Generic parts readily available |
| Upgrades | Add features based on your needs |
| Maintenance | Learn and fix issues yourself |
| Support | Active community knowledge base |
You're not just saving money upfront – you're investing in a system that grows with you. The open-source community continuously develops improvements you can implement, while repairs cost less since you're not dependent on manufacturer-specific parts. Your DIY tracker becomes more valuable over time as you enhance its capabilities through targeted upgrades.
Frequently Asked Questions
How Do DIY Star Trackers Handle Extreme Weather Conditions?
You'll need to protect your DIY star tracker with waterproof coatings and insulation. While mechanical systems handle weather better than electronic ones, it's best to add protective covers and use weather-resistant materials for durability.
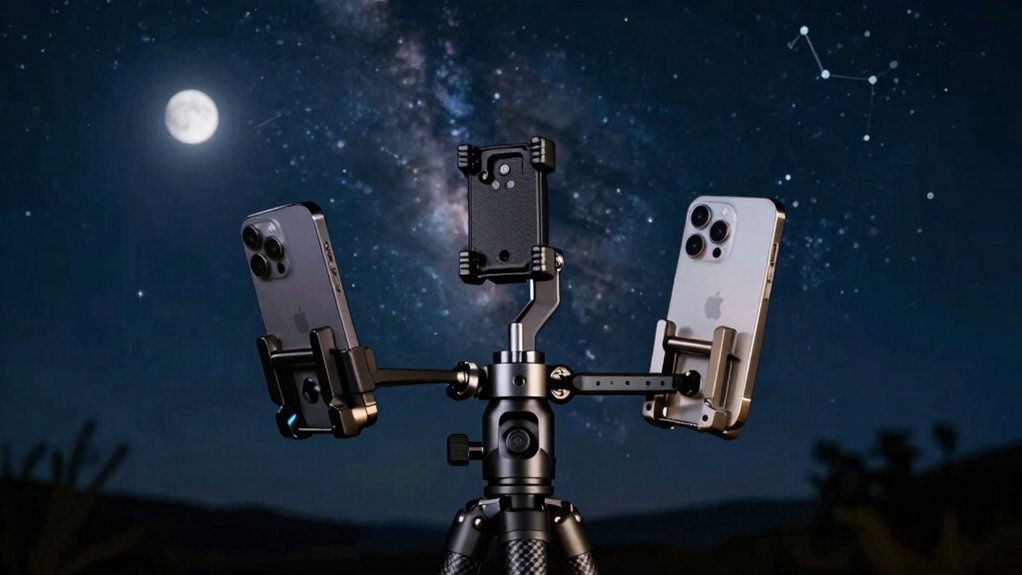
Can Multiple Cameras Be Mounted on a Single DIY Tracker?
You can mount multiple cameras on a DIY star tracker, but you'll need to carefully consider weight limits, balance, and structural integrity. It's technically possible but requires significant modifications to your basic design.
What's the Average Lifespan of a DIY Star Tracker?
You'll typically get 2-3 years from your DIY star tracker with proper maintenance. But it's highly dependent on your build quality, usage frequency, and how well you protect it from weather elements.
Are There Insurance Considerations When Using Self-Built Astronomical Equipment?
You'll need to document your DIY equipment's value and materials for insurance coverage. Check if your homeowner's policy covers it, or consider a floater policy for additional protection against theft and damage.
How Do DIY Trackers Perform at Different Latitudes Across the Globe?
You'll find DIY trackers work best in tropical regions with simpler alignments. At higher latitudes, you'll need more precise adjustments, while mid-latitudes offer a balanced performance requiring moderate alignment effort.
In Summary
You'll find that DIY star trackers offer unmatched value for your astrophotography journey. They're not just cost-effective – they're customizable, portable, and often outperform expensive commercial systems. By building your own tracker, you're gaining valuable technical knowledge while joining an innovative community of makers. Whether you're shooting from your backyard or remote locations, your DIY solution will continue to evolve with your growing expertise.
Leave a Reply