Observatory photography combines stunning architecture with celestial wonders, perfect for beginners. Start with a basic DSLR camera, tripod, and wide-angle lens to capture dome silhouettes during twilight when the sky is still colorful. Use moderate ISO settings (800-1600) and longer exposures (15-30 seconds) to reveal stars above the structure. Try public observatories during special events for supervised access. Your journey from dome silhouettes to star trails will build fundamental skills for all night photography.
Best Observatory Photography For Beginners
While many aspiring astrophotographers feel intimidated by the technical aspects of capturing the night sky, getting started doesn’t have to be overwhelming.
Begin your journey with a small apochromatic refractor telescope, which offers excellent color correction and manageable weight for beginner astrophotography.
You’ll need a reliable mount to track celestial objects precisely, along with a field flattener to guarantee sharp edge-to-edge images.
For best astrophotography results, pair your setup with a DSLR or mirrorless camera that allows full manual settings control.
Master adjusting exposure and ISO for different celestial objects—longer exposures for faint nebulae, shorter for bright planets.
Don’t underestimate post-processing techniques; they’re essential for transforming raw captures into stunning final images.
Plan to invest at least $1,000 for quality equipment that’ll grow with your skills and consistently deliver breathtaking cosmic portraits.
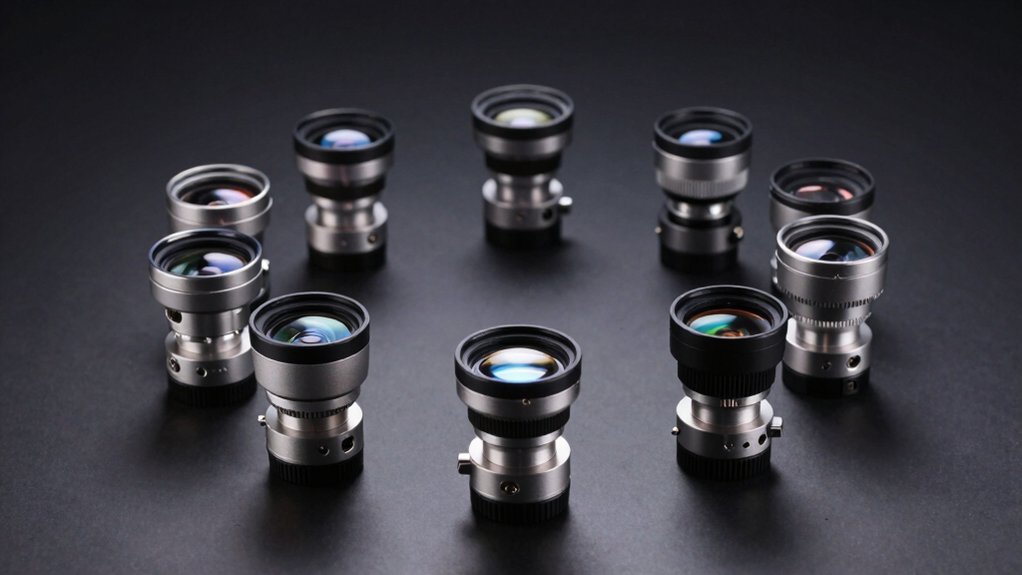
Essential Gear for Observatory Photography on a Budget
Although observatory photography might seem financially intimidating, you can capture stunning celestial images without breaking the bank. A budget of around $1,000 can secure a reliable small apochromatic refractor, ideal for deep-sky imaging due to its excellent color correction and portability.
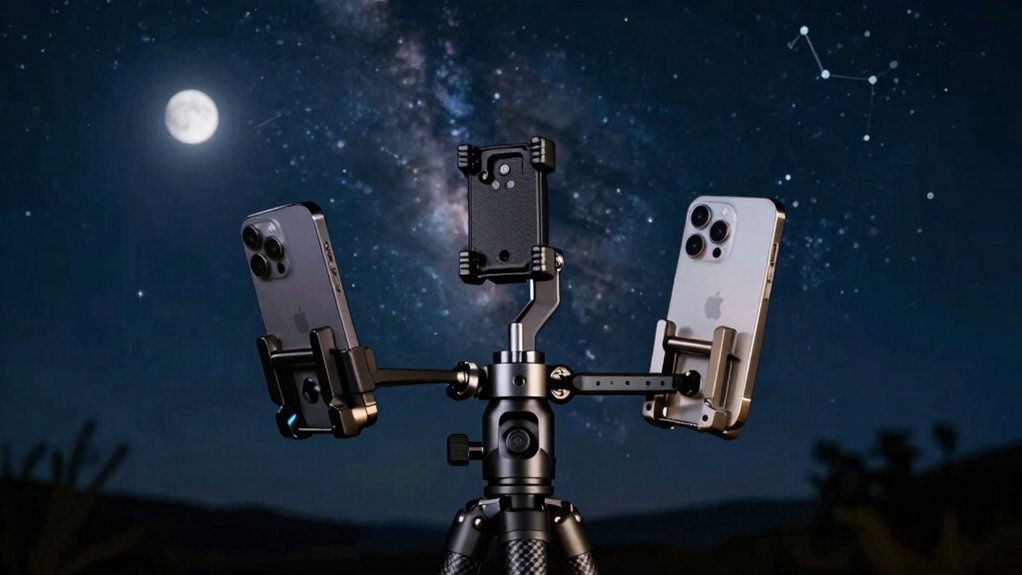
Your astrophotography equipment should include a sturdy tripod with smooth tilting heads to maintain stability during long exposures. A remote shutter release eliminates vibrations when capturing images.
Stable equipment creates the foundation for exceptional astronomical imagery, eliminating unwanted movement during critical moments of exposure.
While full-frame DSLR cameras excel in low light, crop sensor alternatives offer a more affordable entry point. Don’t forget a field flattener to enhance image quality.
Set your camera to manual exposure and RAW format for maximum control. Finally, invest in a quality carrying case to protect your gear during travel, ensuring reliability and longevity for your astronomical adventures.
Understanding Observatory Lighting and Exposure Settings
The dark environment of an observatory requires you to master exposure settings that balance sensitivity with image quality, starting with low ISO values between 800-1600 and appropriate shutter speeds calculated using the 500-rule.
You’ll need to adjust your camera’s manual settings differently when shooting through telescopes versus capturing wide-field views, paying special attention to aperture and exposure length for deep-sky objects.
Managing light pollution becomes essential to your success, so consider using specialized filters and RAW format capture to preserve details that can be enhanced during post-processing.
Night Sky Exposure Basics
Mastering exposure settings transforms your observatory photography from disappointing black frames to stunning celestial captures.
When shooting the night sky, open your aperture as wide as possible (f/2.8 or lower) to maximize light intake for clearer images of deep-sky objects.
Set your ISO between 800-1600 to balance exposure while minimizing noise—crucial for detailed star trails.
For proper exposure, use long exposure times of 15-30 seconds, adjusting based on your lens’s focal length. Apply the 500-rule (divide 500 by your focal length) to calculate maximum shutter speed without creating unwanted star trails.
Don’t overlook white balance—start with auto, then experiment in post-processing for accurate color representation.
These fundamental camera settings will dramatically improve your ability to capture the cosmos with clarity and depth.
Telescope Camera Settings
When connecting your camera to a telescope, proper settings become even more critical than standard night photography. Start by setting your DSLR cameras to Manual (M) mode, giving you complete control over the exposure triangle necessary for quality astrophotography images.
Open your aperture as wide as possible (f/2.8 or lower) to collect maximum light, especially important when shooting through light pollution. Keep your ISO between 800-1600 to balance sensitivity without introducing excessive noise.
For exposure length, begin with 10-30 second long exposures, then apply the 500-rule: divide 500 by your telescope’s focal length to determine the maximum shutter speed before stars begin to trail.
For serious deep-space imaging, consider a tracking mount to compensate for Earth’s rotation, allowing for extended exposures without star trails.
Light Pollution Management
Despite being one of the most frustrating challenges for beginner astrophotographers, light pollution can be effectively managed with proper techniques and planning.
When shooting from urban areas, you’ll need to adjust your exposure settings to compensate for artificial light. Use moderate ISO values (800-1600) to balance sensitivity with noise reduction while capturing celestial objects.
Finding a dark sky site is essential for ideal results. Consult light pollution maps like Dark Site Finder to locate areas with minimal interference. Remember the 500-rule to calculate maximum shutter speed based on your lens focal length, preventing star trails in your images.
- Use light pollution reduction (LPR) filters to block wavelengths commonly found in urban lighting
- Position yourself away from direct light sources at your chosen location
- Consider narrowband filters for targeting specific deep sky objects in polluted areas
Scouting Public Observatories With Photography Access
Where can beginners actually practice astrophotography without investing thousands in equipment? Public observatories offer exceptional opportunities to photograph celestial objects through professional telescopes during special events. Many provide dedicated astrophotography nights where you’ll use your equipment alongside observatory telescopes.
| Observatory Type | Photography Access | Learning Opportunities |
|---|---|---|
| University-run | Special events | Guided workshops |
| State/National | Permitted nights | Expert staff support |
| Community-based | Regular access | Peer learning |
| Private | Membership perks | Advanced techniques |
Before visiting, check if the observatory requires photography permits or has equipment restrictions. Local astronomy clubs affiliated with these facilities organize group outings where you’ll learn from experienced astrophotographers. These communities provide invaluable knowledge-sharing and often welcome beginners to their telescopes and workshops.
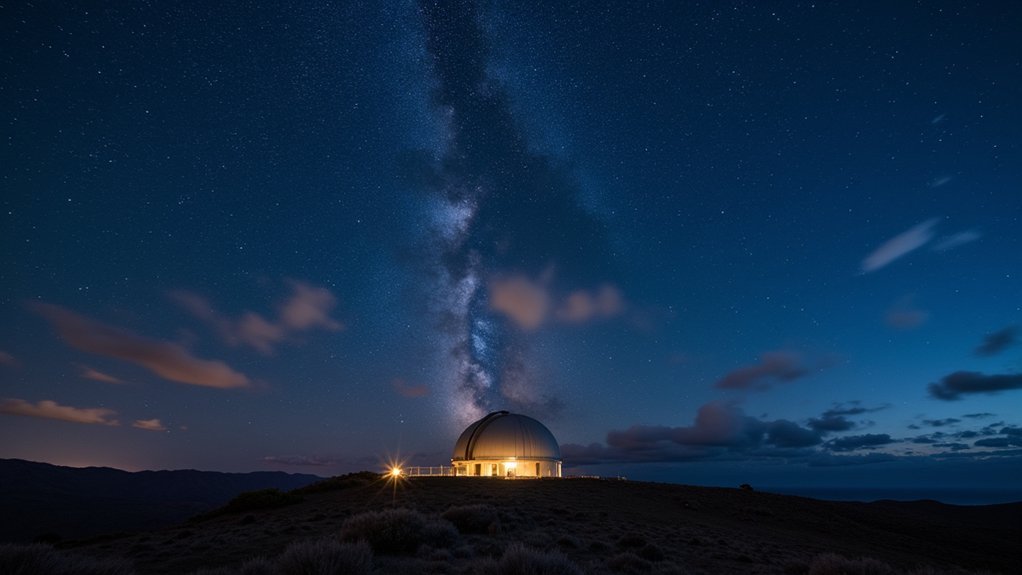
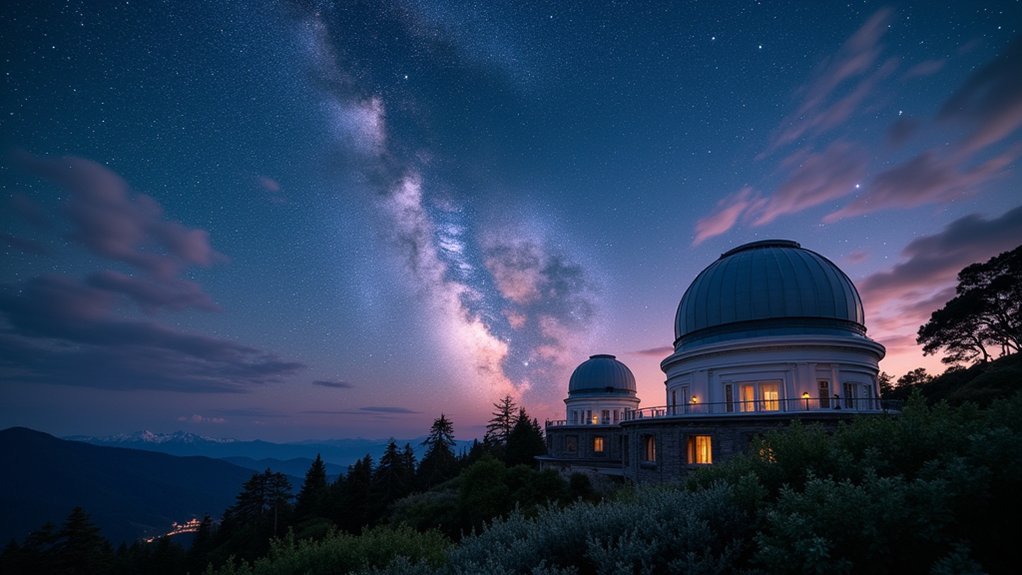
Nighttime Composition Techniques for Observatory Structures
Observatory structures themselves offer stunning photographic subjects after dark, creating dramatic silhouettes against starry skies.
You’ll want to use wide-angle lenses (12-35mm focal length) to capture both the building and night sky in one frame. Switch to manual mode with apertures of f/2.8 or lower, ISO around 1600, and exposure times between 15-30 seconds for well-balanced images.
- Include foreground elements like trees or pathways to create depth and leading lines in your composition.
- Try low-angle shots to emphasize the observatory’s height, adding dramatic effect to your nighttime images.
- Time your shoot during new moon phases or in locations with minimal light pollution to capture the Milky Way or star trails behind the observatory.
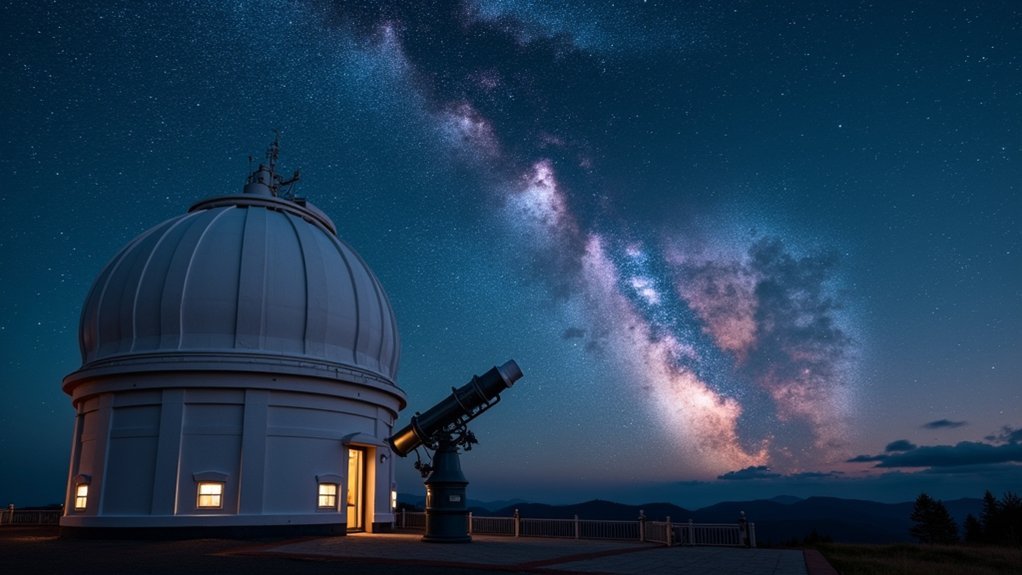
Capturing the Night Sky Above Observatory Domes
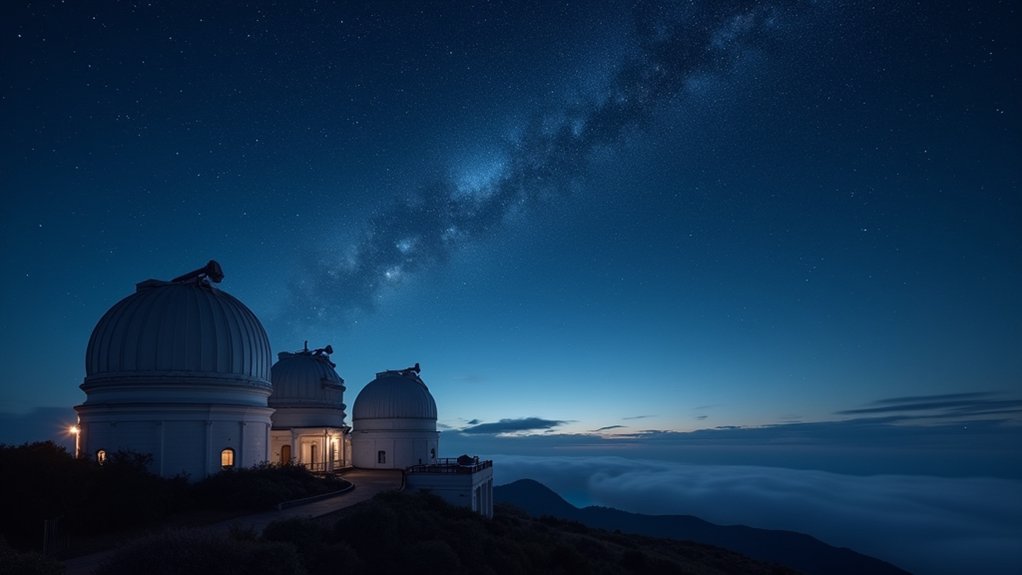
The night sky above observatory domes offers photographers three striking composition opportunities you’ll want to explore.
You can create dramatic dome silhouettes at twilight when the fading light creates a perfect backdrop for the observatory’s distinctive shape.
Try long exposure shots to capture star trails circling above the dome, or experiment with dome-star composition techniques that position celestial objects like the Milky Way or moon in relation to the observatory structure.
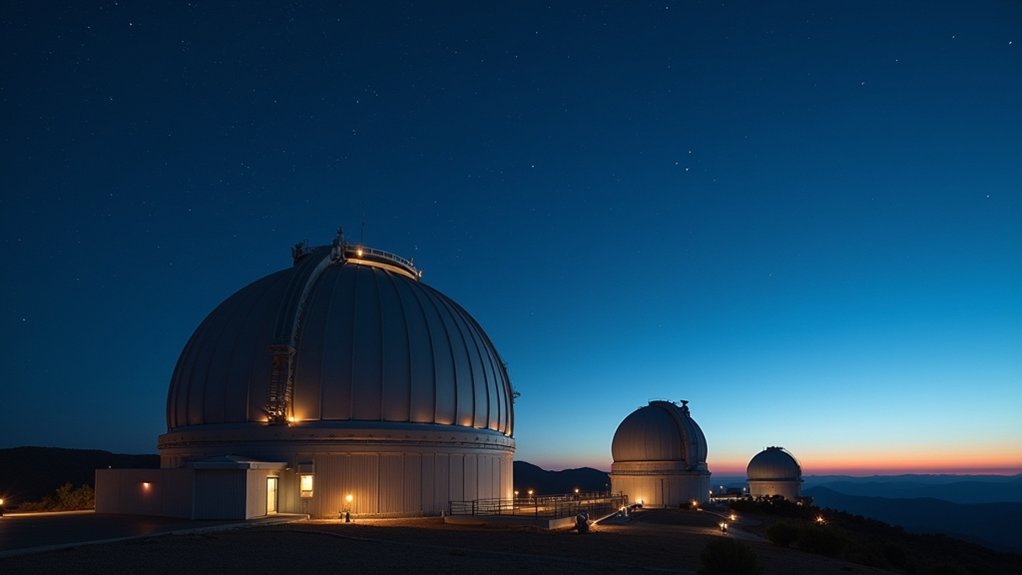
Dome Silhouettes at Twilight
As twilight paints the sky with vibrant hues, dome silhouettes offer photographers an enchanting subject that blends architectural elegance with astronomical wonder.
Position your camera at a low angle to capture the dark outlines of observatory domes against the colorful twilight sky. Use a wide-angle lens with an aperture of f/2.8 or faster to gather more light for stunning images.
For ideal results, set your ISO between 800-1600 and use a shutter speed of 1/15 to 1/30 seconds. This balance preserves both sky colors and dome details.
Include foreground elements for depth and visual impact in your composition.
- Frame the dome silhouettes with natural elements to create depth
- Experiment with different ISO settings as light changes
- Apply post-processing techniques to enhance contrast and colors
Long Exposure Dome Shots
Capturing celestial movements above observatory domes creates some of the most dramatic astronomical photographs available to beginners.
To achieve these stunning star trails, you’ll need a DSLR or mirrorless camera set to manual mode with a wide aperture and ISO between 800-1600. Your exposure time is critical—anywhere from 15 seconds to several minutes depending on how long you want your star trails to appear in your photograph.
Always mount your camera on a sturdy tripod for essential stability during these long exposures. Use a remote shutter release or your camera’s timer function to eliminate vibrations when starting the exposure.
Don’t forget that post-processing is your friend—stacking multiple images can dramatically enhance details while reducing noise, resulting in crisp, vibrant star trails circling majestically above the observatory dome.
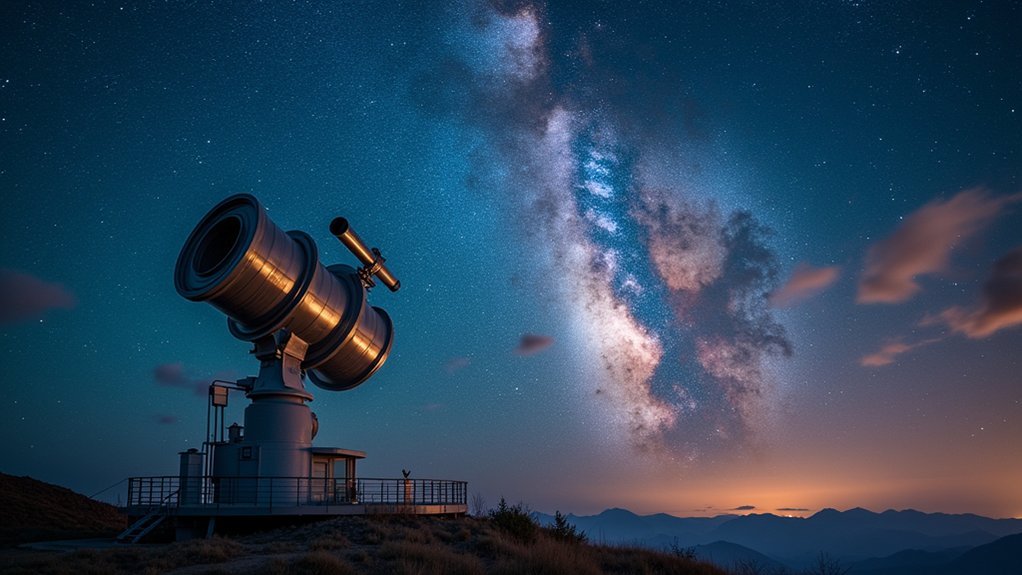
Dome-Star Composition Techniques
When framing observatory domes against the night sky, successful compositions require thoughtful balance between architectural elements and celestial wonders. Your wide-angle lens (12-35mm) will capture both the dome and expansive sky in one frame.
Position the dome as a strong foreground element to create depth, leading the viewer’s eye upward into the starry expanse.
- Set your camera to high ISO (1600-3200) to enhance light sensitivity, revealing faint stars while maintaining proper exposure.
- Use long exposures (15-30 seconds) with a tripod to capture star trails, adding dramatic movement to your composition.
- Apply post-processing techniques to enhance contrast between the dome’s silhouette and the night sky, reducing noise while preserving celestial details.
These techniques will help you create compelling observatory photographs that showcase both architectural and astronomical elements.
Post-Processing Basics for Observatory Night Shots
The magic of observatory photography truly emerges during post-processing, where your raw captures transform into spectacular celestial portraits.
Always shoot in RAW format rather than JPEG to preserve maximum image quality and data for adjustments.
RAW format preserves the cosmic canvas in its purest form, giving you full creative control during post-processing.
Adobe Lightroom offers essential tools to enhance your observatory images. Start by adjusting exposure and contrast to reveal hidden details in celestial objects.
Apply noise reduction to smooth out graininess while maintaining sharpness. For dramatic improvements, explore stacking techniques that combine multiple exposures of the same target, effectively averaging out imperfections while enhancing details.
Don’t overlook white balance adjustments—cooler temperature settings often produce more natural-looking night skies.
With practice, you’ll develop a workflow that brings out the breathtaking beauty of your observatory captures while maintaining authenticity.
Seasonal Planning for Observatory Photography Sessions
Successful observatory photography depends heavily on understanding seasonal patterns that impact your celestial shooting opportunities throughout the year.
You’ll want to align your sessions with prime times for specific subjects—winter months offer sharper viewing conditions for Orion, while summer nights showcase the magnificent Milky Way.
Always check moon phases before heading out; a new moon provides perfect darkness for deep-sky astrophotography, whereas moonlight can wash out fainter objects.
- Track major celestial events like meteor showers using astronomy apps to maximize photographic opportunities
- Take advantage of seasonal weather patterns by scheduling sessions during months known for clear skies in your region
- Create a calendar marking prime times for capturing specific constellations and phenomena throughout the year’s cycle
Frequently Asked Questions
How to Start Astronomy Photography?
To start astronomy photography, you’ll need a stable tripod, DSLR with manual settings, and wide-angle lens. Use the 500-rule for exposure times, experiment with ISO 800-1600, and post-process your RAW images.
What Is a Good Astrophotography Camera to Start With?
A DSLR or mirrorless camera is your best starting point. You’ll want manual controls, long exposure capabilities, good low-light performance, and RAW support. The Canon EOS Rebel series offers affordable entry-level options.
What Is the Best Refractor for Beginners?
For your first refractor, you’ll find the RedCat 51 or Apertura 75Q excellent choices. They’re portable, require minimal collimation, and offer quality optics. The Evostar 80ED also provides great value for beginners.
What Equipment Do Beginner Astrophotographers Need?
You’ll need a small apochromatic refractor (50-80mm), a DSLR or mirrorless camera, a sturdy tripod, a tracking mount, a remote shutter release, a field flattener, and a carrying case for beginner astrophotography.
In Summary
Observatory photography combines your love for astronomy with enchanting imagery. You’ve now got the essential techniques to start this rewarding hobby without breaking the bank. Remember, patience is key—your skills will develop with each session under the stars. Don’t be afraid to experiment with different settings and compositions. With these fundamentals, you’re well-equipped to capture stunning observatory shots that showcase the majesty of our universe.
Leave a Reply