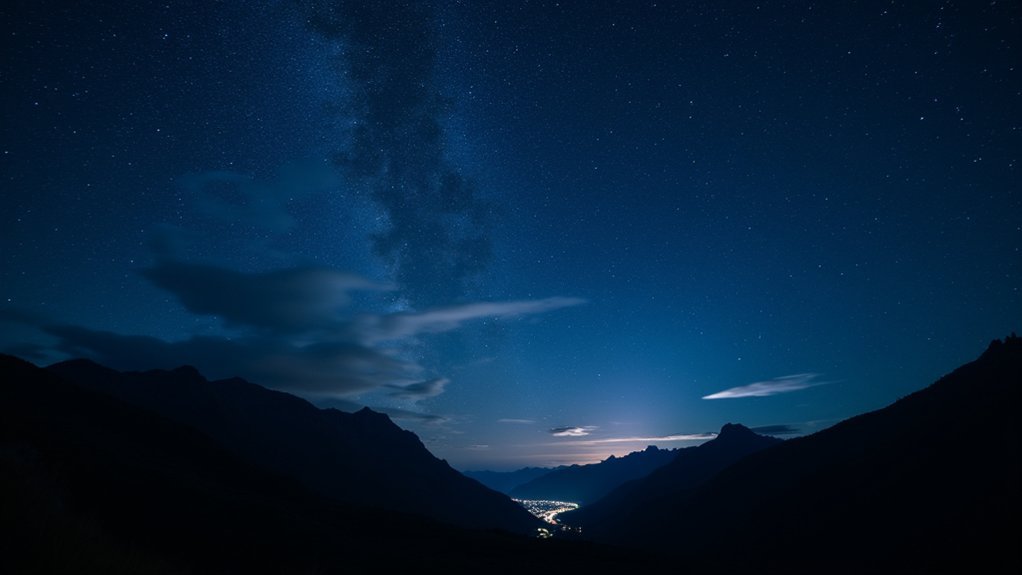
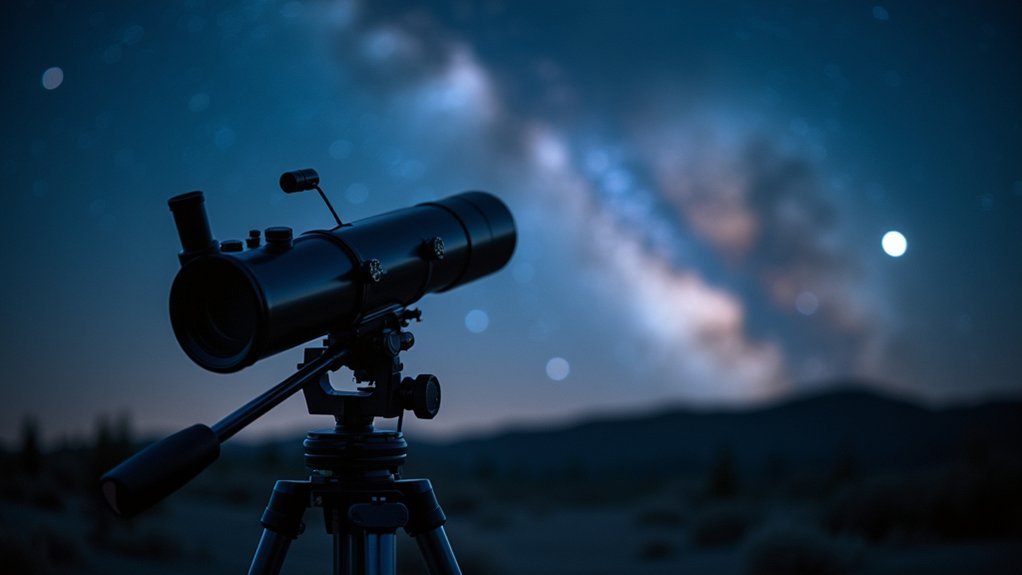
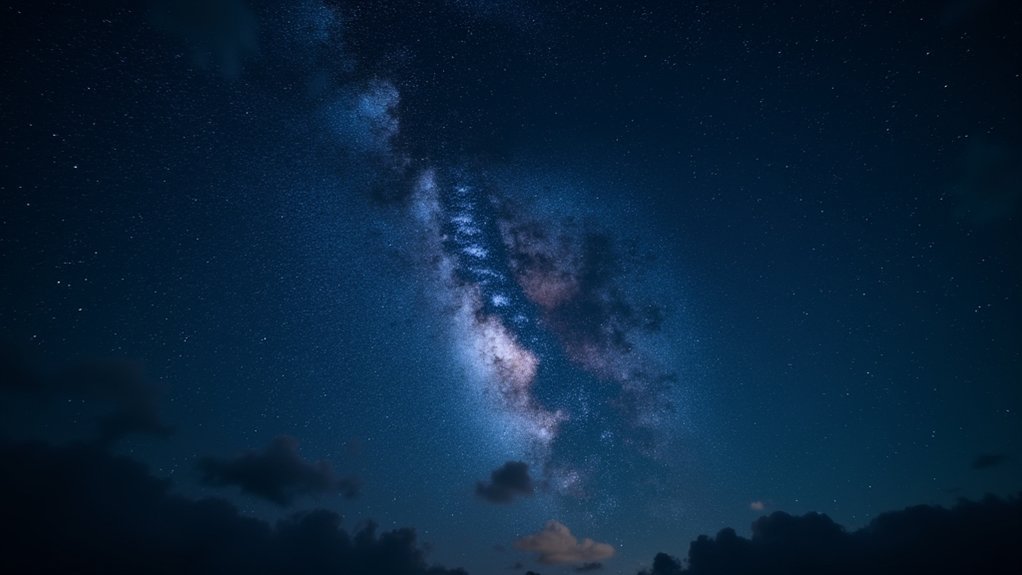
Focusing on stars is challenging because they appear as faint points of light that cameras struggle to detect. Your autofocus system can’t find enough contrast in the dark sky, while manual focusing becomes difficult when infinity marks on lenses aren’t precise for astrophotography. Environmental factors like humidity, light pollution, and atmospheric turbulence further complicate matters. Master techniques like using Bahtinov masks or live view magnification to transform your blurry celestial shots into tack-sharp cosmic portraits.
Understanding the Challenges of Focusing in Low-Light Conditions

When you gaze up at the night sky, capturing those distant pinpoints of light presents a unique set of challenges. Stars are incredibly faint compared to daytime subjects, making them difficult targets for your camera’s focusing system.
In low-light conditions, your equipment struggles against increased noise levels that obscure fine details needed for precise focus. Your camera’s autofocus often fails to lock onto stars because they’re simply too dim against the vast darkness. Instead, you’ll need to switch to manual focus and carefully adjust until you find that sweet spot.
Even locating a bright star to use as a reference point can be challenging. Focusing errors commonly occur when relying on lens infinity markings, which are frequently inaccurate for astrophotography.
These challenges explain why achieving crisp, clear star images requires special techniques and patience.
Optimal Camera Settings for Star Photography on a Budget
You don’t need expensive gear to capture the night sky if you understand the critical exposure triangle for astrophotography.
Start with manual mode, setting your ISO between 1600-3200 to balance sensitivity with noise, while keeping your aperture as wide as possible (ideally f/2.8 or wider).
Pair these settings with exposure times between 10-30 seconds on a stable tripod, and you’ll achieve impressive results without breaking the bank.
Budget-Friendly Camera Settings
Photography enthusiasts with limited equipment can still capture breathtaking star images by mastering a few essential camera settings.
Switch to manual mode and crank your ISO high—12,800 or above—to make stars at night bright enough for your sensor to detect.
Open your aperture as wide as possible (f/1.4 or f/2.8) to maximize light collection. Set your shutter speed between 20-30 seconds to balance exposure without creating star trails.
To focus manually with precision, use your camera’s live view function. Zoom in digitally on a bright star until it appears as a tiny, sharp point before locking your focus.
For efficiency, try 5-second test shots at high ISO settings to quickly check your composition and focus without waiting for longer exposure time captures.
ISO and Exposure Tradeoffs
Finding the perfect balance between ISO and exposure time represents the central challenge in budget astrophotography. When you can’t focus on stars clearly, your settings likely need adjustment. Higher ISO settings (1600-3200) increase your camera’s sensitivity to light but introduce noise, while longer exposure times (10-30 seconds) capture more starlight but risk creating star trails.
- Use wide apertures (f/1.4-f/2.8) to maximize light intake, making stars appear brighter and easier to focus on.
- Try the 10-second/ISO 6400 combination when you lack tracking equipment but still want to capture enough light.
- Check your histogram after each shot to avoid overexposure that washes out bright stars.
These tradeoffs help you optimize your limited equipment while minimizing noise and maintaining sharp focus on the night sky.
Focusing Tools and Accessories for Sharp Astrophotography

When you’re struggling to focus on stars, specialized tools like a Bahtinov mask make all the difference by creating distinct diffraction patterns that indicate perfect focus.
You’ll find that locking your focus ring with gaffers tape after achieving sharpness prevents accidental adjustments during your imaging session.
Essential accessories such as T-adapters and focus-assistance software can transform your frustrating attempts into consistently crisp star images.
Bahtinov Masks Matter
Three diffraction spikes can make all the difference between blurry star shots and tack-sharp astrophotography.
When you’re struggling with your imaging camera’s focus point, a Bahtinov mask becomes your secret weapon. This specialized tool creates distinct diffraction patterns around brightest stars, giving you clear visual feedback for achieving perfect sharp focus.
To get the best results with your Bahtinov mask:
- Center your target star in the viewfinder before applying the mask.
- Watch for the three spike pattern – when evenly spaced, you’ve nailed your focusing scale.
- Use the mask during initial setup on bright stars before moving to dimmer targets.
You’ll find this method far more reliable than your camera’s autofocus system when capturing the night sky.
Perfect Stars Require Tools
While the Bahtinov mask ranks as a game-changer for star focusing, it’s just one tool in an effective astrophotographer’s arsenal.
When autofocus fails you at night, try using a flashlight as an artificial light source to help your camera lock onto distant objects. For bright star focusing, maximize your camera’s gain temporarily to better visualize focus issues, then reduce it before you take pictures.
Software solutions like Backyard Nikon or EOS provide numerical FWHM measurements that eliminate guesswork when determining perfect focus.
Don’t overlook this simple yet essential step: once you’ve achieved sharp focus, secure your focus ring with gaffer tape to prevent accidental shifts during your imaging session.
These practical tools and techniques will transform your frustrating focusing attempts into consistently crisp, detailed astrophotographs.
Manual Focus Techniques That Make Stars Shine Brighter
Despite what modern camera technology promises, achieving tack-sharp focus on stars requires manual techniques that digital autofocus simply can’t handle.
Focusing at night demands precision and patience, but with the right approach, you’ll capture crisp stellar details.
Astrophotography rewards the methodical and meticulous – those who master focus control reveal the universe’s finest details.
- Use a Bahtinov mask to visualize the precise focus point – when the diffraction patterns align perfectly, you’ve achieved sharp focus on the stars.
- Switch to live view, maximize your camera’s gain, and zoom in on the brightest star until it becomes a clear point of light for easier fine adjustments.
- Practice during daylight by focusing on distant lights, then lock your focus ring with gaffer tape once you’ve perfected it on celestial objects like Rigel or Sirius.
Troubleshooting Common Nighttime Focus Problems

When your stellar images appear as blurry blobs instead of pinpoint lights, you’re facing one of astrophotography’s most frustrating challenges. The black sky provides no reference points for your eye to judge sharpness accurately.
First, switch to manual focus mode—autofocus typically fails against the night sky. Use a Bahtinov mask to create distinctive diffraction patterns that clearly indicate when perfect focus is achieved.
For quick focus checks, temporarily bump up to high ISO settings like 12,800, allowing you to see results in short test exposures.
If a bright moon is present, you can actually use it as a focusing target before moving to dimmer stars.
Once you’ve achieved sharp focus, secure your focus ring with gaffer tape to prevent accidental adjustments that could ruin hours of shooting.
Practical Field Techniques for Better Star Focus
After setting up your equipment under the night sky, you’ll need specific techniques to achieve that elusive perfect focus on stars. Using live view with magnification on bright celestial objects helps guarantee precise focus, making stars appear as crisp points of light rather than fuzzy blobs. Longer focal lengths require even more careful focus adjustments.
- Use a Bahtinov mask – This specialized tool creates diffraction patterns that make achieving precise focus much easier and more consistent.
- Take quick test exposures – Set your camera to high ISO (12,800-25,600) to quickly evaluate focus without waiting for long exposures.
- Lock the focus – Once you’ve achieved stars in focus, secure the focus ring with gaffer tape to prevent accidental adjustments during your shooting session.
Processing Tips to Enhance Sharpness in Night Sky Images

Capturing stars in perfect focus is only half the battle—your post-processing approach greatly determines the final clarity of your astrophotography. Implement stacking techniques to combine multiple exposures, which effectively reduce noise while preserving important details in stars and foreground elements.
For advanced processing, utilize software like PixInsight or Photoshop to apply deconvolution and specialized sharpening filters. You’ll want to adjust contrast and saturation levels to minimize light pollution’s impact, making celestial objects pop.
Consider applying a Gaussian blur to the sky background while keeping stars crisp—this creates visual separation that enhances overall composition.
Always check your image sharpness at 100% zoom to verify your adjustments enhance clarity without introducing artifacts. With these processing techniques, you’ll transform initially disappointing images into stunning night sky photographs.
Frequently Asked Questions
Why Can’t I Focus on Stars?
You can’t focus on stars because they’re very faint, making precision difficult. Your lens’s infinity mark may be inaccurate, and conditions like humidity or light pollution worsen visibility. Try using specialized focusing aids instead.
Why Is My Camera Not Focusing on the Stars?
Your camera isn’t focusing on stars because you’re likely using autofocus, which struggles in low light. Switch to manual focus, use maximum ISO during focusing, and consider a Bahtinov mask for precise stellar focus.
Why Is My Iphone Not Focusing on the Stars?
Your iPhone struggles to focus on stars because its small sensor and autofocus system aren’t designed for distant, faint objects. Try using Night Mode, a tripod, and third-party apps with manual focus controls for better results.
Why Are You Unable to See Certain Stars at Night?
You can’t see certain stars at night due to light pollution, atmospheric conditions, the Moon’s brightness, or because they’re below your horizon. Weather and your location also determine which stars are visible to you.
In Summary
You’ve now learned why stars might elude your focus tonight, but you’re equipped with practical solutions. Whether it’s mastering manual focus, using live view magnification, or upgrading with simple accessories, crisp stars are within reach. Remember, patience is key—star photography requires practice. Next time you’re under the night sky, you’ll capture those pinpoint stars with confidence instead of frustration.


Leave a Reply