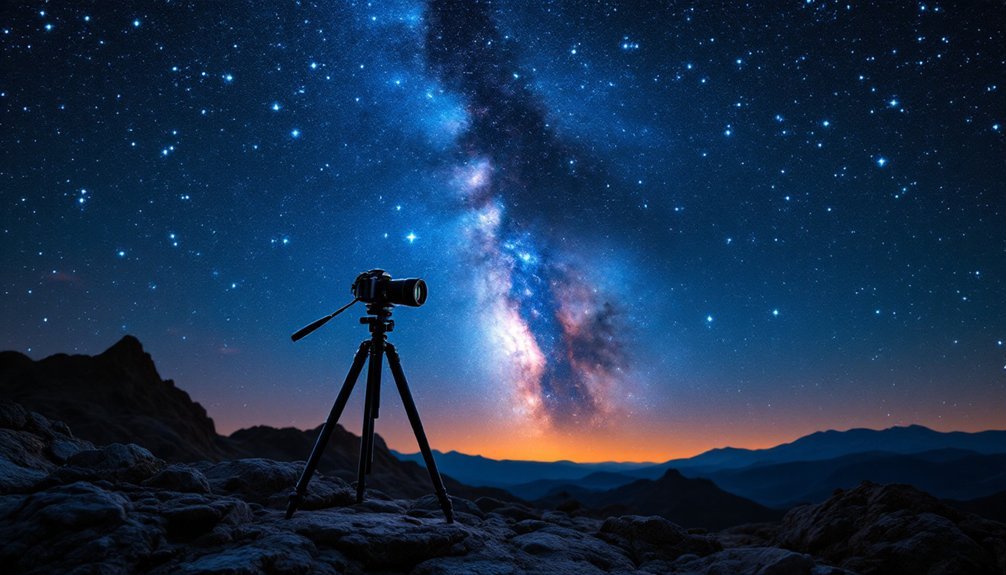
You can start capturing stunning night sky photos with minimal gear under $500. Pick up a used entry-level DSLR like the Canon Rebel XSi ($150-200), pair it with an affordable wide-angle lens like the Rokinon 14mm f/2.8, and grab a basic tripod. Free software like GIMP and StarStaX will handle your editing needs. Add essential accessories like a remote shutter and red headlamp for better results. The stars await as you explore the deeper techniques of astrophotography.
Essential Budget Gear for Capturing the Night Sky
Five core pieces of equipment form the foundation of budget astrophotography: a capable camera, a suitable lens, a stable tripod, helpful accessories, and basic software.
You'll find several camera options under $500, from modern smartphones with night modes to entry-level mirrorless cameras and older DSLRs.
Pair your camera with an affordable wide-angle lens like the Rokinon 14mm f/2.8 or a basic kit lens. While more advanced setups can cost thousands, starting with used equipment can help keep costs manageable while still producing great results.
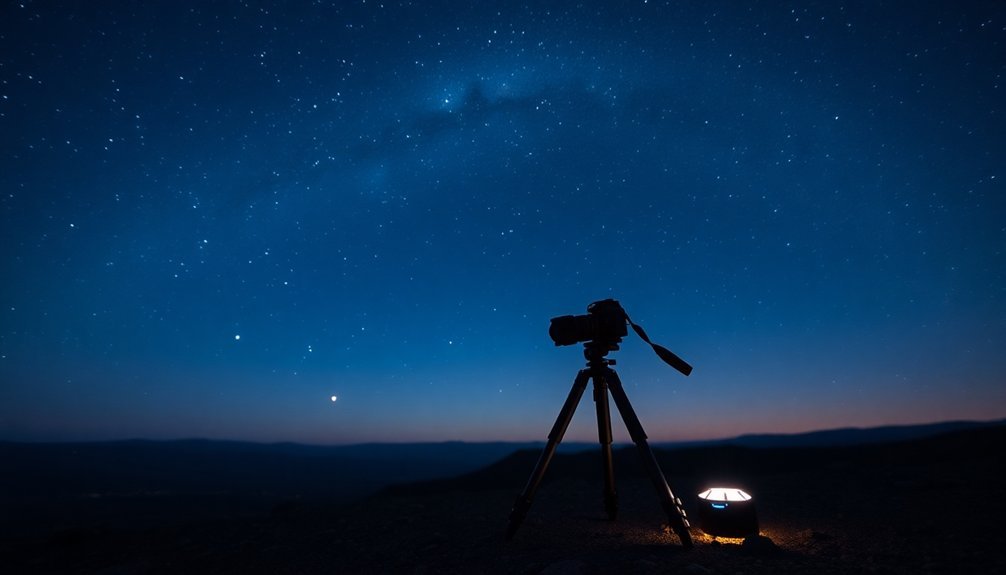
Don't skimp on your tripod – even a $50 model will keep your camera steady during long exposures.
Essential accessories include a remote shutter release to prevent camera shake and a red headlamp to preserve your night vision.
Complete your kit with free software like GIMP for editing and StarStaX for image stacking, plus astronomy apps to help locate your celestial targets.
Top DSLR Cameras for Star Photography
When you're starting out in star photography, used DSLRs like the Canon Rebel XSi or EOS T7 offer impressive value at around $150-200 for the body.
Entry-level DSLRs pack essential features for astrophotography, including manual controls, live view focusing, and compatibility with various lenses. The ability to use interchangeable lenses makes these cameras versatile enough to capture everything from wide Milky Way shots to detailed nebulae.
You'll find that even older DSLR models can capture stunning night sky images when paired with the right lens, though newer sensors typically handle high ISO settings better for cleaner shots in low light.
Used Cameras Worth Considering
Several excellent DSLR cameras for astrophotography can be found on the used market for under $500. You'll find great value in options like the Canon Rebel XSi, starting around $150, which offers solid performance for beginners despite its older technology. The Nikon D5300, at about $500, provides more modern features and an APS-C sensor that's ideal for deep-sky photography. For optimal results, consider pairing these cameras with a Canon EFS F1.8 50mm lens, known for exceptional sharpness in low light conditions. For those seeking maximum value, consider the Nikon D5100 at around $250, which strikes an excellent balance between features and affordability. With most used cameras, you'll need to factor in additional costs for lenses and accessories.
| Camera Model | Key Features | Price Range |
|---|---|---|
| Canon Rebel XSi | Modifiable, Basic Features | $150-200 |
| Nikon D5300 | Live View, APS-C Sensor | $450-500 |
| Sony A6000 | Mirrorless, Versatile | $400-500 |
Entry-Level DSLR Features
Because star photography demands specific technical capabilities, choosing the right entry-level DSLR can make or break your astrophotography journey.
You'll need a camera that offers full manual control, high ISO capabilities, and compatibility with specialized accessories like star trackers. Avoid purchasing the heavily marketed all-purpose bundles which often include low-quality accessories that won't serve your astrophotography needs.
For under $500, you'll find several capable options that deliver impressive results:
- The Canon T7i excels with its 45-point autofocus system and versatile performance in both photo and video.
- Nikon's D5600 offers exceptional battery life and 39-point autofocus, perfect for tracking celestial events.
- The weather-sealed Pentax K-70 stands out for durability during those long nights under the stars.
These cameras feature APS-C sensors, which provide an excellent balance between light sensitivity and cost-effectiveness for deep-sky imaging, while supporting the extended exposure times needed for stellar photography.
Low-Light Performance Comparisons
The low-light performance of entry-level DSLRs can vary dramatically, even among cameras in the same price range. When you're shooting stars, you'll want a camera that handles high ISOs well and captures clean images in dark conditions. Considering future upgrades is essential since many photographers find that lens compatibility options become crucial as their skills develop.
| Camera Model | Low-Light Advantage |
|---|---|
| Nikon D5300 | Superior 24.2MP sensor, excellent noise control |
| Nikon D3500 | Great ISO performance, budget-friendly choice |
| Canon T7 | Reliable APS-C sensor, good starter option |
| Canon SL3 | Advanced AF system, versatile touchscreen |
| Panasonic HC-W570* | Limited capability, not recommended |
The Nikon D5300 stands out as your best bet for star photography under $500, especially when purchased used. Its sensor delivers cleaner images at higher ISOs compared to other entry-level models. While the Canon options provide decent performance, they're slightly behind Nikon's low-light capabilities in this price range.
*Included for comparison only
Must-Have Accessories for Stellar Images
Successful star photography requires five essential accessories that can transform your nighttime shoots from frustrating to fantastic.
You'll need a sturdy tripod to eliminate camera shake, a remote shutter release to prevent blur, and light pollution filters to combat city glow.
Don't forget dew heaters to keep your lenses clear throughout the night. Adding vibration pads under your tripod legs will provide extra stability during long exposures.
When you're ready to shoot, you'll want these three game-changers:
- A red-light headlamp that preserves your night vision while you adjust settings
- A photographer's multi-tool for quick equipment fixes in the dark
- Hand warmers to keep you comfortable during long exposure sessions
For the best value under $500, prioritize a quality tripod and remote release first, then add other accessories as your budget allows.
Camera Settings and Techniques for Success

Your success in star photography relies on mastering the exposure triangle of aperture, ISO, and shutter speed, with settings like f/2.8, ISO 1000-4000, and exposures of 10-40 seconds forming your foundation.
You'll need to shoot in manual mode to precisely control these settings while balancing the need for enough light with minimizing digital noise and star trails. For optimal results, Live View focusing on bright stars will help achieve sharp, well-defined points of light.
Start by setting your aperture wide open, then adjust your ISO and shutter speed to capture crisp stars while maintaining image quality.
Exposure Triangle Fundamentals
When capturing stunning star photos, mastering the exposure triangle becomes your foundation for success. You'll need to understand how ISO, aperture, and shutter speed work together to control light entering your camera.
Since you're shooting in darkness, you'll typically need higher ISO settings, though this increases image noise. Technical knowledge complements your artistic vision when shooting in challenging nighttime conditions.
- Picture your ISO like a light sensitivity dial – you'll want to start around 1600-3200 for most star shots.
- Think of your aperture as your light gathering eye – use the widest setting (lowest f-number) your lens allows.
- Visualize your shutter speed as a time window – longer exposures (15-30 seconds) let you collect more starlight.
The key is finding the sweet spot between these three elements. As you adjust one setting, you'll need to compensate with the others to maintain proper exposure.
Long Exposure Night Techniques
Building on your exposure triangle knowledge, long exposure night photography opens up a whole new world of creative possibilities.
You'll need to master specific camera settings: set your shutter speed between 20-60 seconds, use the widest aperture available (like f/2.8), and keep ISO low (100-200) to minimize noise.
Switch to manual focus and use your headlamp to illuminate subjects for clearer focusing. Proper lens stabilization off settings help prevent blur during long exposures. For star trails, you can either take one ultra-long exposure or stack multiple 20-30 second shots.
When shooting the Milky Way, follow the NPF rule to determine your maximum shutter speed based on focal length. Don't forget to include foreground elements in your composition for added depth.
Always shoot in RAW format – you'll appreciate the flexibility during post-processing, especially for noise reduction.
Dark Sky Locations and Planning Your Shoot
Successful star photography begins with finding the perfect dark sky location and developing a solid shooting plan.
Star photography requires meticulous planning and the perfect location – these foundational elements can make or break your night sky shots.
You'll want to use tools like Light Pollution Map or Dark Site Finder to locate areas away from city lights, and check the Bortle scale ratings to verify ideal darkness. National parks and IDA-designated sites often provide the best viewing conditions. The months of May through September offer exceptional clarity for capturing the night sky in many locations.
Before heading out, consider these essential preparation steps:
- Scout your location during daylight hours to identify compelling foreground elements and safe shooting spots.
- Download stargazing apps like Stellarium to predict star positions and timing.
- Pack red flashlights, warm clothing, and backup batteries for your equipment.
Remember to check weather forecasts and moon phases – you'll want clear skies and minimal moonlight for the best results.
Always inform someone about your shooting location for safety.
Post-Processing Tips for Night Sky Photos

After capturing your night sky images in the perfect dark location, the magic truly happens in post-processing.
You'll want to start with basic adjustments in Adobe Lightroom or Photoshop, focusing first on noise reduction to clean up those high ISO shots. Experiment with white balance settings to achieve the perfect sky color and mood. Then, boost your exposure to reveal hidden details in both the sky and foreground.
Fine-tune your image by adjusting the whites and blacks sliders to make stars pop against the dark sky.
Don't forget to enhance clarity and saturation, but be careful not to overdo it.
For deeper space photography, try stacking multiple images using DeepSkyStacker or StarStaX to reduce noise and bring out faint details.
If you're creating panoramas, Microsoft Image Composite Editor will help you stitch multiple shots together for a wider view of the night sky.
Frequently Asked Questions
How Long Does It Typically Take to Learn Basic Astrophotography Skills?
You'll grasp basic astrophotography skills within 2-3 weeks through regular practice. However, you'll need several months to refine your techniques, understand camera settings, and master the art of night sky photography.
Can I Capture Aurora Borealis With Budget Astrophotography Equipment?
Yes, you can capture the aurora borealis with budget equipment. You'll need a camera with manual controls, a wide-angle lens (f/2.8 or wider), and a sturdy tripod. Keep shutter speeds between 1-15 seconds.
Will Humidity or Cold Temperatures Damage My Budget Camera Equipment?
You'll need to protect your camera from both conditions. Use silica gel packs and dry storage for humidity control, and keep spare batteries warm in cold weather. Basic protective covers will safeguard your equipment.
What Insurance Options Should I Consider for My Astrophotography Gear?
First, check if your home insurance covers your gear. If not, consider a floater policy or camera equipment insurance. You'll want coverage for theft, damage, and travel, with rates around $2 per $100 value.
Are There Astronomy Clubs That Loan Equipment to Beginner Astrophotographers?
Yes, you'll find many astronomy clubs offer equipment loan programs. You can borrow telescopes, mounts, and accessories as a member. It's a great way to test gear before making purchases.
In Summary
Getting started in astrophotography doesn't require breaking the bank. With a budget-friendly DSLR, sturdy tripod, and wide-angle lens, you're ready to capture stunning night sky images. Remember to scout dark locations, master your manual settings, and practice post-processing techniques. Start with basic star trails and the Milky Way before advancing to more complex shots. The night sky awaits your creativity – get out there and start shooting!


Leave a Reply