
Five DIY remote triggers can enhance your night sky photography: a smartphone-controlled intervalometer, Arduino-based programmable trigger, sound-activated shutter release, infrared camera trigger with custom range settings, and a light-sensitive trigger for automatic star trail photography. These homemade solutions eliminate camera shake, offer customizable timing intervals, and work in remote locations where traditional equipment might fail. Each option uses readily available components and costs considerably less than commercial alternatives.
Simple Smartphone App-Controlled Intervalometer
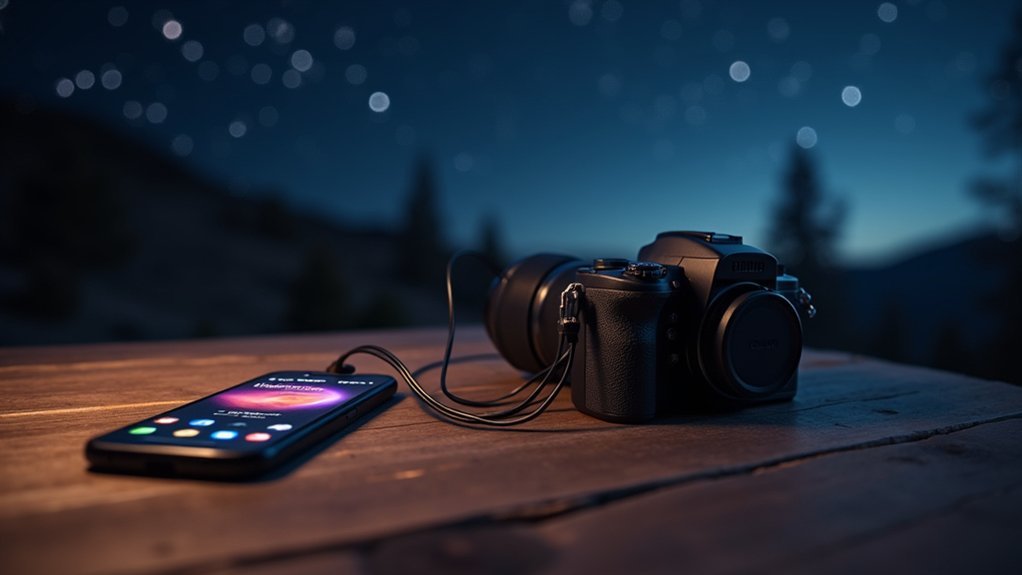
While traditional intervalometers can be expensive and limited in functionality, you can build your own smartphone-controlled version using an Arduino board for a fraction of the cost.
This DIY solution connects to your smartphone app via Bluetooth or Wi-Fi, enabling seamless remote control of your camera during night photography sessions.
You’ll enjoy the ability to program precise shooting intervals and durations without touching your camera, eliminating camera shake that often ruins long exposures.
The customizable settings let you adjust delay times, exposure lengths, and the total number of shots—perfect for capturing star trails or experimenting with light painting techniques.
This setup truly enhances your night photography experience by allowing you to execute multiple exposures automatically while you sit back and enjoy the stars.
DIY Arduino-Based Remote Trigger With Programmable Intervals
Building on the smartphone-controlled approach, an Arduino-based remote trigger offers even greater customization for night sky photography enthusiasts. You can program this DIY solution to control your camera shutter at precise intervals, perfect for capturing star trails without touching your equipment.
The setup uses a relay module that simulates pressing your camera’s shutter button, enabling those essential long exposure shots. You’ll appreciate how easily you can adjust programmable intervals through a simple interface, tailoring your shooting sequence to your creative vision.
Power your Arduino trigger with either a battery pack or USB connection, making it ideal for remote locations. Numerous online communities provide wiring diagrams and code snippets to help you build this portable solution—even if you’re new to electronics projects.
Sound-Activated Remote Shutter Release Using Household Components
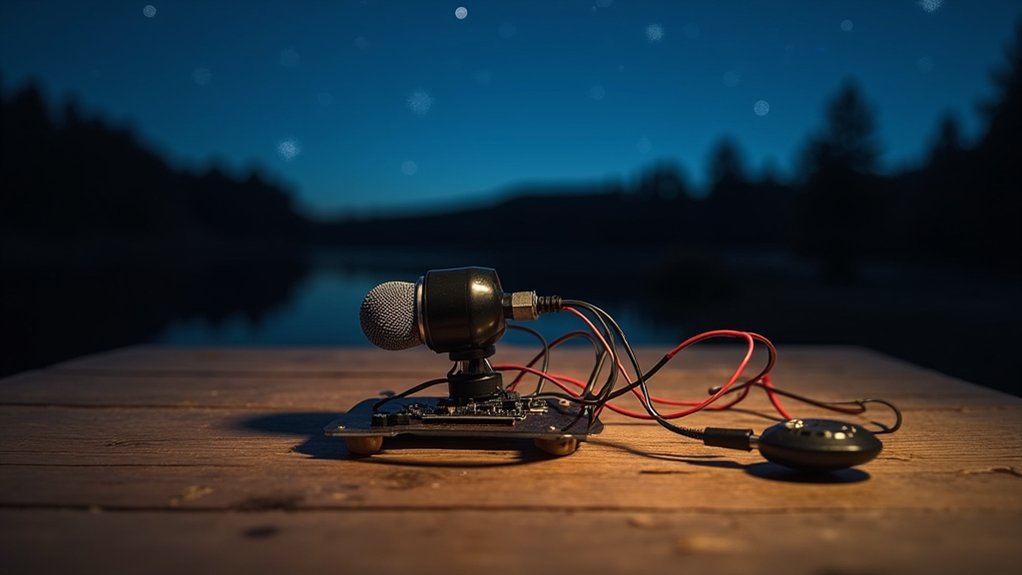
For photographers seeking a truly hands-off approach, a sound-activated remote shutter release offers an ingenious solution using items you likely already have at home. This homemade device uses a microphone to detect sounds—like a sharp clap—triggering your camera’s shutter without physical contact.
| Component | Function | Approximate Cost |
|---|---|---|
| Microphone | Sound detection | $5-10 |
| Transistor | Signal amplification | $1-2 |
| Relay switch | Camera triggering | $3-5 |
| 9V Battery | Power source | $2-3 |
The circuit’s sensitivity adjustment lets you calibrate how loud sounds must be to activate the shutter, making it versatile for different environments. This setup is particularly valuable for night sky photography, eliminating camera shake during long exposures and producing sharper images of celestial objects without expensive equipment.
Budget Infrared Camera Trigger With Custom Range Settings
Creating a budget infrared camera trigger gives you the perfect balance between functionality and affordability for night sky photography. You’ll need just three main components: an infrared LED, a phototransistor, and a resistor, costing under $20 total.
The beauty of this DIY trigger is its versatility. By adjusting the distance between the LED and phototransistor, you’ll achieve custom range settings for various shooting scenarios.
Power your setup with a standard 9V battery for reliable performance during long exposures.
For advanced applications, incorporate a programmable timer circuit to automate shooting intervals for stunning time-lapse photography. This remote activation system eliminates camera shake completely, resulting in sharper images of the night sky without physically touching your equipment—an affordable option that delivers professional results.
Light-Sensitive Night Sky Trigger for Automatic Star Trail Photography

While commercial intervalometers can drain your budget, a light-sensitive night sky trigger offers an affordable alternative that automatically captures stunning star trails without your constant presence.
This economical solution utilizes a light-dependent resistor (LDR) that detects changes in ambient light levels, activating your camera shutter precisely when conditions are ideal.
You’ll appreciate how this DIY trigger minimizes light pollution’s impact by operating only during low-light periods.
By incorporating programmable intervals for shutter release, you can capture multiple exposures throughout the night, creating impressive celestial arcs across your frame.
Amateur astrophotographers find this setup particularly valuable, as it costs considerably less than commercial options while offering customizable sensitivity.
With basic electronic components and some patience, you’ll have an automated system that transforms your night photography without breaking the bank.
Frequently Asked Questions
How Do You Photograph the Night Sky With a Digital Camera?
To photograph the night sky, use a tripod, set your camera to manual mode with wide aperture, increase ISO, and use a remote trigger. Focus manually and shoot in RAW for better post-processing flexibility.
How to Use a Remote Trigger in Photography?
You’ll connect your remote trigger to your camera’s port, set your desired exposure settings, and press the trigger button to take photos without touching the camera, reducing vibration for sharper images.
How to Take Long Exposure Photos of the Night Sky?
You’ll need a tripod, wide aperture (f/2.8 or lower), high ISO (800-3200), and exposure times of 15-30 seconds. Use the 500 rule to avoid star trails and find a location with minimal light pollution.
What Is the Basic Gear for Astrophotography?
You’ll need a DSLR or astro camera, sturdy mount like the HEQ5 Pro, guidescope with guide camera, laptop for camera control, and an intervalometer for shake-free long exposures of celestial objects.
In Summary
You’ve now got five DIY options to capture stunning night skies without expensive equipment. Whether you’re controlling your camera with your smartphone, building an Arduino timer, or crafting sound and light-triggered setups, these homemade remote triggers will elevate your astrophotography game. Don’t let limited gear hold you back—with basic components and a little creativity, you’ll be capturing breathtaking celestial images in no time.


Leave a Reply