
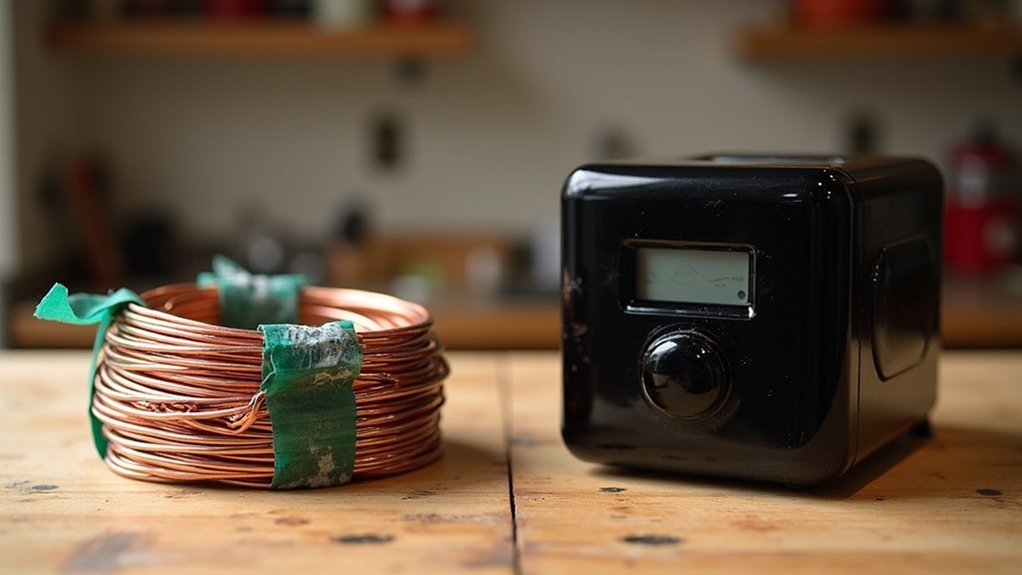
You can build effective dew heaters for your telescope using nichrome wire or resistors, electrical tape, and a power cable for under $25. Simply connect resistors in series or wrap nichrome wire around your optical components, securing with tape and connecting to a 12V power source. Add a simple PWM controller for temperature regulation. Compared to commercial options costing $100+, your DIY solution offers equivalent performance with significant savings. The following guide reveals everything you need to get started.
Understanding Dew Formation on Telescope Optics
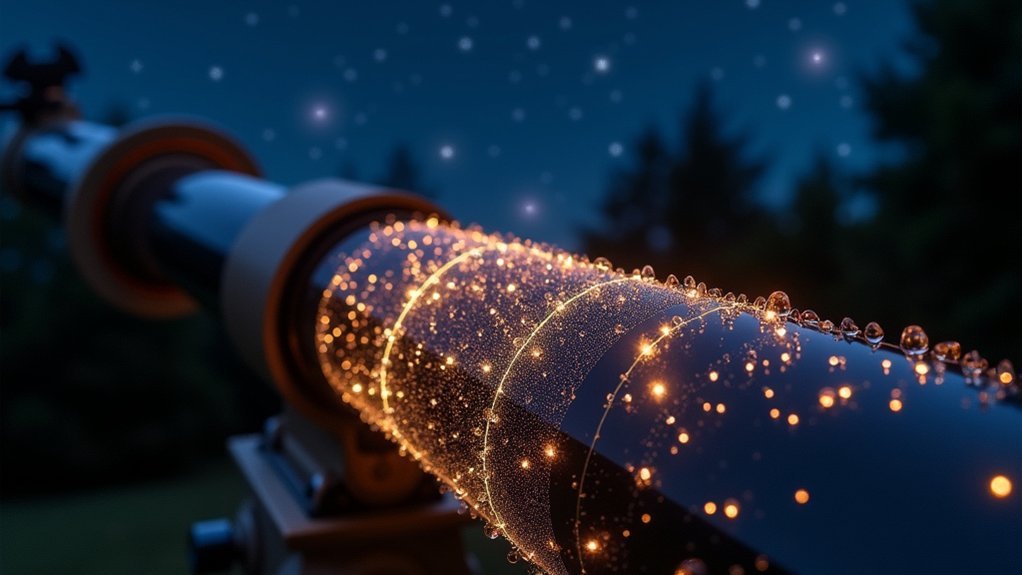
When you’re enjoying a night of stargazing, few things are more frustrating than finding your telescope lens covered in moisture. This common problem occurs when your telescope optics cool below both the ambient temperature and dew point, causing water vapor to condense on the surfaces.
Dew formation ruins celestial views when optics cool below ambient temperature, transforming vapor into unwanted moisture.
Upward-facing optical components are especially vulnerable since they radiate heat into the night sky without receiving warmth in return. On humid nights, dew can accumulate rapidly on unprotected equipment, compromising your observations and potentially damaging sensitive optics.
That’s why dew heaters are essential tools in an astronomer’s kit. By maintaining your optics just above the dew point, these devices prevent condensation from forming.
Understanding this process helps you appreciate why proper dew prevention is vital for successful astronomical viewing sessions.
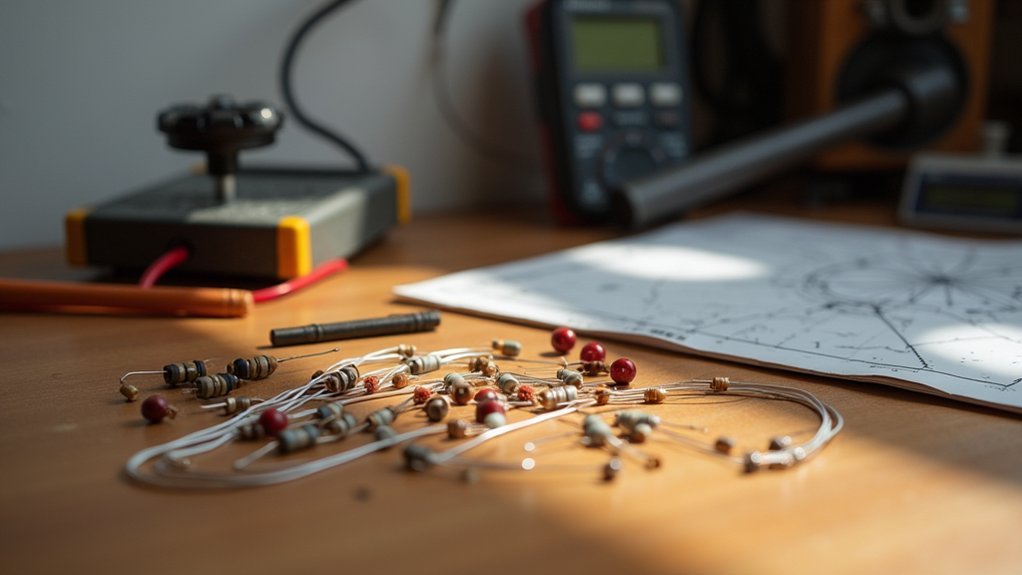
Materials Needed for a Basic DIY Dew Heater
You’ll need several affordable components to build an effective DIY dew heater, including nichrome wire or six 25-ohm resistors, electrical tape, and a 15-foot polarized cable with cigarette plug.
Cost-conscious astronomers can substitute standard resistors for specialized heating elements while maintaining the 1-watt heat output necessary for keeping optics clear.
Insulation materials like shrink tubing and Velcro straps complete your parts list, allowing you to create a custom-fitted solution for a fraction of commercial dew heater prices.
Essential Components List
Before starting on your dew heater project, gathering the right materials will secure success and safety.
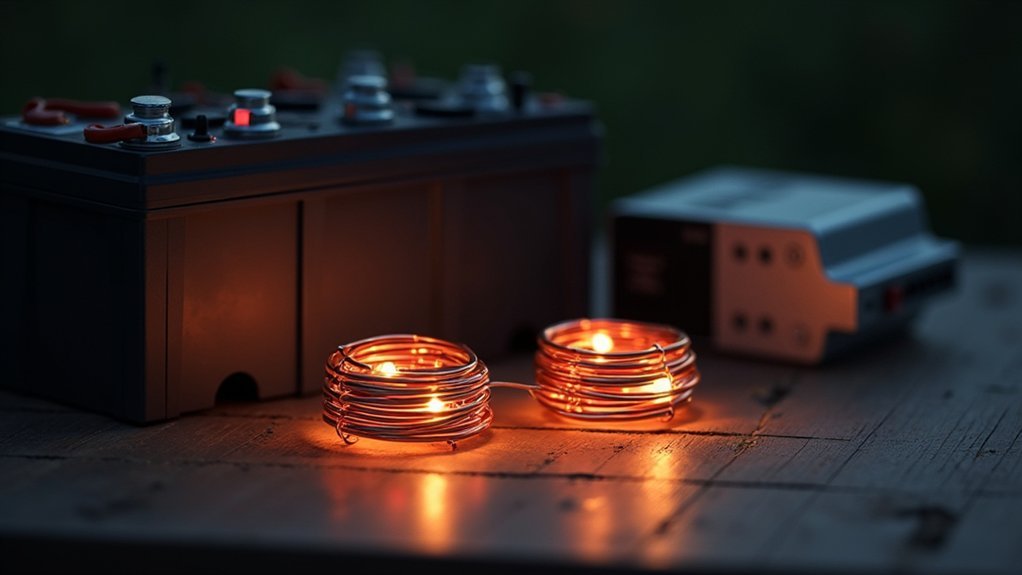
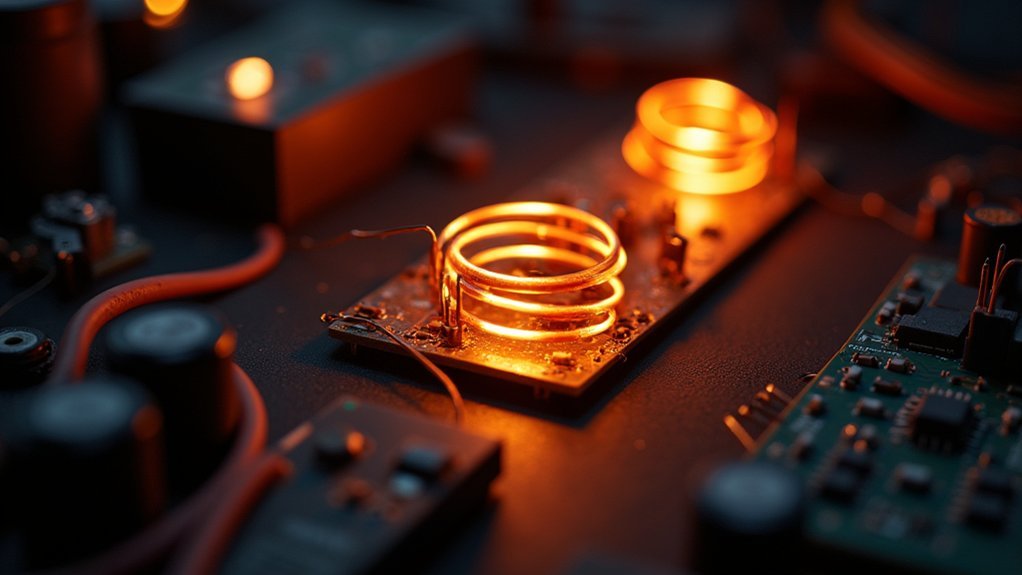
You’ll need nichrome wire as your primary heating element—this special wire provides the necessary resistance to generate heat when connected to a 12V power source.
For proper heat regulation, collect eight 6-ohm resistors to create a 48-ohm series circuit, perfect for a 3-watt heater.
Don’t forget insulation materials: heat-shrink tubing and duct tape will prevent shorts while maximizing heat retention.
A 15-foot polarized cable with a cigarette plug guarantees convenient connection to your power supply.
For safety, include a 1A inline fuse to protect against electrical overloads.
With these components assembled, you’ll be ready to build a reliable dew heater that keeps your optics clear throughout your observing sessions.
Cost-Saving Alternatives
Many amateur astronomers can slash their dew prevention costs by exploring budget-friendly alternatives to commercial heaters. You’ll find that DIY dew solutions can be created for around $25, compared to commercial options costing $100-$150.
For a basic setup, source nichrome wire or resistors for under $10 at electronics stores or online retailers. A common DIY dew configuration uses six 25-ohm resistors connected in series, producing approximately 1 watt of heat when powered by a 12-volt supply.
Heating ropes provide another affordable option at around $10, offering flexibility for wrapping around telescope components.
When caught in a pinch during observing sessions, a 12-volt hair dryer serves as an immediate dewing prevention solution that won’t break your budget.
Step-by-Step Assembly Guide for Resistor-Based Heaters
You’ll need to calculate the proper resistance for your dew heater using the formula Ohms = Volts²/Watts, typically resulting in 48 ohms total for a 12-volt, 3-watt system.
Select multiple resistors rated for at least 1 watt each, such as eight 6-ohm or ten 3.3-ohm resistors in series, to safely distribute the heat generation.
Mount your resistors securely by soldering them in sequence, then protect the connections with heat shrink tubing to prevent shorts and guarantee even heating across your telescope’s optical surfaces.
Resistor Selection Basics
Selecting the right resistors serves as the foundation for building an effective dew heater system. When working through the resistor selection basics, you’ll need to apply Ohm’s Law to calculate the proper resistance value for your desired heat output.
- Calculate required resistance using the formula: Resistance = Voltage² / Power. For a 12V system generating 3 watts, you’ll need 48 ohms total resistance.
- Determine resistor arrangement—for example, eight 6-ohm resistors in series achieves the 48-ohm target.
- Choose resistors rated for at least twice your expected power load to prevent burnout. For 3-watt systems, select 1-watt or higher rated resistors.
- Test your assembled heater by measuring current and temperature to verify it meets your specifications before final installation.
Secure Mounting Techniques
Once you’ve determined the right resistors for your dew heater system, proper mounting becomes the next challenge.
The goal is to create even heat distribution while ensuring components stay firmly attached to your telescope during observation sessions.
Velcro strips offer the most versatile mounting solution as they allow easy removal when not needed. Simply adhere one side to your telescope tube and the other to your resistor assembly.
For a more budget-friendly approach, a wool band can effectively hold your heater in place while providing additional insulation.
Avoid using duct tape directly on optical surfaces as adhesive residue can damage coatings.
Instead, create a removable sleeve from neoprene or soft fabric that securely houses your heating elements and slips over the telescope tube or lens housing.
Nichrome Wire Alternatives for Custom Applications
While nichrome wire remains the standard for many dew heater projects, several alternatives can provide similar heating capabilities with unique advantages.
When exploring nichrome wire alternatives, consider these options for your custom dew heater needs:
- Heating ropes – Available for under $10, these pre-made elements consist of nichrome wire inside a protective nylon sheath, offering convenient plug-and-play functionality.
- Kandal wire with heat-shrink tubing – A budget-friendly option that delivers reliable heating when properly insulated, perfect for DIY enthusiasts.
- Resistors – Various resistance values allow precise heat output control for specific telescope components, from eyepieces to secondary mirrors.
- Calculated wire lengths – Using Ohm’s law to determine suitable wire dimensions guarantees safe operation without overheating while maximizing efficiency for your particular power source.
Power Supply Options: Batteries vs. External Sources
Amateur astronomers face a critical decision when powering dew heaters: whether to rely on portable battery systems or connect to external power sources. Your choice depends on observation location and duration.
| Feature | Batteries | External Sources |
|---|---|---|
| Duration | 1-2 nights (7 amp) | Unlimited |
| Portability | High | Limited by cord length |
| Setup | Simple | Requires transformer/outlet |
| Power Control | PWM controller option | Step-down transformer needed |
| Current Draw | ~0.25A per 3W heater | Varies by transformer output |
If you’re using a 12V system, calculate your current requirements carefully. A 3-watt heater draws approximately 0.25 amps, making battery management straightforward. For extended sessions, external sources provide continuous power but require safety precautions to prevent electrical hazards. PWM controllers offer adjustable heating with either power option, giving you flexibility without complexity.
Installing Your Homemade Heater on Different Telescope Types
The successful installation of your homemade dew heater varies greatly depending on your telescope design. Proper placement guarantees effective dew prevention while maintaining optical performance.
Precise heater placement is crucial for effective dew control while preserving your telescope’s optical integrity.
When installing your system:
- For Newtonian telescopes, wrap heating wire around the diagonal mirror to distribute heat efficiently without blocking light paths.
- On Schmidt-Cassegrain models, attach the heater directly to the corrector plate using insulating tape for maximum dew prevention.
- Position finderscope heating elements close to the glass surface to maximize heat transfer and keep your viewfinder clear.
- Secure all wiring with electrical or burglar alarm tape to prevent movement, and always insulate wires passing through the telescope’s structure to avoid shorts.
Remember that each telescope type requires specific installation approaches to combat dew effectively while preserving image quality.
Temperature Control Methods and PWM Circuits
Once your dew heater is correctly installed, controlling its temperature becomes the next challenge.
Pulse Width Modulation (PWM) circuits offer an efficient solution for precise temperature control methods in your homemade dew heater system.
You can utilize a 556 dual timer chip-based PWM controller that provides multiple output channels, allowing you to manage different heating elements simultaneously. Each channel pair typically handles up to 3A, though it’s safer to operate within 1-2A to prevent overheating.
For a budget-friendly approach, consider purchasing inexpensive PWM dimmers available online for around $5. These provide an accessible entry point for DIY projects.
Remember that PWM circuits lack feedback mechanisms, so monitor your setup carefully to protect your valuable optics from potential overheating damage.
Testing and Troubleshooting Your DIY Dew Prevention System
After completing your dew heater assembly, thorough testing becomes critical to confirm reliable performance during astronomical observations. Proper evaluation guarantees your optics remain clear during those perfect viewing nights.
- Measure the heating element’s output temperature using a thermometer, aiming for 40-50°C skin temperature—warm enough to prevent dew without damaging sensitive equipment.
- Check current draw with an ammeter, confirming it falls between 0.25-0.5 amps for a typical 3-4 watt setup to avoid draining your power source too quickly.
- Test in high-humidity conditions to evaluate real-world performance, adjusting resistor values if necessary based on your telescope’s size.
- Inspect all connections and wire insulation regularly for potential shorts, especially after exposure to moisture.
If performance disappoints, consider adding a PWM controller for more precise temperature regulation.
Cost Comparison: DIY Solutions vs. Commercial Products
While testing confirms your DIY system functions properly, many amateur astronomers want to know if building their own dew heaters truly offers value compared to commercial alternatives. The financial benefits are compelling:
| Item | Commercial | DIY |
|---|---|---|
| Basic Dew Heater | $100-150 | $10-25 |
| Full Control System | $250-300 | $25-40 |
| Corrector Plate Heater | $75-125 | $5-15 |
Your home-made dew prevention system not only saves money but offers customization options commercial products can’t match. Using basic components like resistors, electrical tape, and a simple power source, you’ll solve the same moisture problems that plague expensive equipment. Many amateur astronomers report their simple DIY solutions provide equivalent or better control: dew simply doesn’t form, even during long observation sessions.
Frequently Asked Questions
Do I Need a Dew Heater for My Telescope?
You’ll need a dew heater if you observe in humid conditions where condensation forms on your optics. It’s essential for maintaining clear views when your telescope’s surfaces cool below the dew point.
How Much Power Does a Dew Heater Use?
You’ll find dew heaters typically use between 1-4 watts on a 12-volt system. For example, a 3-watt heater draws about 0.25 amps, allowing you to run it for hours on a standard battery.
Under What Conditions Would Dew Form on a Telescope?
You’ll find dew forming on your telescope when it’s a humid night, your optics cool below the dew point, and you’re observing on clear nights without protection. Upward-facing surfaces are especially vulnerable.
How Does a Dew Heater Work?
A dew heater works by warming your telescope’s optical surfaces just above the dew point. You’ll connect it to a 12V power supply, and it’ll generate gentle heat that prevents moisture from condensing on your lens.
In Summary
You’ve now got the knowledge to build effective dew heaters at a fraction of retail cost. Don’t let moisture ruin your observing sessions when you can create custom solutions tailored to your equipment. With proper testing and temperature control, your DIY dew heaters will perform just as well as commercial options. Enjoy more uninterrupted stargazing and sharper views with your homemade dew prevention system.
Leave a Reply