Wind speed directly impacts your night photography success, especially for long exposures. At speeds above 5 mph, subtle blur begins affecting image quality, while anything over 10 mph makes sharp focus nearly impossible with telephoto lenses. You’ll need sturdy tripods, proper anchoring techniques, and strategic positioning behind natural windbreaks. Weather apps like YR and Windy.com can help you forecast ideal conditions under 5 mph. The difference between stunning star trails and blurry disappointment often comes down to these essential details.
The Critical Wind Speed Thresholds for Night Sky Photography
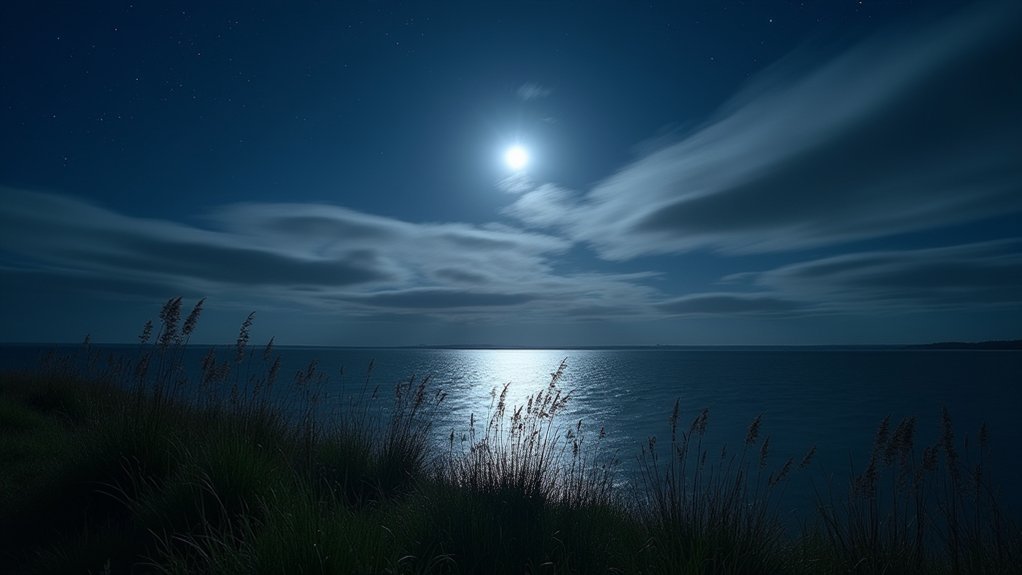
While many night photographers focus primarily on celestial conditions, wind speed often determines whether your shoot succeeds or fails. Understanding the precise wind thresholds can save you hours of frustration in the field.
When wind speeds remain below 5 mph, you’ll achieve ideal image quality with minimal camera shake. This sweet spot allows for crisp, detailed captures even during long exposures.
Once winds climb above 5 mph, your images begin showing subtle blur effects that compound over time. In windy conditions exceeding 10 mph, sharp focus becomes nearly impossible, especially with telephoto lenses.
Professional astronomers consistently aim for conditions between 0-5 mph to avoid guiding errors. If you’re facing stronger winds, consider investing in windbreaks or heavier tripods to stabilize your setup and reduce noise in your final images.
How Wind Affects Long Exposure Image Quality
Even slight breezes can devastate long exposure shots, transforming what should be crisp star trails into blurry smudges across your frame. At just 5 mph, wind introduces vibrations that markedly degrade image quality, with 9-10 mph gusts rendering sharp captures nearly impossible—especially when using longer focal lengths like 600mm.
To protect your night photography from wind’s destructive effects:
- Use a sturdy tripod and avoid extending the center column
- Position yourself behind natural wind breaks like trees or rock formations
- Test your camera’s vibration reduction technology in current conditions
- Prioritize lower shutter speeds to maintain crispness
- Shield your setup with your vehicle or portable barriers when natural protection isn’t available
These techniques can mean the difference between frame-worthy astrophotography and frustrating blurry failures—even on moderately breezy nights.
Equipment Stability: Tripods and Mounts in Breezy Conditions
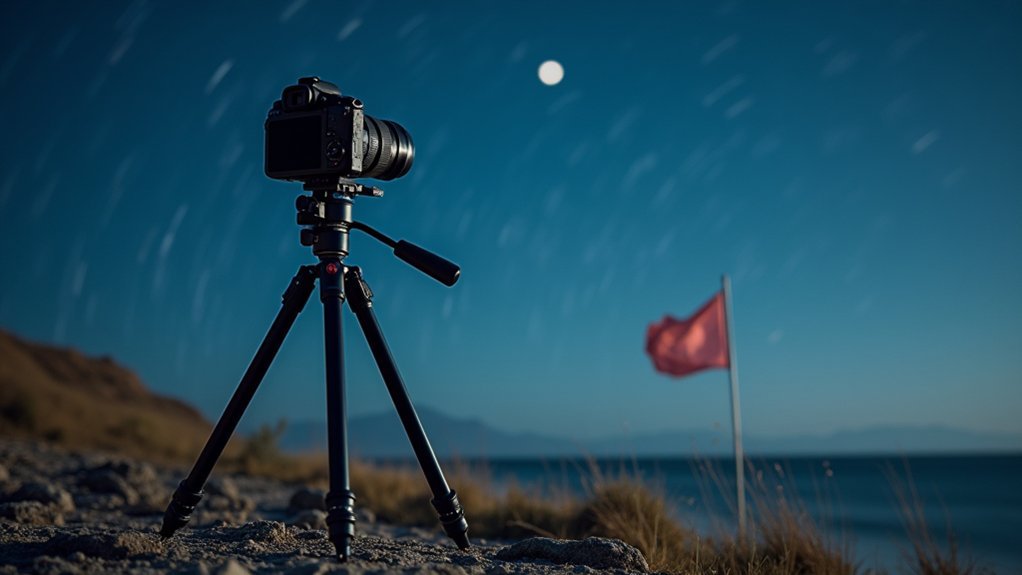
Successful night photography in windy conditions hinges on your equipment’s ability to remain rock-steady. When winds exceed 5 mph, even minor vibrations can ruin your long exposures.
Invest in a sturdy tripod rated for at least 20 lbs, especially if you’re using telephoto lenses. Avoid extending the center column, which acts like a sail in the wind. Instead, lower your tripod’s overall height to increase stability.
A solid tripod anchors your night shots—keep it low, weighted, and center column retracted when winds challenge your stability.
In soft or wet terrain, replace rubber feet with spikes to anchor your setup more securely against gusts. Position yourself strategically by utilizing natural windbreaks such as trees or hills when possible.
These simple barriers can dramatically reduce wind impact on your equipment. Remember, your final image quality directly correlates with how well you’ve stabilized your gear against the elements.
Reading Weather Forecasts for Optimal Shooting Nights
How can you predict when conditions will align for perfect night photography? Start by leveraging reliable weather apps like YR and AccuWeather that provide detailed wind speed forecasts.
Remember that the Rule of 500 suggests wind speeds above 10 mph will likely compromise your long exposures.
- Check radar and satellite imagery to visually track approaching weather systems
- Monitor hourly wind speed predictions, especially for your planned shooting time
- Learn local seasonal patterns that affect nighttime wind conditions
- Pay attention to wind direction, which can impact shooting locations near bodies of water
- Set personal thresholds based on your equipment’s stability in various wind speeds
Windbreak Strategies for Protecting Your Gear
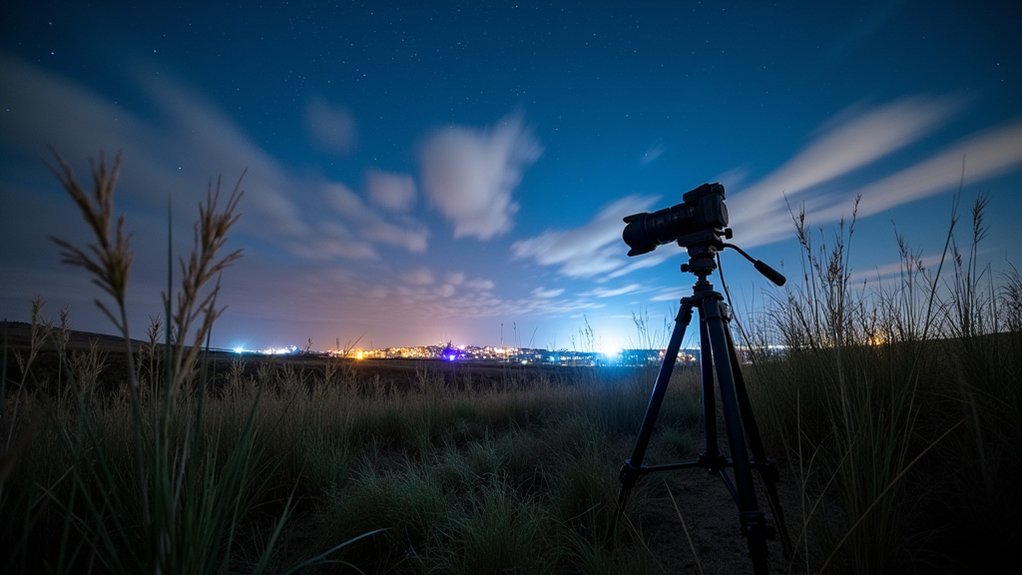
When shooting night photography in windy conditions, you’ll need effective windbreak strategies to shield your equipment from destabilizing gusts.
Strategic shelter selection involves positioning your gear near natural barriers like hills or using your vehicle as a windbreak, while tripod anchoring techniques such as elastic webbing straps or weights can greatly reduce camera movement.
For consistent protection, consider deploying collapsible barriers made from PVC pipes and tarp materials that you can quickly set up and take down at different shooting locations.
Strategic Shelter Selection
Although night photography demands stillness for sharp images, even gentle breezes can introduce subtle vibrations that compromise your shots. Selecting strategic shelter locations can dramatically reduce camera shake and improve your results.
- Seek natural windbreaks like hills, trees, and rock formations that buffer gusts while maintaining your desired composition.
- Position your setup behind vehicles or create portable barriers using PVC and tarp for instant protection.
- When shooting near water or sand, extend only the lowest tripod sections to maintain a low center of gravity.
- Orient your camera facing away from wind direction to minimize surface area exposed to gusts.
- Choose locations where wind speeds stay below 10 mph to prevent guiding errors and guarantee crisp details.
Smart shelter selection transforms frustrating conditions into productive shooting opportunities.
Tripod Anchoring Techniques
Three essential anchoring techniques can transform your night photography in windy conditions.
First, lower your tripod by collapsing the thinnest leg sections first, creating a more stable platform that’s less susceptible to wind-induced vibrations. You’ll get good results by completely avoiding the center column, which acts as a lever that amplifies even slight movements.
Second, position your setup strategically behind natural windbreaks like hills or trees that shield your equipment while maintaining your desired composition. For consistent tripod anchoring techniques, opt for heavy-duty models rated for at least 20 lbs.
Finally, consider crafting a DIY windscreen using fabric and posts when natural protection isn’t available. This portable solution creates a controlled environment around your gear, ensuring sharper images during long exposures.
Collapsible Barriers
Effectively shielding your camera from relentless wind requires more than just a sturdy tripod, which is why collapsible barriers have become essential tools in night photography.
These portable shields can transform your shooting experience in breezy conditions.
- Feel the relief of capturing vibration-free star trails when your portable PVC-and-tarp windbreak stands guard
- Experience the satisfaction of perfectly still long exposures as your vehicle blocks gusts from reaching your tripod
- Enjoy the creative freedom that comes with shooting in previously impossible wind conditions
- Witness the dramatic improvement in image sharpness when natural features combine with collapsible barriers
- Savor the peace of mind knowing your expensive gear remains protected from unpredictable gusts
Position your collapsible barriers thoughtfully to avoid casting unwanted shadows while maximizing wind protection.
Post-Processing Techniques to Salvage Wind-Affected Images
Several powerful post-processing techniques can rescue night photographs compromised by wind. You’ll need strategic adjustments to recover details and clarity without introducing artificial artifacts.
| Technique | Purpose | When to Use |
|---|---|---|
| Noise Reduction | Minimizes blur | Long exposures |
| Selective Sharpening | Enhances clarity | Areas with detail |
| Image Stacking | Reduces noise | Multiple shots available |
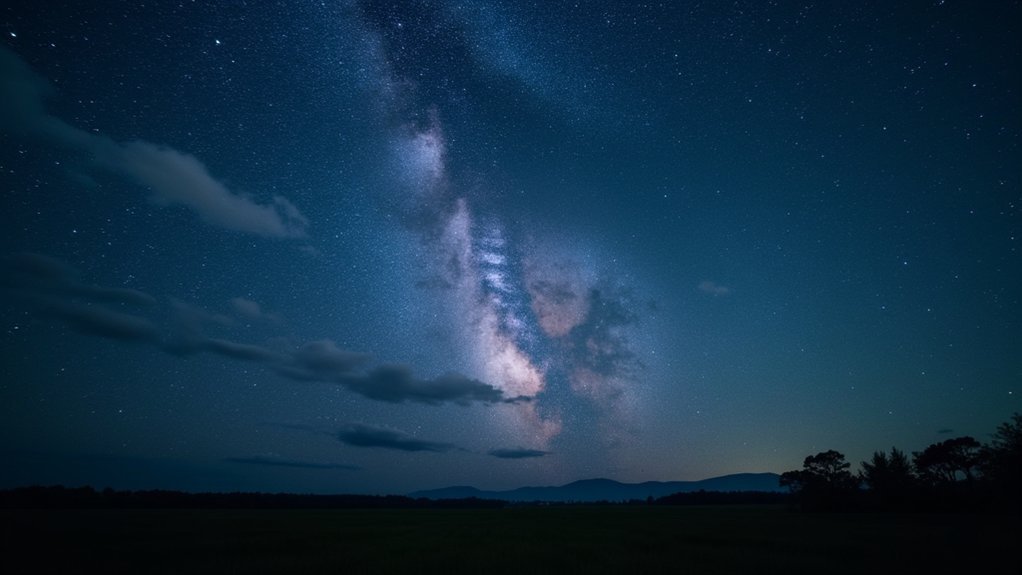
| Contrast Adjustment | Reveals details | Milky Way photography |
Apply lens correction filters to counteract optical distortions caused by vibrations. When sharpening, focus only on well-defined areas to avoid emphasizing noise in blurry sections. For best results, combine multiple techniques—start with stacking similar images, then apply targeted noise reduction, followed by careful sharpening. These approaches can transform marginally acceptable shots into striking night photography that effectively showcases celestial details.
Seasonal Wind Patterns and Planning Your Astrophotography Calendar
You’ll find knowing your region’s seasonal wind patterns essential for strategic astrophotography planning, with tools like Windy.com and Clear Outside offering reliable forecasts for nights below the critical 10 mph threshold.
Plan your Milky Way shoots during calmer seasons—typically fall and winter months when core visibility aligns with more stable atmospheric conditions.
Your camera setup needs will vary with conditions, so prepare different mounting solutions and counterweights depending on whether you’re shooting during gustier spring nights or the more forgiving calm of winter evenings.
Regional Wind Forecasting Tools
Three essential forecasting resources can transform your night photography planning process. The National Weather Service, local meteorological websites, and visualization tools like Windy and Ventusky offer detailed wind predictions vital for landscape photography under the stars.
- Feel the freedom of planning with confidence when you check hourly wind gust forecasts.
- Experience the satisfaction of capturing pristine star trails without frustrating blur.
- Enjoy the relief of knowing exactly when conditions will deteriorate or improve.
- Embrace the excitement of discovering calm weather windows others might miss.
- Savor the pride of making data-driven decisions based on historical wind patterns.
Seasonal Milky Way Planning
While tracking celestial events requires precision, understanding seasonal wind patterns is equally essential for successful Milky Way photography. The March to June window offers your best opportunity for capturing the galactic core, as wind conditions typically remain under the critical 5 mph threshold that can introduce vibration and blur.
| Month | Wind Conditions | Milky Way Visibility |
|---|---|---|
| March | Moderate, variable | Rising core, good |
| April | Calming, stable | Excellent, prominent |
| May | Mild, predictable | Peak visibility, ideal |
| June | Generally calm | Extended viewing hours |
| July | Increasing variability | Still visible, waning |
Plan your astrophotography calendar by leveraging weather apps and local meteorological data to predict wind patterns. You’ll maximize your chances for those breathtaking Milky Way shots by scheduling sessions during seasonal sweet spots when both visibility and wind conditions align perfectly.
Camera Setup Wind Thresholds
Now that we’ve outlined the Milky Way’s prime viewing seasons, let’s examine the specific wind thresholds that determine whether your camera setup can capture those stars without blur.
Your shutter speed choices become irrelevant when wind destabilizes your equipment.
- Winds exceeding 5 mph can transform pinpoint stars into frustrating streaks, destroying hours of careful planning.
- Longer focal lengths (especially 600mm+) become nearly impossible to stabilize when winds reach 10 mph.
- Spring’s notoriously gusty conditions will test your patience as equipment vibrates with each breeze.
- Finding sheltered shooting locations can save your night when forecasts show borderline conditions.
- Late fall and early winter often provide those perfect, still nights that astrophotographers dream about.
You’ll need to integrate wind forecasts into your astrophotography calendar, paying special attention to seasonal patterns in your region.
Frequently Asked Questions
Why Does Wind Speed Decrease at Night?
Wind speed decreases at night because you’ll notice Earth’s surface cooling, which stabilizes the atmosphere. You’re experiencing less thermal turbulence and convection without solar heating, and you’ll often encounter temperature inversions trapping cooler air below.
Does Wind Affect Pictures?
Yes, wind affects your pictures considerably. It causes camera shake, blurring your images, especially during night shoots or with long exposures. You’ll notice sharpness issues when wind speeds exceed 5 mph.
What Is the Best Weather for Outdoor Photography?
For outdoor photography, you’ll get the best results in clear skies during golden hour, with winds under 10 mph. Don’t overlook overcast days—they provide diffused light that’s perfect for balanced, shadow-free images.
In Summary
Wind is your night photography nemesis or ally, depending on how you prepare. You’ve learned the critical thresholds, stability techniques, and forecasting skills needed for sharp celestial images. Remember, it’s about working with nature, not against it. With proper windbreaks, sturdy equipment, and post-processing knowledge, you’re ready to capture stunning night skies regardless of what mother nature throws your way.


Leave a Reply