
The New Moon phase offers the darkest skies for capturing the Milky Way, with ideal conditions extending four days before and after. You’ll get the best results using long exposures (25 seconds at f/1.4, ISO 1600) during this period. First and Last Quarter phases provide a balance of moonlight and celestial visibility with shorter exposures. Plan your shoots using apps like Stellarium or PhotoPills to maximize your chances of stunning galactic photography. Discover how seasonal timing can further elevate your cosmic captures.
Understanding Moon Phases and Night Sky Visibility
When planning to photograph the Milky Way, the moon’s phase dramatically impacts what you’ll capture in your final image.
The moon acts as a natural light source that can either enhance or diminish your ability to photograph our galaxy.
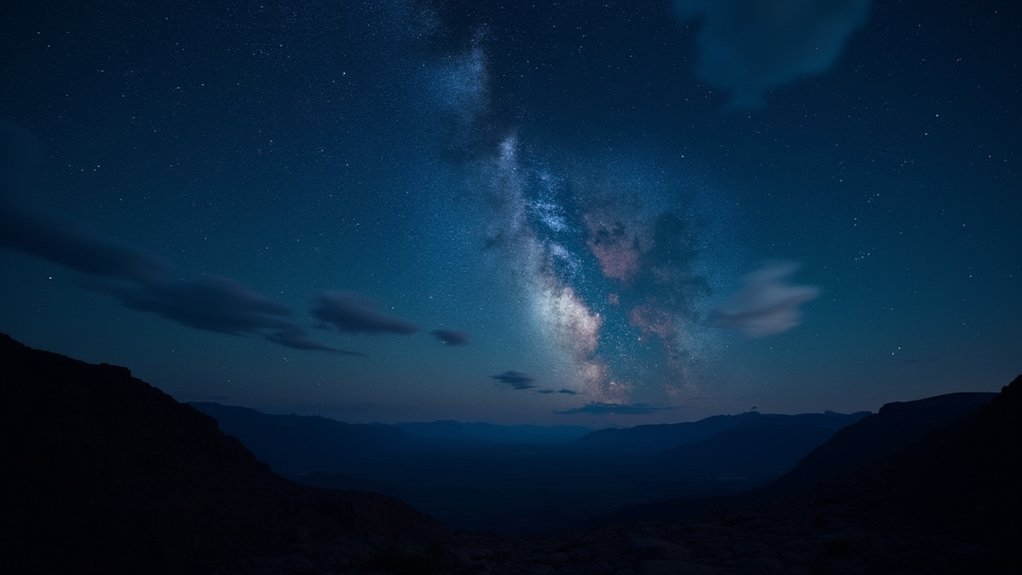
The New Moon provides the darkest skies, perfect for capturing the Milky Way’s faint details with long exposures.
New Moon nights gift photographers the ultimate canvas of darkness where the Milky Way’s subtle glow can truly shine.
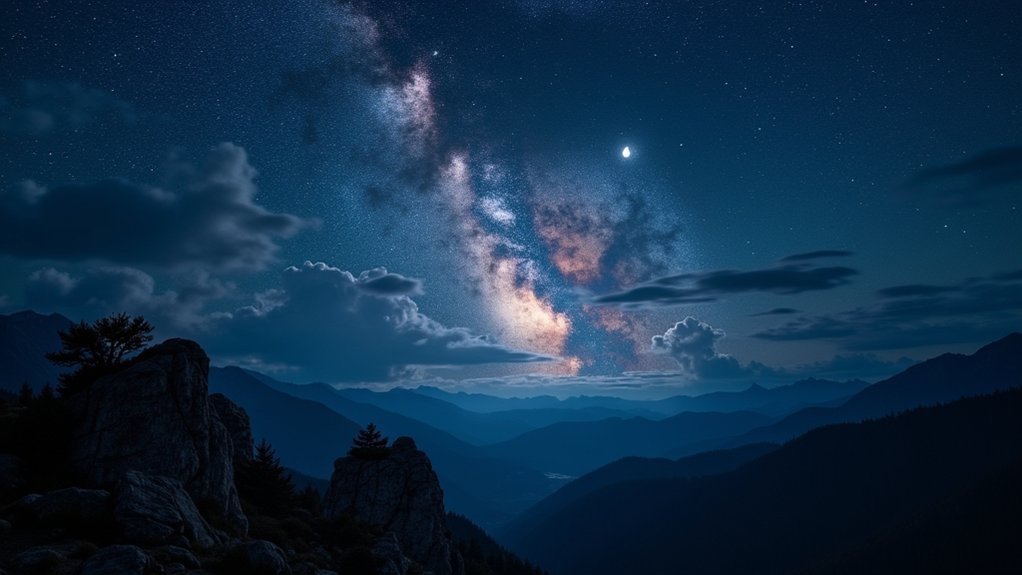
As the moon waxes to First Quarter, you’ll find a balance between some moonlight illuminating landscapes while still preserving visibility of the Milky Way—ideal for light painting techniques.
During Full Moon, the bright illumination overpowers most celestial objects but creates opportunities for moonlit landscapes.
Last Quarter moon offers similar advantages to First Quarter for night sky photography planning.
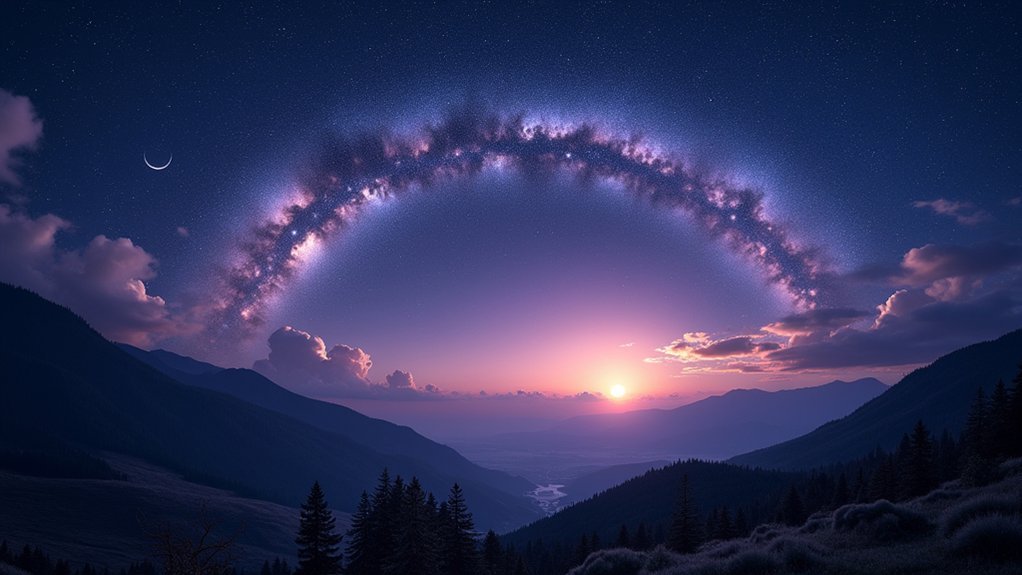
New Moon: The Prime Window for Milky Way Photography
You’ll find the new moon phase offers unparalleled dark skies, creating the perfect backdrop for capturing the Milky Way’s intricate structure and luminosity.
This darkness allows the galaxy’s details to shine through with remarkable clarity, revealing dust lanes and star clusters that might otherwise be washed out.
Set your camera to longer exposures without moonlight interference—try 25 seconds at f/1.4 and ISO 1600 for images that showcase the galaxy’s full brilliance.
Dark Sky Advantage
For serious astrophotographers, the New Moon phase represents the ultimate sweet spot for capturing the Milky Way in all its glory.
During this phase, you’ll encounter the darkest skies possible, as the moon remains completely invisible at night, eliminating any competing light sources.
This darkness isn’t just slightly better—it’s transformative. With the New Moon, you can extend your exposure times to 25 seconds at f/1.4 and ISO 1600 without overexposing your shots.
The result? Crisper images with vibrant colors and intricate celestial details that simply aren’t possible during other moon phases.
To maximize this advantage, plan your shoots within the 8-day window (4 days before and after the New Moon).
Check astronomical calendars to verify the Milky Way’s core will be visible during your shooting hours.
Enhanced Galactic Detail
The remarkable clarity of the Milky Way’s galactic detail emerges during the New Moon phase unlike any other time of the month. When you shoot during this window, you’ll capture the galaxy’s intricate structures with maximum definition. The absence of moonlight creates the perfect dark canvas for the Milky Way to shine against.
- Four days before and after New Moon provide ideal shooting conditions
- Light pollution effects are minimized during New Moon periods
- Use longer exposures (around 25 seconds) without overexposure risks
- Set your aperture wide (f/1.4) and ISO moderate (1600) for best results
- The galactic core appears most vibrant against truly dark skies
Take advantage of this prime window to photograph star trails and the Milky Way’s core with incredible detail that simply isn’t possible during brighter moon phases.
Optimal Exposure Settings
Capturing the Milky Way during a New Moon requires precise camera settings to maximize what this ideal shooting window offers.
When the moon is completely absent from the night sky, you’ll need to adjust your camera specifically for these ultra-dark conditions.
Start with a shutter speed around 25 seconds—long enough to gather starlight without causing star trails. Set your aperture to f/1.4 to allow maximum light collection while maintaining sharpness. For ISO, begin at 1600, which provides enough sensitivity without introducing excessive noise.
Remember that your best exposure settings should be fine-tuned during the prime Milky Way viewing window—four days before and after the New Moon.
This eight-day period offers the darkest skies, allowing your camera to capture crisp, well-defined details of the galactic core that simply aren’t visible during brighter moon phases.
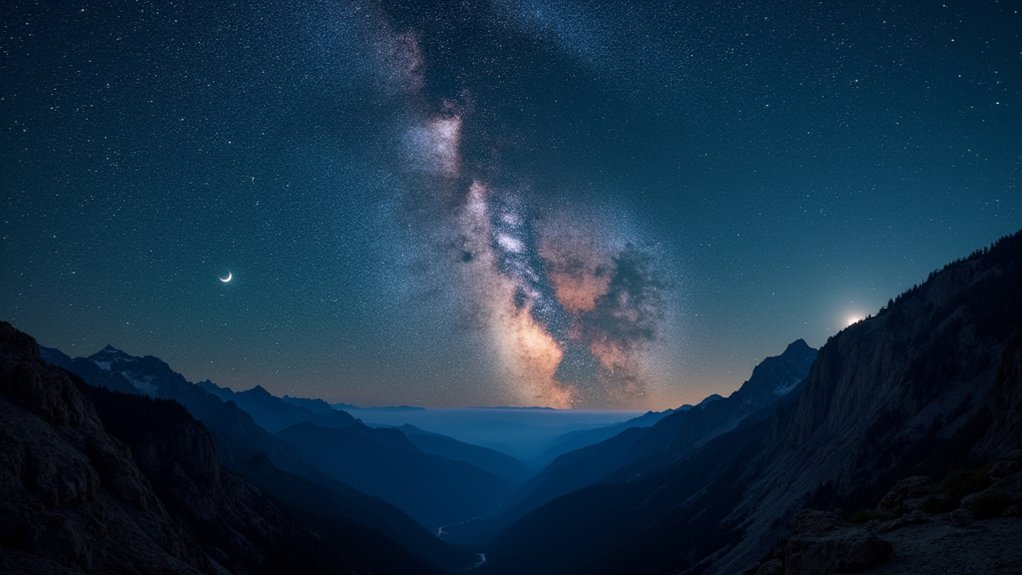
Waxing and Waning Crescent: Alternative Low-Light Opportunities
While new moon periods offer the darkest skies, waxing and waning crescent phases present compelling alternatives for Milky Way photography.
You’ll find the Waxing Crescent provides subtle illumination that enhances landscape features while still allowing clear Milky Way visibility—perfect for balanced compositions.
Conversely, the Waning Crescent creates darker conditions ideal for capturing the Milky Way core with minimal interference.
- Waxing Crescents work best in early evening, just after sunset
- Waning Crescents offer pre-dawn opportunities as the Milky Way rises
- Both phases occur near New Moon, minimizing light pollution
- The subtle moonlight helps define landscape elements without washing out stars
- These phases give you flexibility to photograph the Milky Way when full darkness isn’t available
Consider these alternatives when planning your next astrophotography session—you’ll expand your shooting calendar beyond just new moon periods.
Quarter Moons: Balancing Celestial and Landscape Details
Quarter Moon phases offer a unique middle ground for astrophotographers who want more than just stars in their frame.
During First Quarter (about a week after New Moon), you’ll enjoy balanced conditions where landscape features remain visible while star details still shine through.
Last Quarter Moon (roughly a week before New Moon) provides moderately dark skies while maintaining some moonlight on your foreground elements.
Both phases let you experiment with exposure settings to capture the Milky Way without washing out terrestrial features.
Try shorter exposures between 8-13 seconds during Quarter Moon night photography to prevent landscape overexposure while still capturing celestial details.
This balanced lighting creates dynamic compositions where illuminated landscapes complement starry skies, enhancing your image’s storytelling potential and creating more dimensional Milky Way photographs.
Planning Your Shoot With Moon Position Apps and Tools
To maximize your chances of capturing stunning Milky Way photographs, preparation with digital tools has become essential for modern astrophotographers. Apps like Stellarium and PhotoPills help you visualize exactly where the Milky Way will appear against your chosen landscape.
Digital preparation isn’t optional for today’s astrophotographer—it’s the difference between guesswork and guaranteed Milky Way masterpieces.
Remember that the moon rises approximately 55 minutes earlier each day, making timing critical for your shoot.
- Use apps to track moon phases and plan around the New Moon for darkest skies
- Monitor moonrise and moonset times to capture the Milky Way when light interference is minimal
- Adjust exposure settings based on current moon phase (shorter during Full Moon)
- Leverage real-time atmospheric condition data to select ideal shooting nights
- Preview compositions digitally before arriving on location to maximize field efficiency
These digital tools eliminate guesswork, allowing you to confidently capture the Milky Way with precisely calculated timing.
Optimal Seasonal Windows for Core Visibility
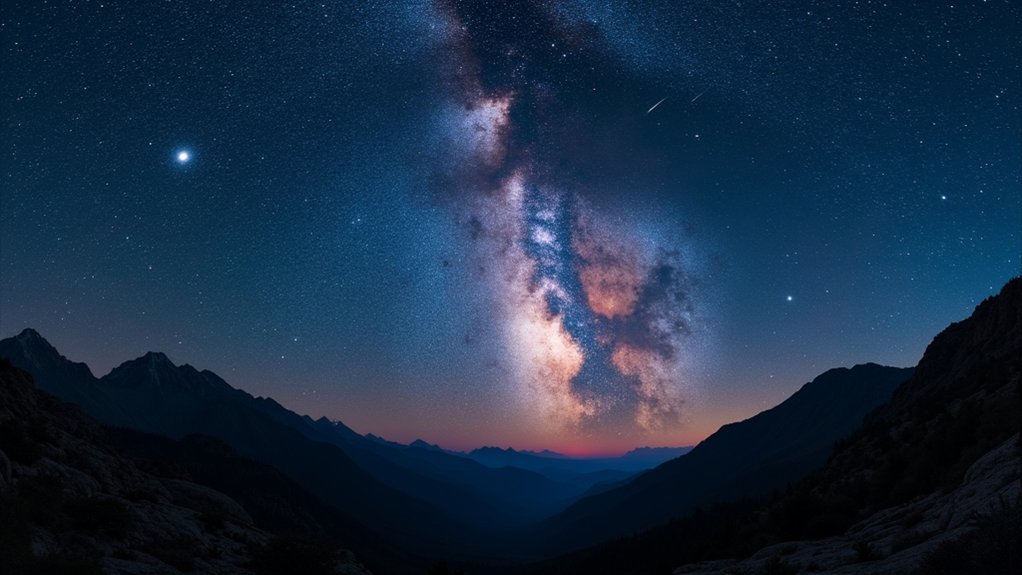
The Milky Way core shines brightest during summer months in the Northern Hemisphere (April-October) but presents opposite viewing seasons in the Southern Hemisphere where winter offers prime visibility.
You’ll want to plan your photography around these seasonal windows while considering regional challenges like North America’s monsoon season in July-August, which can obstruct otherwise clear night skies.
Your best shooting opportunities come when ideal seasonal timing aligns with new moon phases, creating the perfect dark-sky conditions for capturing the galaxy’s luminous core.
Summer Core Prominence
Although visible throughout the year in varying positions, our galaxy’s magnificent core reveals itself most dramatically during the Northern Hemisphere’s summer months. From April through October, you’ll find the Milky Way’s heart prominently displayed across night skies, with June and July offering peak visibility.
During these months, carefully planning around phases of the moon becomes essential for capturing stunning photographs.
- The core typically rises around 2-4 AM in early June
- By midsummer, it’s visible during more convenient evening hours
- Avoid shooting during Full Moon periods when celestial details are washed out
- Plan your photography sessions during the new moon phase for maximum contrast
- Consider the week before and after new moon as excellent alternative windows
When timing your summer Milky Way shoots, remember that patience and planning around lunar cycles will reward you with breathtaking results.
Northern/Southern Hemisphere Differences
Viewing the Milky Way’s core presents distinct challenges and opportunities depending on your hemisphere location.
In the Northern Hemisphere, you’ll find ideal viewing conditions from April to October, with peak visibility during summer when the core rises highest. Plan your shoots for 2-4 AM during spring and summer.
Southern Hemisphere photographers enjoy an advantage with a longer viewing window from February to October, with the core rising earlier in the evening. This provides extended shooting opportunities during cooler months.
For both hemispheres, moon phases critically impact visibility—always prioritize new moon periods for the darkest skies.
Regardless of location, escaping light pollution remains essential for capturing the core’s vibrant details.
Seasonal changes affect visibility differently in each hemisphere, so timing your shoots according to your location maximizes photographic success.
Avoiding Monsoon Seasons
While searching for ideal Milky Way photography conditions, you’ll need to navigate around monsoon seasons that can severely limit visibility.
In North America, plan your shoots between April and October when the galactic core is most prominent, but be strategic about monsoon periods (late June to September) that bring clouds and rain.
Your best opportunities occur:
- During the new moon phase to eliminate lunar light pollution
- In the windows just before and after rainfall when skies temporarily clear
- Early season (April-June) and late season (September-October) for more reliable dark skies
- During dry spells within monsoon season if you monitor weather forecasts carefully
- In the week preceding or following a new moon for prime galactic core visibility
Time your expeditions around these seasonal patterns to capture breathtaking Milky Way images.
Technical Camera Settings for Different Moon Conditions
Since the moon’s phase directly impacts how much light floods your night sky, your camera settings must adapt accordingly to capture stunning Milky Way shots.
During a New Moon, use 25 seconds at f/1.4 and ISO 1600 for crisp stars against a dark foreground.
First Quarter requires reduced settings: 13 seconds at f/2.8 and ISO 800 to balance star visibility with increasing brightness.
When shooting under a Full Moon, dramatically shorten exposure to 6 seconds at f/16 while maintaining ISO 1600 – automatic settings can help preserve detail in moonlit landscapes.
Last Quarter Moon calls for 8 seconds at f/4.2 and ISO 1600, striking a middle ground.
Light Pollution Considerations With Moonlight
When capturing the Milky Way, you’ll need to distinguish between moonlight and city glow, as they affect your image differently despite both being sources of light pollution.
Moonlight creates overall illumination that can provide context to landscapes while preserving some celestial visibility, whereas urban light pollution typically produces an orange-yellow cast that washes out galactic details.
You can balance these lighting challenges by using strategic light painting techniques during moonless nights in light-polluted areas or timing your shoot during slim crescent moon phases in darker locations.
Moon vs. City Glow
Two distinct sources of light pollution challenge Milky Way photographers: moonlight and city glow. While both can diminish your ability to capture the galaxy’s details, they affect your images differently.
Moonlight creates an even, bluish illumination across the entire sky, whereas city glow typically produces an orange or yellow haze concentrated near the horizon.
- Moonlight is predictable and can be planned around using lunar calendars
- City glow remains constant and requires physical relocation to darker areas
- A full moon creates considerably more light pollution than most small cities
- When forced to choose, shooting with some city glow during a new moon often yields better results than shooting during a full moon in a remote location
- Light pollution maps help you find ideal locations where both moon and city light are minimized
Light Painting Balance
Light painting during Milky Way photography requires careful consideration of moonlight’s dual nature.
During First Quarter and Last Quarter phases, you’ll find an ideal balance—enough light to illuminate your foreground elements without overwhelming the night sky’s delicate features.
A Full Moon acts as significant light pollution, washing out the Milky Way’s detail but offering dramatic moonlit landscapes with shorter exposures.
In contrast, the New Moon provides the darkest canvas, perfect for capturing faint celestial objects without lunar interference.
To maximize your results, track moonrise and moonset times carefully.
When the moon sits low on the horizon, its light pollution impact diminishes considerably.
For challenging conditions, post-processing techniques can rescue partially overexposed images by selectively darkening areas while maintaining the illuminated landscape’s beauty.
Post-Processing Techniques for Moonlit Milky Way Images
Processing moonlit Milky Way images requires a delicate balance between preserving celestial details and enhancing the foreground illumination.
Capturing heaven and earth in harmony—the art of balancing cosmic splendor with moonlit terrestrial elements.
When working with these unique captures, you’ll need to adjust exposure and contrast carefully to balance the bright moonlit foreground with faint Milky Way details.
- Use graduated filters in Lightroom or Photoshop to darken the sky while maintaining foreground brightness.
- Apply targeted noise reduction to minimize graininess in dark areas without losing star details.
- Blend multiple exposures—one for the foreground, another for the Milky Way—for a well-balanced composite.
- Implement selective editing techniques to individually adjust different parts of your image.
- Consider color grading to enhance the natural blue tones of the Milky Way while keeping moonlit areas realistic.
With these post-processing techniques, you’ll transform your moonlit Milky Way shots into stunning night landscapes that showcase both earthly and celestial beauty.
Scouting Locations for Maximum Galactic Contrast
Finding the perfect location for photographing the Milky Way begins long before you pick up your camera. Target areas marked dark grey or black on light pollution maps to maximize galactic visibility. These pristine skies allow the core to shine brilliantly against your carefully chosen landscape.
Timing is essential—plan your scouting during a new moon phase when the sky is at its darkest, creating dramatic contrast between the Milky Way and your foreground. Use apps like Stellarium to visualize exactly where the galactic core will appear relative to your composition.
Look for compelling foreground elements like rock formations or trees to add depth and scale.
Remember that the Milky Way core is most visible from April to October in North America, so schedule your location hunting accordingly for truly spectacular results.
Moonset and Moonrise Timing Strategies
When should you press the shutter for that perfect Milky Way shot? It’s all about timing your session around the moon’s absence. Since moonrise occurs roughly 55 minutes later each day, you’ll need to plan accordingly for maximum darkness.
The new moon phase offers ideal conditions with no moon visible, giving you the highest level of darkness for capturing the galactic core. During first or last quarter phases, shoot either early evening or late night when the moonset creates your window of opportunity.
- Use Stellarium to predict precise moonrise and moonset times
- Schedule shoots when the moon is below the horizon
- Aim for the hours between midnight and dawn for best results
- During new moon phases, you’ll have the entire night for shooting
- With quarter moons, photograph the Milky Way opposite the moon’s position in the sky
Frequently Asked Questions
What Is the Best Moon Phase for Stargazing?
You’ll get the best stargazing experience during the New Moon when skies are darkest. The week before and after New Moon also offers excellent conditions, as the moon won’t wash out the fainter stars.
What Is the Best Time to Photograph the Milky Way?
The best time to photograph the Milky Way is during the new moon phase when skies are darkest. You’ll get ideal visibility from April to October, especially between 2-4 AM in early June for the galactic core.
What Is the 500 Rule for Moon Photography?
The 500 rule in moon photography divides 500 by your lens focal length to calculate maximum exposure time. For the moon specifically, you’ll need much shorter exposures (1/60-1/125 second) to prevent overexposure.
Can You Photograph the Milky Way With a Full Moon?
You can photograph the Milky Way during a full moon, but it’s challenging. The bright moonlight washes out details, so you’ll need shorter exposures and strong post-processing to capture the galaxy’s faint features.
In Summary
You’ll find that new moon phases are your best bet for vibrant Milky Way shots, but don’t overlook crescent moons for added interest. Timing is everything—use apps to predict ideal conditions and always consider your location’s light pollution. Whether you’re shooting in complete darkness or incorporating gentle moonlight, planning ahead will dramatically improve your galactic photography results. Now grab your gear and capture the cosmos!


Leave a Reply