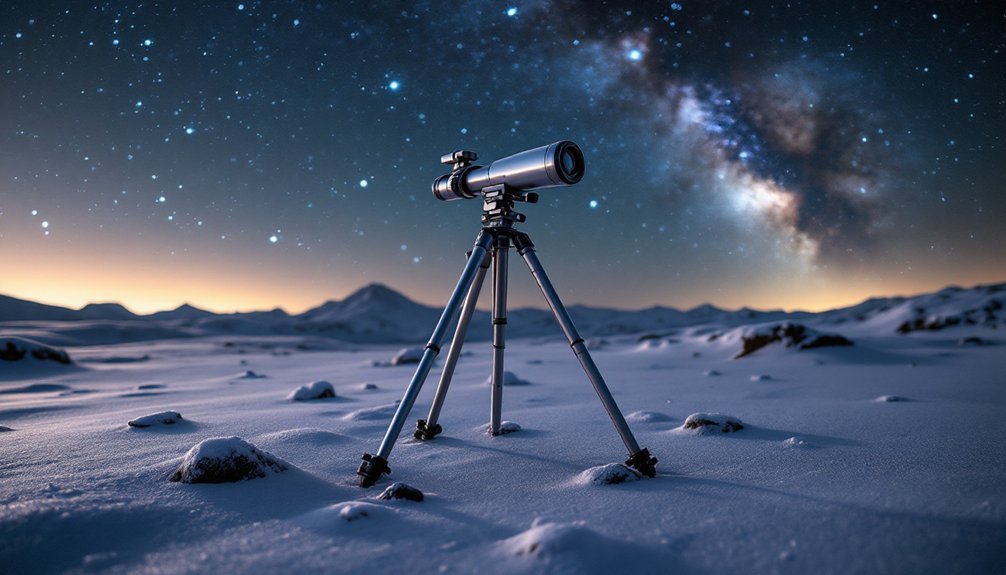
Stabilize your tripod for winter stargazing by setting up on hard-packed snow away from vibrations, using ice screws or V-thread anchors for secure footing. Extend thicker tripod sections first, keeping height low with wide leg angles. Add counterweights aligned with your center of gravity, and utilize thermal insulation grips to prevent heat transfer. Create windbreaks from tarps or snow blocks, position near natural protection, and regularly clean snow accumulation. These techniques guarantee your celestial views remain crystal clear all night long.
7 Ways To Stabilize Tripods For Winter Stargazing

While winter offers spectacular stargazing opportunities with clear, crisp skies, keeping your equipment steady in challenging conditions requires proper preparation.
Start by selecting firm ground away from vibrations, as frozen surfaces can be deceptively unstable.
Finding solid footing for your equipment is crucial, as winter's freeze can create misleadingly shaky ground.
Maximize stability by extending the thicker tripod sections first and keeping the height as low as practical. Add weight to your setup by hanging sandbags or water containers from the center column, or use ratchet straps to secure your tripod to fixed points. Observing from a reclining outdoor chair can enhance comfort while maintaining tripod access during extended viewing sessions.
For uneven terrain, tripod spikes or specialized grips provide essential anchoring.
Don't forget to adapt to the weather—protect your equipment from ice and wind, and consider how cold temperatures affect your tripod's materials.
Image-stabilized binoculars or camera counterweights will further reduce wobble during those breathtaking winter observations.
Selecting Ideal Ground Surfaces in Frozen Environments
When setting up your telescope for winter stargazing, you'll find that hard-packed snow provides an excellent stable base that won't shift under your tripod's weight.
You can identify ideal snow conditions by testing firmness with your boot—it should barely leave an impression when stepped on firmly.
To prevent frost from affecting your equipment's stability, place your tripod on slightly elevated surfaces away from low-lying areas where cold air pools and causes more intense freezing. Remember that using a reliable tripod is essential for capturing clearer images during those long 30-second exposures needed for star photography.
Hard Packed Snow Basics
Three key attributes of hard packed snow make it an excellent surface for tripod stability during winter stargazing. This type of snow features high density (300-550 kg/m³), which creates structural integrity capable of supporting heavy equipment.
The compaction process reduces porosity, allowing ice particles to form tightly packed structures that resist penetration from tripod legs.
When seeking the perfect spot for your setup, look for:
- Surface with visible wind-hardened features like sastrugi, indicating compacted snow
- Areas where the snow doesn't easily yield when pressed with your boot
- Uniform surfaces without visible cracks or soft spots that could shift during observation
Snow's thermal properties also work in your favor, as the higher density provides better heat conductivity, reducing temperature-related instability in your equipment. With its nearly blackbody properties in the thermal infrared spectrum, compacted snow helps maintain consistent temperatures around your gear during nighttime observations.
Anti-Frost Tripod Placement
Selecting the perfect surface for your tripod can make the difference between crisp stellar images and blurry disappointments during winter stargazing sessions.
Rock or gravel surfaces provide stable foundations that resist slipping in freezing conditions. Wooden pathways offer better stability than icy ground.
Always avoid muddy areas that can damage your equipment and freeze unpredictably. When ice is unavoidable, smooth it out to reduce slip risks. Use neoprene or rubber feet on your tripod for enhanced grip, and consider adding sandbags for extra stability against winter winds. Evaluating the resultant forces from tripod placement can help prevent equipment tipping during long exposure photography.
Position your setup away from water sources to prevent ice formation on components. Create windbreaks when possible, and regularly clean snow accumulation from your equipment.
At higher altitudes, be especially vigilant about securing your tripod with spikes or anchors.
Tripod Anchoring Techniques for Icy Conditions

Securing your tripod on icy surfaces requires specialized anchoring techniques to prevent slippage and equipment damage.
Start by evaluating the terrain's ice condition to determine the appropriate anchoring method. Ice screws provide excellent stability when strategically placed around your setup.
For ideal stability in icy conditions:
- Use ratchet straps connected between your tripod and screw-in anchors to create tension that prevents movement
- Add weight to the center of your tripod, placing it in compression for improved stability
- Implement backup systems with redundant anchors in case your primary anchors fail
Creating a V-thread anchor can provide exceptional holding power when traditional methods aren't sufficient.
Consider environmental factors like temperature and ice quality when selecting your anchoring method.
Always conduct a thorough risk evaluation before setting up, and continuously monitor weather conditions throughout your stargazing session.
Optimal Tripod Configuration for Cold Weather Stability
Configuring your tripod properly for winter stargazing can make the difference between capturing crisp celestial images and dealing with frustrating vibrations that ruin your shots.
Carbon fiber tripods are your best option, as they resist corrosion, maintain functionality in frigid temperatures, and prevent moisture buildup through quick heat conduction.
Carbon fiber stands supreme for winter astronomy—resisting cold, preventing condensation, and maintaining structural integrity when temperatures plummet.
For maximum stability, keep your center column lowered whenever possible and adjust your leg angles to create a wider base on uneven terrain. The Promaster Chronicle Tripod Kit offers exceptional vibration dampening capabilities critical for long exposure astrophotography.
Choose a ball head with lockable controls for quick adjustments while wearing gloves, or opt for a pan-tilt head if you need more precise movement control.
In windy conditions, set your legs at their widest angle and hang a weight from the center column for additional stability.
Strategic Use of Counterweights in Winter Conditions

The strategic application of counterweights transforms winter stargazing stability from adequate to exceptional. When properly balanced, your telescope system experiences reduced vibrations and improved tracking accuracy—crucial elements for capturing sharp images in frigid conditions.
Material selection matters greatly in winter. Choose counterweights that resist cold temperatures while remaining portable enough for field use. Metal options provide durability but consider their handling characteristics when temperatures plummet. Counterweights are particularly essential for tracking mounts used in long exposure astrophotography during winter sessions.
For ideal winter deployment:
- Position counterweights to align perfectly with your setup's center of gravity
- Make regular balance checks throughout your session as equipment cools
- Protect your counterweight system from ice and moisture accumulation
Cold-Weather Equipment Modifications for Enhanced Stability
You'll need thermal insulation grips on your tripod legs to maintain comfortable handling and prevent heat transfer that causes condensation in freezing temperatures.
Anti-freeze bolt management requires applying specialized lithium-based lubricants to all moving parts and connection points before heading out.
These modifications will keep your equipment operating smoothly even when temperatures plummet well below freezing, preventing the common problem of seized adjustment mechanisms. Consider creating a natural windbreak around your observing location to enhance stability and reduce temperature fluctuations in your equipment.
Thermal Insulation Grips
Braving the frigid night sky requires more than just warm clothing—your equipment needs protection too. Thermal insulation grips are essential for winter stargazing success, reducing heat loss while maintaining your tripod's stability in freezing conditions.
Carbon fiber tripods naturally resist cold better than aluminum, but both benefit from insulated grip materials that:
- Prevent condensation buildup that can damage your equipment
- Enhance your comfort during extended viewing sessions
- Reduce temperature-induced vibrations that blur celestial images
Choose grips with textured, non-slip coatings to improve handling on icy nights. For maximum effectiveness, look for designs that accommodate hand warmers or heating elements.
These thoughtful modifications don't just protect your equipment—they'll extend your viewing time and improve image quality when temperatures plummet. Many astronomers find that introducing triangular structures to their mount systems significantly improves stability during winter observation sessions.
Anti-freeze Bolt Management
When temperatures plummet below freezing, tripod bolts and joints can seize up completely, turning your precision instrument into an immovable sculpture. To prevent this frustrating scenario, apply cold-resistant lubricants to all moving parts before your stargazing session. These specialty lubricants maintain their viscosity even at temperatures below -25°F.
Consider replacing standard components with glycerine-based anti-freeze solutions for fluid-containing parts. Remove rubber spacers, which lose grip in extreme cold, and opt for urethane or Teflon-based coatings on metal surfaces to reduce friction. Much like how AFC devices prevent freezing in air conditioning systems, these modifications protect your equipment from cold-related failures.
Regularly tighten all screws as the cold can cause metal to contract and loosen connections. For electronic components, guarantee proper weather-sealing to protect against moisture that could freeze.
These simple modifications will keep your tripod functioning smoothly throughout your winter astronomy sessions.
Creating Wind Barriers for Vibration Reduction
Wind presents one of the greatest challenges for winter stargazers, causing frustrating vibrations that can blur celestial views and ruin long-exposure photographs.
Creating effective wind barriers can greatly improve your viewing experience.
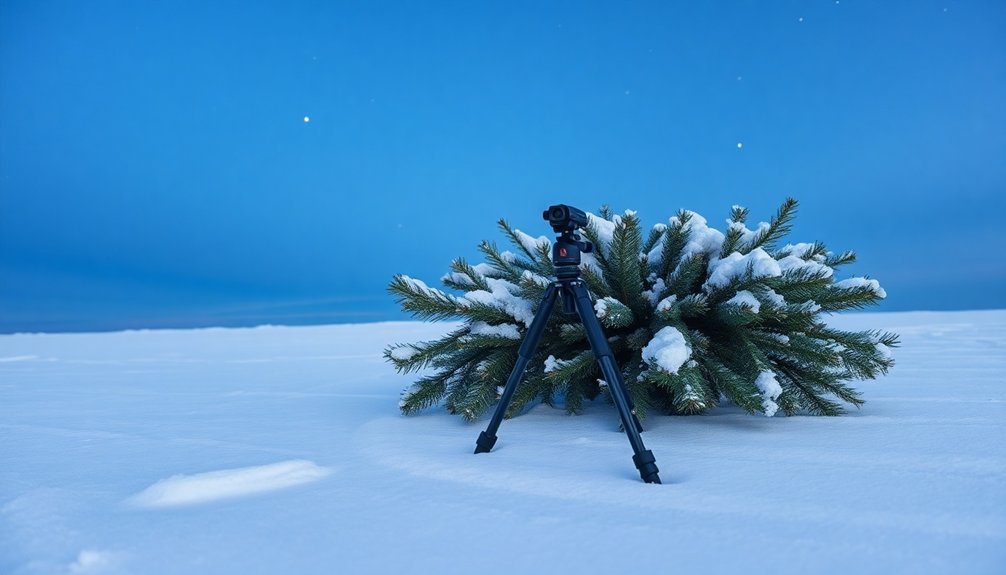
Position your setup strategically by seeking natural protection from trees or terrain features. When that's not possible, construct temporary windbreaks using available materials. You'll find that properly oriented equipment can withstand even moderate gusts.
- Set up physical barriers like tarps or small walls to deflect wind away from your telescope.
- Position tripod legs angled into the wind for enhanced stability.
- Create temporary enclosures using snow blocks in winter conditions – they're excellent improvised windbreaks.
Adding specialized vibration suppression pads between your tripod legs and the ground can dramatically reduce resonance time when windy conditions are unavoidable.
For maximum protection, combine these barrier techniques with lowered tripod height and additional weight stabilization.
Frequently Asked Questions
How Does Temperature Affect Tripod Material Performance?
Temperature affects your tripod's performance greatly. Carbon fiber maintains integrity in extreme temperatures and doesn't feel hot or cold, while aluminum becomes uncomfortable to handle, potentially affecting your grip and stability during use.
Can Chemical Hand Warmers Help Prevent Eyepiece Fogging?
Yes, you'll find chemical hand warmers extremely effective for preventing eyepiece fogging. Simply attach them to your eyepieces using elastic bands to maintain temperature and reduce condensation during your winter stargazing sessions.
Should I Adjust Tripod Stability Differently for Astrophotography Versus Visual Observation?
Yes, you'll need more stability for astrophotography than visual observation. Lower your tripod and add weights for astrophotography's long exposures, while prioritizing comfortable height for visual observations without compromising stability.
How Do Different Snow Types Impact Tripod Stability Techniques?
Powder snow requires ground spikes as it's softer, while packed snow offers better stability. For icy conditions, you'll need weights or sandbags. Always adjust your tripod legs to compensate for varying snow depths.
What Emergency Stabilization Methods Work When Standard Equipment Fails?
When standard equipment fails, you can improvise by using rocks as weights, securing tripod legs with tent stakes and bungee cords, or creating makeshift anchors with available materials like logs or packed snow.
In Summary
You're now equipped to master winter stargazing despite challenging conditions. By choosing proper surfaces, anchoring effectively, configuring your tripod correctly, using counterweights, modifying your gear for cold weather, and creating wind barriers, you'll capture clearer images and enjoy more stable observations. Don't let freezing temperatures deter you—with these stabilization techniques, you'll experience the winter night sky in all its breathtaking glory.


Leave a Reply