To stop wind from ruining your telescope views, lower your tripod height, add weight to it with sandbags or barbell weights, and position one leg directly into the wind. Create a calm observation area by using portable windbreaks or natural shelter like trees and fence corners. Anti-vibration pads can further reduce tremors, while planning sessions during calmer evening hours improves stability. These simple adjustments will transform your shaky celestial observations into crystal-clear cosmic experiences.
Numeric List of 10 Second-Level Headings
These ten headings will help you effectively shield your telescope from wind interference and maintain ideal viewing conditions.
- Optimizing Your Enclosure's Airflow Design
- Strategic Vent Placement Techniques
- Installing and Using Effective Dew Shields
- Setting Up Dew Heaters and Controllers
- Proper Telescope Weight Distribution
- Selecting Wind-Resistant Mount Systems
- Using Computational Analysis for Placement
- Environmental Monitoring Systems Setup
- Heat Management for Optical Stability
- Creating Sheltered Observation Stations
Each heading addresses a specific aspect of wind management for astronomy, from physical shields to electronic controls.
By implementing these techniques, you'll minimize vibrations, prevent dew formation, and maintain stable temperatures around your optics.
Wind management isn't just about comfort—it's about preserving data integrity through stable optics and minimal vibration.
Properly configured domes and enclosures deflect wind while strategic ventilation reduces turbulence near your primary mirror.
Remember that successful astronomy requires not just quality equipment but also environmental control. Always create detailed documentation of your setup configurations to track what works best in different conditions, similar to the organized framework demonstrated in Writing Matters.
Understanding How Wind Affects Tripod Stability
When wind gusts hit your telescope setup, even minor vibrations can transform crisp celestial details into blurry disappointments. The physics is straightforward: higher wind speeds create greater torque against your telescope, with telephoto lenses particularly vulnerable due to their size and weight.
Wind speeds as low as 10 MPH can compromise image quality, while 15 MPH conditions demand substantial tripod stiffness, especially with larger optics. Recent testing with an anemometer mounted setup confirmed these findings across multiple wind speeds, providing precise measurements of wind effects. At 6 MPH, most tripods provide adequate stability regardless of your setup.
Your tripod's height considerably impacts stability—lower positioning reduces the wind's leverage effect. Remember that it's not just your optics catching the breeze; extended center columns act like sails in windy conditions.
For maximum stability, lower your center of gravity and consider adding weights or using tripod spikes on unstable terrain.
Essential DIY Tripod Weights for Windy Conditions
When your telescope views are threatened by wind, you'll need to anchor your tripod with substantial DIY weights to maintain stability.
You can create effective weights using camera bags hung from the central column, rock-filled containers, or even cast iron weights attached with straps to your tripod legs.
The materials you choose matter considerably—opt for dense, heavy items like cast iron for permanent solutions or utilize easily accessible materials like sand or rocks in bags for portable, adaptable weighting systems. Adding weight effectively lowers center gravity for significantly improved tripod stability during long exposure astronomical photography.
Stabilizing Your Setup
Wind presents one of the greatest challenges to telescope viewing, causing vibrations that blur celestial objects and frustrate even the most patient astronomers. Properly stabilizing your tripod is crucial for clear observations.
Start by positioning your tripod with the heaviest leg sections extended first. Confirm all legs make firm contact with the ground, adjusting each individually to maintain a vertical central column.
For extra stability, hang weights from your tripod's central column. DIY options include hanging your camera bag, sandbags, or water bottles filled with sand. Heavy objects like sandbags (25-30 pounds) provide optimal stability for your telescope setup.
For particularly gusty conditions, secure weights with bungee cords using taut line hitches or cord locks to maintain tension. Place weights directly on the ground to minimize swing and vibration.
Whenever possible, keep your telescope at a lower height to reduce wind resistance.
Material Selection Matters
The materials you choose for tripod weights can make the difference between crisp celestial views and frustrating blur. When crafting DIY stabilizers, prioritize effectiveness and convenience without breaking the bank.
For maximum stability in windy conditions, consider these options:
- Barbell weights – Inexpensive and effective, these can be attached using para cord and carabiners to lower your telescope's center of gravity. These weights can be secured to tripods using zip ties for a tight fit.
- PVC pipe collars – Create custom weight systems that distribute mass evenly around your tripod legs, providing balanced resistance.
- Weighted bags – Fill fabric pouches with sand, rocks or other dense materials for adjustable weight that can be increased or decreased based on conditions.
These DIY solutions offer superior wind resistance while absorbing vibrations that would otherwise ruin your astronomical observations.
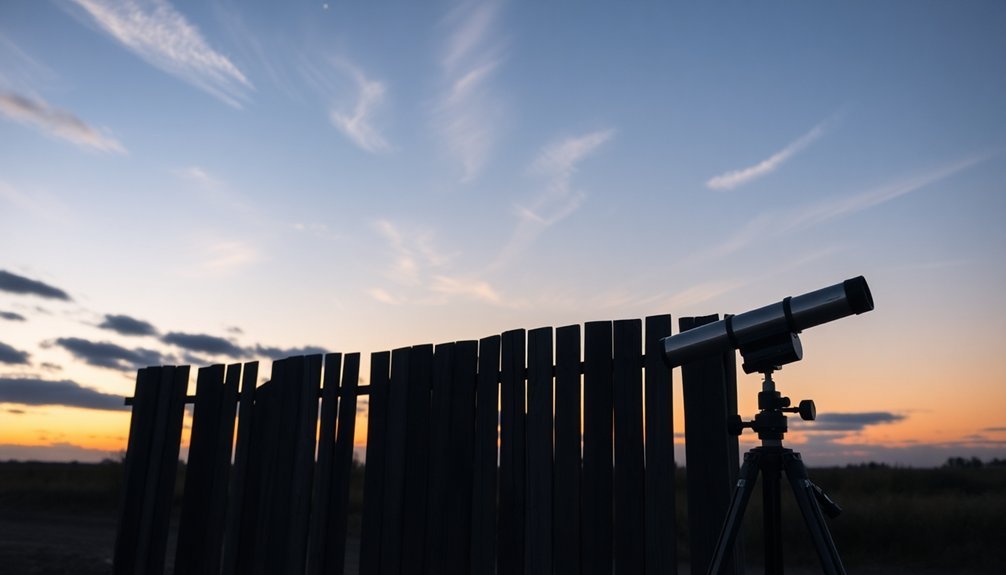
Choosing the Right Location to Minimize Wind Exposure
Finding sheltered spots in your backyard, such as areas behind hedges or fences, can dramatically reduce your telescope's wind exposure.
Natural windbreaks like trees or structures can create pockets of still air where your equipment will remain more stable during viewing sessions.
You'll notice immediate improvements in image steadiness when you position your telescope behind windbreak structures rather than in open areas where gusts can freely impact your observation quality.
Consider building a portable windbreak with four walls and an open top, as these designs have been proven to increase effective imaging hours by 20-25% in challenging conditions.
Sheltered Backyard Spots
Selecting an ideal sheltered spot in your backyard can dramatically improve telescope viewing quality by minimizing disruptive wind effects.
Look for natural windbreaks like trees, shrubs, or terrain features that block prevailing winds while maintaining clear sky views.
- Fence corners – Position your telescope where two fence sections meet at right angles to create a wind shadow, especially if you add a garden wall or large outdoor furniture as a third barrier.
- House lee side – Set up on the opposite side from prevailing winds where your home creates a natural wind barrier. Alternatively, installing a permanent SkyShed POD with its flow-through ventilation provides exceptional protection while maintaining optimal viewing conditions.
- Sunken areas – Utilize slight depressions or lower elevation spots in your yard which naturally reduce wind exposure while maintaining unobstructed astronomical views.
Windbreak Structure Benefits
While amateur astronomers often focus on optical equipment quality, strategic windbreak structures can greatly enhance viewing experiences by creating calm observation zones. A well-designed windbreak reduces wind speed on its leeward side, providing protection up to 30 times its height—creating an ideal microclimate for steady observations.
Opt for medium-density barriers rather than completely solid ones, as too-dense windbreaks create turbulent air that can disturb views. Position your windbreak perpendicular to prevailing winds for maximum effectiveness. Multiple rows provide superior protection, but even a single strategically placed barrier can greatly improve viewing conditions.
Beyond wind protection, proper windbreaks also reduce moisture accumulation on lenses and minimize airborne particles that might interfere with visibility, allowing you to enjoy clearer, more stable telescope images throughout your observation sessions. Consider incorporating fast-growing species in your astronomical site's windbreak design for quicker protection while waiting for slower-growing, denser trees to mature.
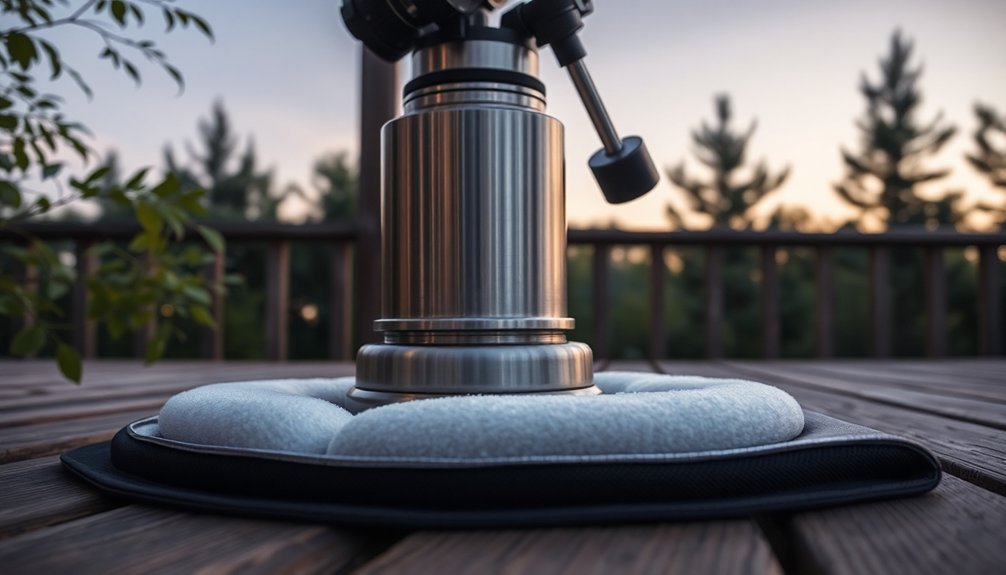
Anti-Vibration Pads: Budget Solutions for Steadier Views
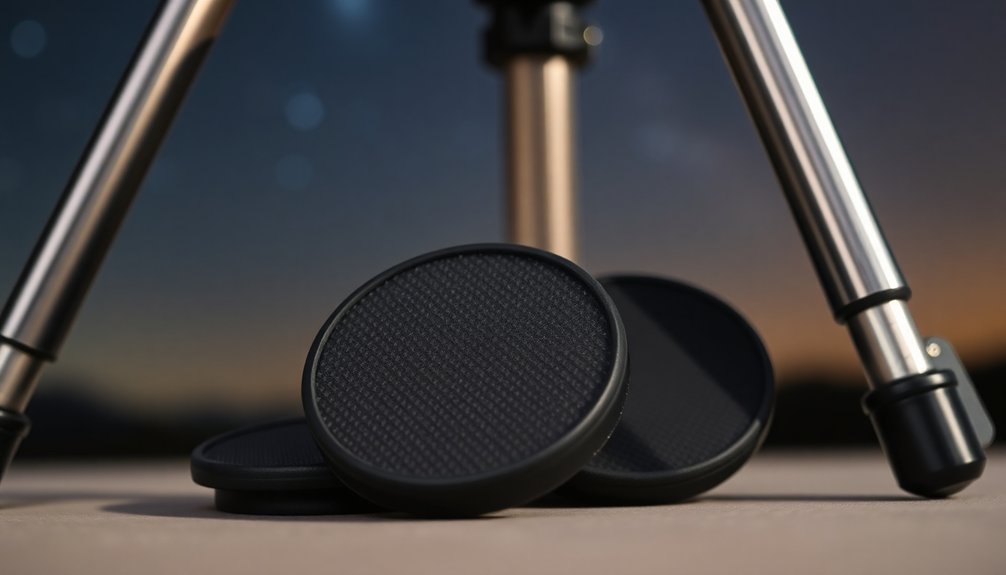
Three simple pads can transform your stargazing experience when wind threatens to ruin your telescope views.
These affordable accessories greatly reduce vibration time and amplitude, letting you observe even in less-than-ideal conditions.
Anti-vibration pads work by isolating your tripod from ground vibrations through their sandwich design of hard cups with vibration-absorbing material between them.
You'll notice immediate benefits when:
- Observing near busy roads or walking areas where vibrations travel through the ground
- Setting up on vibration-prone surfaces like wooden decks or concrete balconies
- Dealing with accidental bumps or wind gusts that would normally cause prolonged image shakiness
They'll also prevent tripod feet from sinking into soft ground and protect indoor floors from damage. The orange rubber strip in each Astromania pad serves as a crucial vibration buffer that dramatically improves stability for heavier telescopes.
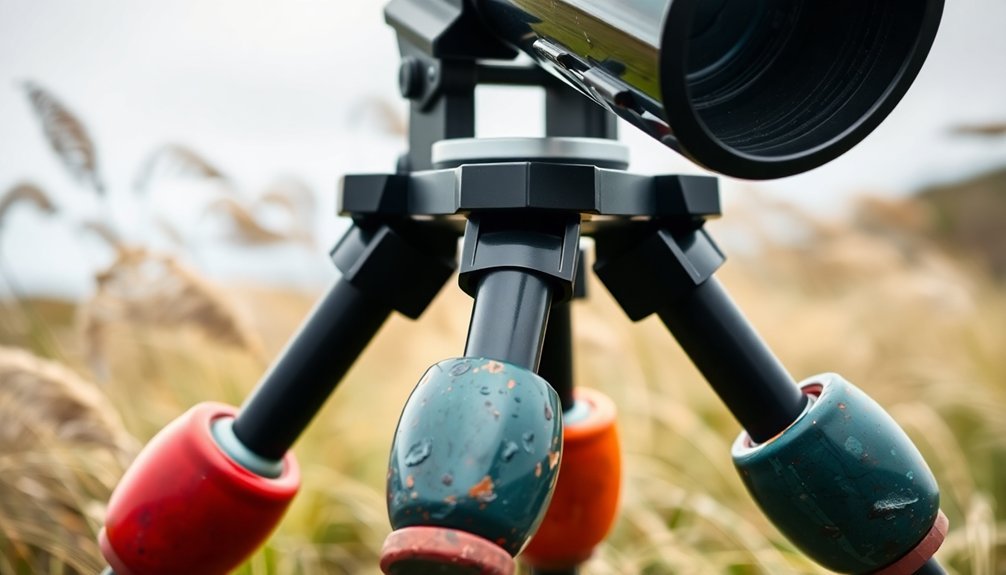
Strategic Tripod Leg Positioning to Counter Wind Forces
Proper tripod leg positioning can make the difference between a night of frustration and hours of clear astronomical viewing when winds kick up. By strategically placing your tripod legs, you'll greatly reduce vibrations that blur celestial details.
Position one leg directly into the wind to create a more stable triangular formation. Extend all legs symmetrically to maintain proper balance and guarantee they're firmly planted on solid ground. Observers with models like the Skywatcher EQ6-R often appreciate this technique's effectiveness for maintaining stability with heavier equipment.
| Wind Condition | Leg Configuration | Additional Measures |
|---|---|---|
| Light Breeze | Standard triangle | Regular rubber feet |
| Moderate Wind | One leg windward | Lower center of gravity |
| Strong Gusts | Low, wide stance | Add weight to center |
| Variable Wind | Sheltered location | Use metal spike feet |
| Steady Wind | Windbreak barrier | Secure with ground stakes |
Don't forget to check your leg locks periodically as wind can gradually loosen them over time.
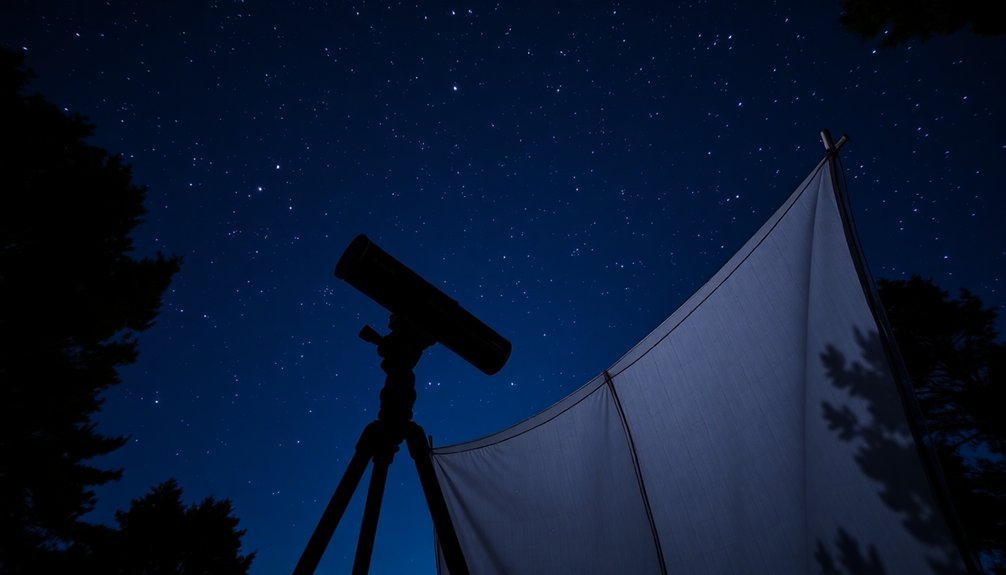
Creating Effective Windbreaks Without Breaking the Bank
You can create effective windbreaks using inexpensive materials like tarps secured to poles, positioned strategically to block prevailing winds without generating turbulence around your telescope.
For ideal protection, set up your DIY shield in a 180° arc around your viewing area, allowing some wind to pass through perforated materials rather than creating a solid barrier.
Remember to angle your windbreak slightly to redirect airflow rather than stopping it completely, which helps prevent the vibration issues that solid barriers often create. Wind-induced dynamic responses can significantly impact the accuracy of telescope observations, similar to the effects studied in larger radio telescope structures.
DIY Shield Solutions
When facing the frustration of wind-distorted views through your telescope, creating your own windbreak doesn't have to be complicated or expensive.
You'll find most materials at your local hardware store or even around your home, like foam rubber, laundry tubs, or "Easy Bagger" material that cuts easily to your specifications.
These DIY shields offer multiple benefits:
- They protect your telescope from destabilizing wind while reducing vibration.
- They prevent dew buildup by maintaining warmth around your optics.
- They block stray light, greatly improving image quality during observation.
Remember to cut foam at an angle to prevent vignetting, create notches for your focuser, and position your shield to face the prevailing wind for maximum effectiveness. The ideal design should extend approximately 1.5 times aperture in length for optimal protection against both wind and dew formation.
For additional stability in stronger winds, consider adding sandbags around your tripod base.
Positioning for Protection
Strategic placement of your telescope can dramatically reduce wind interference without requiring expensive equipment.
Look for natural windbreaks like trees, hills, or buildings that can shield your setup from prevailing winds. These landscape features offer free protection that commercial solutions can't match.
When selecting an observation spot, consider wind direction patterns at your location. Position your telescope on the leeward side of barriers to minimize turbulence. Wind can prevent dew formation by mixing air layers, which is beneficial for keeping optics clear during observations.
For temporary setups, simple tarps or lean-tos can provide effective protection at dark sites.
If you're establishing a permanent observation area, strategic landscaping with shrubs or fencing creates long-term wind control.
Remember that higher altitudes typically experience stronger winds, so adjusting your elevation can sometimes be the simplest solution for better viewing conditions.
Weather Forecasting Tools for Planning Wind-Free Sessions
How can astronomers predict when conditions will be ideal for telescope viewing? Several specialized tools now exist that focus specifically on astronomical conditions, including wind forecasting. These applications leverage data from meteorological services like NOAA and Met Office to provide accurate predictions.
- Scope Nights and Astroweather apps offer astronomy-specific forecasts with wind speed indicators, categorizing conditions as optimal, marginal, or poor based on your equipment's sensitivity. Scope Nights includes a helpful wind gust sensitivity switch specifically designed for large telescopes or observatories in exposed locations.
- Multi-forecast model apps combine several prediction algorithms for greater accuracy, with customizable thresholds you can adjust to match your telescope's wind tolerance.
- Real-time update tools with hourly forecasts and wind gust notifications help you plan early morning or late evening sessions when winds are typically calmer.
Low-Cost Dampening Materials to Reduce Vibrations
Even the most careful astronomical setup can suffer from vibrations that ruin your viewing experience, especially on windy nights.
To combat this problem without breaking the bank, consider Sorbothane-based vibration suppression pads.
Celestron's pads ($47.95) and Astro-Tech's options provide excellent performance, reducing vibration time to about one second.
Agena's pads offer good value with free US shipping.
Avoid cheaper silicon imitations which melt in the sun and don't effectively absorb shock.
These dampening materials work well on concrete, grass, wood decks, asphalt, and dirt.
While DIY alternatives from Home Depot cost less, they won't deliver the same performance as Sorbothane products.
The investment pays off with improved image quality and enhanced stability in windy conditions.
The Sorbothane® material used in these pads is specifically designed to absorb vibrations that would otherwise compromise your viewing clarity.
Optimal Tripod Height Adjustments for Wind Resistance
When setting up your telescope for a windy night, the height of your tripod becomes a critical factor in maintaining stability and image quality.
Lower tripod height creates a lower center of gravity, greatly reducing wind-induced vibrations that can ruin your viewing experience.
For maximum wind resistance:
- Set your tripod height 4-6 inches below your eye level when using an angled eyepiece, keeping the center column completely lowered.
- Fully extend only the thicker upper leg sections first, using thinner lower sections minimally to maintain stability.
- Distribute weight properly by hanging a stabilizing weight from the tripod's hook, creating downward force that counteracts wind pressure.
Ensuring your setup can be adjusted for various terrains and slopes becomes especially important when observing in windy conditions.
Remember that carbon fiber tripods offer excellent stability-to-weight ratio for windy conditions, but proper height adjustment remains essential regardless of material.
Frequently Asked Questions
How Do Different Telescope Designs Respond to Wind Disturbances?
Reflector telescopes are susceptible to wind vibrations, while refractors offer better stability. Alt-azimuth mounts with hydrostatic bearings provide superior wind resistance compared to equatorial mounts. You'll need advanced control systems for larger apertures.
Can Wind Affect Image Quality Even With Advanced Adaptive Optics?
Yes, wind can still affect your image quality with advanced adaptive optics. While they correct for atmospheric distortion, they can't fully compensate for mechanical vibrations and structural oscillations caused by high winds hitting your telescope.
What Wind Speed Typically Makes Amateur Astronomy Impractical?
You'll typically find amateur astronomy becomes impractical at wind speeds above 15-20 mph, though your specific telescope design and mount stability might allow observing in slightly higher or lower winds.
How Does Humidity Interact With Wind to Affect Visibility?
When wind combines with high humidity, you'll experience increased turbulence and distortion in your views. The moisture particles get scattered by wind, creating poor seeing conditions and potential condensation on your telescope's optics.
Are Computerized Mounts More Vulnerable to Wind Than Manual Ones?
Computerized mounts aren't necessarily more vulnerable to wind than manual ones. Your encoder-based computerized mount with brushless servo motors can actually resist wind better, while maintaining precise tracking without requiring your constant adjustments.
In Summary
Don't let the wind dictate your stargazing experience. By implementing these practical solutions—from weighted tripods to strategic positioning—you'll transform frustrating, blurry views into crisp celestial observations. Remember, it's not about eliminating wind entirely, but adapting to it intelligently. With these affordable techniques in your astronomer's toolkit, you're now equipped to enjoy stable views even when breezes pick up. Clear skies await your steadier scope!


Leave a Reply