Telescope camera misalignment typically stems from improper weight distribution, loose connections, and environmental factors. Your camera might drift if you haven’t balanced it properly against the optical tube or secured all mounting hardware. Temperature changes cause components to expand or contract, while vibrations from wind or nearby movement gradually knock alignment off-center. Poor polar alignment and dirty encoders can also contribute to tracking errors. Discover how to create a rock-solid setup that maintains perfect alignment throughout your observation sessions.
Numeric List of Second-Level Headings

Five key aspects should be considered for proper telescope camera alignment.
- Optimal Camera Orientation: Position your camera with DEC vertical and RA horizontal to maintain imaging consistency.
- Documentation and Marking: Record your setup details and create physical markers to guarantee repeatable camera positioning between sessions.
- Balance Management: Properly balance your telescope system to prevent shifting that can misalign your camera during imaging.
- Polar Alignment Precision: Align using careful camera orientation for effective drift alignment and accurate celestial tracking.
- Post-Calibration Discipline: Avoid adjusting camera or telescope positions after calibration to prevent tracking errors.
Common Causes of Camera Drift During Observation
Your telescope’s camera may drift during observation when temperature changes cause optical and mechanical components to expand or contract, resulting in unwanted focus shifts.
Poor mount calibration, including inaccurate polar alignment, forces your imaging system to fight against Earth’s rotation rather than smoothly tracking celestial objects.
You’ll notice these issues manifest as elongated stars or gradually shifting field of view, making precise astrophotography nearly impossible without proper adjustment.
Temperature-Induced Focus Shift
When temperature fluctuates during an observation session, your telescope’s optical components and supporting structures undergo subtle dimensional changes that can markedly impact focus quality.
As nighttime temperatures drop, you’ll notice your perfect focus gradually deteriorating due to differential thermal expansion between materials in your setup.
This temperature-induced focus shift occurs through three primary mechanisms:
- Optical elements like lenses and mirrors contract as they cool, altering their shape and shifting the focal point.
- Telescope tubes and camera mounts made from different materials expand or contract at varying rates, misaligning the camera with the optical path.
- Temperature differentials between internal components create uneven cooling patterns, resulting in progressive focus drift.
Regular refocusing throughout your session will compensate for these inevitable thermal effects, especially during seasonal changes or rapid temperature variations.
Poor Mount Calibration
Camera drift, the bane of astrophotographers, often stems from inadequate mount calibration that undermines your entire imaging session.
Incorrect polar alignment is typically the primary culprit, causing your telescope to gradually lose its target as the Earth rotates. Misconfigured RA and DEC settings compound this problem, resulting in stars that streak across your carefully composed frame.
Don’t overlook regular maintenance of your mount’s components—dirty or misaligned encoders directly impact tracking accuracy.
You’ll also want to check that your mount’s firmware is current, as outdated software can create alignment discrepancies that worsen over time.
Light pollution complicates matters by making reference stars difficult to locate during alignment procedures.
To minimize drift, routinely verify your mount’s balance and guarantee your entire setup remains stable throughout observation.
Proper Weight Distribution for Stable Camera Mounting

Achieving proper weight distribution stands as one of the most critical factors for maintaining telescope camera alignment. When your setup is unbalanced, even slight movements can cause vibrations that ruin imaging sessions and misalign your carefully positioned equipment.
Position your camera and accessories in line with the telescope’s center of mass to minimize destabilizing leverage effects.
To guarantee your setup remains properly aligned:
- Install counterweights strategically to balance the optical tube against heavier camera equipment.
- Check that all connections between camera and telescope are securely fastened before each session.
- Readjust your weight distribution whenever changing equipment or adding accessories.
Remember that stable mounting begins with balanced weight distribution. A properly balanced setup allows for smoother tracking and keeps your camera aligned with celestial targets throughout your observation session.
Securing Connections Between Camera and Telescope
Proper alignment between your camera and telescope hinges on the security of their physical connections. If you’re experiencing persistent alignment issues, check that all fittings are firmly tightened. Loose connections will inevitably lead to misalignment during observation or imaging sessions.
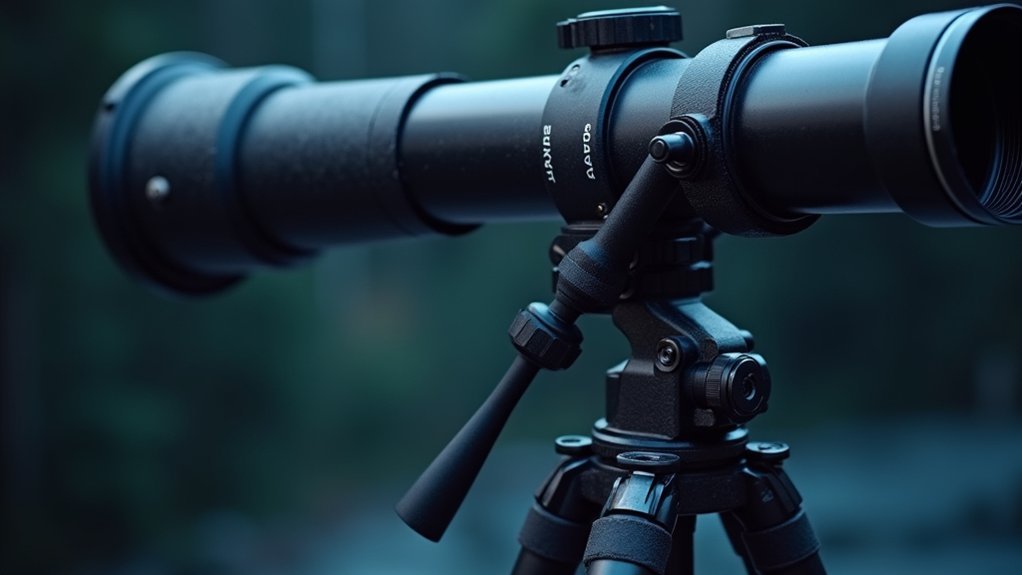
Install dovetail mounting brackets to stabilize your camera setup, maintaining alignment even during slight adjustments.
Don’t overlook the importance of regularly inspecting connection points for wear—damaged threads can silently undermine your setup’s stability.
Always use locking screws or thumbscrews to eliminate unwanted movement during long exposures. This small step can dramatically improve image quality by preventing drift.
Finally, document your camera’s orientation and mounting position after achieving successful alignment. This simple record-keeping practice guarantees quick and accurate setup for future sessions, saving valuable observation time.
Vibration Control Methods for Clearer Images

Even the smallest vibrations can devastate image quality and undermine your telescope’s alignment precision. Effective vibration control starts with creating a stable foundation for your equipment.
Place vibration suppression pads beneath your tripod legs to absorb unwanted movements that disrupt alignment. Make certain you’ve positioned your telescope on solid, level ground—uneven surfaces invite instability.
For enhanced stability, consider these proven techniques:
- Add weight to your tripod or fill legs with sand to increase mass and reduce movement.
- Regularly check and tighten all connections and fittings on your mount to eliminate loose-component vibrations.
- Use remote shutter releases or timers when capturing images to prevent camera shake.
Don’t let vibrations sabotage your astrophotography efforts—implementing these stability measures will greatly improve your imaging results.
Impact of Mount Quality on Camera Alignment
While many amateur astronomers focus heavily on telescope optics, the mount supporting your imaging system serves as the foundation for successful astrophotography. Your mount’s quality directly affects camera alignment stability and precision by minimizing vibrations during imaging sessions.
If you’ve invested in premium optics but paired them with a subpar mount, you’ll likely face frustrating alignment issues. High-quality mounts feature precise gears and encoders that accurately track celestial objects, maintaining proper camera alignment throughout long exposures. Without these, you’ll struggle with field rotation and star trailing.
Precision tracking isn’t just a luxury—it’s essential for capturing the night sky’s subtle details without frustrating alignment failures.
Remember not to exceed your mount’s load capacity, as overloading causes sagging and misalignment relative to the optical axis.
Regular maintenance—checking for mechanical play and ensuring proper balance—is essential for preserving camera alignment and maximizing your imaging results.
Weather Conditions Affecting Camera Stability

Weather conditions represent an often-overlooked dimension of telescope camera alignment that can undermine even the most robust mounting systems.
Your carefully aligned camera can quickly drift out of position when environmental factors interfere with your observation session.
Three critical weather conditions that compromise alignment stability:
- Humidity – High moisture levels cause optical components to fog, disrupting alignment and degrading image quality.
- Temperature fluctuations – Expanding and contracting materials shift your camera’s position relative to the optical axis.
- Wind – Even gentle breezes introduce vibrations that gradually misalign your camera during long exposure photography.
Additionally, atmospheric turbulence distorts light paths, complicating your alignment efforts.
In urban areas, light pollution compounds these challenges, often requiring you to make frequent adjustments to maintain proper alignment throughout your imaging session.
Essential Maintenance for Alignment Mechanisms
Proper maintenance of your telescope’s alignment mechanisms directly affects your imaging success, regardless of how advanced your equipment might be.
Regular cleaning of encoders and alignment components prevents dust accumulation that can compromise tracking accuracy.
Don’t overlook the importance of checking and tightening all alignment-related screws and connections. Loose components inevitably lead to drift during observation sessions.
Your finderscope requires frequent alignment checks since even minor deviations will cause targeting errors in the main optical system.
Ensure your polar finder scope reticle remains properly centered and calibrated to maintain alignment precision.
Finally, keep your telescope’s firmware updated—these software improvements often enhance alignment functionality and fix bugs affecting mechanical performance.
This routine maintenance regimen will greatly improve your camera’s alignment stability and ultimately your astrophotography results.
Selecting Compatible Camera Adapters

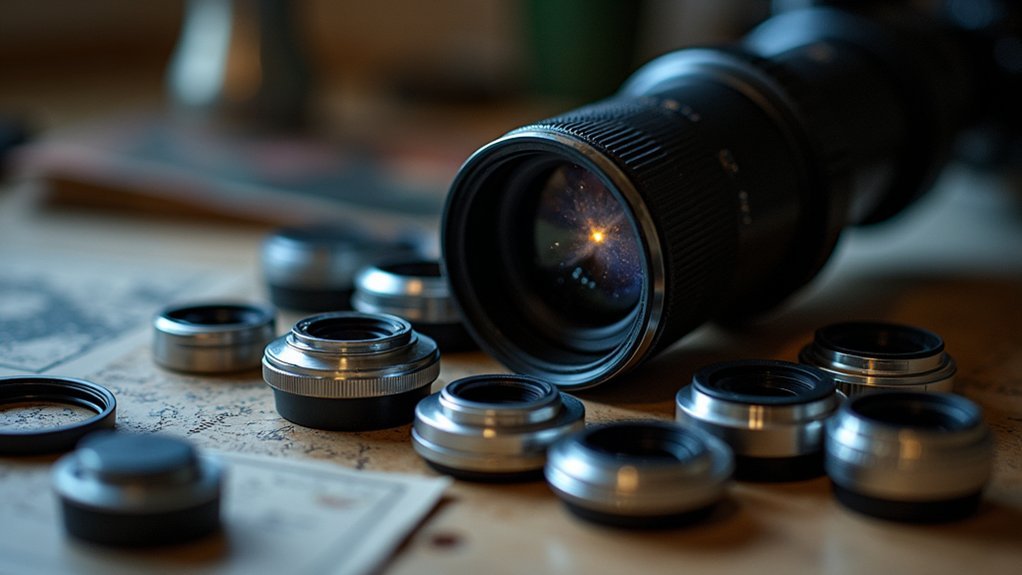
Choosing compatible camera adapters represents one of the most critical decisions in astrophotography equipment setup. Your adapter must precisely match both your telescope’s focuser and camera’s mounting interface to maintain alignment accuracy during imaging sessions.
Generic adapters often lack the necessary precision, causing frustrating misalignment issues and wasted observation time.
When selecting your camera adapter, focus on:
- Thread specification – Verify both diameter and pitch match your equipment’s exact requirements
- Adapter length – Shorter adapters typically provide better stability with less flex or vibration
- Build quality – Precision-engineered adapters from reputable manufacturers deliver superior alignment performance
High-quality adapters might cost more initially, but they’ll save you countless hours of frustration by maintaining reliable alignment throughout your imaging sessions.
Remember that even minor adapter incompatibilities can notably impact your final image quality.
Optimal Camera Positioning Techniques
Once you’ve selected the right adapter, mastering precise camera positioning becomes essential for successful astrophotography. Align your camera with the telescope’s RA horizontally and DEC vertically to maintain consistent positioning during your astro imaging sessions.
Position your camera parallel to the counterweight bar or dovetail saddle plate to minimize twisting and simplify adjustments. For repeatable camera orientation, use paper scales or markings on the mounting plate to document your setup.
During long-term imaging projects, maintain the same orientation between sessions for consistent results. This documentation will save time on future setups and guarantee your images align properly.
Remember to check and readjust your camera alignment regularly, especially after moving your telescope or changing equipment. These small adjustments make a significant difference in your final images.
Budget-Friendly Solutions for Alignment Issues
When your telescope camera struggles with alignment issues, you don’t need to break the bank for effective solutions. Consider using paper scales and markings on your main telescope for precise rotation and repeatable positioning. This DIY approach maintains alignment without expensive equipment while allowing you to drift align effectively.
Improve stability by:
- Adding vibration suppression pads under tripod legs
- Increasing weight on your mount for greater steadiness
- Regularly cleaning encoders to prevent misalignment from debris buildup
Implement a simple drift align technique by taking short exposures and observing star trail angles. This method requires no specialized tools but delivers impressive results.
Don’t forget to engage with astronomy forums—experienced users often share innovative, cost-effective alignment solutions that might work perfectly for your specific setup.
Frequently Asked Questions
How to Align a Telescope Viewfinder?
To align a telescope viewfinder, you’ll need to mount it securely, aim at a distant object during daylight, center it in your main eyepiece, then adjust the finder’s screws until both views match perfectly.
What Telescope Is Difficult to Keep Aligned?
The Celestron 9.25 Goto telescope is notoriously difficult to keep aligned. You’ll face challenges with its StarSense Auto alignment system, especially in light-polluted areas where it struggles to locate celestial objects accurately.
Do I Have to Align My Telescope Every Time I Use It?
Yes, you’ll generally need to align your telescope each time you use it. Environmental conditions, transportation, and even minor shifts can affect accuracy, though finderscopes and alignment tools can make this process quicker and easier.
How Do You Align Telescope Lenses?
To align telescope lenses, you’ll need to align your finderscope with the main telescope first. Use a distant object during daylight, adjust the small alignment screws, and make certain your mount is stable to maintain proper alignment.
In Summary
Camera alignment issues don’t have to ruin your stargazing. You’ve now got several tools to tackle drift problems, from proper weight balancing to vibration control. Remember, it’s often the simple fixes—tightening connections or upgrading adapters—that make the biggest difference. With regular maintenance and the right positioning techniques, you’ll keep your telescope camera perfectly aligned for those breathtaking cosmic shots you’re after.


Leave a Reply