When connecting your camera to a telescope, you’ll need a T-ring specific to your camera brand (Canon, Nikon, Sony, etc.) and a T-adapter matching your telescope’s design. Most use the standard M42x0.75 thread, but check your telescope’s focuser size (1.25″ or 2″). Consider your back focus requirements and whether you want prime focus or eyepiece projection. Proper alignment prevents light leaks and focusing issues. The right adapter combination makes all the difference in your astrophotography results.
Understanding T-Ring vs. T-Adapter: What’s the Difference?

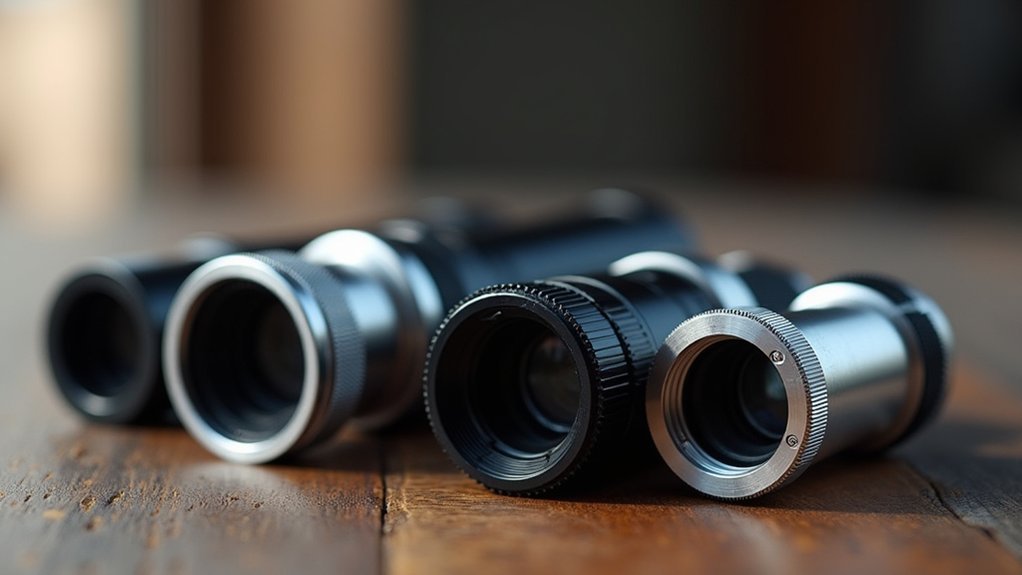
When diving into astrophotography, you’ll quickly encounter two essential components: T-rings and T-adapters.
Though they work together, they serve distinct purposes.
A T-ring connects directly to your camera’s lens mount with a brand-specific design—you can’t use a Canon T-ring on a Nikon camera.
It features a standard female M42x0.75 thread that interfaces with other components.
Your T-adapter, meanwhile, attaches to the T-ring’s threaded side with matching male threads, creating the bridge to your telescope.
It typically adds about 50mm to your optical train’s back focus distance.
Securing these components properly is vital—any misalignment or loose connection will compromise your images with light leaks.
Together, they form the critical link between your camera and the cosmos.
Common Thread Sizes for Telescope Camera Adapters
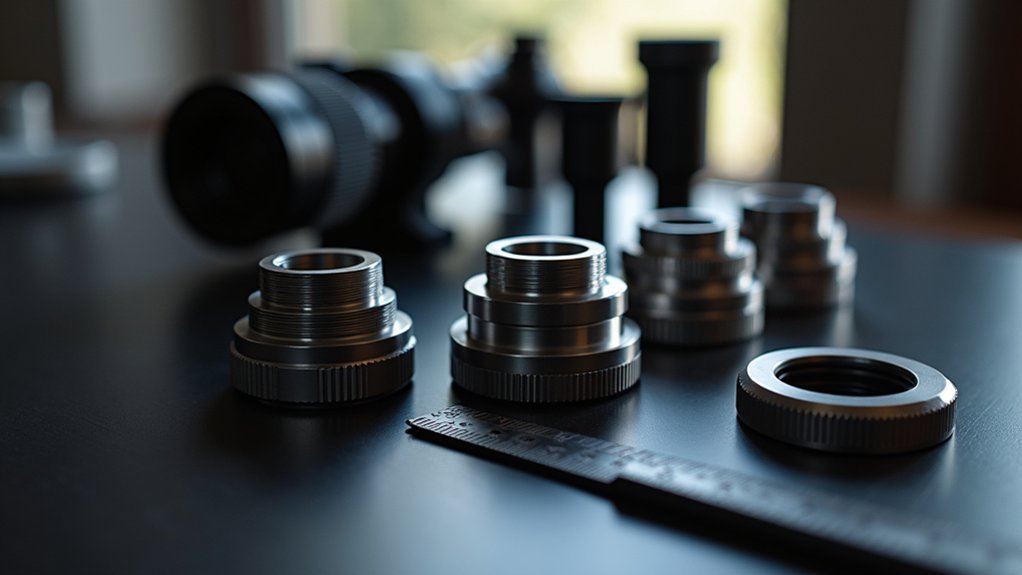
Precision threading forms the foundation of successful astrophotography connections. When selecting adapters for your setup, you’ll encounter several common thread sizes that determine compatibility between your camera and telescope.
The M42x0.75 thread is the standard for most T-rings and T-adapters, serving as the universal connection point for many systems. Other prevalent options include M48 and M54 threads, each with specific applications depending on your equipment.
Schmidt-Cassegrain telescopes typically require T-adapters with 2-24 threads, while refractors and reflectors use 1.25″ or 2″ barrel sizes. Your camera brand will determine which T-ring you need, as these are designed to match specific lens mounts.
Always measure threads carefully—getting the outer and inner diameters wrong by even a millimeter can prevent proper attachment and compromise image quality.
Matching Your Camera Mount Type to the Right Adapter
The proper threading knowledge explored above serves as the foundation for selecting the right adapter for your specific camera system. Different camera brands utilize unique mounting systems with varying flange focal distances—Canon EF (44.0mm) differs markedly from Nikon F (46.5mm).
Understanding proper threading specifications enables seamless integration between your unique camera system and astronomical equipment.
When choosing a camera adapter, you’ll need a T-ring designed specifically for your camera brand, as these aren’t interchangeable between Canon, Nikon, or Fujifilm. Your T-ring will feature a standard female thread (M42x0.75) that must connect to a T-adapter with compatible male threading.
Check your telescope’s focuser size (1.25 or 2-inch) and verify your adapter fits directly or requires extension tubes.
Precise thread size matching between all components prevents light leaks during astrophotography sessions and assures your setup will function properly.
Prime Focus vs. Eyepiece Projection Methods
Prime focus and eyepiece projection represent two fundamentally different approaches to astrophotography, each with distinct advantages in image quality, magnification capabilities, and equipment requirements.
With prime focus, you’ll achieve clearer images by directly connecting your camera to the telescope, though you’re limited to the fixed magnification of your instrument’s focal length.
Eyepiece projection requires additional adapters to position your camera behind an eyepiece, offering variable magnification options at the cost of some light transmission and potential image degradation.
Technique Pros/Cons Comparison
When choosing between telescope camera adapter techniques, you’ll need to weigh the distinct advantages of each method.
Prime Focus Imaging delivers superior image quality with minimal distortion, ideal for capturing the Moon and planets. This setup requires only a T-ring and T-adapter, eliminating light leaks while maintaining image sharpness.
Eyepiece Projection offers increased magnification flexibility that Prime Focus can’t match. By swapping eyepieces, you’ll achieve different magnifications for your targets.
However, this versatility comes at a cost—the additional optical elements often introduce vignetting and light loss.
You’ll notice Prime Focus images typically appear sharper and clearer than those taken via Eyepiece Projection.
While Prime Focus restricts you to a fixed focal length, it rewards you with higher quality results and a simpler setup process.
Achieving Proper Magnification
How you’ll achieve your desired magnification depends markedly on which attachment method you choose. Prime focus utilizes your telescope’s native focal length by connecting your camera directly to the telescope focuser via a T-adapter, delivering maximum clarity and detail for lunar and planetary imaging.
Eyepiece projection offers variable magnification but sacrifices some image quality by introducing additional optical elements between your sensor and target.
| Method | Magnification | Back Focus Considerations |
|---|---|---|
| Prime Focus | Fixed (telescope’s focal length) | Critical for proper infinity focus |
| Eyepiece Projection | Variable (adjustable) | Less critical, depends on eyepiece |
| Barlow + Prime Focus | 2x-5x telescope focal length | Requires precise spacing |
Ensure you’re using the correct adapter for your specific camera and telescope combination to maintain proper back focus—the critical distance needed between your sensor and the optical train for sharp images.
Required Equipment Breakdown
To achieve successful astrophotography, you’ll need specific adapter combinations depending on your chosen method.
Prime focus photography transforms your telescope into a powerful camera lens by using a T-ring specific to your camera brand and a T-adapter that matches your telescope’s focuser (either 1.25-inch or 2-inch).
For eyepiece projection, you’ll require:
- A T-ring compatible with your camera model
- A projection adapter that holds your eyepiece
- The eyepiece itself (different sizes offer varying magnification options)
Consider your imaging goals when selecting equipment.
Prime focus delivers wider field views with better brightness, making it excellent for nebulae and galaxies.
Eyepiece projection provides higher magnification for detailed moon and planetary photography, though alignment precision becomes more critical to prevent image distortion.
Calculating Back Focus Requirements for Your Setup
Since proper focus is the foundation of successful astrophotography, understanding your telescope’s back focus requirements is essential. You’ll need to calculate the distance from your telescope’s lens to your camera’s sensor, accounting for both your camera’s flange focal distance and the length of your adapters.
| Camera System | FFD (mm) | Typical Adapter Length | Total Back Focus Needed |
|---|---|---|---|
| Canon EF | 44.0 | 105mm (T-ring + T-adapter) | 149mm |
| Nikon F | 46.5 | 105mm (T-ring + T-adapter) | 151.5mm |
| Sony E | 18.0 | 105mm (T-ring + T-adapter) | 123mm |
| Micro 4/3 | 19.25 | 105mm (T-ring + T-adapter) | 124.25mm |
For telescopes with limited back focus, consider low-profile T-rings. If you need additional length, extension tubes can help achieve proper spacing—just verify both inner and outer diameter compatibility with your existing equipment.
Budget-Friendly Adapter Solutions for DSLR Cameras

After calculating your back focus requirements, you’ll be pleased to discover that quality telescope-to-camera connections don’t need to empty your wallet.
Affordable T-adapters for DSLR cameras come in standard 1.25-inch and 2-inch barrel sizes, fitting most telescope focusers without requiring expensive accessories.
For under $30, you can find:
- Compatible T-rings for popular brands like Canon and Nikon
- Lightweight aluminum alloy adapters that balance durability with portability
- Standard T-adapters that connect directly to your existing telescope accessories
Amateur astronomers consistently report impressive results with these budget options, capturing detailed images of celestial objects without investing in premium equipment.
Success in astrophotography doesn’t demand premium gear—just smart connections and patient technique.
The lightweight construction makes these adapters ideal for field use while maintaining the stability needed for clear astrophotography.
Smartphone Adapters: Options for Mobile Astrophotography
While DSLR cameras remain popular for serious astrophotography, smartphone adapters have revolutionized celestial imaging for casual stargazers and beginners. These mounts typically feature universal clamps that secure your phone to telescope eyepieces, with adjustable positioning for perfect alignment.
| Adapter Type | Features | Best For |
|---|---|---|
| Celestron Smartphone Adapter | Universal mount, fits 1.25″/2″ eyepieces | Moon & planet imaging |
| Orion SteadyPix | Rotating mechanism, precise alignment | Bright deep-sky objects |
| Budget Universal Clamps | Simple design, limited adjustment | Lunar photography |
When selecting smartphone adapters for astrophotography, verify compatibility with your telescope’s eyepiece diameter. While you won’t achieve professional-quality images of distant galaxies, you’ll capture impressive shots of the Moon and brighter planets without investing in expensive camera equipment.
Extension Tubes and Their Role in Achieving Focus

When your camera refuses to reach focus through your telescope, extension tubes provide the critical solution by increasing the distance between your camera sensor and the focal plane. These aluminum alloy components are lightweight yet essential for proper backspacing in your optical train.
When selecting extension tubes for your setup, you’ll need to evaluate:
Careful selection of extension tubes requires evaluating thread compatibility, required length, and construction quality for optimal results.
- The total length required to achieve focus with your specific telescope-camera combination
- Thread compatibility between your T-ring, camera adapter, and extension tubes
- Quality of construction to prevent light leakage that could compromise image clarity
Be precise when calculating your extension tube requirements, as improper spacing can affect your effective focal length and image quality.
With the right extension tubes in place, you’ll overcome focus challenges and capture sharper celestial images.
Avoiding Light Leaks: Proper Adapter Connections
Light leaks represent one of the most frustrating challenges in astrophotography, silently degrading your images through unwanted illumination.
To prevent this issue, you’ll need to verify your T-ring and T-adapter are perfectly aligned and securely connected.
Verify that your T-ring’s female threads properly match the T-adapter’s male threads, creating a tight seal that blocks stray light.
The combined optical length of your T-adapter (approximately 50mm) plus T-ring and camera should total about 105mm for ideal back focus and minimal light leakage.
Choose adapters made from quality aluminum alloy to reduce internal reflections.
Don’t forget to regularly inspect all threaded connections for gaps or misalignments – even tiny imperfections can cause significant light leaks during your imaging sessions.
Troubleshooting Adapter Compatibility Issues

You’ll need to accurately measure your adapter threads using calipers, noting both the diameter (typically M42, M48, or T2) and the pitch (threads per mm) to diagnose compatibility issues.
Connection types between your camera and telescope often require specific adapters that match both male and female threads correctly, with mismatches being the most common source of mounting problems.
When standard connections won’t work, you might need specialty couplers that bridge different thread standards or consider step-up/step-down rings that effectively connect otherwise incompatible equipment.
Thread Measurement Basics
Although many astrophotographers focus primarily on camera settings and telescope optics, understanding thread measurement basics is vital for troubleshooting adapter compatibility issues.
When connecting your telescope to your camera, precise thread measurements can prevent frustrating compatibility issues that lead to light leaks or misalignment.
To guarantee proper fit between components:
- Measure both the Outer Diameter (OD) and Inner Diameter (ID) of your tubes—typically 53-54mm for OD and 52-53mm for ID in standard setups
- Identify the correct thread type, as telescope equipment often uses M54-0.75 threads rather than the common M42 threads
- Use calipers or thread gauges for precise measurements when sourcing or custom-making adapters
Don’t assume universal compatibility across brands.
Taking a few minutes to verify your specific thread pitch and diameter will save hours of troubleshooting later.
Connection Type Compatibility
Now that you’ve mastered thread measurements, let’s tackle the specific compatibility challenges between different connection types.
When pairing your camera with a telescope, it’s essential that your T-ring matches your camera’s specific mount system. Canon T-rings won’t work with Nikon bodies, and Sony requires its own dedicated model. The standard M42x0.75 thread is most common, but verify if your setup needs larger M48 or M54 threads instead.
For Schmidt-Cassegrain telescopes, confirm your T-adapter’s male threads properly match your T-ring’s female threads. The typical optical length is about 50mm, but check your equipment specifications to validate.
During assembly, properly align and tighten all components to prevent light leaks. Even slightly misaligned connections can compromise your imaging results and cause frustrating compatibility issues.
Frequently Asked Questions
How Do I Choose a Lens Adapter?
You’ll need to identify your camera model, check its lens mount, measure flange focal distance, match thread sizes between T-ring and T-adapter, and consider the adapter’s optical length for proper focus.
What Size Thread Is a T-Adapter?
Common T-adapter thread sizes include M42x0.75, M54x0.75, and M68x1.0. You’ll need to match your specific telescope and T-ring threads. For Schmidt-Cassegrain telescopes, you’ll typically find 2-24 threads for prime focus imaging.
How Do You Fit a Camera to a Telescope?
To fit your camera to a telescope, you’ll need to attach a T-ring specific to your camera model, then connect it to a T-adapter that matches your telescope’s thread size, ensuring proper alignment and secure connections.
What Is the Difference Between T-Adapter and T-Ring?
The difference between a T-adapter and T-ring? Your T-ring attaches to your camera’s specific lens mount, while your T-adapter connects the T-ring to your telescope with matching threads for secure astrophotography setup.
In Summary
Choosing the right telescope camera adapter isn’t as challenging as it seems. You’ll need to match your specific camera mount, understand thread sizes, and consider your imaging method. Don’t forget about back focus requirements and proper connections to prevent light leaks. With the right adapter in hand, you’re ready to capture stunning celestial images that perfectly bridge your camera and telescope technologies.


Leave a Reply