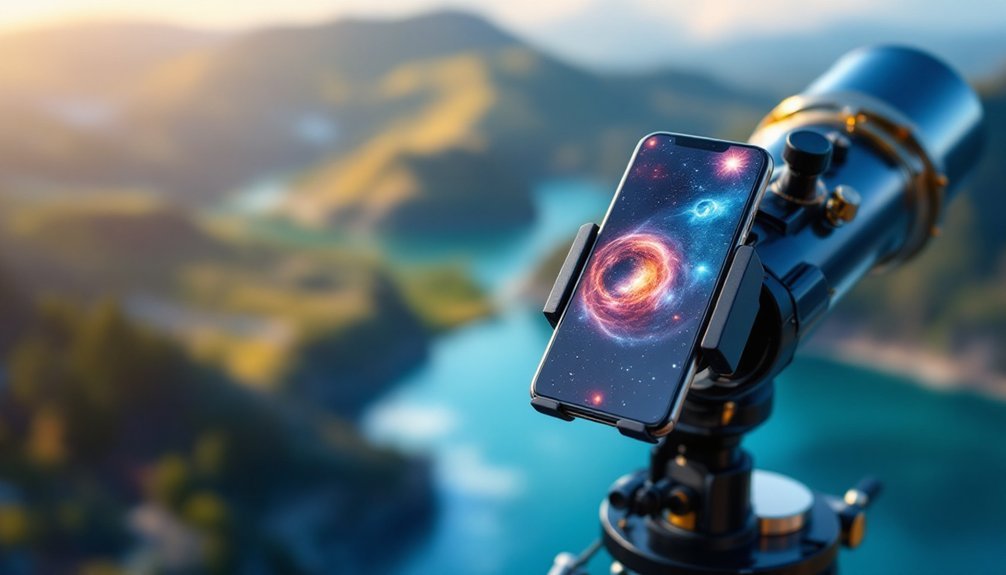
You'll need basic tools like scissors, a drill, and bonding materials to create a custom phone mount for your telescope. Start by building a structural frame with plywood and aluminum, then add adjustable clamps to secure your phone. Use padding to protect both devices and guarantee proper alignment between your phone's camera and the eyepiece. Add safety features like rubber grips and bolts to prevent slips. The right setup will transform your stargazing adventures into stunning astrophotography sessions.
Essential Tools and Materials for Your DIY Mount
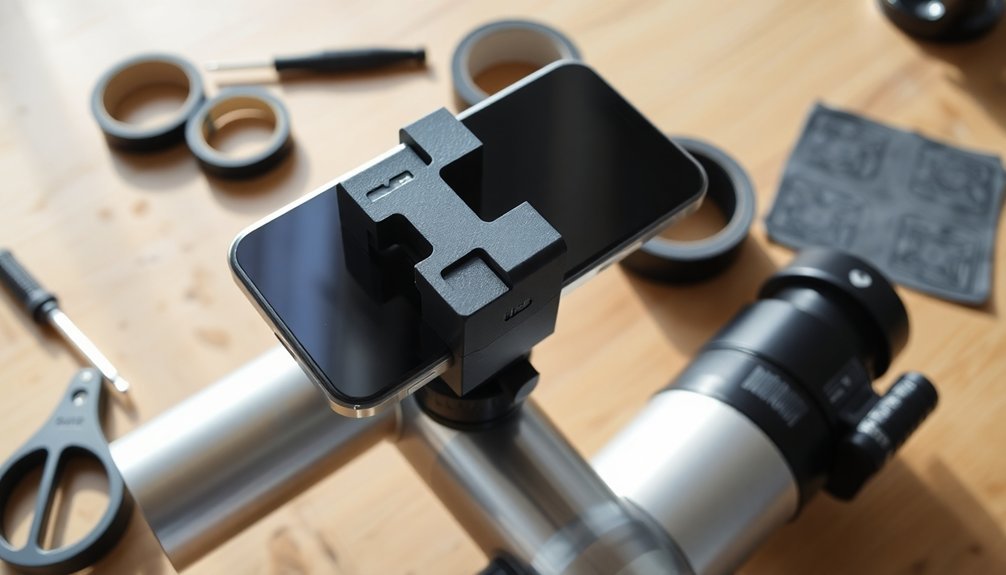
A well-stocked toolbox is your foundation for creating a custom phone-to-telescope mount. You'll need basic cutting tools like scissors and a sharp knife for precise material shaping, plus a drill with various bits for making holes in metal components.
Don't forget a hacksaw or tenon saw for cutting wood and aluminum pieces, and files to smooth any rough edges. Make sure to have a ruler or pencil ready for marking accurate measurements, just as you would need for any telescope mount project.
Clean cuts and smooth edges are essential – keep your hacksaw, tenon saw, and files ready for precision work.
For materials, gather electrical tape, hot glue, and epoxy resin for secure bonding. M4 or M5 screws with nuts and washers will help you assemble metal frames.
PVC pipes, cardboard tubes, and aluminum sheets can form your mount's structure. Add foam or felt padding to protect your phone and guarantee a firm grip.
Remember to include silicone or rubber components to prevent slipping and maintain stability during use.
Building Your Custom Phone Mount Step-by-Step
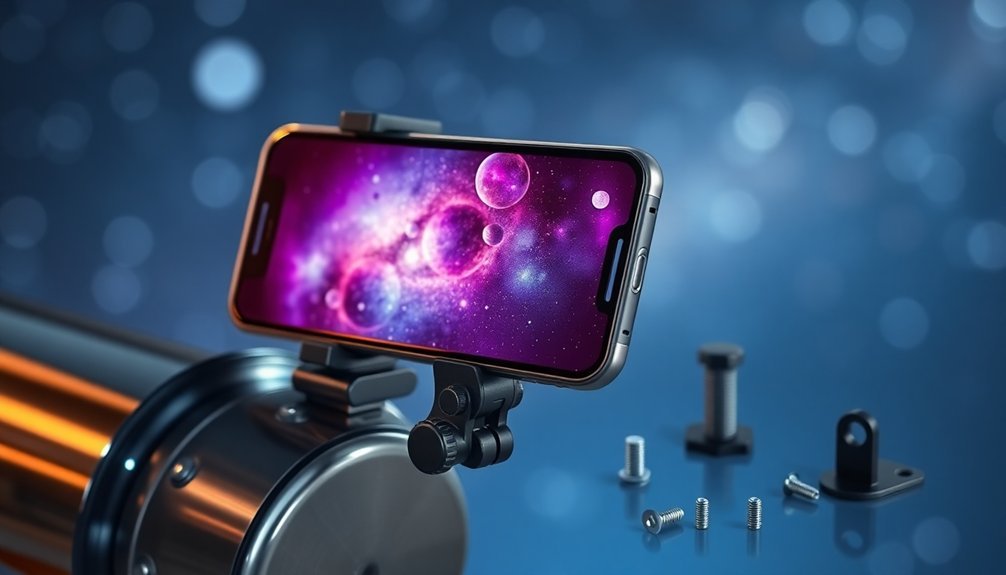
Three main components form the foundation of your DIY phone mount: the structural frame, adapter clamps, and telescope attachment points.
Begin by cutting plywood plates with precise cutouts for dowels and screws, then create a ledge system using softwood strips and felt pads to support your phone. This design enables you to utilize your device's planetarium apps for enhanced stargazing experiences.
Next, assemble the adapter clamps using aluminum blocks and heavy-duty pipe clamps.
Install spring-loaded thumbscrews and threaded rods with wingnuts for secure adjustments. You'll want to solder the rod and wingnut together for enhanced stability.
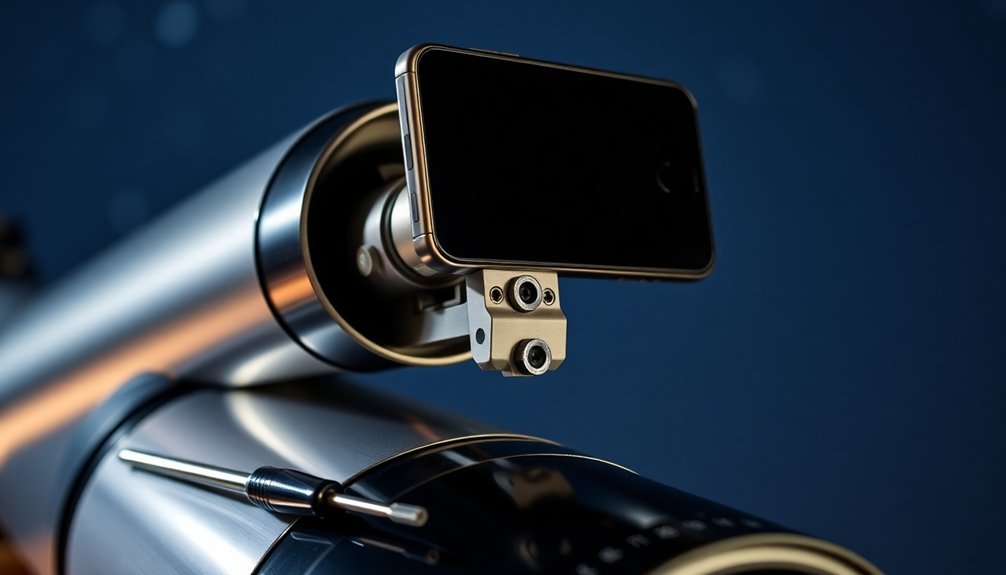
For telescope attachment, you can use a finderscope shoe or create a matching dovetail.
Ascertain your mount allows for about 7° of movement in any direction, and center your phone's camera over the eyepiece.
Test the mount with various phone sizes and refine as needed.
Mounting Options and Design Considerations
You'll find several reliable ways to attach your phone to a telescope, including eyepiece adapters, conduit hangers, and plumbing fitting methods.
When choosing your mounting approach, consider the security of your device by incorporating rubber bands or felt pads to prevent slipping and protect your phone's finish.
Your mount should allow for precise positioning adjustments through tilt mechanisms and rotatable bases to achieve ideal alignment with the telescope's eyepiece. The entire assembly process takes about one hour to complete with basic household tools.
Basic Mount Attachment Types
Several mounting options exist for attaching your smartphone to a telescope, each offering unique advantages for astrophotography.
You'll find direct eyepiece adapters that clamp your phone in perfect alignment with the telescope's lens, making them ideal for detailed captures.
If you're using a finder scope, you can opt for specialized mounts that utilize the finder's shoe with a right-angle adapter. Repurposing an Original Telrad base can provide a stable platform for your phone mount setup.
Magnetic mounts offer quick attachment if your phone has a metal back plate, while Velcro attachments provide a flexible, easily adjustable solution.
For budget-conscious astronomers, DIY options using household materials like plastic containers or 3D printed parts can work effectively.
When choosing your mount type, consider factors like weight distribution, durability, and compatibility with both your phone and telescope's specifications.
Securing Your Phone Safely
When securing your smartphone to a telescope, proper mounting techniques and safety considerations play an essential role in protecting both your equipment and image quality.
You'll want to guarantee your adapter can accommodate your phone's width, typically ranging from 60mm to 87.5mm, and fits eyepieces between 29mm and 45mm in diameter. Use rubber pads to protect your eyepiece from scratches, and always double-check that steel clamps are firmly fastened. Consider using a remote Bluetooth shutter to prevent camera shake while taking photos.
For added stability, incorporate safety bolts on mounting plates to prevent any accidental slips. Position your phone's camera precisely over the eyepiece using the adjustment mechanisms, and don't forget to manage the overall weight distribution.
When mounting heavier setups, you can use a chair for support. Regular maintenance checks will help guarantee your equipment stays secure and functional over time.
Tips for Securing Your Phone Safely
You'll need to create protective cushioning using foam or rubber pads to prevent your phone from getting scratched while mounted to the telescope.
When assembling your DIY mount, make sure you've incorporated strong locking mechanisms like adjustable clamps or secure velcro straps that won't loosen during use.
Test the security of your mounting system by gently shaking the setup before starting your observation session to confirm everything stays firmly in place. Using a medicine bottle cut in half provides an effective base for securing your phone to the telescope eyepiece.
Proper Cushioning Methods
Securing your phone properly against a telescope requires careful attention to cushioning methods and materials. Choose felt or padding materials for a gentle grip, and consider using rubber bands or neoprene sleeves to maintain stability at various angles. The compression spring system helps provide consistent pressure when making fine adjustments to your phone's position.
You'll want to incorporate foam inserts or silicone backing to guarantee your device stays snug without risking damage.
- Protect your precious phone and telescope with soft, reliable cushioning that gives you peace of mind
- Experience the thrill of perfectly aligned shots without worrying about slippage or scratches
- Feel confident knowing your expensive equipment is safely secured
- Enjoy seamless stargazing sessions without constant adjustments
Remember to avoid over-tightening clamps and always use protective cases for added security.
For the best results, combine different cushioning materials strategically – felt for direct contact, foam for stability, and rubber bands for reinforcement.
Sturdy Locking Mechanisms
Three essential locking mechanisms can transform your phone-to-telescope mounting experience.
First, use sturdy pipe clamps to secure your phone mount to the eyepiece – they're versatile and provide excellent stability against wind and movement.
Next, incorporate a rack and pinion system using aluminum blocks and threaded rods, allowing you to make precise adjustments along multiple axes for perfect alignment. This design approach mirrors the premium 3-axis adapters available from major manufacturers.
Finally, don't underestimate the power of rubber-coated grips combined with spring-loaded clamps. They'll reduce vibrations and guarantee your phone stays firmly in place during long observation sessions.
For added security, consider adding self-adhesive Velcro strips as a backup measure.
Remember to stress-test your locking mechanisms before your first viewing session to verify they can handle normal operating conditions.
Testing and Adjusting Your DIY Mount
The final stage of building your DIY phone mount involves critical testing and adjustment procedures to guarantee peak performance.
Start by checking the alignment between your phone's camera and the telescope's eyepiece, making small angular adjustments until you achieve perfect centering. Using Pro Photo mode on your smartphone will give you better control during the testing phase.
Test the mount's stability by gently tapping the setup – your phone shouldn't shift or vibrate excessively.
Fine-tune the focus by adjusting the eyepiece position relative to your phone's camera lens.
- Feel the thrill of capturing your first clear image of the Moon's craters
- Experience the satisfaction of sharing crystal-clear planetary photos with fellow astronomers
- Enjoy the confidence of knowing your DIY mount is as reliable as commercial options
- Discover the joy of revealing your phone's full astrophotography potential
Best Practices for Phone Astrophotography
Once you've perfected your DIY mount setup, mastering the right photography techniques will reveal your smartphone's full astrophotography potential.
Start by enabling your phone's night mode and setting the ISO between 1600-3200. For the best results, use a shutter speed of 20-30 seconds and set your white balance to daylight (5600K).
Use a Bluetooth remote or voice control to prevent camera shake during long exposures. If you're shooting through a telescope, align your phone carefully with the eyepiece and consider using filters for bright objects like the Moon. Specialized apps like Camera+ 2 or FV-5 provide enhanced manual controls for better results.
Don't forget to capture images in RAW format for better editing flexibility. Apps like Snapseed or Lightroom can help enhance your final images, but keep the processing subtle to maintain authenticity.
Frequently Asked Questions
Can Extreme Temperatures During Night Viewing Damage My Phone?
Yes, your phone can be damaged in extreme temperatures. While cold isn't usually harmful, heat above 95°F risks permanent battery damage. You'll want to keep your device within 32-95°F for safe operation.
How Do I Prevent Condensation From Forming Between Phone and Eyepiece?
You'll need to use dew heater strips or hand warmers around the connection point. Keep airflow between your phone and eyepiece, and don't cap them immediately after use. Let moisture evaporate naturally.
Will Regular Phone Cases Interfere With the DIY Mount Setup?
Most regular phone cases won't interfere with DIY mounts. You'll find they work well with Velcro and magnetic attachments, though thicker cases might need adjustments. Remove the case if you encounter fitting issues.
What Apps Work Best With DIY Telescope Phone Mounts?
You'll get great results with NightCap for capturing deep-sky objects, Star Walk for alignment, and any camera app that offers manual controls. Third-party apps with adjustable ISO and shutter speed work especially well.
Can Wind Vibrations Affect Photo Quality With DIY Mounts?
Yes, you'll find wind vibrations notably affect your photo quality with DIY mounts. They're particularly vulnerable to shaking, causing blurry images and star trails. Even light breezes can disrupt your telescope's stability.
In Summary
Now you're ready to start capturing stunning views of the night sky with your DIY phone mount. Remember to test the mount's stability before any serious stargazing sessions, and don't forget to experiment with different camera settings on your phone. You'll get better results with practice, so keep refining your technique and exploring new celestial targets. Share your astronomical photos and inspire others to look up!


Leave a Reply