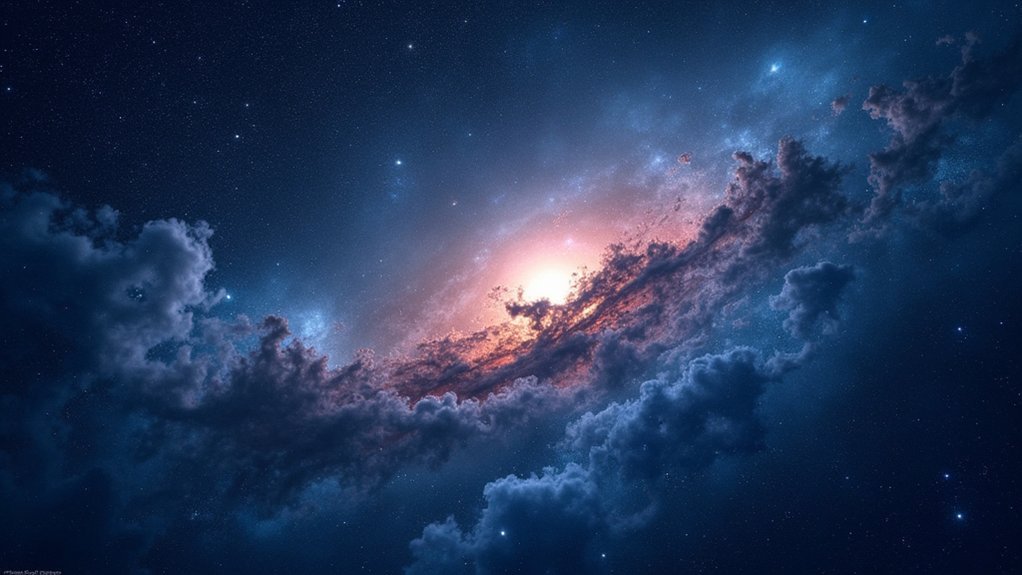
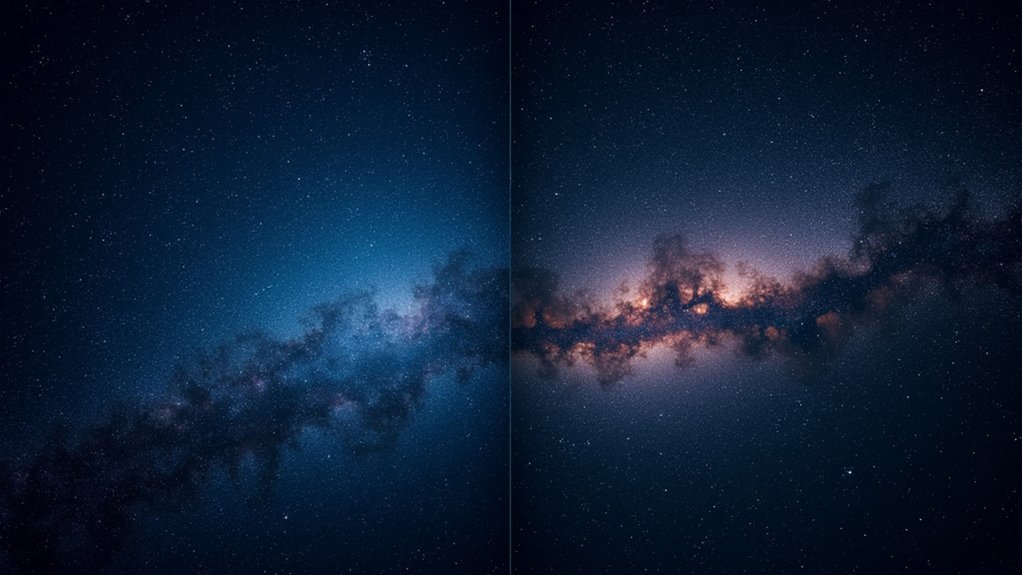
Star reduction is essential in astrophotography to reveal hidden details in nebulae and galaxies while maintaining balanced compositions. You’ll need tools like Photoshop’s Minimum Filter, Siril’s automated scripts, or StarNet++ to effectively reduce star sizes while preserving natural colors. Apply this technique after stretching and noise reduction, using mask-based selection methods and feathering for smooth shifts. Keep star reduction subtle to avoid unnatural results and ghostly remnants. The techniques below will transform your deep-sky images from star-cluttered to professionally balanced.
Why Star Reduction Matters in Astrophotography

While capturing the vastness of the night sky remains the primary goal, star reduction has become an essential technique in modern astrophotography.
When you’re processing Deep Sky images, overly bright stars can dominate your frame, obscuring the delicate structures you’ve worked so hard to capture.
Star Reduction in Photoshop allows you to minimize this stellar bloat, revealing previously hidden details in nebulae and galaxies.
Stellar reduction unveils cosmic secrets hidden beneath overwhelming starlight, bringing subtle celestial structures into focus.
You’ll notice how reducing star size dramatically improves your image’s aesthetic appeal, creating a more balanced composition where celestial objects stand out against the background.
This technique doesn’t just enhance visibility—it transforms your images by preserving natural star color while emphasizing surrounding nebulosity.
For both deep-sky and wide-field photography, proper star reduction helps you showcase the true beauty of your astronomical targets.
Essential Tools for Effective Star Reduction
Three primary tools stand at the forefront of effective star reduction in astrophotography.
First, Siril version 1.2.0-beta1 or newer provides automated star reduction workflows that streamline your processing. You’ll need to verify StarNet++ CLI is properly installed and configured within Siril to achieve ideal results.
Second, Photoshop’s Minimum Filter serves as a powerful star reduction tool, allowing precise control over star sizes. For best results, apply radius settings between 0.3 and 0.7 pixels, then fine-tune using Edit/Fade Minimum command.
Finally, proper image formatting matters greatly. While Siril’s star reduction script works best with stretched .fit files, you can also use .tif or .jpg formats.
Complement these tools with star masking techniques recommended by experienced astrophotographers to preserve star color and detail.
Understanding Star Selection Techniques

You’ll find that mask-based selection methods provide exceptional control when isolating stars from nebulosity in your astrophotography images.
By leveraging luminance threshold targeting, you can quickly identify stars based on their brightness values while preserving important details in dimmer celestial objects.
These techniques complement the Color Range Tool’s capabilities, giving you multiple approaches to achieve precise star selections for reduction without affecting the natural glow of nebulae and galaxies.
Mask-Based Selection Methods
When processing deep-sky images, isolating stars from background nebulosity becomes essential for targeted adjustments. StarMask processes offer effective mask-based selection methods that allow you to separate stars from their surroundings with precision.
You’ll find the Color Range Tool in Photoshop particularly valuable for creating these selections based on star brightness and color characteristics. After selecting your stars, expand and feather the edges to create natural shifts during adjustments. This prevents harsh boundaries that could make your processing look artificial.
For maximum flexibility, try inverting your star mask to work on the background independently.
Don’t hesitate to experiment with different techniques like using the Highlights option in the Color Range Tool—this will greatly improve your selection accuracy. With practice, you’ll develop a workflow that lets you enhance nebulosity while controlling star prominence.
Luminance Threshold Targeting
Selecting stars based on their brightness values marks a cornerstone skill for effective astrophotography processing. By implementing luminance threshold techniques, you’ll gain precise control over which stars appear in your final image.
The Color Range Tool offers an excellent method for establishing this threshold, allowing you to distinguish stars from background noise.
- Adjust the “Fuzziness” slider to include only stars within your desired brightness range
- Apply 1-2 pixel feathering to soften selection edges for natural-looking results
- Experiment with different threshold values to capture faint stars while avoiding artifacts
- Fine-tune your star selection to enhance nebulosity and delicate details
- Use luminance-based targeting to maintain important bright stars while reducing distracting elements
This approach provides exceptional control over your star reduction process, ultimately revealing the subtle details that make astrophotography truly enchanting.
Photoshop Star Reduction Using Color Range Tool
While astrophotographers often seek to capture bright, vibrant stars, sometimes these celestial bodies can overwhelm the delicate details of deep-sky objects.
Stars: beautiful yet sometimes overwhelming, masking the subtle nuances of distant cosmic structures.
To reduce star size in Photoshop, begin by using the eyedropper tool to sample the average color of a star. Then go to Select > Color Range.
Adjust the Fuzziness slider to refine your selection, using the eyedropper+ and eyedropper- tools to fine-tune which stars you’re targeting. Once satisfied, click OK and apply Select > Modify > Feather with a 1-2 pixel radius to soften edges.
Next, apply Filter > Other > Minimum with a radius between 0.3-0.7 pixels. For best results, experiment with different values and use the Preserve: Roundness option to maintain natural star appearance while effectively minimizing their prominence.
Siril and StarNet++ Integration for Star Management

Proper file preparation in Siril is essential for effective star reduction, requiring processed and stretched .fit format images for ideal results.
You’ll need Siril version 1.2.0-beta1 or newer to access the integrated StarNet++ CLI, which you can launch through the Scripts menu by selecting the [DSA] Star Reduction-MTF option.
After running the script, you can blend your star-free and original images to achieve the perfect balance between nebulosity enhancement and natural star appearance.
Siril File Preparation
Two key components must be in place before you can effectively manage stars in your astrophotography images using Siril.
You’ll need Siril version 1.2.0-beta1 or newer and the StarNet++ CLI properly configured within your Siril installation.
For successful star reduction, guarantee you:
- Use processed, stretched images (.fit format preferred)
- Store the star reduction script in your custom scripts folder
- Refresh the script list after adding new scripts
- Access star reduction via Scripts menu > [DSA] Star Reduction-MTF
- Monitor progress in the console window
To enhance your results, don’t hesitate to modify the script values in the .ssf file using any text editor.
Remember to set both highlighted values equally for consistent star reduction across your stunning astrophotography images.
StarNet++ Process Configuration
Integrating StarNet++ with Siril creates a powerful combination for managing stars in your deep-sky images.
To get started, verify you’re running Siril version 1.2.0-beta1 or newer with the StarNet++ CLI properly installed and configured on your system.
For best star reduction results, apply StarNet to your already processed and stretched images, preferably in .fit format.
Once your image is ready, run the StarNet++ script and monitor its progress through the console screen, which provides real-time feedback as it works.
Want more control over your star reduction?
You can fine-tune the process by modifying script values in the [DSA] Star Reduction-MTF.ssf file. These adjustments allow you to customize how aggressively StarNet reduces star sizes before re-running the script.
Blending Star-Free Images
Achieving stunning nebula details while maintaining perfect star representation requires mastering the art of blending star-free images with your originals.
The integration of Siril and StarNet++ offers powerful star management capabilities for your astrophotography workflow.
- Open your processed, stretched image in Siril
- Run the star reduction script first
- Execute StarNet++ through Siril’s command line interface
- Layer the resulting star-free image over your original in any editing software
- Adjust opacity and blending modes to find the perfect balance
This technique gives you complete control over star sizes and visibility while preserving nebula details.
You’ll create a more balanced final image where stars complement rather than overwhelm the celestial objects.
The blended result maintains the aesthetic quality of your image while showcasing faint details that stars might otherwise obscure.
Balancing Detail Preservation When Reducing Stars

When processing deep-sky images, the delicate balance between star reduction and detail preservation can make or break your final image. You’ll need to avoid excessive stretching which causes detail loss and overexposed stars.
| Technique | Parameter | Effect | Best Practice |
|---|---|---|---|
| Minimum Filter | 0.3-0.7 pixel radius | Controls reduction amount | Start conservative |
| Morphological Transformation | Intensity value | Maintains star shape | Adjust iteratively |
| ArcsinhStretch | Stretch factor | Preserves star color | Apply before reduction |
| Feathering | Selection edge | Creates smooth shifts | 5-10 pixel feather |
Fine-tune your approach by combining these techniques with careful color management. This guarantees your star cores remain vibrant while nebulosity details stay intact. Remember that successful star reduction isn’t about eliminating stars entirely—it’s about creating harmony between celestial elements while maintaining the natural beauty of your image.
Common Pitfalls to Avoid During Star Reduction
When reducing stars in your astrophotos, you’ll regret overdoing the reduction as it creates unnatural images with ghostly star remnants.
Star haloes often appear when you’ve applied too aggressive processing parameters, creating distracting rings around what should be clean stellar points.
Getting your processing order wrong—such as applying star reduction before proper noise reduction or sharpening—can compound these issues and make salvaging your image nearly impossible.
Overdoing Star Reduction
Balance forms the foundation of effective star reduction in astrophotography. When you overdo star reduction, your images can quickly transform from stunning cosmic scenes to artificial-looking compositions.
Setting the radius too low in the minimum filter often compresses stars excessively, removing critical details from surrounding nebulosity.
- Star sizes become unnaturally small or disappear entirely
- Multiple aggressive iterations blur star shapes and destroy natural roundness
- Faint details become compromised when balance isn’t maintained
- Color and brightness of stars can shift to unnatural tones
- Aesthetic quality suffers as star saturation diminishes
For ideal results, aim for subtle adjustments between 0.4 and 0.7 pixels. This moderate approach enhances visibility of delicate nebula features while preserving the integrity and character of your stars.
You’ll create more natural-looking images that maintain the authentic beauty of the night sky.
Haloes Around Stars
One of the most frustrating problems you’ll encounter during star reduction is the formation of unnatural haloes around stars. These distracting rings can quickly undermine your hard work and create an artificial appearance in your final image.
To avoid these haloes, don’t excessively stretch your images before applying star reduction techniques. When using the Minimum filter, start with a modest radius of about 1 pixel, as larger values often generate prominent haloes. Remember to feather your selections before applying the filter—this softens star edges and minimizes halo formation.
Be careful with multiple iterations of star reduction; each pass can amplify the halo effect. Instead, limit yourself to one or two applications.
Throughout the process, carefully monitor star color and brightness to prevent unnatural glows that detract from your image’s overall quality.
Processing Order Mistakes
The sequence in which you apply star reduction within your astrophotography workflow can make or break your final image. Understanding common processing order mistakes will help you achieve more natural-looking results and preserve the delicate details of your deep sky objects.
- Applying star reduction too early, before initial stretches and noise reduction, diminishes effectiveness.
- Stretching images excessively before star reduction creates bloated stars that are harder to process.
- Failing to use Edit/Fade Minimum immediately after the Minimum filter application.
- Ignoring artifacts that appear during processing, which can permanently damage image quality.
- Proceeding without creating a backup of your original image, leaving no fallback option.
The proper processing order guarantees your star reduction enhances rather than compromises your hard-earned astrophotography data.
Star Reduction for Different Image Types and Focal Lengths
When approaching star reduction across various image formats and focal lengths, you’ll need to adjust your techniques appropriately to achieve ideal results.
While star reduction works on .jpg, .tif, and .fit formats, you’ll get superior results with .fit files due to their enhanced dynamic range and bit depth.
For different focal lengths, adjust your minimum filter radius settings accordingly. Longer focal lengths typically require larger radius values, while shorter focal lengths benefit from more conservative adjustments.
Try pixel radius values between 0.3 and 0.7 for wide-field images to preserve delicate details.
Consider using Morphological Transformation as a late-stage process, especially with short focal length images where stars are naturally smaller.
Combine star reduction with exposure adjustments to prevent star cores from becoming oversaturated during processing.
Software Comparison: Free vs. Paid Star Reduction Options

Many astrophotographers face essential decisions when selecting star reduction software, weighing cost against capability in their workflow. While free options provide an entry point, paid software typically delivers superior results.
- Free options like GIMP offer basic capabilities through filters such as Erode, perfect for beginners exploring astrophotography.
- Paid software like Photoshop provides advanced tools including the Color Range Tool and Minimum filter for precise star selection.
- PixInsight delivers sophisticated processing tools specifically designed for star reduction, though with a steeper learning curve.
- StarNet++ automates star removal and integrates with other applications like Siril.
- Community experience suggests beginners often start with free options before moving to paid solutions as their skills advance.
Your processing results will typically reflect your investment, with paid options providing enhanced control and quality for serious astrophotography work.
Repairing Star Color After Size Reduction
Star reduction techniques, while effective at improving nebulosity visibility, often compromise the natural colors of stellar objects in your images. To address this common issue, you’ll want to implement targeted color repair strategies in your post-processing workflow.
Consider using the Repaired HSV Separation Script, which specifically restores natural star hues that become distorted during star reduction. You can also try blurring the A and B channels in Lab color space to mitigate the effects of blown-out star cores.
For best results, monitor star color throughout your entire workflow. Increase color saturation both before and after stretching your image to enhance star vibrancy.
Remember that prevention is valuable too—reducing exposure times during capture will help preserve star colors that are easier to maintain during star reduction processes.
Handling Blown-Out Star Cores During Processing
Blown-out star cores present one of the most challenging obstacles in astrophotography post-processing. When bright stars lose their detail due to overexposure, recovery options become limited. Your best strategy starts with prevention—carefully managing exposure times during image capture to preserve stellar details.
If you’re facing blown-out cores in your existing data, try these techniques:
- Adjust the A and B channels in Lab color space to restore color balance in overexposed areas.
- Apply targeted Deconvolution to enhance definition in partially blown star cores.
- Implement HDR processing by blending differently exposed frames of the same target.
- Make minor recoveries using luminance masks focused on the brightest areas.
- Prioritize shorter exposure times in future sessions to prevent core detail loss.
Remember that even advanced processing techniques can only partially recover blown-out cores compared to properly exposed originals.
Incorporating Star Reduction Into Your Complete Workflow
While managing blown-out star cores focuses on recovery, proper star reduction represents a proactive approach to enhancing your deep-sky images.
Position this technique strategically toward the end of your workflow, after completing initial stretches and noise reduction to maximize faint detail visibility.
Prepare your processed, stretched images in .fit format before executing the [DSA] Star Reduction-MTF script in Siril.
Monitor the console for progress as the automation works. For more aggressive results, you can run the script twice or adjust the highlighted values to increase reduction intensity.
For ultimate control, combine techniques from both Siril and Photoshop, using the Minimum Filter and Color Range Tool to fine-tune star appearance.
This thorough approach guarantees your deep-sky targets remain the focal point while stars complement rather than dominate your final image.
Frequently Asked Questions
Does Star Reduction Affect the Scientific Accuracy of Astrophotography Data?
Yes, star reduction affects scientific accuracy by altering photometric data. You’re modifying the original light captured, which can compromise measurements of star brightness, color, and position relationships in astronomical research.
Can Star Reduction Techniques Be Applied to Video Astronomy Captures?
Yes, you can apply star reduction to video astronomy captures. When you stack your video frames, you’ll have an image that’s suitable for the same star reduction techniques used in traditional astrophotography processing.
How Does Atmospheric Seeing Impact Star Reduction Effectiveness?
Poor atmospheric seeing creates bloated, distorted stars that are harder to reduce effectively. You’ll need stronger reduction settings during turbulent conditions, while pristine seeing allows for more subtle, natural-looking star reduction results.
Do Star Reduction Methods Work on Images Taken Under Light Pollution?
Yes, star reduction methods work effectively on light-polluted images. You’ll still see benefits as these techniques target star size regardless of background brightness. They’re especially useful when light pollution washes out fainter stars.
Will Star Reduction Techniques Damage Planetary Details in Wide-Field Images?
Star reduction techniques won’t damage planetary details in your wide-field images if applied carefully. You’ll find planets remain intact since they appear as small discs rather than point sources like stars.
In Summary
When you’ve mastered star reduction, you’ll transform your astrophotography from cluttered starfields to gallery-worthy images that showcase nebulosity and galaxies. Remember, it’s all about balance—reduce stars enough to highlight deep sky objects without creating an artificial look. Experiment with the techniques we’ve covered, find what works for your style, and don’t be afraid to develop your own signature approach to taming the stars.


Leave a Reply