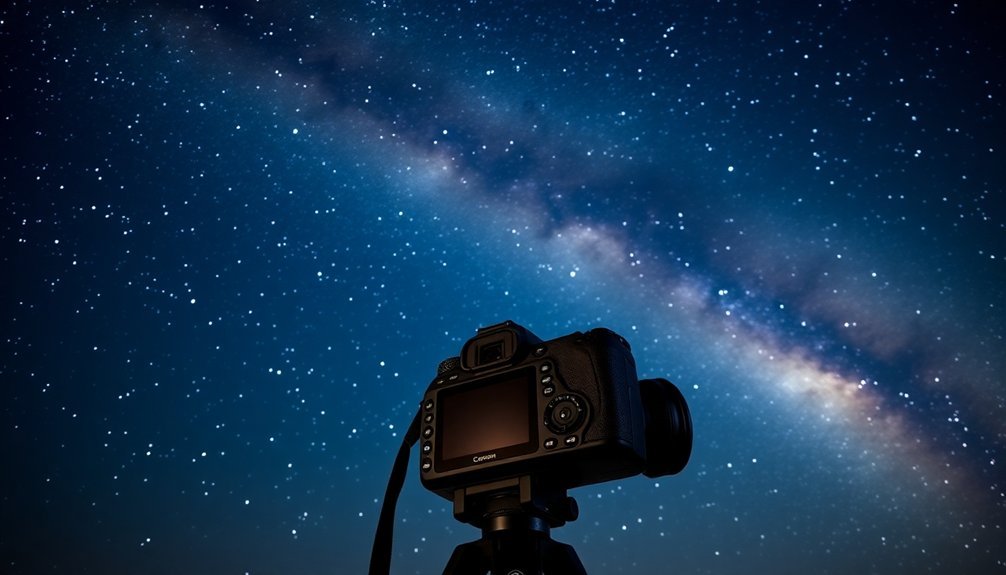
For beginner astrophotography, you'll need a DSLR camera with manual controls and high ISO capabilities, like the Canon EOS Rebel T7. Start with a sturdy tripod and wide-angle lens (f/2.8 or wider). Set your camera to manual mode, ISO between 1600-6400, and shutter speed of 15-30 seconds. Use Live View to focus on bright stars, and shoot in RAW format. Find dark sky locations using Dark Site Finder for best results. This guide will illuminate your path to capturing stunning celestial shots.
Essential DSLR Features for Night Sky Photography
When venturing into night sky photography, you'll need specific DSLR features to capture the stars in their full glory.
Look for a full-frame camera with a high-megapixel sensor, as this will help you capture more light and detail while minimizing noise at higher ISO settings.
Your camera should have manual mode functions that let you control ISO (800-1600 range), aperture (f/2.8 or wider), and shutter speed. Using a shutter-release cable will help minimize any camera shake during long exposures.
You'll also want a magnified preview feature on the LCD screen for precise manual focusing on stars. Weather sealing is essential for protecting your gear during nighttime shoots.
Don't forget about image stabilization, though you'll primarily shoot on a tripod.
Choose a camera that's compatible with fast aperture lenses (f/1.4 to f/2.8) to maximize light gathering in dark conditions.
Choosing Your First Astrophotography Camera
When you're ready to start astrophotography, you'll need a DSLR camera with essential features like manual settings, high ISO capabilities, and the ability to shoot in RAW format.
Entry-level DSLRs like the Canon EOS Rebel T7 and used models can provide excellent value while offering the necessary functionality for night sky photography. You'll be glad to know that high magnification isn't required to capture stunning celestial objects.
If your budget allows, consider investing in cameras specifically designed for astrophotography, such as the Canon EOS Ra or Nikon D810A, which offer enhanced low-light performance and specialized sensors for capturing celestial objects.
Essential DSLR Camera Features
Three essential features make a DSLR camera suitable for astrophotography: manual controls, sensor quality, and adaptability.
You'll need full manual control over your camera's settings to capture the night sky effectively. This includes adjusting shutter speed, aperture, and ISO independently to achieve the perfect exposure.
Your camera's sensor size matters too – full-frame sensors excel at wide-angle Milky Way shots, while crop sensors work well for deep-space photography. Popular beginner options like the Canon EOS Rebel T7 provide an excellent entry point into astrophotography.
Look for a DSLR with good weather sealing to protect against moisture and dust during outdoor shoots.
Make sure it includes Live View functionality, which lets you magnify the image on your screen for precise focusing on stars.
These features, combined with the ability to attach telescope adapters and other accessories, will give you the versatility needed for various types of astrophotography.
Budget-Friendly Camera Options
Several budget-friendly DSLR cameras offer excellent entry points into astrophotography without breaking the bank.
You'll find the Canon Rebel T7 provides great image quality and versatility, while Nikon's D3400 and D5300 excel with better ISO performance and reduced noise at higher settings.
If you're looking to save even more, consider used options like Canon's T3i or Nikon's D3100. Regardless of which model you choose, ensure it has manual operation capabilities for precise control over exposure settings.
These older models still deliver reliable results for both nightscape and deep-sky photography. You can also explore astro-modified cameras, which enhance sensitivity to specific wavelengths ideal for deep-sky imaging.
Whatever camera you choose, you'll benefit from wide lens compatibility and the ability to attach your DSLR to telescopes.
Recommended Entry-Level Models
Selecting your first astrophotography camera doesn't have to be overwhelming. For beginners, the Canon EOS Rebel T7 offers an excellent entry point with its user-friendly interface and affordable price tag.
If you're willing to spend a bit more, the Canon T8i provides additional features like a tilt-LCD display, which proves invaluable when composing through a telescope. The low readout noise of higher-end models ensures clearer night sky images.
The Nikon D3400 stands out for deep-sky photography, delivering impressive quality at a reasonable cost.
For those ready to invest more seriously, consider the Nikon D7500 or Canon EOS 80D. Both cameras offer enhanced image quality and dynamic range, making them ideal as you progress in your astrophotography journey.
Must-Have Equipment for Stargazing Success
Your first astrophotography kit needs a DSLR camera with manual controls and good low-light performance, like the Canon EOS Rebel XSi or Nikon Z6.
You'll want to pair your camera with a quality wide-angle lens such as the Rokinon 14mm f/2.8 or Sigma 24mm f/1.4, which excel at capturing vast night sky scenes. An accurate equatorial tracking mount is crucial for following celestial objects as they move across the night sky.
A sturdy tripod and remote shutter release are non-negotiable essentials that will help you achieve sharp, shake-free images during long exposures.
Essential DSLR Camera Features
When venturing into astrophotography, specific DSLR camera features become vital for capturing the night sky's wonders.
You'll need a camera with manual mode capability to control exposure settings precisely, and manual focus to get sharp images of distant stars.
Your DSLR should excel in high ISO performance for low-light conditions, while offering long exposure capabilities without creating unwanted light trails. A full-frame DSLR will provide superior performance at high ISO settings with minimal noise compared to other camera types.
Live view functionality is essential as it helps you achieve precise focus on stars, which can be challenging in the dark.
When selecting your camera, verify it's compatible with essential accessories like remote shutter releases and intervalometers.
It's also worth considering models with weather sealing, as you'll often be shooting in outdoor conditions where moisture and dust protection become valuable features.
Wide-Angle Lens Selection
A wide-angle lens stands as the cornerstone of successful astrophotography, enabling you to capture breathtaking views of the night sky. For full-frame cameras, you'll want a focal length between 14mm and 35mm, while crop-sensor cameras work best with 10mm to 24mm lenses. Light gathering capabilities are crucial when shooting in dark conditions.
| Lens Type | Best For | Key Feature |
|---|---|---|
| 14mm f/2.8 | Milky Way | Widest view |
| 24mm f/1.8 | Stars/Landscape | Fast aperture |
| 35mm f/1.4 | Detail shots | Sharp corners |
When selecting your lens, consider the aperture carefully. While f/2.8 or wider helps gather more light, you'll often get sharper images by stopping down slightly. The popular Rokinon 14mm f/2.8 offers excellent value for beginners, though equivalent Canon or Nikon options provide similar quality with better build construction.
Tripod and Stability Gear
Successful astrophotography relies heavily on rock-solid camera stability during those essential long exposures.
You'll need a sturdy tripod that can handle your camera's weight and remain steady for 15-30 second shots under starlit skies.
When choosing your tripod, consider carbon fiber for its lightweight portability, though aluminum models offer a budget-friendly alternative. The Ravelli 72 Pistol Grip is an excellent choice for beginners, offering both stability and intuitive camera positioning.
Look for features like quick-release plates, adjustable leg lengths for uneven terrain, and either a ball head or pistol grip for smooth positioning.
Don't forget to check the load capacity matches your gear setup.
To maximize stability, use your tripod's bubble level, secure the feet firmly (spikes work great on soft ground), and always trigger your shots with a remote or cable release to avoid camera shake from pressing the shutter button.
Camera Settings to Capture Stellar Images
Capturing stunning stellar images requires mastering the essential camera settings that bring out the magic of the night sky.
You'll want to shoot in Manual Mode, setting your aperture to the lowest f-number available (ideally f/2.8 or lower) to collect maximum light. Mounting your camera on a secure tripod is essential for preventing any unwanted movement during long exposures.
For sharp, well-exposed star photos, follow these critical settings:
- Set your shutter speed between 15-30 seconds, using the 500 rule (divide 500 by your focal length) to avoid star trails.
- Push your ISO between 1600-6400, depending on your camera's capabilities and ambient light conditions.
- Use daylight white balance to maintain accurate star colors, and always shoot in RAW format for better post-processing flexibility.
Remember to use manual focus and live view to guarantee your stars appear crisp and well-defined in the final image.
Finding the Perfect Dark Sky Location

The quest for pristine night skies begins with finding locations far from the urban glow that plagues most photographers.
You'll want to use tools like Dark Site Finder and Light Pollution Maps to identify areas rated low on the Bortle Scale, which measures light pollution from 1 to 9.
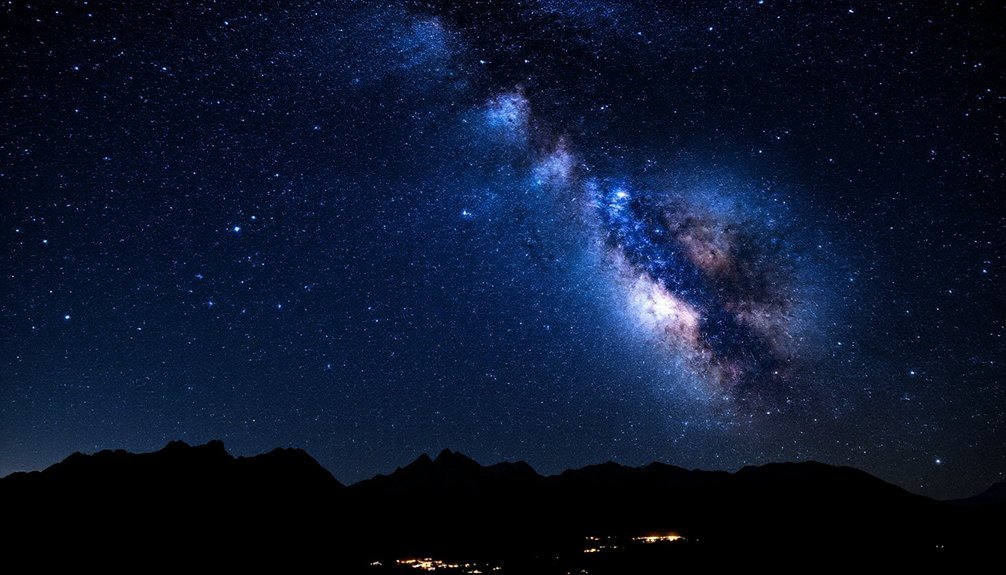
America's certified Dark Sky Places offer excellent opportunities for astrophotography. Places like Central Idaho Dark Sky Reserve or Cherry Springs State Park in Pennsylvania let you capture up to 30,000 celestial features on clear nights.
Dark Sky Places across America provide pristine conditions for photographing the cosmos, from Idaho's vast reserve to Pennsylvania's starlit state park.
Many national and state parks also provide ideal shooting conditions away from city lights.
Before heading out, check the moon phase and weather forecast. You'll get the best results during new or waning moons with clear skies.
Don't forget to download stargazing apps like Stellarium to help predict celestial events and plan your shoot timing effectively.
Creating Stunning Star Compositions
Stunning star photography relies on five essential compositional elements working in harmony: camera settings, focus techniques, foreground interest, star trails, and post-processing adjustments.
Your success depends on mastering these fundamentals while applying creative vision to capture the night sky.
To create compelling star compositions, follow these core techniques:
- Set your camera to manual mode with ISO 400-1600, f/4 or lower aperture, and 15-30 second exposures.
- Use live view mode to focus on bright stars, preferably with a wide-angle lens like 14mm.
- Frame your shot using the rule of thirds, incorporating silhouettes or landmarks as foreground elements.
Don't forget to stabilize your camera with a tripod and remote shutter. Bringing along extra batteries and memory cards ensures you won't miss any perfect shooting opportunities.
For enhanced results, try stacking multiple exposures in post-processing software to reduce noise and bring out more detail in your final image.
Mastering Manual Focus at Night

While star photography demands precise composition, mastering manual focus at night sets the foundation for razor-sharp images.
You'll need to switch to manual focus since autofocus struggles in darkness and can't reliably lock onto stars.
Start by using your camera's Live View feature and zoom in on the brightest star you can find.
Taking a few test shots will help you assess and refine your focus accuracy.
Slowly adjust your focus ring until the star appears as a sharp point of light.
While infinity focus marks on your lens can serve as a starting point, they're not always perfectly accurate. You might need to make slight adjustments.
If you're including landscape elements, consider using hyperfocal distance calculations to guarantee both foreground and stars remain sharp.
Don't forget to adjust your viewfinder's diopter for clear vision, and keep a flashlight handy to illuminate distant objects when needed.
Common Mistakes and Quick Solutions
Every beginner faces common pitfalls in astrophotography, but most can be quickly resolved with the right knowledge.
You'll achieve better results by avoiding basic equipment and exposure mistakes while focusing on proper planning.
1. Don't rush into buying expensive gear – start with a sturdy tripod and quality lens with f/2.8 or lower aperture. Small wide field refractors provide excellent image quality for beginners seeking crisp results.
Add specialized equipment like filters only as you progress.
2. Master manual mode settings first – use ISO 800-1600, wide apertures, and the 500 Rule to prevent star trails.
Keep checking your histogram rather than relying on the preview screen.
3. Plan your shoots strategically – use apps like Stellarium to identify targets, check light pollution levels at your location, and guarantee proper polar alignment before shooting.
Post-process your images using free software tools to enhance details and reduce noise.
Editing Your First Star Photos

Getting your star photos ready for display requires mastering essential editing techniques in software like Adobe Lightroom or Photoshop.
Start by making basic adjustments to exposure and contrast to reveal details in dark skies. Set your white balance to 4000K to 4500K for optimal color representation in dark locations. Boost your whites to +46 and reduce blacks to -52 to make stars pop against the background.
Next, increase clarity to +55 and adjust saturation to enhance star visibility and color depth. You'll want to carefully manage noise reduction to maintain image quality without creating a milky effect.
Use the dehaze tool to bring out Milky Way details, and apply gradient filters for targeted exposure adjustments.
For advanced editing in Photoshop, try the 'Minimum' filter with a 0.3-0.8 pixel radius to reduce star bloating.
Remember to work non-destructively by editing copies of your original files.
Frequently Asked Questions
How Do I Prevent Lens Condensation During Cold Night Shoots?
Keep your lenses in airtight bags until they acclimate to cold temps. Use lens hoods and wrap hand warmers around them. Don't expose gear to sudden temperature changes, and keep checking for moisture buildup.
Can I Stack Multiple Star Photos to Reduce Noise Without Special Software?
Yes, you can stack star photos using Photoshop's layer stacking. Open your images as layers, select them all, choose 'Convert to Smart Object,' then use 'Stack Mode > Mean' for noise reduction.
What Clothes and Supplies Should I Pack for Nighttime Photography Sessions?
You'll need warm layers, thermal socks, insulated gloves, and a waterproof jacket. Pack your camera gear, tripod, headlamp with red light, snacks, water, and spare batteries for comfortable nighttime shooting.
How Do I Calculate the Maximum Exposure Time Before Stars Streak?
Use the 500 Rule: divide 500 by your lens's focal length. If you're using a crop-sensor camera, multiply the focal length by 1.6 first. This gives you the maximum seconds before stars streak.
Should I Remove UV Filters When Photographing Stars at Night?
Yes, you'll want to remove UV filters when shooting stars. They're not necessary for night sky photography and could potentially add unwanted reflections or slight image degradation, especially if you're using lower-quality filters.
In Summary
You're now equipped with the fundamentals of shooting stars with your DSLR. Remember to prioritize a camera with good low-light performance, pack essential gear like a sturdy tripod, and scout dark locations away from light pollution. Don't get discouraged if your first shots aren't perfect – practice manual focusing, experiment with different settings, and refine your post-processing skills. The night sky awaits your creativity.


Leave a Reply