For night sky photography, focus on these key intervalometer settings: exposure duration (15-30 seconds to prevent star trails), interval time (1 second between frames for seamless sequences), frame count (30-100 depending on your celestial subject), delay timer (2-10 seconds to eliminate camera shake), and total shooting time (calculated based on your desired final image). Mastering these settings will transform your ordinary night shots into stunning astrophotography that captures the universe’s hidden wonders.
5 Essential Intervalometer Settings For Night Sky Photography
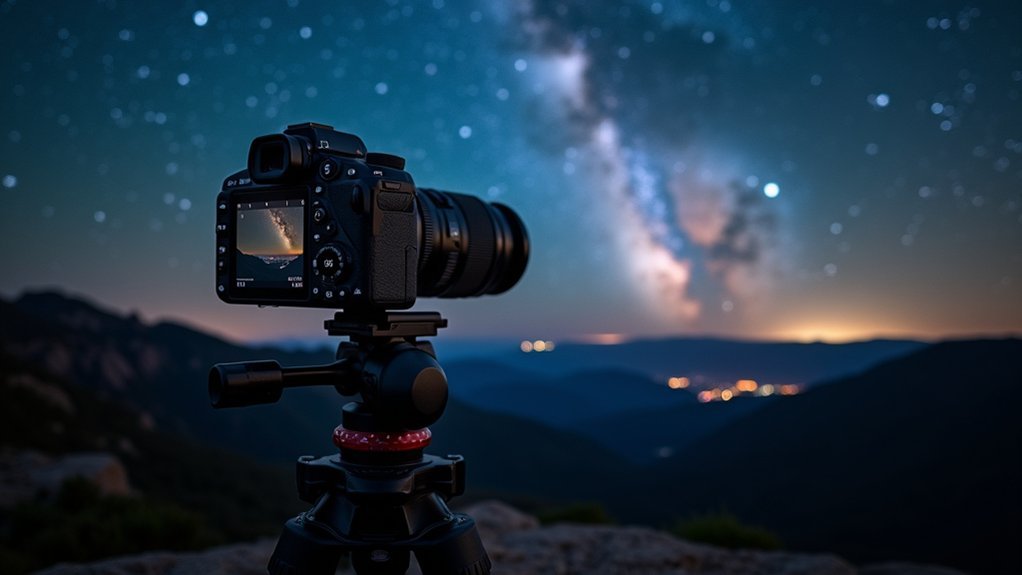
When diving into night sky photography, mastering your intervalometer settings becomes essential for capturing those awe-inspiring celestial images. Your intervalometer’s self-timer (1 second to 99 hours) helps eliminate camera shake that can ruin detailed night shots.
The perfect night sky photograph begins with mastering your intervalometer—your key to eliminating camera shake and capturing celestial wonders.
For star trails, set your long exposure time appropriately and use 1-second interval settings between consecutive shots to create smooth trails when stacking images later. You’ll want to specify a total number of shots (anywhere from 1-999) based on your desired final image.
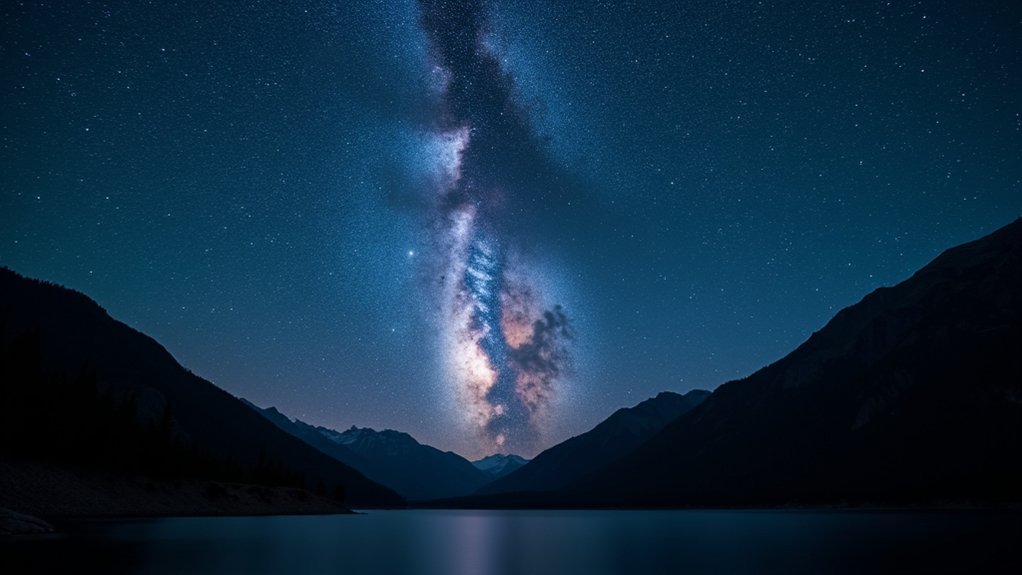
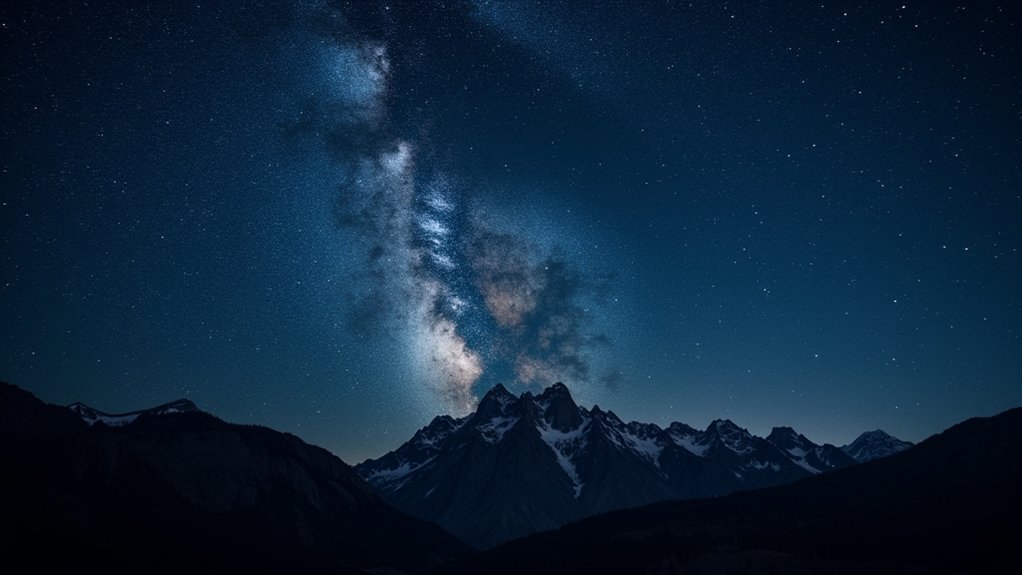
Photographing the Milky Way requires more precise settings: try 20-second exposures with 1-second intervals between approximately 31 shots. This combination balances detail capture while minimizing noise.
Time-lapse sequences benefit from carefully calculated intervals that match your intended playback speed, ensuring smooth celestial motion in your final creation.
Optimizing Exposure Duration for Star Detail
Although capturing crisp star detail requires precision, you’ll need to carefully balance your exposure duration to prevent unwanted star trails. The ideal range is 15-30 seconds per shot, as the Earth’s rotation becomes noticeable in longer exposures.
When setting your intervalometer for night photography, consider using multiple 4-minute exposures with 1-second intervals for effective image stacking. Open your aperture wide (f/2.8 or faster) to maximize light collection during each frame. Adjust your ISO settings between 1600-3200 based on your camera’s noise performance.
For Milky Way photography specifically, aim for around 20 seconds per exposure to capture galactic details while minimizing motion blur.
This combination of camera settings—optimized exposure duration, wide aperture, and appropriate ISO—will dramatically improve your star photography results while maintaining noise reduction.
Setting Intervals Between Frames for Seamless Sequences
Once you’ve optimized your exposure duration, the timing between shots becomes your next priority.
For most night sky photography, you’ll want to set your intervalometer to a 1-second interval between frames. This guarantees each exposure is completely captured without gaps in your sequence.
If you’re using longer exposure times, consider extending your interval to give your camera sufficient processing time between shots. For star trail photography, try setting your interval to 0 seconds for continuous shooting, creating seamless blends between images.
Remember to calculate your total shooting time based on your settings. For example, 30 shots with 1-second intervals will take approximately 30 seconds to complete.
You can also utilize your intervalometer’s self-timer feature to eliminate camera shake, allowing time for stabilization before the sequence begins.
Configuring Frame Count for Different Celestial Phenomena
The number of frames you capture can make or break your night sky photography session, as different celestial phenomena require specific frame counts to achieve ideal results.
Frame count can determine whether your astrophotography succeeds or fails—each celestial subject demands its own precise capture strategy.
Your intervalometer needs careful configuration based on what you’re shooting to optimize your shutter release sequence.
- Star Trails: Program approximately 30 shots with 4-minute exposure times to create those dramatic circular patterns as Earth rotates.
- Milky Way: Set your frame count to 15-20 exposures (20 seconds each) for stacking images and noise reduction, or extend to 31 shots when capturing more detail.
- Meteor Showers: Configure 60-100 frames for time-lapse videos with exposure times between 10-30 seconds depending on brightness.
For longer celestial phenomena like lunar eclipses, adjust your intervalometer to capture 50-100 shots with shorter intervals to document the complete change.
Programming Delay Timers to Reduce Camera Vibration

Camera vibration represents one of the most common yet overlooked challenges in night sky photography, potentially ruining otherwise perfect shots with subtle blurring.
Your intervalometer’s delay timer function is a powerful solution to this problem. For basic night photography, set a 2-second delay timer to allow camera shake to dissipate after pressing the shutter.
When capturing long exposure shots, extend this to 10 seconds for complete stabilization, especially after making adjustments to your setup.
Most intervalometers permit delays from 1 second to 99 hours—customize based on your specific shooting session needs.
Always verify your intervalometer settings before beginning to verify the delay timer is active.
This simple technique considerably reduces vibrations, resulting in enhanced image quality and sharpness in your final photographs.
Frequently Asked Questions
What Is the Best Setting for Night Sky Photography?
You’ll get the best night sky photos with 20-30 second exposures, f/2.8 or lower aperture, and appropriate ISO for your camera. Don’t forget to use an intervalometer for multiple shots without shake.
What Is the 500 Rule in Night Sky Photography?
The 500 rule helps you avoid star trails by dividing 500 by your lens’s focal length. You’ll get your maximum exposure time in seconds—for example, a 20mm lens allows up to 25 seconds.
What Is the Best ISO for Night Sky Photography?
For night sky photography, you’ll want to use ISO 1600-3200 on most cameras. Test your specific model, as modern sensors can handle up to 6400 while maintaining quality. Higher ISOs capture more stars but increase noise.
What Is the Best Interval for Astrophotography?
For astrophotography, you’ll want to set your interval between 1-5 seconds. Use shorter intervals (1 second) for Milky Way stacking and longer intervals (4 minutes with 1-second gaps) for star trails.
In Summary
You’ll find mastering your intervalometer transforms your night sky photography from basic shots to breathtaking sequences. By applying these five settings—exposure duration, interval timing, frame count, delay timers, and power management—you’re ready to capture everything from star trails to meteor showers with professional results. Remember, practice makes perfect, so don’t wait for the next clear night to put these techniques to work.


Leave a Reply