Processing raw astrophotography images involves ten key steps: import raw files to a dedicated folder, calibrate with dark/flat/bias frames, stack multiple exposures, perform initial stretching, reduce noise, enhance stars while preventing bloat, manage color calibration, remove gradients, adjust contrast, and apply final sharpening. You’ll need software like Deep Sky Stacker and Photoshop for best results. With practice, you’ll transform faint celestial objects into vibrant cosmic landscapes that reveal the universe’s hidden wonders.
10 Easy Steps To Process Raw Astro Photos
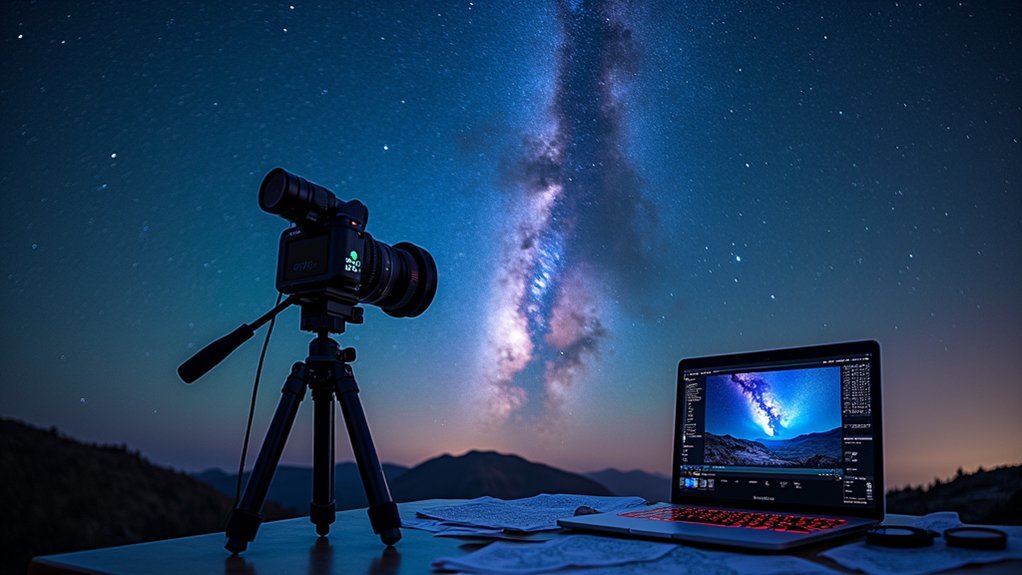
Once you’ve spent hours under the night sky capturing celestial wonders, you’ll need to transform those raw files into stunning images that showcase what your camera has recorded.
Start by ensuring your DSLR captures with long exposure times and ideal ISO settings to maximize signal collection.
Long exposures and optimized ISO settings are the foundation of stellar astrophotography, capturing precious photons from the cosmos.
Import your raw files into Deep Sky Stacker, including light, dark, flat, and bias frames. DSS will stack these into a data-rich TIFF file, forming the foundation of your processing workflow.
In Photoshop, convert from 32-bit to 16-bit format before applying the “exposure and gamma” stretching method.
Use histogram adjustments and curves to enhance details while preserving star colors. Reduce noise with tools like NoiseXTerminator, then fine-tune saturation for natural color representation.
Final levels adjustments will polish your masterpiece, resulting in a final image worthy of showcasing.
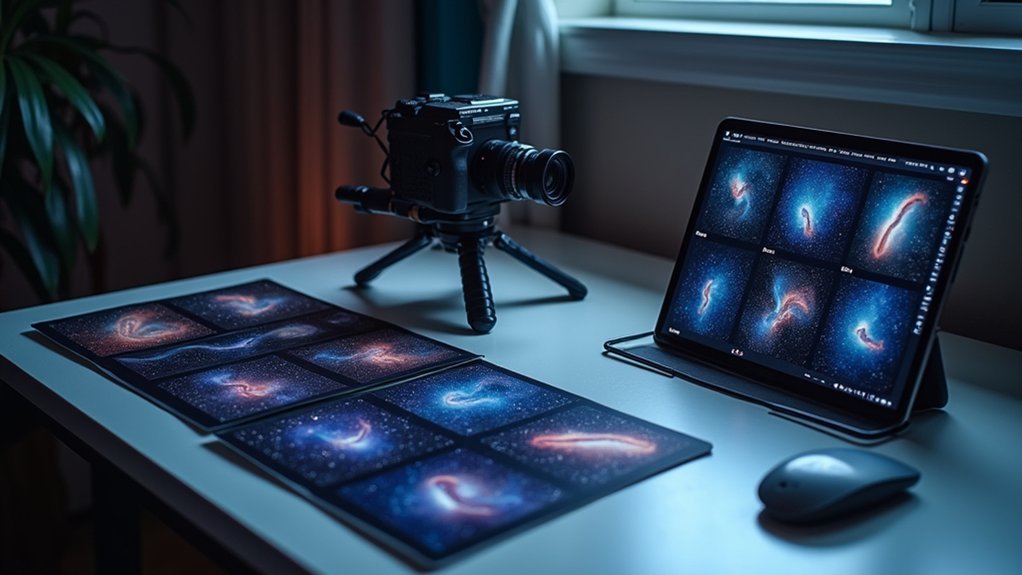
Import and Organize Your Raw Astro Files
Before diving into processing, you’ll need a solid organizational system for your astrophotography files. Start by creating a dedicated folder specifically for your astro raw files, making them easily accessible when you’re ready to process.
When you import your images, always use raw formats (CR2 or CR3) instead of JPEG to preserve valuable image data. Software like DeepSkyStacker (DSS) makes importing straightforward—just remember to include all calibration frames (dark, flat, and bias) for peak quality.
Develop a consistent naming convention for your files to streamline organization and quickly locate specific images during processing.
Don’t forget to regularly back up your raw files to cloud storage or external drives, protecting your original data for future edits or enhancements.
Calibrate Images With Dark, Flat, and Bias Frames
With your raw files properly organized, the next critical step in astrophotography processing involves calibration. These calibration frames are essential for noise reduction and enhanced image quality.
Your modern Nikon D850 benefits greatly from proper calibration, even with its advanced sensor technology. Aim to capture at least 20 frames of each type to guarantee effective pixel rejection during stacking.
| Frame Type | Purpose | When to Use |
|---|---|---|
| Dark | Captures sensor noise profile | Long exposures |
| Flat | Corrects vignetting and dust spots | All imaging sessions |
| Bias | Removes fixed pattern noise | Always |
| Master | Combined calibration frames | During processing |
Stack Multiple Exposures for Improved Signal
Stacking multiple exposures represents the cornerstone of successful astrophotography processing, transforming faint celestial details into vibrant visual data.
When you stack multiple exposures, you’re effectively combining all captured light over time, considerably reducing noise and enhancing signal strength in your photo of the night sky.
Aim to collect at least 20 calibration subs for effective pixel rejection during stacking.
Make certain your polar alignment is precise, especially for longer exposures, to avoid star trails that can compromise your final image.
Quality matters—poor individual frames will diminish your stacked result.
Use specialized software like Deep Sky Stacker, Siril, or Astro Pixel Processor to combine your raw files into a single, high-quality image that reveals details invisible in individual frames.
Initial Stretching to Reveal Hidden Details
Most stacked astrophotography images appear disappointingly dark at first glance, hiding their cosmic treasures beneath seemingly blank data.
That’s where initial stretching comes in—a vital step to reveal the celestial details your camera captured.
After converting your stacked TIFF from 32-bit to 16-bit, create a new layer and adjust the curves upward to enhance the signal.
Watch your histogram carefully as you stretch the image, ensuring you properly set the black point to eliminate light pollution while preserving star colors and details.
For consistent results, consider automating this process with a simple Photoshop action.
This not only saves time but also helps maintain uniformity across your image collection.
With proper stretching, you’ll transform that initially disappointing dark frame into a vibrant cosmic landscape revealing nebulosity and star details.
Color Calibration and White Balance Adjustment
You’ll need to master color calibration basics to guarantee your celestial objects display their true colors rather than artificial hues from light pollution or camera sensors.
When processing your astro images, start by setting your white balance to daylight (5500K) as a baseline, then fine-tune each color channel using Photoshop’s Histogram tool to eliminate unwanted color casts.
For more precise results, you can selectively adjust white balance in specific regions of your image, allowing nebulae to maintain their natural reds while star colors remain balanced.
Color Calibration Fundamentals
Three critical factors separate amateur astrophotos from professional-quality images, with color calibration standing firmly at the top of this list.
When you capture raw astro images, they typically contain unnatural color casts that don’t represent the true appearance of celestial objects.
Proper color calibration involves adjusting your image’s color channels based on known reference values to achieve accuracy.
Start by setting your white balance between 3500K and 5000K for deep sky objects, which provides a neutral foundation.
Next, examine your histogram in editing software to identify color imbalances—particularly in the green channel, which often dominates astrophotography images.
Without these calibration steps, your stars may appear artificially blue or yellow, instantly revealing your image as amateur work rather than an accurate representation of the night sky.
Selective White Balance
Every stunning astrophoto requires selective white balance adjustments to achieve accurate, natural-looking colors. When processing deep-sky images, you’ll need to combat various color tints that can affect your final result.
Use reference stars like Vega or Polaris to establish baseline white balance, aiming for temperatures between 3500K-5500K for most astro images. Check your histogram to verify RGB channels display relatively equal distributions without color cast peaks.
In Photoshop, leverage the curves adjustment tool to fine-tune individual color channels while preserving natural celestial hues.
| Object Type | Recommended Temp | Calibration Approach |
|---|---|---|
| Nebulae | 4000K-4500K | Star reference |
| Galaxies | 4500K-5500K | Background neutrality |
| Star Clusters | 3500K-4000K | RGB balance check |
Noise Reduction for Cleaner Background
The night sky’s beauty in astrophotography is often marred by unwanted noise—those grainy specks that diminish image quality. Effective noise reduction starts after you’ve stacked your sub exposures, preserving the delicate signals captured from faint celestial objects.
Try tools like NoiseXTerminator to tackle noise while maintaining critical details, especially in images shot at high ISO settings. Apply luminosity selections to target only noisy areas without affecting stars and deep-sky objects.
For ideal results, work in multiple passes. Begin with a light application to preserve detail, then gradually increase intensity only if needed.
Consider incorporating median blending during the stacking process to enhance your signal-to-noise ratio before final processing. This approach guarantees your final image features a clean background while maintaining the authentic beauty of cosmic objects.
Star Enhancement and Management
When processing astral images, you’ll need to balance star enhancement with preventing the dreaded star bloat that can overwhelm your composition.
You can apply techniques like luminosity masking or star removal tools to manage overly bright stars while maintaining their color integrity and natural appearance.
Carefully distinguish between noise and stellar detail by using selective adjustments rather than global changes, ensuring your stars enhance rather than dominate your final astrophotograph.
Star Bloat Prevention
As you process your astro images, managing star bloat becomes essential for creating balanced, professional-looking photographs. During post processing, use star removal tools like StarXTerminator or Starnet++ to create starless versions that preserve underlying details and colors.
To enhance stars without bloating them, apply the Colour Range tool to select brightest stars for targeted adjustments. When working with selections, employ feathering techniques (expand 2px, feather 2px) to avoid harsh edges.
| Prevention Technique | Benefits | Difficulty |
|---|---|---|
| Star removal tools | Preserves details | Medium |
| Feathered selections | Natural edges | Easy |
| Luminosity masks | Selective adjustments | Advanced |
| Gentle stretching | Maintains star size | Medium |
Noise Versus Detail
Balance forms the cornerstone of effective noise management in astrophotography. When processing your images, tools like NoiseXTerminator can considerably reduce noise while preserving critical details and star colors, ensuring a natural final appearance.
You’ll need to make careful tradeoffs between noise reduction and detail preservation. Excessive noise reduction might eliminate unwanted artifacts but can also erase subtle star features essential to your composition.
For ideal star enhancement, use Photoshop’s Colour Range tool to select the brightest stars, then feather your selection before applying saturation adjustments. This boosts star colors without affecting background elements.
Consider implementing Arcsinh stretching (typically at values between 35-60) to recover lost color in stacked images.
Gradient Removal and Background Correction
Tackling unwanted gradients in your astrophotography represents one of the most essential steps in creating professional-looking images. To achieve effective gradient removal, create a new layer in your software and apply the Dust and Scratches filter, which isolates gradients while preserving deep sky object details.
During background correction, utilize the histogram view to identify and address any green color cast, ensuring a more natural night sky representation. Adjust the black point using curves to eliminate sky glow, maintaining background brightness between 15-30 on the histogram scale.
The gradient extraction tools are particularly valuable in the initial processing phase for removing light pollution.
Finish with subtle enhancements to saturation and vibrancy, keeping your processed image natural without introducing artificial colors to your cosmic captures.
Final Contrast and Sharpening Adjustments
Once you’ve completed gradient removal and background correction, enhancing your image’s contrast and sharpness becomes the critical final step in the astrophotography workflow.
Your final contrast adjustments should aim for a background brightness between 15-30, maintaining a natural look while revealing faint celestial details.
- Use curves or levels in Photoshop to enhance dynamic range and visual appeal
- Apply noise reduction (like NoiseXTerminator) before implementing sharpening techniques
- Utilize Unsharp Mask or High Pass Filter cautiously to enhance details without introducing artifacts
- View your image at 100% zoom while making adjustments to guarantee quality isn’t compromised
- Balance contrast enhancement with natural appearance, avoiding overly dark backgrounds or blown-out highlights
Frequently Asked Questions
How Do You Take Astrophotography for Beginners?
To take astrophotography as a beginner, you’ll need a camera with manual settings, a tripod, and patience. Set low aperture, high ISO, and long exposure times. Practice at dark locations on clear nights.
What Is the Best Astrophotography Processing Software?
For beginners, PixInsight leads professional options, while Deep Sky Stacker offers free stacking capabilities. You’ll also benefit from Photoshop for final touches and GIMP if you’re seeking a cost-effective alternative.
How Do Astrophotographers Take Photos?
You’ll use a camera with telescopes or wide-angle lenses mounted on tracking equipment. Shoot long exposures at high ISO in dark locations, then stack multiple images to reveal celestial details invisible to the naked eye.
Which Photoshop for Astrophotography?
Adobe Photoshop CC is your best choice for astrophotography. You’ll benefit from its curves, levels, and layer blending features. Don’t forget to work with 16-bit TIFF files for maximum tonal range and detail preservation.
In Summary
You’ve now learned the complete workflow from import to final adjustments. Don’t be discouraged if your first attempts aren’t perfect—astrophotography processing is an art that improves with practice. Keep experimenting with different techniques and settings. The skills you’ve gained will help transform your raw captures into stunning cosmic portraits that showcase the wonders you’ve captured through your telescope.


Leave a Reply