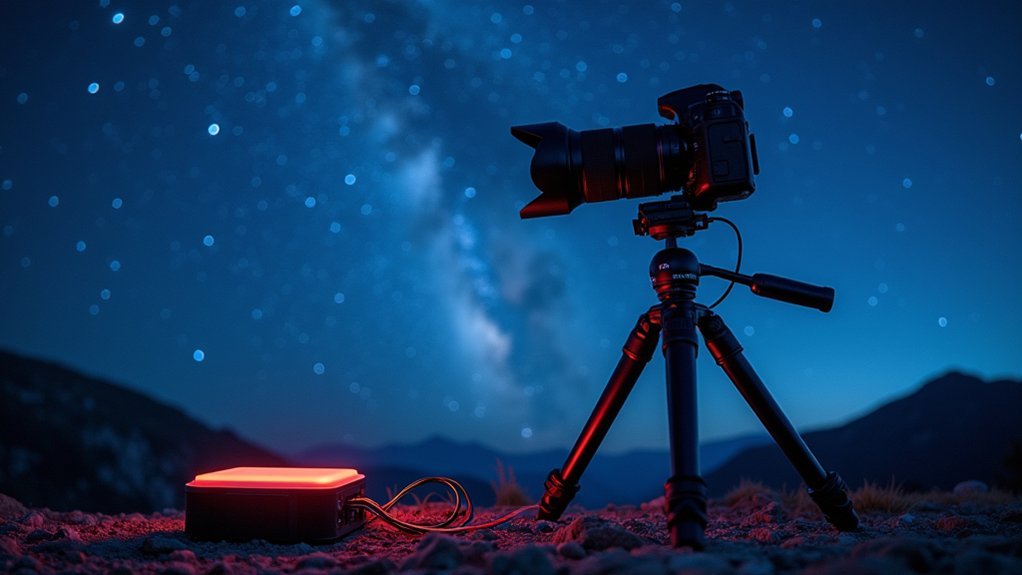
For astrophotography, you’ll need reliable power supplies that match your equipment’s voltage requirements—typically 5V for cameras and 12V for mounts. Pack high-capacity lithium batteries (20,000+ mAh) with multiple output ports for remote sessions. To maximize shooting time, use power-saving modes, bring extra batteries for cold nights, and consider weatherproof cases to protect your setup. A proper power distribution system reduces cable clutter and guarantees your gear stays running when that perfect celestial moment arrives.
Understanding Power Requirements for Astrophotography Equipment
Three critical factors will determine the success of your night sky photography sessions: proper equipment, technical knowledge, and reliable power.
Before heading out, you’ll need to understand your power needs across all devices—cameras typically require 5V while equatorial mounts need 12V or more, drawing 1-3A of current.
Knowing your gear’s voltage and amperage requirements is essential when planning power solutions for astrophotography sessions.
For remote locations, invest in portable power stations or lithium-ion battery packs that can handle your calculated load.
A power distribution system will streamline your setup, reducing cable clutter while providing consistent power supply to multiple devices.
Don’t underestimate cold temperatures’ impact on battery performance.
Always carry backup batteries and develop a recharging plan to prevent unexpected power shortages during those critical moments when the perfect celestial scene emerges.
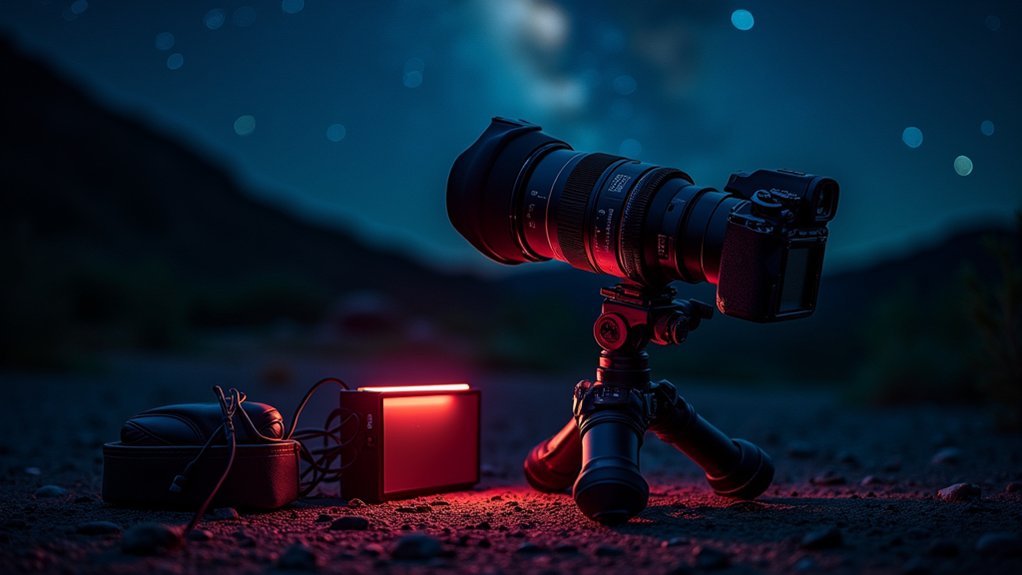
Portable Battery Options for Remote Night Sky Shooting
With your power requirements calculated, let’s examine the specific portable battery options that will keep your gear running under starry skies.
Lithium-ion power banks and solar generators offer reliable energy sources for remote shooting locations where grid power isn’t available.
For extended imaging sessions, select batteries with at least 20,000 mAh capacity, ensuring multiple nights of night sky photography without recharging.
Look for models featuring multiple output ports—both USB and 12V DC—to power your camera, mount, and accessories simultaneously.
Lightweight models like the Anker PowerCore series balance portability with power capacity, fitting easily in your backpack while delivering sufficient energy.
Always choose batteries with a built-in charge level indicator to monitor power consumption and prevent unexpected shutdowns during those perfect astronomical moments.
Managing Power Consumption During Long Exposure Sessions
Because long exposure astrophotography can drain batteries at an alarming rate, efficient power management becomes essential for successful night shoots.
Start by investing in high-capacity lithium-ion batteries or compatible portable power banks designed specifically for camera equipment.
Consider adding a dual-battery grip to double your power supply and enable longer shooting sessions without interruption.
Activate power-saving modes and disable unnecessary features like Wi-Fi and GPS to extend battery life.
Cold temperatures greatly reduce battery efficiency, so always bring extra fully charged batteries and a reliable battery charger to your location.
For truly extended sessions, employ a power splitter or DC power adapter that connects your camera directly to a portable power source, ensuring continuous shooting throughout the night without the anxiety of sudden power loss.
Budget-Friendly Power Solutions for Beginners
Power requirements shouldn’t prevent newcomers from enjoying night sky photography. High-capacity lithium-ion batteries offer reliable performance for beginners, providing cost-effective power through multiple recharge cycles during long exposure sessions.
Power concerns shouldn’t stop you—modern batteries deliver affordable reliability for all your nighttime stargazing adventures.
Consider portable power banks with at least 20,000mAh capacity—they’re affordable insurance against power loss at your dark sky location.
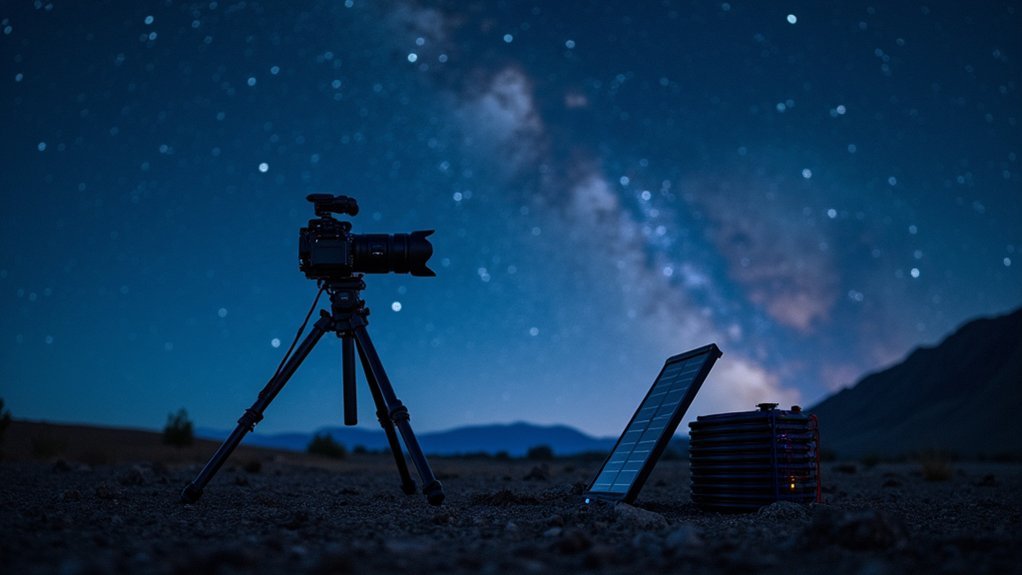
Solar-powered chargers present an eco-friendly alternative, especially valuable in remote areas where grid power isn’t available.
For continuous power supply during extended astrophotography sessions, camera-specific DC power adapters eliminate battery concerns altogether.
To maximize efficient power usage, a simple battery management system helps monitor charge levels and battery health, preventing unexpected shutdowns during critical imaging moments.
These budget-conscious solutions guarantee you’ll capture stunning night sky images without breaking the bank.
Weatherproofing Your Power Setup for Outdoor Conditions
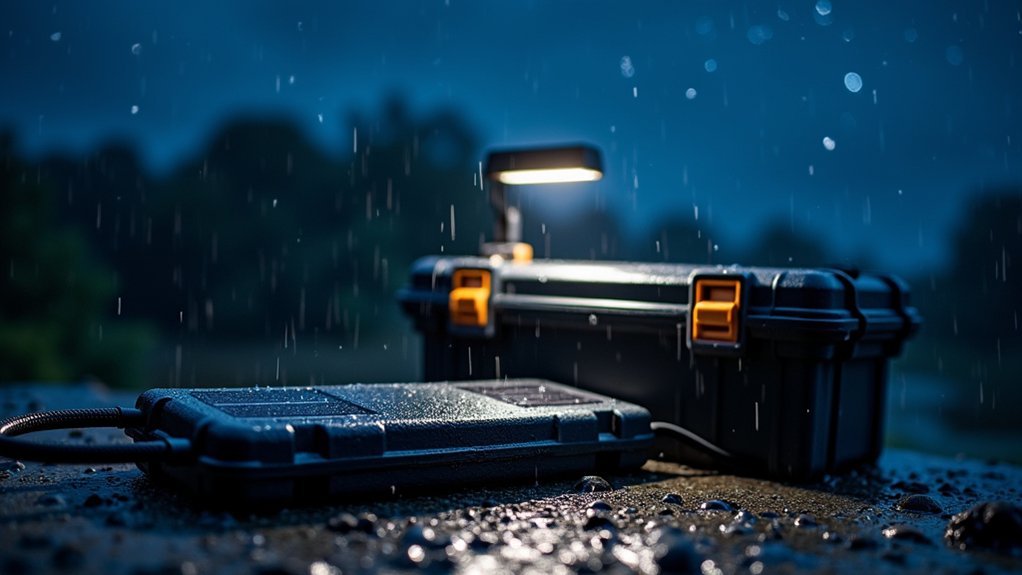
Since unpredictable weather conditions can quickly ruin your astrophotography session, properly weatherproofing your power setup becomes vital for success.
Always house your power supplies in weather-resistant cases to shield sensitive electronics from moisture and humidity.
Connect your equipment using high-quality, weatherproof extension cords specifically rated for outdoor conditions to prevent electrical failures.
Choose portable power stations with built-in surge protection and waterproof designs to safeguard against environmental hazards.
Don’t overlook your battery packs—insulate them with neoprene or similar materials to maintain consistent performance despite temperature fluctuations, especially in cold weather.
Regularly inspect all connections and cables for wear, as exposure to the elements can degrade components over time.
This preventative maintenance guarantees reliability when you’re capturing that perfect celestial moment far from power outlets.
Frequently Asked Questions
How to Setup a Camera for Night Sky?
To setup a camera for night sky, use manual mode, set wide aperture (f/2.8+), high ISO (1600-3200), and 20-30 second shutter speed. Don’t forget your tripod and remote shutter to avoid vibrations.
What Is the 500 Rule for Night Photography?
The 500 rule helps you avoid star trails by dividing 500 by your lens’s focal length to find maximum exposure time. For a 24mm lens, you’d use about 20 seconds (500÷24≈20.8).
What Camera Settings Should I Use for Night Photography?
For night photography, you’ll need high ISO (1600-3200), wide aperture (f/2-f/4), and 20-25 second shutter speed. Don’t forget to set white balance to daylight and take test shots to refine your settings.
What Is the Best Setting for Night Sky?
For night sky photography, you’ll want to use f/2.8 or wider aperture, ISO 1600-3200, and 20-30 second shutter speed. Don’t forget to switch to manual focus and use daylight white balance.
In Summary
With the right power setup, you’ll capture the cosmos without frustration. Remember to match your battery capacity to your equipment’s needs, protect against weather, and always pack backup power. Don’t let a dead battery end your session prematurely. Whether you’re a beginner or seasoned astrophotographer, proper power management guarantees you’ll stay focused on what matters most—the magnificent night sky above you.


Leave a Reply