
New moon photography requires specific gear and techniques to capture stunning night skies. You’ll need a stable tripod, wide-angle lens, and remote shutter release. Set your camera to manual mode with apertures between f/2.8-f/4, high ISO (1600-6400), and 15-30 second exposures. Incorporate interesting foreground elements using the rule of thirds, and seek truly dark locations away from light pollution. Post-processing with careful noise reduction will transform your raw captures into breathtaking celestial masterpieces. The following tips will elevate your astrophotography immediately.
7 Masterful New Moon Photography Tips For Beginners
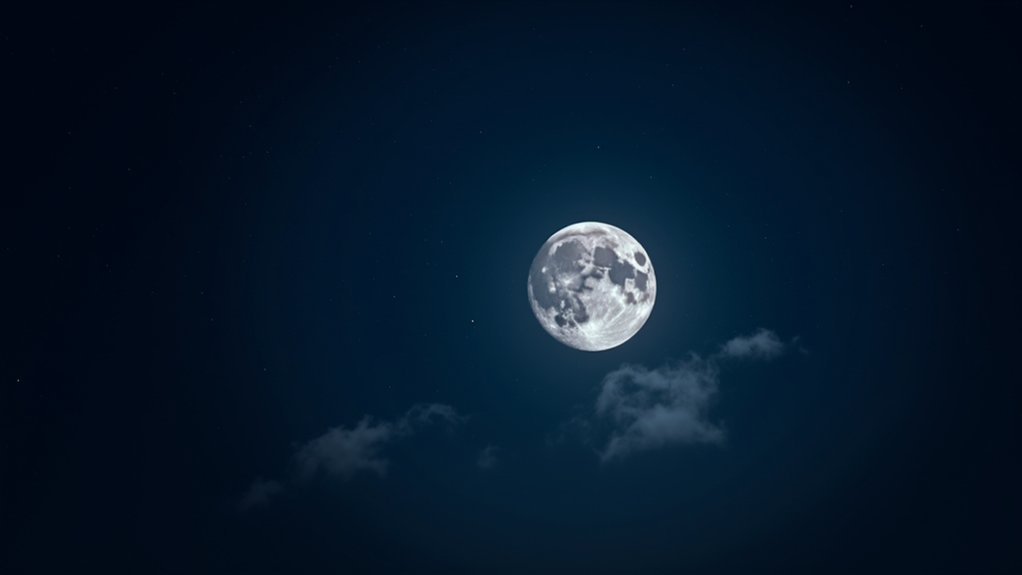
While many photographers chase the full moon’s dramatic glow, the new moon phase offers a pristine canvas for stunning astrophotography.
You’ll capture more stars and celestial details during this darkest lunar phase when the moon doesn’t compete with the night sky’s subtle features.
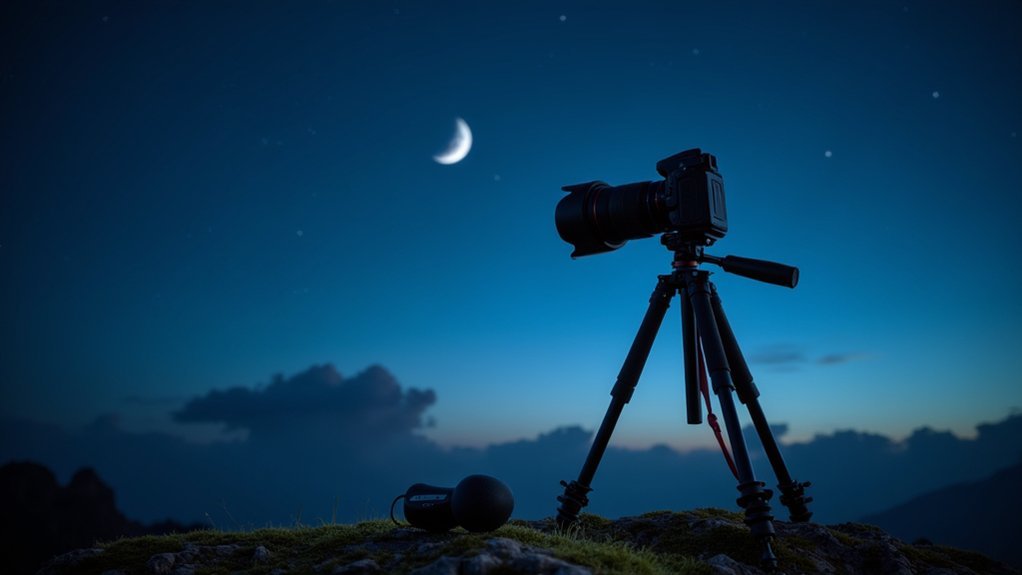
Begin with essential gear: a stable tripod prevents blur during the long exposure settings needed (try ISO 800+ with 15+ second exposures).
Wide-angle lenses like the RF 14-35mm F4L capture expansive star fields and foreground elements simultaneously.
Plan thoroughly by scouting locations with minimal light pollution—remote or elevated areas work best.
The PhotoPills app helps identify ideal shooting times and positions for capturing maximum star visibility.
Experiment with creative compositions incorporating the Milky Way or star trails, using foreground silhouettes to add depth and context to your celestial images.
Understanding the Unique Challenges of New Moon Photography
When photographing during a new moon, you’ll face the fundamental challenge of capturing details in near-total darkness.
You can overcome this limitation by mastering minimal light techniques that utilize available starlight and carefully chosen foreground elements to create depth in your compositions.
Your camera settings will need significant adjustments, particularly longer exposure times and higher ISO settings, to collect sufficient light while maintaining image quality.
Illuminating the Darkness
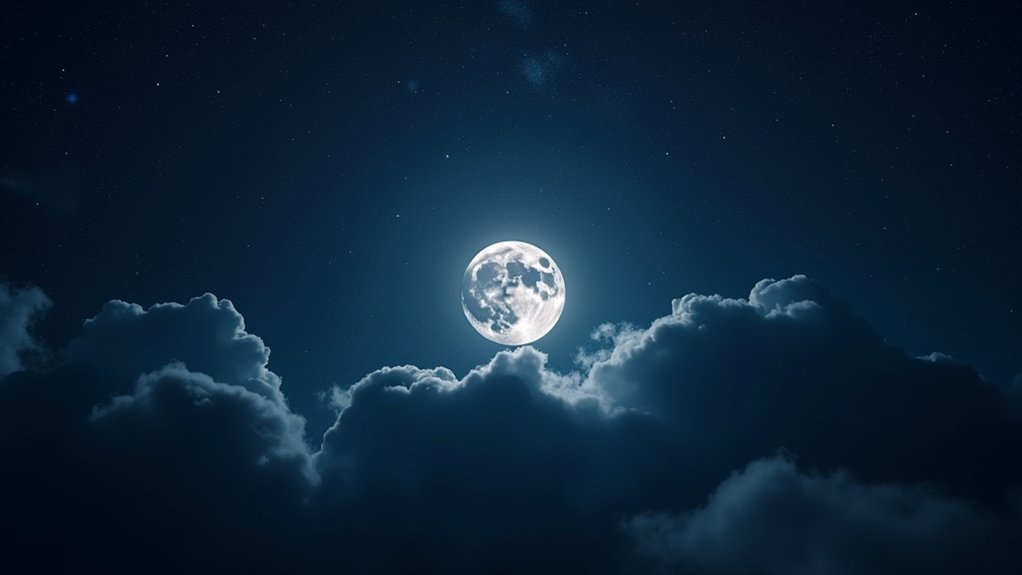
Despite its name, new moon photography isn’t about capturing the moon itself, but rather embracing its absence.
You’ll find this darkness creates perfect conditions to photograph stars without interference from moonlight. Set up your sturdy tripod to stabilize your camera during the long exposure times required to capture faint celestial objects.
To compensate for minimal natural light, increase your ISO setting while maintaining image quality. Seek clear skies and locations with minimal light pollution for best results.
The dark canvas of a new moon night allows creative compositions incorporating foreground elements like mountains or trees, which you can subtly enhance with artificial light.
Plan your shoots around the new moon phase for these unique opportunities to capture stunning night sky images that showcase the cosmos in its full glory.
Minimal Light Techniques
The unique challenges of new moon photography stem from working in nearly complete darkness. You’ll need to master several key techniques to capture stunning images when the moon isn’t illuminating your scene.
Start by selecting a high ISO between 1600-3200 to maximize light sensitivity while managing noise levels. Long exposure shots are essential, but require a sturdy tripod to prevent motion blur and guarantee sharp images despite extended shutter times.
Since the new moon provides no natural light, incorporate interesting foreground elements illuminated by ambient sources or artificial lighting to create depth in your composition.
Try exposure bracketing to capture multiple versions at different settings, giving you flexible options during post-processing to balance the bright stars against darker landscape features.
Essential Gear for Low-Light Celestial Captures
For new moon photography, you’ll need a telephoto lens (200mm or longer) to reveal the subtle details of the crescent against the night sky.
Your tripod isn’t just helpful but absolutely necessary—set it up on stable ground and lock all knobs tightly to prevent the slightest movement during long exposures.
When shooting with your telephoto setup, combine the tripod with either a remote shutter release or your camera’s timer function to eliminate all vibrations that could blur your celestial masterpiece.
Telephoto Lens Magic
When capturing the elusive new moon, your standard kit lens simply won’t deliver the stunning detail that makes lunar photography so mesmerizing. A telephoto lens like the Canon RF 100-400mm transforms your moon photographs by isolating and magnifying lunar features that would otherwise remain invisible.
Longer focal lengths, particularly 600mm, can fill your frame with the moon’s intricate surface details. In low-light conditions, your tripod stabilizes the camera during longer exposures, preventing frustrating blur.
Remember to use a fast shutter speed (1/125-1/800 sec) to counter the moon’s rapid movement across the night sky.
For ideal exposure, apply the looney 11 rule: set your aperture to f/11 and match shutter speed to the inverse of ISO. This combination helps you balance detail and brightness while leveraging your telephoto’s magnification power.
Essential Tripod Techniques
Selecting the right telephoto lens is only half the battle—your moon photography rests on rock-solid stability. In low-light conditions, a sturdy tripod becomes your most valuable ally, preventing camera shake and enabling longer exposure times needed to capture celestial details.
For ideal results when photographing the new moon:
- Choose a tripod with adjustable height and leg angles to maintain stability on uneven terrain—essential when setting up in remote viewing locations.
- Invest in a carbon fiber model that balances lightweight portability with the strength needed for night sky photography.
- Use a quick-release plate for efficient camera mounting, paired with a remote shutter release to eliminate vibrations during long exposures.
These techniques will transform your night photography, allowing you to capture the subtle details and surrounding stars with impressive clarity.
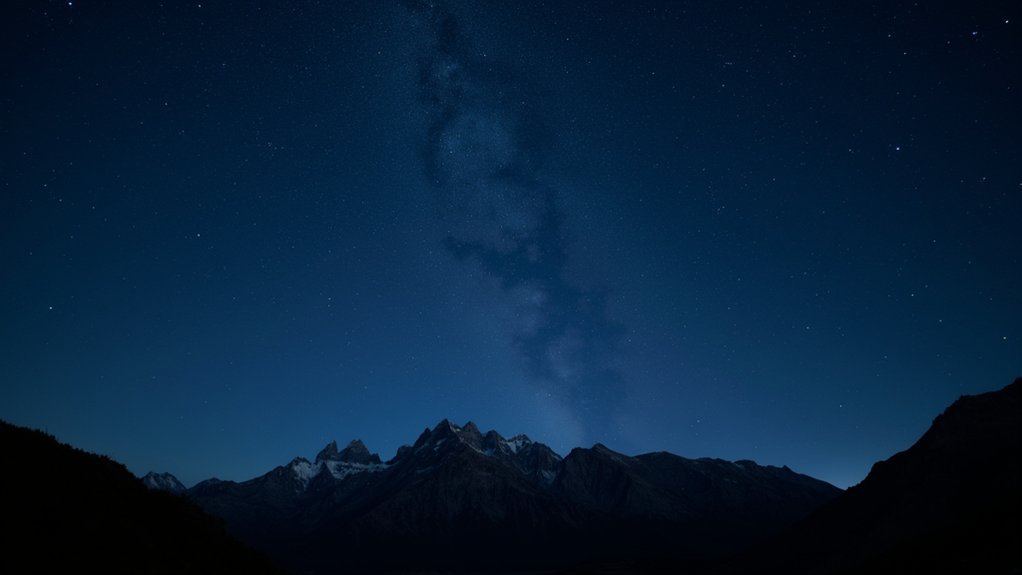
Finding Dark Sky Locations on a Budget
Although major cities offer convenience, they rarely provide the darkness needed to capture stunning new moon photography. To find affordable dark sky locations, utilize free apps and online light pollution maps like Dark Sky Finder to identify nearby areas with minimal artificial light interference.
Consider visiting national parks or designated dark sky reserves, which offer pristine viewing conditions alongside breathtaking natural landscapes.
For budget-friendly alternatives, seek out elevated locations such as local hills or mountains that rise above urban light pollution.
Don’t overlook the value of community groups focused on astronomy and photography. These enthusiasts often share insider tips about hidden viewpoints and organize group photography outings during ideal moon phases.
Camera Settings to Maximize Starlight During New Moons
The perfect new moon photograph begins with mastering your camera’s manual settings, as automatic modes simply can’t handle the extreme low-light conditions of a moonless night.
Switch to Manual Mode (M) and set your aperture between f/2.8 and f/4 to maximize light capture while maintaining image sharpness.
Use long exposure times (15-30 seconds) paired with a high ISO setting (1600-6400) to reveal the stars’ brilliance. A sturdy tripod is non-negotiable to prevent motion blur during these extended captures.
- Mount a wide-angle lens (14-24mm) to encompass more of the night sky in your composition
- Activate Bulb mode for exposures longer than 30 seconds
- Employ a remote shutter release or timer to eliminate camera shake when triggering the shot
Composition Techniques When the Moon Isn’t Your Subject
During a new moon, your composition becomes critically important as you’ll lack the moon as a central subject. Instead, focus on incorporating foreground elements like trees or buildings to create depth and scale in your dark sky photographs.
| Technique | Application | Visual Impact |
|---|---|---|
| Leading Lines | Direct eyes toward horizon | Creates visual flow |
| Rule of Thirds | Position stars/landmarks strategically | Balanced composition |
| Foreground Elements | Include trees, rocks, buildings | Adds scale and depth |
| Negative Space | Utilize dark areas intentionally | Emphasizes celestial features |
| Long Exposure | Capture star trails | Creates dynamic visuals |
Experiment with these composition techniques to transform an ordinary night scene into something extraordinary. The absence of moonlight actually offers a perfect opportunity to showcase other celestial features through visually appealing compositions that utilize the darkness as an advantage rather than a limitation.
Post-Processing Methods for New Moon Astrophotography
Capturing stunning images represents only half the journey in new moon astrophotography—thoughtful post-processing transforms your raw files into breathtaking celestial showcases. Your long exposure times during moonless nights have captured faint celestial objects, but now it’s time to enhance image quality through dedicated post-processing techniques.
- Use image stacking to combine multiple frames, dramatically improving signal-to-noise ratios while preserving delicate details in your astrophotographs.
- Apply targeted noise reduction to clean up high ISO artifacts without sacrificing the fine details of stars and the Milky Way.
- Leverage Adobe Lightroom’s adjustment tools to selectively brighten specific celestial objects while maintaining the rich darkness of the night sky.
Remember that subtle editing often yields the most natural-looking results—aim to enhance what you’ve captured rather than creating something artificial.
Frequently Asked Questions
What Is the 11 Rule for Moon Photography?
The Looney 11 rule suggests you set your aperture to f/11 and your shutter speed to the inverse of your ISO. For example, with ISO 100, you’d use 1/100 second shutter speed for properly exposed moon photos.
What Is the 500 Rule for Moon Photography?
The 500 rule helps you avoid star trails in moon photography by dividing 500 by your lens’s focal length. You’ll get the maximum exposure time in seconds before the Earth’s rotation causes blur.
How to Photograph the Moon for Beginners?
To photograph the moon as a beginner, you’ll need a camera with manual settings, use ISO 100, f/8 aperture, and 1/125-1/800 shutter speed. Don’t forget a tripod and remote release to avoid blur.
How to Take a Photo of the New Moon?
To take a photo of the new moon, you’ll need to shoot during twilight with a low ISO, wide aperture (f/2.8), and 1-2 second exposure. Use a tripod for stability and manual settings.
In Summary
You’ve got all you need to commence your new moon photography journey. These seven tips will transform your nighttime shots from amateur to impressive. Remember, it’s all about patience, preparation, and practice. Don’t be discouraged by early results—each outing builds your skills. Soon you’ll capture breathtaking starscapes that showcase nature’s celestial beauty. The darkest nights often yield the most spectacular photographs. Happy shooting!


Leave a Reply