To create astrophotography mosaics, plan with at least 10% overlap between panels (50% is ideal). Capture 25-30 sub-frames per panel using consistent exposure settings and camera orientation. Process each panel identically, removing gradients and ensuring color consistency before stitching. Software like PixInsight, APP, or free options like Siril can help align and blend your images. A sturdy mount and motorized rotator will greatly improve your results. The techniques below will transform your fragmented sky into one breathtaking cosmic portrait.
Mosaic Stitching Guide: Combining Multiple Telescope Photos
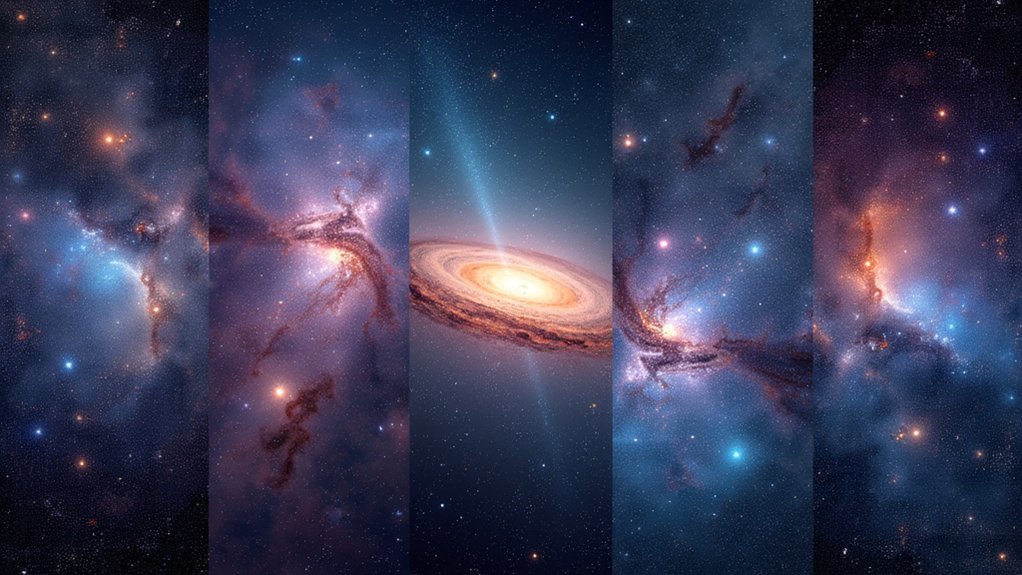
When capturing celestial objects larger than your telescope’s field of view, creating a mosaic becomes essential for revealing the complete picture. To create a successful mosaic image, guarantee at least 10% overlap between panels for accurate stitching and improved SNR in overlapping regions.
Mosaic imaging unveils vast celestial objects by combining multiple panels with sufficient overlap for seamless integration.
For each panel, capture 25-30 sub-frames before stitching. This approach greatly enhances outlier removal and overall image quality.
Use advanced software like PixInsight or MSICE that can handle complex merging methods through proper calibration and statistical algorithms.
PixInsight’s “Mosaic by Coordinates” script is particularly effective, positioning each panel based on plate-solved coordinates for precise alignment.
Throughout the process, maintain consistent processing techniques across all panels to avoid brightness and color mismatches that would disrupt your final mosaic’s seamless appearance.
Understanding Mosaic Fundamentals in Astrophotography
Now that we’ve examined the process of combining telescope photos, let’s explore the core principles that make mosaic astrophotography possible.
When creating a mosaic using multiple image panels, you’ll need at least 10% overlap between adjacent frames to guarantee accurate alignment during stitching.
For ideal results, each panel should comprise 25-30 stacked sub-frames, greatly improving your signal-to-noise ratio.
Don’t overlook the importance of proper planning—camera orientation adjustments and motorized rotators help maintain tight tolerances for seamless integration.
Remember that effective calibration is essential.
Gradient removal and color calibration create uniform quality throughout your mosaic, minimizing discrepancies between panels.
These fundamentals guarantee your final image displays a cohesive, high-resolution view of celestial objects across a field of view larger than any single frame could capture.
Planning Your Mosaic: Field of View and Overlap Strategy
Successful mosaic astrophotography depends on meticulous planning before you capture a single frame.
Start by ensuring each panel in your field of view has at least 10% overlap with adjacent panels to facilitate seamless stitching. For ideal results, consider using a 50% overlap pattern—this reduces the number of required subframes while effectively managing image distortion.
Panel overlap is critical—aim for at least 10% between adjacent frames, but 50% delivers optimal balance between coverage and distortion management.
When planning your panels, aim for 25-30 subframes per panel for reliable outlier removal. Remember that corners need approximately 3N frames and edges require 2N frames for proper coverage.
Pay careful attention to camera orientation, especially when moving along the RA axis, as this directly impacts your panel alignment.
Tools like Sequence Generator Pro can automate this planning process, ensuring consistent focal lengths and sufficient overlaps across your entire mosaic.
Equipment and Software Requirements for Successful Stitching
You’ll need specific equipment including a telescope with stable mount, camera with suitable sensor, and motorized rotator to create seamless mosaics.
Your software toolkit should include specialized options like PixInsight, MSICE, or Astro Pixel Processor, each offering distinct advantages for different stitching scenarios.
Maintaining consistency in your capture and processing workflow through automation tools like Sequence Generator Pro will greatly improve your final results.
Essential Gear Components
When starting on a mosaic stitching project, equipping yourself with the right tools dramatically increases your chances of success. You’ll need both hardware and software components working together to create seamless mosaics.
| Category | Essential Items | Purpose |
|---|---|---|
| Mounting | Sturdy tripod or equatorial mount | Maintains consistent orientation |
| Hardware | Motorized rotator | Enables precise RA adjustments |
| Capture | Camera with fixed settings | guarantees uniform focal length and aperture |
| Processing | PixInsight | Plate-solving and image registration |
| Stitching | MSICE | Links unprocessed image panes |
| Advanced | Astro Pixel Processor | Handles incomplete panel overlap |
Don’t overlook Photoshop for manual adjustments and gradient equalization tools to eliminate visible seams. Your mosaic’s quality ultimately depends on maintaining consistency during capture and applying the right software during assembly.
Software Comparison Chart
Now that you’ve assembled your physical equipment, selecting the right software for your mosaic project becomes your next challenge.
Our software comparison chart highlights key options based on specific workflow needs:
- PixInsight & APP – Premium options handling both stacking and stitching with superior blending techniques for overlapping areas
- Siril – Free alternative capable of processing massive datasets (up to 18,000 frames)
- MSICE – Specialized free stitching software designed specifically for linking unprocessed panes
- Telescopius – Planning tool that calculates mosaic rotation angles, though you’ll need to verify these against your capture software
When evaluating your software choices, consider how weighted averaging in overlapping regions can greatly enhance your SNR for a more uniform final image.
Your workflow may benefit from combining different tools depending on your project’s complexity.
Capturing Techniques for Consistent Panel Integration
You’ll achieve seamless mosaics by maintaining uniform exposure settings across all panels, including consistent ISO, aperture, and shutter speed.
Plan for 10-50% overlap between adjacent panels, with the higher end recommended for reducing distortion and enhancing signal-to-noise ratio in your final composite.
Position your guide stars strategically to maintain tracking accuracy throughout the session, especially when capturing the corner panels that require 3N frames compared to the 2N frames needed for edge panels.
Uniform Exposure Settings
Because the final mosaic will only appear seamless when all panels match perfectly, maintaining uniform exposure settings across your entire capture sequence is absolutely critical.
When combining frames into a single mosaic, even slight variations in exposure can create visible seams that ruin your final image.
Standardize these key settings for every panel you capture:
- Use identical ISO, shutter speed, and aperture for all frames
- Keep your focal length constant to prevent scale variations
- Account for changing environmental conditions like light pollution or moon phase
- Consider automation tools like Sequence Generator Pro to guarantee consistency
Remember that consistency is especially important when imaging over multiple nights.
Any variations in exposure settings will create additional work during processing and may compromise the seamless appearance of your finished mosaic.
Planned Overlap Percentages
While capturing individual panels for your mosaic, determining the right amount of overlap between adjacent frames directly impacts your final image quality.
For beginners looking to create mosaics, aim for at least 10% overlap between panels, which provides sufficient data for seamless integration while minimizing total capture time.
If you’re dealing with field distortion or want more uniform results, consider increasing overlap to 50%. This higher percentage creates better alignment opportunities, particularly at image edges where distortion is most noticeable.
When planning your capture sequence, remember that with proper overlap, panel centers will retain N stacked images, while edges and corners can achieve 2N and 3N respectively.
For mosaics with 3×3 panels or larger, capture 25-30 sub-frames per panel for maximum stacking efficiency without sacrificing image quality.
Guide Star Positioning
Three critical guide star strategies guarantee seamless mosaic integration during capture. When positioned correctly, guide stars provide reference points that bring each panel together with precision and coherence.
Always maintain at least 10% overlap between adjacent panels, ensuring multiple reference stars appear in both frames. These shared stars become your alignment anchors when stitching.
- Use consistent focal length and aperture settings across all panels to maintain uniform scale.
- Implement motorized rotators for precise camera orientation adjustments, especially for RA alignment.
- Capture 25-30 sub-frames per panel to effectively manage outliers.
- Utilize plate-solving to verify each panel’s exact position before attempting to stitch.
Remember that proper guide star positioning happens during capture—not in post-processing—making your initial field framing decisions critical to successful mosaics.
Pre-Processing Individual Panels Before Stitching

Prior to starting the mosaic stitching process, you’ll need to prepare each individual panel meticulously to guarantee seamless integration later.
Begin by calibrating each panel to achieve uniform image quality, focusing specifically on gradient removal and color consistency across all frames.
If you’re using a color camera, perform debayering to convert raw data into RGB format.
Next, stack approximately 25-30 subframes per panel using Weighted Batch Pre-Processing to create master files with effective noise reduction.
Keep your master files organized by noting the frame counts for each panel, which will streamline your workflow during stitching.
Finally, plate-solve each panel using software like PixInsight to determine precise celestial coordinates.
This critical pre-processing step assures accurate alignment when combining panels into your final mosaic image.
Aligning and Registering Panels Using Star Patterns
Achieving perfect alignment between panels forms the cornerstone of creating seamless astronomical mosaics.
You’ll need 10-50% overlap between adjacent frames to give your stitching software enough reference points. Star patterns serve as natural registration markers across your images.
For precise alignment, consider these essential techniques:
- Use plate-solving tools like PixInsight’s Image Solver to determine exact celestial coordinates of each panel
- Import master files with _WCS suffix when using Mosaic by Coordinates script for automatic positioning
- Maintain unstretched stacks initially to preserve star pattern integrity
- Regularly check overlapping areas and adjust for misalignments caused by camera orientation changes
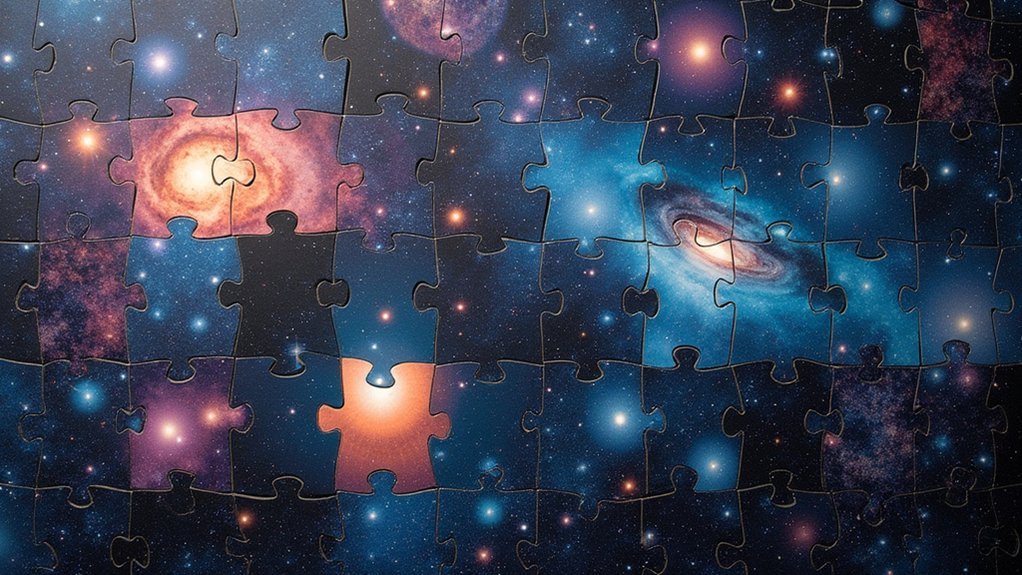
Seamless Blending Methods for Natural-Looking Mosaics
Creating natural-looking mosaics depends on how effectively you blend your overlapping panels together. Aim for at least 10% overlap area between adjacent frames to guarantee successful merging. When properly registered, these overlapping regions allow weighted averaging algorithms to enhance the SNR and produce uniform results across the entire image.
Implement feathering techniques at the edges of your overlap area to soften shifts and eliminate visible seams. This creates gradual blending rather than abrupt changes between panels. Advanced software like PixInsight offers statistical algorithms that excel at outlier rejection during the stacking and stitching process.
Remember that successful blending begins with proper registration—even the best blending techniques can’t fix poorly aligned panels. The combination of precise registration and thoughtful blending creates mosaics that appear as single, cohesive images.
Managing Gradients and Background Uniformity Across Panels
One of the most challenging aspects of mosaic stitching involves managing gradients and maintaining consistent background illumination across all panels.
When you combine multiple astrophotography images, variations in exposure can create distracting seams that diminish your final mosaic’s quality.
For effectively managing gradients across your mosaic panels, consider these techniques:
- Apply consistent processing across all panels before attempting to stitch them
- Utilize software like MSICE that offers automatic background equalization features
- Implement feathering techniques at panel edges to create smoother transitions
- Properly calibrate each panel with gradient removal and color correction
Frequently Asked Questions
Can Mosaics Combine Images From Different Telescopes or Focal Lengths?
You can combine images from different telescopes or focal lengths, but you’ll face challenges with varying resolutions, distortions, and fields of view. Specialized software helps blend these disparities into cohesive mosaics.
How Do You Handle Object Movement Between Mosaic Panel Captures?
You’ll need to capture mosaic panels in rapid succession to minimize object movement. For slow-moving targets, slight overlap corrections during processing can help, but fast-moving objects aren’t ideal for mosaics.
What Resolution Limits Exist When Creating Extremely Large Mosaics?
When creating extremely large mosaics, you’ll face resolution limits from your computer’s RAM, processing power, and storage capacity. Software can struggle with gigapixel images, and data management becomes increasingly challenging as your project expands.
Can Mosaic Techniques Work With Both Narrowband and Broadband Images?
Yes, you can definitely apply mosaic techniques to both narrowband and broadband images. You’ll find they work equally well for combining specialized filter data and full-spectrum shots into larger, more detailed astronomical compositions.
How Do You Correct for Atmospheric Distortion Across Multiple Panels?
You’ll need to apply consistent deconvolution across panels, use adaptive optics when capturing if possible, and align stars during stitching. Shooting panels in quick succession minimizes atmospheric variation between frames.
In Summary
You’ve now mastered the art of mosaic astrophotography! With proper planning, consistent capture techniques, and careful processing, you’ll create stunning wide-field images that weren’t possible with a single frame. Don’t be discouraged by initial challenges—each mosaic gets easier as you refine your workflow. Your patience will be rewarded with breathtaking celestial panoramas that showcase the true grandeur of the night sky.


Leave a Reply