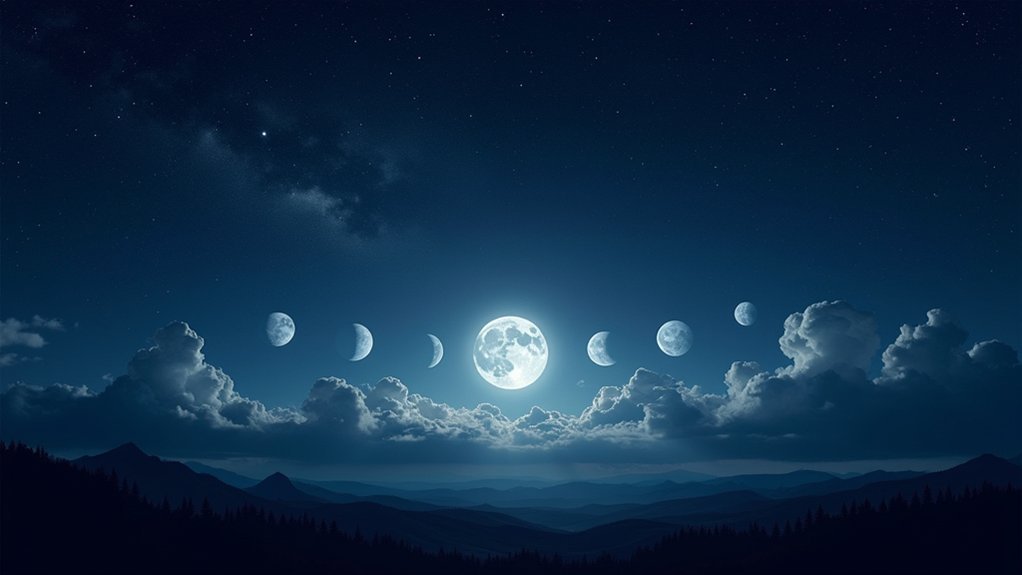
Each moon phase offers unique photography opportunities: new moons for Milky Way shots, crescent moons for dramatic silhouettes, first quarter for balanced lighting, waxing gibbous for detailed textures, full moons for illuminated landscapes, waning gibbous for crater shadows, and third quarter for twilight compositions. You’ll need different techniques for each phase, from long exposures during new moons to faster shutter speeds for full moons. The right equipment and timing will transform your lunar photography from ordinary to extraordinary.
7 Best Moon Phases For Stunning Night Photography
When venturing into night photography, understanding moon phases is essential for capturing compelling images. Each phase offers unique creative opportunities for your shots.
The full moon provides maximum illumination, making it ideal for beginners and moonlit landscapes. You’ll get high contrast against the night sky, perfect for dramatic compositions.
For detailed lunar textures, try the gibbous phase when the moon is more than half illuminated.
First and third quarter moons offer balanced lighting for landscapes with interesting shadows. If you’re after that iconic crescent shape, prepare for challenging exposure settings due to limited light.
Your choice of moon phase should match your photography style—full moon for landscapes, less moonlight for starry skies, and crescent phases for silhouette opportunities. You can effectively plan your shoots using online moon calendars that provide phase schedules and brightness levels.
Don’t forget to experiment with settings to optimize each phase’s unique qualities.
New Moon: Prime Time for Milky Way and Star Trail Photography
During the new moon phase, the night sky transforms into a photographer’s paradise for capturing the Milky Way and star trails. With no moonlight to compete with stellar objects, you’ll experience darker skies and enhanced contrast, revealing crisp star details and the full glory of our galaxy.
The new moon unveils a celestial canvas where darkness reveals the universe’s hidden splendor, perfect for astrophotography enthusiasts.
For successful new moon astrophotography:
- Choose remote locations with minimal light pollution to maximize visibility, especially during late evening or pre-dawn hours. Setting up your camera with proper exposure is critical to avoid overexposed stars or underexposed landscapes.
- Use a stable tripod for long exposures, and consider interval shooting for consistent star trail captures.
- Balance your composition by incorporating foreground elements like mountains or trees, using manual focus set to infinity.
Remember to adjust your ISO and shutter speed accordingly, and consider image stacking in post-processing to enhance your stellar masterpieces.
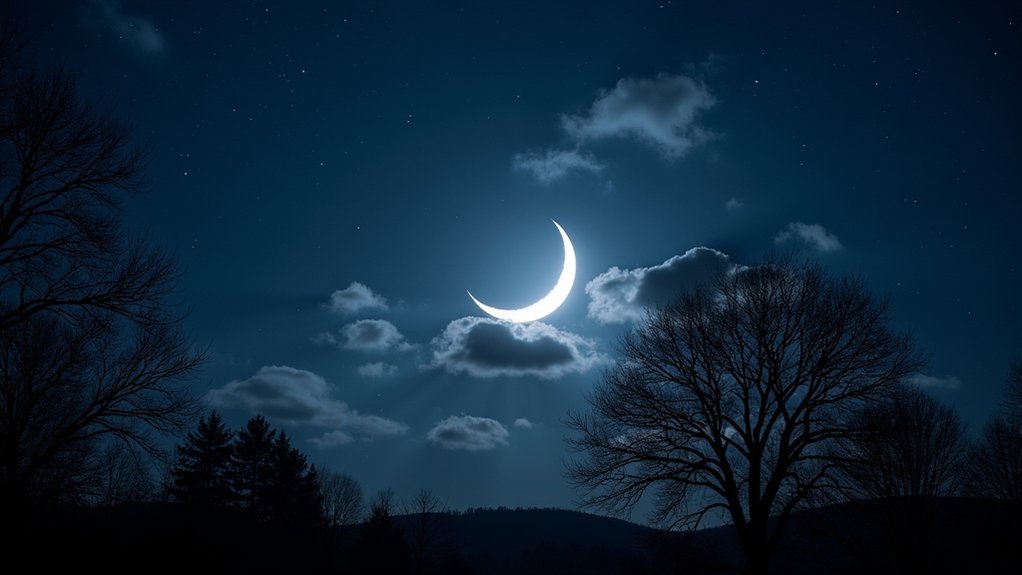
Waxing Crescent: Capturing Dramatic Lunar Silhouettes

The waxing crescent moon presents a magnificent opportunity for photographers seeking to create dramatic silhouette compositions against the twilight sky. For best results, shoot within 1-2 hours after sunset when the crescent’s delicate curve balances perfectly with fading ambient light.
Use apps like PhotoPills to pinpoint the moon’s position, then scout locations with minimal light pollution and simple foreground elements like trees or mountains. A telephoto lens (300-600mm) will capture detailed crescents, while wide-angles work better for landscape-moon compositions. Crop sensor cameras can effectively extend your telephoto reach, providing greater magnification of the moon’s features.
Set your camera to manual mode with f/8-f/11, shutter speeds of 1/125-1/250s, and ISO 100-400. Spot meter on the brightest section of the moon-lit sky and bracket 3-5 exposures for HDR blending later.
Position the crescent at rule-of-thirds intersections for balanced, striking compositions.
First Quarter: Balancing Moonlight and Starlight
First quarter moons offer photographers a perfect equilibrium between illumination and darkness, as half the lunar face glows brilliantly while stars remain visible in the night sky.
This phase creates unique opportunities for capturing both detailed lunar features and starlit backgrounds in a single composition. Using a super-telephoto lens will allow you to capture impressive detail on the moon’s surface while maintaining the surrounding starscape.
For the best results:
- Shoot from dark, remote locations with interesting foreground elements to add depth to your compositions.
- Use manual mode with fast shutter speeds (under 0.5 seconds), moderate aperture (f/8), and low ISO (200-400).
- Consider bracketing exposures or taking separate shots for the moon and stars, then merging them in post-processing.
Timing is vital—moonrise and twilight hours provide atmospheric conditions that enhance the visual drama between the illuminated moon and surrounding stars.
Waxing Gibbous: Revealing Lunar Details and Textures
Capturing a waxing gibbous moon presents photographers with an exceptional opportunity to highlight lunar textures and surface details that remain hidden during other phases.
With 50-99% illumination, you’ll find perfect contrast between light and shadow along the terminator line where features appear most dramatic.
The terminator line offers nature’s perfect lighting studio, where lunar details leap dramatically from shadow to light.
This phase rises in the afternoon and remains visible most of the night, giving you ample time to experiment with compositions.
You’ll enjoy the best of both worlds—substantial moonlight to illuminate landscapes without overwhelming starlight completely.
For ideal results, use a lower ISO and incorporate interesting foreground elements to add depth.
Planning apps can help predict the moon’s position for your shoot.
The waxing gibbous offers a weekly window between first quarter and full moon phases, making it a reliable subject for your nightscape portfolio.
As daylight fades, the waxing gibbous becomes increasingly prominent as it ascends in the east while the sun sets in the west.
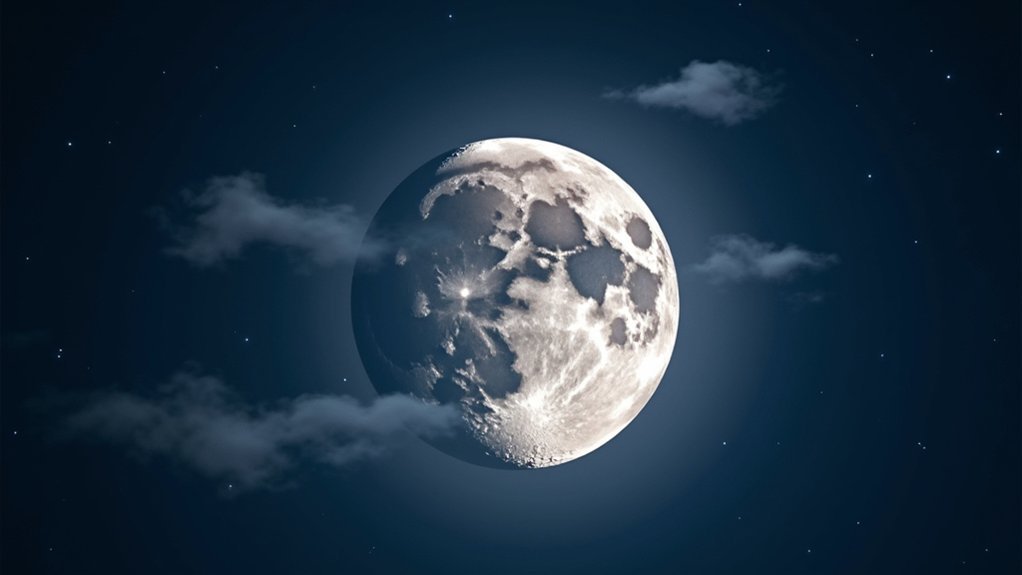
Full Moon: Illuminating Night Landscapes With Natural Light
While the waxing gibbous reveals intricate lunar textures, a full moon transforms the entire nocturnal landscape with its brilliant glow. This phase serves as nature’s spotlight, allowing you to capture expansive scenes with natural illumination.
For stunning full moon photography, you’ll want to:
- Shoot during twilight hours when there’s balanced light between the moon and foreground
- Apply the “Looney f/11 rule” as your starting point: f/11, ISO 100, 1/100 second
- Include interesting foreground elements like trees or buildings to add depth
Use a focal length of at least 200mm for detailed moon captures, and consider bracketing your exposures to handle the challenging dynamic range. Light cloud cover can actually enhance your moonlit landscape photos by adding texture and atmosphere to the night sky.
Don’t forget your tripod for stability during these longer exposures.
Waning Gibbous: Highlighting Crater Shadows and Terrain

When you’re capturing the waning gibbous phase, you’ll notice enhanced crater details that aren’t visible during the full moon, as the angled sunlight creates more pronounced shadows along the rim edges.
These textured shadow patterns add dramatic depth to your lunar photography while revealing the moon’s terrain topography with striking clarity.
You’ll find this phase particularly rewarding in the early morning hours as it hangs in the western sky, offering unique compositional opportunities against the pre-dawn landscape. For the best results, consider using high-resolution telescopes to capture the intricate details of the moon’s surface features visible during this approximately 95.3% full phase.
Crater Detail Photography
The waning gibbous phase provides photographers with an ideal opportunity to showcase the moon’s dramatic surface textures and crater formations.
This phase creates low-angle sunlight that casts long shadows across lunar features, highlighting dimension and depth that’s invisible during full moon.
For striking crater photography during this phase:
- Position your camera when the moon is high in the sky (midnight to early morning) with a sturdy tripod to eliminate camera shake.
- Use manual focus with a smaller aperture (higher f-stop) and low ISO (100-400) to maximize detail and minimize noise.
- Target prominent craters like Tycho or Copernicus, or explore the Mare Imbrium basin for its impressive terrain.
For the best results, consider using specialized equipment like telescopes with DSLR adapters to capture crystal clear details of lunar craters.
Post-processing with subtle contrast enhancement and selective sharpening will further elevate the three-dimensional quality of your crater images.
Textured Shadow Patterns
During the waning gibbous phase, shadows transform the moon’s surface into a dramatic landscape of contrasting textures and patterns. At 87-88% illumination, you’ll find the perfect balance of light and shadow to emphasize the moon’s topographical features without the overwhelming glare of a full moon.
As the moon shifts from full to third quarter, shadows lengthen across crater rims and mountainous terrain, revealing subtle elevations typically flattened during full illumination. You’ll notice enhanced three-dimensional texture perception as shadows cast long, textured silhouettes across the lunar plains. With royalty-free images readily available for download, photographers can study these shadow patterns before heading out for a shoot.
For photographers, this phase offers ideal conditions to capture the moon’s rugged character. Your camera settings should be adjusted for moderate light levels, allowing you to highlight the interplay between illuminated areas and shadowed regions for truly dramatic lunar imagery.
Early Morning Visibility
Photographers seeking ideal lunar conditions often discover that early morning hours showcase the waning gibbous moon’s most enchanting features.
This phase offers moderate darkness with sufficient brightness to navigate landscapes while capturing distinctive crater shadows and terrain details.
With the waning gibbous, you’ll experience:
- Extended exposure times (15-30 minutes) compared to full moon nights, allowing for stunning star trails without overexposure
- Gentle landscape illumination that highlights terrain features without overwhelming them
- Crisp star visibility against the softer moonlit backdrop
Use a tripod, manual focus, and remote shutter release to maximize stability during these longer exposures.
Wide-angle lenses capture expansive night sky vistas while the moon’s partial illumination creates dramatic shadow contrasts that add depth to your compositions.
This transitional phase shares similarities with the third quarter moon, offering moderately dark skies that facilitate safe movement for light painting techniques while still allowing for longer exposure photography.
Frequently Asked Questions
What Equipment Modifications Help Photograph During Bright Moon Phases?
You’ll need a sturdy tripod, telephoto lens (200-600mm), remote shutter release, and low ISO settings. Don’t forget manual focus, RAW format, and consider using filters or tracking mounts for sharp, detailed moon images.
How Do Seasonal Changes Affect Moon Photography Opportunities?
You’ll find more moon photography time in winter’s longer nights, while summer offers twilight/moon blending. Spring and fall provide balanced opportunities with golden-hour moonrises, especially when paired with seasonal foregrounds.
Can Smartphone Cameras Effectively Capture Different Moon Phases?
Yes, your smartphone can effectively capture different moon phases, especially with manual controls, stability tools like tripods, and specialized apps. You’ll get better results when you use night mode and RAW format.
How Does Light Pollution Impact Photography During Various Moon Phases?
Light pollution washes out stars during all moon phases, but you’ll notice its worst impact during new moons when you’re trying to capture deep space. Full moons naturally overpower some artificial light pollution effects.
What Post-Processing Techniques Enhance Details in Moon Phase Photography?
For enhancing details in moon phase photography, you’ll want to stack multiple exposures, apply noise reduction, sharpen selectively, adjust contrast and curves, and use HDR techniques to reveal the moon’s subtle textures and features.
In Summary
Each moon phase offers unique opportunities for your night photography adventures. Whether you’re capturing the Milky Way during a new moon or illuminating landscapes under a full moon, timing is everything. Don’t limit yourself to just one phase—experiment with them all to discover your preferred aesthetic. With proper planning and the right techniques, you’ll transform ordinary nightscapes into extraordinary celestial masterpieces that showcase both the moon and stars in perfect harmony.


Leave a Reply