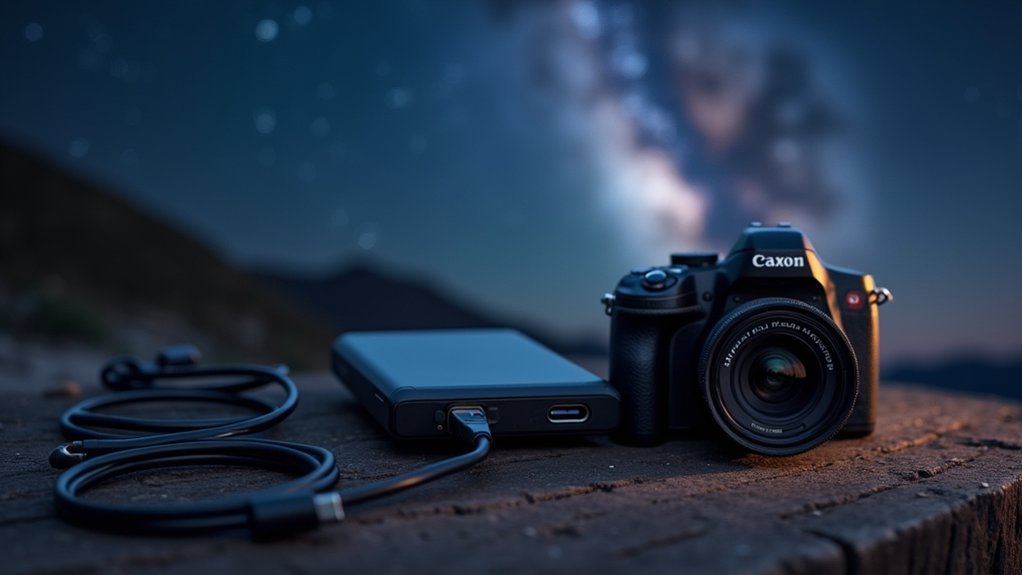
For ultralight astrophotography, choose power banks with excellent weight-to-capacity ratios like the Nitecore NB10000. Calculate your total power needs and add a 20-30% buffer. In cold conditions, use LiFePO4 batteries and insulate them with neoprene sleeves. Mount power banks directly to your tripod using lightweight brackets. Reduce power consumption by disabling unnecessary camera features and extending capture intervals. These practical power strategies will transform your night sky sessions.
Calculating Your Power Needs Before Heading Out

Preparation is the cornerstone of successful astrophotography sessions. Before venturing into the night, calculate your total power consumption by adding up the amperage requirements of all your equipment—mounts, cameras, dew heaters, and other accessories typically draw around 8.8 Amps combined.
To determine necessary battery capacity, multiply your total amperage by planned usage hours. For example, 8.8 Amps over 6 hours requires approximately 52.8Ah (52,800mAh).
Verify that your power bank’s output matches your devices’ voltage requirements, as most astrophotography gear operates on 12V.
Don’t forget to account for cold weather effects—temperatures at night can reduce battery efficiency by 20-30%. Always increase your calculated capacity accordingly and double-check that your power bank can simultaneously support all your equipment throughout your imaging session.
Choosing Power Banks With the Best Weight-To-Capacity Ratio
When venturing into remote locations for astrophotography, the weight of your gear becomes just as essential as its functionality. The Nitecore NB10000 exemplifies an ideal weight-to-capacity ratio, delivering 10,000mAh in a backpacker-friendly package.
Look for power banks featuring LiFePo4 technology, which maintains reliable battery power even in cold nighttime conditions. This technology guarantees your equipment stays powered when temperatures drop during extended shooting sessions.
Select models with multiple output ports like the Anker 537, allowing you to simultaneously power your camera and mount without carrying extra units.
Always verify the watt-hour (Wh) rating matches your calculated needs—a 240Wh capacity provides sufficient energy for prolonged sessions.
Don’t rely solely on manufacturer claims; check user reviews to confirm real-world weight-to-capacity performance before investing.
Cold Weather Performance Considerations for Battery Life

Three critical challenges await astrophotographers during winter sessions as temperatures plummet.
First, your power banks will lose significant capacity—lithium-ion batteries shed about 20% of their power at freezing temperatures and more as it gets colder.
Second, your equipment demands more power, particularly when running dew heaters to prevent condensation on lenses and telescopes.
To maximize battery life in cold weather, invest in LiFePO4 technology power banks, which resist cold-induced capacity loss better than standard lithium-ion options.
Insulate your power banks with neoprene or thermal wraps to maintain their operating temperature.
Always fully charge batteries before heading out, as they perform more efficiently at maximum capacity.
When planning for nighttime sessions, bring higher capacity banks (24Ah+) to compensate for increased power consumption and reduced efficiency.
Multiple Small Power Banks vs. One Large Unit
When choosing between multiple small power banks or one large unit for your astrophotography sessions, you’ll need to weigh the flexibility of distributed power against simplified charging logistics.
You can position smaller banks strategically near different equipment pieces, reducing cable clutter while distributing weight more evenly in your pack. Multiple units also provide a safety net against complete power loss, ensuring your camera and mount remain operational during critical imaging moments.
Weight vs. Capacity Trade-offs
Deciding between multiple small power banks or a single large unit presents one of the most significant dilemmas for astrophotographers who travel to remote locations.
When weighing your options, consider how total capacity balances against portability.
A single large power bank like the Anker 537 (88.8Wh) can power multiple devices throughout your shoot but adds substantial weight to your pack.
In contrast, distributing several smaller units like the Nitecore NB10000 (approximately 200g each) among hiking companions reduces individual load while providing redundancy.
For extended sessions requiring over 20,000mAh, multiple smaller banks offer flexibility—you can charge different devices simultaneously and continue working even if one unit fails.
They’re also easier to fit within airline carry-on restrictions while still meeting your power needs for a full night of astrophotography.
Charging Multiple Devices Simultaneously
The practical challenge of powering multiple astrophotography devices extends beyond just weight considerations.
When you’re managing cameras, dew heaters, and other gear simultaneously, your power strategy becomes critical.
Multiple small power banks, especially those with LiFePo4 technology, offer superior cold weather performance and allow charging several devices without overloading a single unit.
Check that these smaller units meet your voltage requirements, as some may only support low-drain devices.
Alternatively, a single large power bank like the ANKER 537 provides convenience and extended runtime, potentially powering your entire setup for 3+ hours.
However, it may struggle if multiple devices exceed its simultaneous output capacity.
For travel flexibility, smaller banks let you carry only what you need while staying within airline battery regulations.
Distributing Pack Weight
Balancing your gear load presents one of the most overlooked challenges for astrophotographers who trek to remote locations. Instead of carrying one heavy power unit, consider distributing pack weight with multiple small power banks strategically placed throughout your backpack.
Smaller power banks like the Nitecore NB10000 and NB20000 provide adequate power while greatly reducing individual item weight. This approach enhances mobility and comfort during long hikes to your shooting location, allowing you to adjust your pack’s balance more effectively.
This strategy offers built-in redundancy—if one power bank fails, you’ll still have others to power your essential equipment throughout the night.
Two 10,000mAh units can deliver 74Wh of combined capacity, often sufficient for a full night’s shooting while maintaining better weight distribution across your shoulders and back.
Power Management Techniques During Long Exposure Sessions
When starting lengthy astrophotography sessions, effective power management becomes essential to prevent equipment failure at critical moments.
Calculate your total power consumption and select a power bank’s capacity with a 20-30% buffer above your estimated needs to guarantee uninterrupted imaging.
Leverage Power Delivery technology for dynamic voltage adjustment, enhancing USB charging efficiency for various devices.
Consider using dedicated 12V trigger cables for your mount to avoid overloading USB ports.
In cold environments, insulate your power banks and use heat sources like reptile mats to maintain ideal operating temperatures, as battery performance diminishes considerably in the cold.
Implement a dual power supply strategy by using separate power banks for your camera and mount/accessories, distributing the load and reducing the risk of complete system failure during those perfect night sky moments.
USB-C PD Technology for Efficient Camera Charging

Modern USB-C Power Delivery (PD) technology has revolutionized how astrophotographers power their gear during extended shooting sessions. When selecting a power bank for your astrophotography needs, verify that it supports USB-C PD to guarantee your camera receives the precise voltage it requires—up to 20V at 5A.
- USB-C PD cables enable your camera to negotiate its ideal power requirements (9V, 12V), maximizing charging efficiency.
- Multi-port power banks let you simultaneously charge your camera, mount, and accessories during long stargazing sessions.
- 12V trigger cables provide direct power to mounts, eliminating the risk of battery drain from voltage converters.
- Look for power banks with output specifications that match your specific camera’s requirements to avoid compatibility issues.
Your charging solution should be as carefully considered as your optical equipment for successful nighttime shoots.
Custom Cable Solutions to Minimize Weight
Every gram matters when you’re hiking to remote shooting locations with your astrophotography gear. Custom cable solutions can dramatically cut unnecessary weight from your pack by utilizing lighter gauge wire specifically matched to your equipment’s needs.
Replace standard cables with shorter, application-specific options to eliminate excess slack and bulk. USB-C to 2.5mm dongles with PD chipsets offer versatile compatibility while maintaining a lightweight profile for your various astro devices.
Consider upgrading to flexible silicone cables instead of rigid PVC ones—they’re not only lighter but also perform better in cold nighttime conditions.
Streamline your setup with multi-purpose connectors that consolidate charging and power distribution functions, reducing the total number of cables you’ll need to carry into the field.
Mounting Power Banks on Your Tripod or Star Tracker

Properly mounting your power bank on a tripod or star tracker can make or break your astrophotography session.
You’ll need to balance the weight distribution carefully to prevent tipping during long exposures, especially when using heavier equipment.
Secure your power bank with Velcro straps or adhesive mounts for stability while maintaining easy access to ports and controls throughout your shooting session.
Secure Mounting Solutions
When venturing into the cold, dark wilderness for astrophotography, you’ll need reliable power that doesn’t interfere with your setup. Secure mounting solutions for your power bank are essential for maintaining stability and workflow efficiency.
Position your power bank near your setup’s center of gravity using adjustable tripod mounts or dedicated holders designed for astrophotography equipment. This prevents unwanted movement during long exposures and maintains accessibility to your dedicated output ports.
- Use Velcro straps or bungee cords for quick attachment and adjustment
- Mount power banks close to the center of gravity to maintain stability
- Confirm outputs on the power bank remain accessible after mounting
- For star trackers, choose mounts that won’t interfere with tracking mechanisms
These approaches keep your power supply secure without compromising your equipment’s performance or your ability to work efficiently in the field.
Balancing Weight Distribution
Balancing the weight of your equipment extends beyond simply securing your power bank—it’s fundamentally about creating a stable, reliable foundation for your astrophotography.
Mount power banks directly onto your tripod legs using lightweight brackets or straps to dramatically improve weight distribution and prevent tipping during long exposures.
Position your power bank low on the tripod and close to its center of gravity to minimize top-heavy effects that compromise stability.
When mounting, verify the combined weight remains within your tripod’s capacity rating. This strategic placement not only balances your setup but also keeps power sources conveniently accessible.
Always test your configuration before heading out for a shoot to confirm that the mounted power bank doesn’t interfere with camera operation or the movement of your star tracker.
Proper weight distribution transforms a wobbly setup into a rock-solid imaging platform.
Waterproofing and Weather Protection for Power Sources
Since astrophotography often requires long hours under unpredictable skies, protecting your power sources from the elements is essential for successful imaging sessions. Your power banks need proper waterproofing and weather-resistant features to maintain functionality throughout your stargazing adventure.
- Invest in specialized waterproof cases or bags rated for outdoor use to shield your power bank from rain and unexpected moisture.
- Choose power banks with rugged, weather-resistant designs specifically built to withstand the varying conditions of nighttime shoots.
- Add silicone or rubber port covers to prevent water ingress that could damage internal components.
- Provide insulation for your power bank in cold weather by using insulated sleeves or keeping it inside your jacket when not in use.
Remember to store your equipment in dry, cool places between sessions to maximize battery life and performance.
Extending Battery Life With Proper Settings and Techniques

You’ll maximize your night sky shooting time by activating power-saving modes and reducing screen brightness on all your equipment, which can extend battery life by up to 30%.
Managing your gear’s temperature with insulation in cold conditions prevents rapid battery drain while keeping condensation at bay.
Set ideal capture intervals with shorter exposures when possible, as 30-second shots consume less power than minute-long exposures while still capturing stunning celestial details.
Power-Saving Mode Strategies
When shooting under dark skies for hours, battery management becomes critical to your astrophotography success. Maximizing your power source longevity means you’ll capture more celestial wonders without interruption.
Enable power-saving modes on both your camera and laptop to dramatically extend battery packs life during extended imaging sessions.
- Reduce screen brightness to minimum usable levels on all devices to preserve charge
- Utilize shorter exposure times and lower ISO settings to decrease power draw from imaging equipment
- Disconnect unused accessories that silently drain your power supply even when idle
- Set up a timer or intervalometer to automate captures, eliminating constant manual adjustments
These simple adjustments can transform your battery performance, often doubling runtime without requiring additional external power—letting you focus on capturing the night sky rather than worrying about dying batteries.
Temperature Management Essentials
Cold night air poses one of the biggest threats to your battery life during astrophotography sessions, often cutting capacity by 30-50% in freezing conditions.
LiFePO4 power banks offer superior performance in these situations, maintaining better power delivery when temperatures drop.
Insulate your battery with neoprene sleeves or thermal wraps to combat the chill. This simple step dramatically improves performance during overnight shoots.
Regularly check voltage output, as cold weather can cause unexpected power drops, especially when running multiple devices.
Conserve energy by using lower power settings—dim your lights or reduce tracking speed when possible.
For maximum efficiency, keep your power bank at room temperature before heading out, and minimize its exposure to cold air throughout your session.
Optimal Capture Intervals
Three key camera settings can greatly extend your battery life during long astrophotography sessions.
By configuring ideal capture intervals—shooting every 30 seconds instead of every 10—you’ll consume considerably less power while still collecting sufficient data for stacking. Shorter exposure times (10-15 seconds for wide-field images) reduce overall power consumption compared to longer exposures.
- Set your intervalometer to limit consecutive shots, preventing unnecessary battery drain
- Adjust ISO settings to achieve desired exposure without excessive amplification
- Disable in-camera noise reduction when planning to stack images later
- Turn off unnecessary camera features like image review and wireless connectivity
These adjustments help you balance quality astrophotography results with battery conservation, allowing you to capture more of the night sky without constantly swapping batteries or carrying excessive power banks.
Frequently Asked Questions
Should I Charge My Powerbank to 100%?
Yes, you should charge your power bank to 100% for maximum capacity. While keeping it between 20-80% extends lifespan, full charges guarantee you won’t run out of power when you need it most.
How Long Does It Take to Charge a 10000MAH Solar Power Bank?
Your 10000mAh solar power bank typically takes 8-12 hours to fully charge in direct sunlight. You’ll need more time in cloudy conditions, possibly over 24 hours. Using USB charging simultaneously can speed things up considerably.
Should I Get a 10000MAH or 20000MAH Power Bank?
Choose a 20,000mAh power bank if you need multiple device charges or longer sessions. Go with 10,000mAh if portability matters more. Your power needs and how often you’ll be away from outlets should guide your decision.
What Is the Best Ultralight Backpacking Power Bank?
For ultralight backpacking, you’ll love the Nitecore NB10000. It weighs just 100 grams with 10,000mAh capacity. Anker PowerCore 10000 is another great option if you need multiple USB outputs for your devices.
In Summary
With these power management strategies in your toolkit, you’ll capture stunning night sky images without battery anxiety. Remember, it’s not just about bringing enough power—it’s about using it efficiently. By calculating needs, choosing ultralight options, and adapting to conditions, you’re free to focus on your creative vision. The stars aren’t going anywhere, but with smart power planning, you’ll never miss that perfect cosmic moment.


Leave a Reply