For better astrophotography alignment, focus on precise polar alignment using the drift method, choose stable reference stars, and leverage specialized software like DeepSkyStacker rather than generic image editors. Set your camera to capture RAW files at ISO 800-1600, use dithering between shots, apply Kappa-Sigma clipping to eliminate artifacts, and implement drizzle integration for undersampled images. Don’t forget to batch process similar targets with consistent parameters. These techniques will transform your blurry star trails into pinpoint celestial masterpieces.
10 Essential Tips For Aligning Astrophotography Images
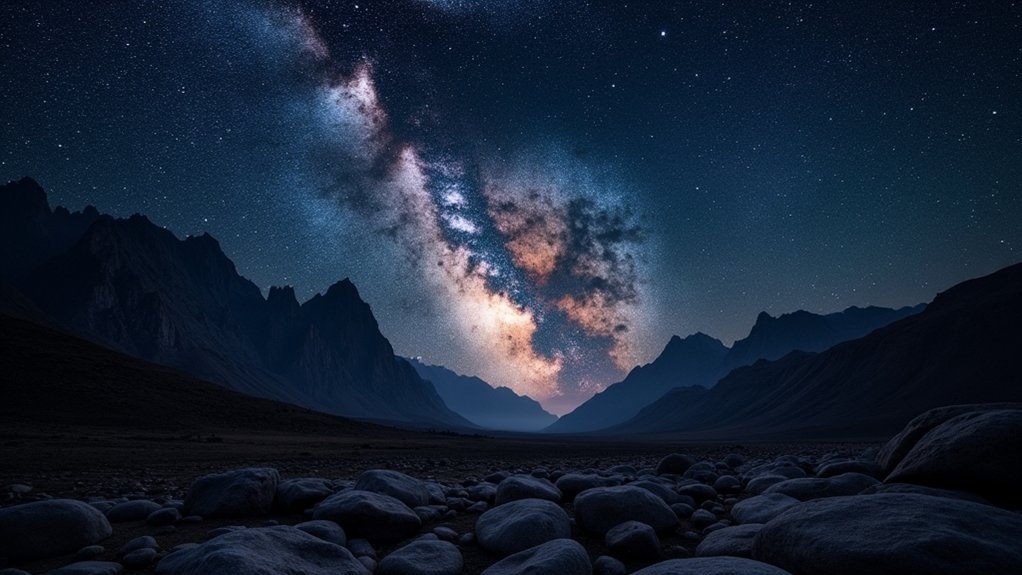
When capturing the cosmos through your camera lens, proper image alignment forms the foundation of successful astrophotography. Stars serve as perfect registration marks for precisely aligning your images, which is vital for stacking multiple exposures to improve signal-to-noise ratio.
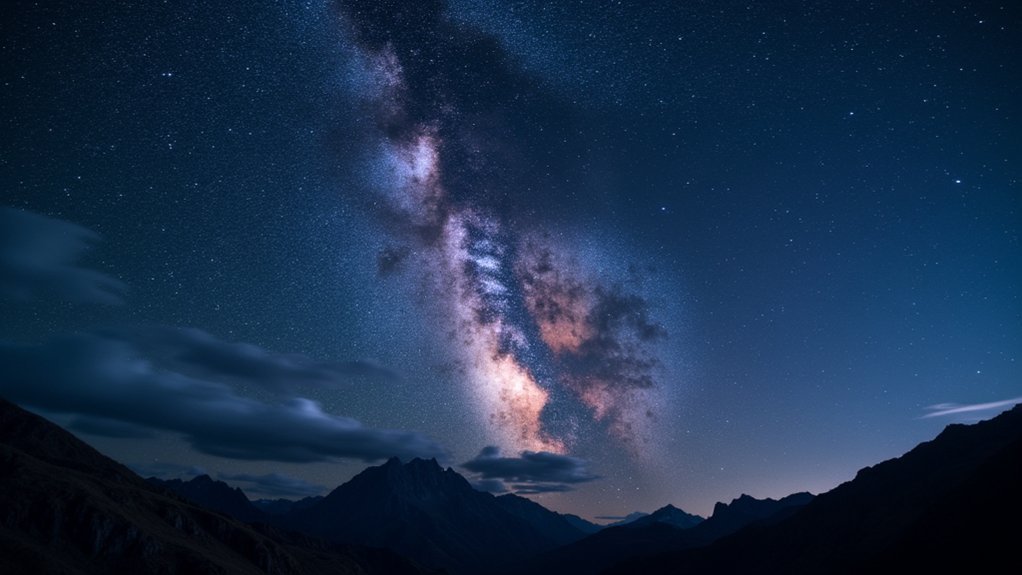
Precise stellar alignment unlocks the true potential of astrophotography, transforming multiple exposures into breathtaking cosmic portraits.
While Photoshop offers alignment capabilities, specialized software like Deep SkyStacker or Keith’s Image Stacker will deliver superior results for astronomical images. Before alignment, verify all your files are in the same format and minimize pre-processing to maintain alignment accuracy.
For best results, focus on feature alignment using stars rather than edge detection. Select small rectangles around sharp features and adjust brightness thresholds to reduce background artifacts. Stacking multiple images significantly improves image quality, with combining 9 originals resulting in a 3x improvement in noise reduction.
Consider making coarse manual adjustments before letting automatic alignment fine-tune your images, especially when creating HDR composites or combining data from different filters.
Mastering Polar Alignment for Stable Star Tracking
You’ll need to master precise azimuth adjustments to fine-tune your mount’s horizontal orientation toward the celestial pole.
When using the drift method, start by tracking a star near the celestial equator and watch for north-south movement through your eyepiece.
Make small adjustments to your mount’s position until the star remains fixed in your field of view, indicating proper alignment for long-exposure imaging. Remember that if you observe a star drifting southward, it means your polar axis is too far east and requires correction.
Precise Azimuth Adjustments
Three critical components determine the success of your astrophotography sessions, with polar alignment standing firmly at the top of this list. When fine-tuning your mount’s alignment, precise azimuth adjustments eliminate east-west positioning errors that cause star trails in your images.
After rough alignment toward Polaris, observe a star near the celestial equator. If it drifts south, your polar axis is too far east; if north, it’s too far west. Use your mount’s azimuth knobs to make incremental corrections until drift disappears. For greater precision and efficiency, PoleMaster tools can significantly reduce the time needed for perfect alignment.
| Drift Direction | Adjustment Needed | Emotional Impact | Common Mistake | Solution |
|---|---|---|---|---|
| South | Move west | Frustration | Overcorrection | Tiny increments |
| North | Move east | Satisfaction | Loose knobs | Secure firmly |
| East | No azimuth change | Confusion | Wrong diagnosis | Check altitude |
| West | No azimuth change | Uncertainty | Impatience | Take your time |
| Erratic | Level mount first | Relief | Skipping steps | Follow sequence |
Drift Method Fundamentals
The drift method stands as the gold standard for precise polar alignment, even as computerized solutions have proliferated in recent years. This technique achieves sub-arcsecond precision by monitoring star movement relative to your mount’s axes, compensating for Earth’s rotational misalignment.
You’ll need an illuminated crosshair eyepiece and high magnification optics to detect subtle drift movements. Alternatively, defocusing a star can provide easier visibility of drift patterns during the alignment process.
Begin by leveling your mount, then select a star near the celestial equator in the eastern sky to test azimuth alignment. Watch for declination drift over 3-5 minutes—westbound movement indicates your polar axis needs adjustment.
Next, observe a southern star near the meridian to check altitude alignment.
Make iterative corrections and validate with short, unguided exposures before committing to longer imaging sessions. This method works universally regardless of Polaris visibility.
Choosing the Right Reference Stars for Perfect Registration
Selecting appropriate reference stars can make or break your astrophotography alignment process.
You’ll want to choose stars that are bright enough to be reliable reference points, but not so bright they’re overexposed. Aim for a good distribution across your frame rather than concentrating on one area.
Balanced distribution of moderately bright reference stars across your frame ensures optimal alignment for successful astrophotography.
For ideal registration, include a sufficient number of stars—typically 15-30 works well. Avoid overcrowded regions where software might struggle to distinguish individual stars. In some cases, incorporating background nebulosity can provide additional reference points.
When performing polar alignment, select reference stars near the horizon and within 15 degrees of the celestial equator.
Remember to adjust both altitude and azimuth for precise alignment, and consider seasonal changes in star positions when selecting your reference points. Consistent reference frames across different filter types are essential for maintaining proper star alignment in your final composite images.
Optimizing Camera Settings to Maximize Alignment Success
Once you’ve identified the right reference stars, your camera settings become the lynchpin of successful alignment in astrophotography.
Set your aperture between f/2.8 and f/4 to balance light collection and sharpness, stopping down slightly from maximum to reduce aberrations.
Keep ISO between 400-1600 to control noise while maintaining sensitivity. For the best results in star photography, consider using settings in the 1600-3200 range which is commonly recommended for night sky imaging. Aim for 15-30 second exposures to prevent star trails, using bulb mode for deeper captures when necessary.
Always shoot in RAW for better post-processing flexibility.
Manual focus is critical—use live view to focus precisely on infinity, and enable focus peaking if available.
Set white balance to daylight or 3000K-5000K for natural star colors.
Complete your setup with a stable tripod and remote shutter release to eliminate vibration during exposure.
Selecting the Best Software Tools for Your Budget Setup

While free software like Siril and DeepSkyStacker offer robust stacking capabilities for beginners on tight budgets, paid options like PixInsight provide specialized tools that may justify their cost for serious astrophotographers seeking advanced processing techniques.
You’ll find GIMP delivers excellent post-processing capabilities without cost, making it a worthy alternative to Photoshop’s subscription model for most editing needs.
Your choice ultimately depends on your specific targets—planetary imagers might thrive with free Registax, while deep-sky specialists tackling complex mosaics could see genuine workflow improvements from Astro Pixel Processor’s paid features. For the best results when aligning multiple images, consider using software that employs the median stacking method to effectively reduce random noise and unwanted artifacts in your final composition.
Free vs. Paid Options
The world of astrophotography software offers solutions for every budget, from completely free tools to premium paid applications. Free options like DeepSkyStacker, GraXpert, and Siril provide robust functionality for image registration, stacking, and gradient removal across Windows, Mac, and Linux platforms.
These free tools support multiple file formats and often benefit from active community support with tutorials and troubleshooting tips. DeepSkyStacker particularly excels at automatic calibration of images, making it accessible for beginners. Siril even allows scripting for automated workflows, saving you significant time.
For those seeking advanced capabilities, paid options like PixInsight offer deeper processing features and professional-grade results.
When choosing software, consider your image complexity, skill level, and budget constraints. Remember that while free software might require more manual adjustments, this can be valuable for learning the fundamentals of astrophotography processing.
Feature-to-Value Analysis
Selecting the right astrophotography software involves balancing features against cost, especially when building a budget-conscious setup. Free options like Siril deliver exceptional value with batch processing and non-linear stacking modes that effectively eliminate satellite trails while maintaining cross-platform compatibility.
Consider your specific imaging targets when choosing software. DeepSkyStacker’s sub-pixel alignment and automatic hot pixel removal excel for deep-sky objects, while RegiStax 6’s wavelet sharpening transforms planetary imaging results. For challenging nebulae with sparse stars, look for tools offering manual alignment point control.
Don’t overlook workflow efficiency—zero licensing fees from open-source alternatives free up budget for equipment, while community tutorials offset training costs. The best software includes iterative image alignment techniques that compensate for Earth’s rotation, preventing star trails when averaging multiple frames.
However, GPU acceleration remains limited in free options, which matters if you’re processing terabyte-sized datasets regularly.
Implementing Star Detection Algorithms Effectively
Successful astrophotography hinges on your ability to accurately identify stars within your image frames. Start with threshold-based detection for initial star identification, then refine positions using 2D Gaussian fitting to achieve sub-pixel accuracy between 0.1-0.5 pixels. Filter false positives by analyzing shape regularity and implementing dynamic magnitude cutoffs that adapt to local background levels.
- Leverage multi-resolution analysis when processing images with varying star sizes – this handles differences in stellar point spread functions across your field of view.
- Implement parallel processing on your GPU for faster Gaussian fitting, especially when working with high-resolution frames.
- Cross-reference detected stars with guide star catalogs to validate your algorithm’s performance against known stellar positions.
- Calculate the half flux diameter of detected objects to effectively differentiate between actual stars and hot pixels that might contaminate your data.
Using Drizzle Integration to Improve Resolution
When you’re struggling to capture fine details in your astrophotography, drizzle integration offers a powerful solution by redistributing pixel information to sub-pixel positions.
This technique, originally developed for the Hubble Space Telescope, enhances image resolution by treating pixel data as smaller “drops” that create sharper, more detailed composite images.
For optimal results, your imaging data must be undersampled and dithered, with a significant quantity of frames collected to mitigate the increased noise that drizzle introduces.
Drizzle Technique Basics
Originally developed for the Hubble Space Telescope, the drizzle technique offers astrophotographers a powerful method to enhance image resolution beyond standard stacking.
This process works by projecting undersampled pixels onto a finer output grid, effectively extracting detail that might otherwise be lost. Many astrophotographers using quality telescopes like those from Skywatcher or ZWO find this technique particularly valuable.
For drizzle to be effective, you’ll need:
- Undersampled data – Your pixel scale should exceed the atmospheric seeing limit, typically with focal lengths under 200mm.
- Proper dithering – Shift your telescope slightly between exposures to capture subpixel information.
- Sufficient frames – At least 30 properly dithered images to fill the output grid without gaps.
Oversampling Prevents Detail Loss
While drizzle integration helps recover undersampled data, oversampling takes astrophotography to a new level by preventing detail loss from the start.
When you oversample, your camera’s smaller pixels capture finer details that wouldn’t be recorded with larger pixels, especially in nebulae.
You’ll need better equipment—improved guiding and polar alignment are essential since oversampling demands greater stability.
Though you’ll face longer exposure times and higher equipment costs, the benefits are substantial. You can apply deconvolution techniques to sharpen stars and enhance clarity, particularly on nights with excellent seeing conditions. Oversampling allows you to use nights with excellence to their fullest potential, capturing the finest details when atmospheric conditions permit.
The flexibility is another advantage. You can always bin oversampled images later to improve signal-to-noise ratio or zoom into specific areas without significant detail loss, giving you more options during post-processing.
Correcting Field Rotation in Long Exposure Sequences
As Earth rotates beneath your telescope, stars appear to drift in arcs across the night sky, creating a challenging phenomenon for astrophotographers using alt-azimuth mounts.
This field rotation causes stars near frame edges to streak first, worsening near the equator and during meridian crossings.
You can tackle field rotation without specialized hardware by:
- Limiting exposure times to 2-3 minutes maximum, prioritizing multiple short exposures over single long captures
- Planning ideal timing by avoiding meridian crossings and shooting targets lower in the sky (but above atmospheric turbulence)
- Post-processing strategically with frame alignment software, recording precise timestamps, and avoiding aggressive stretching that emphasizes edge artifacts
Software like DeepSkyStacker can compensate for rotation when stacking your images, providing an accessible solution for many astrophotographers.
For serious deep-sky work, consider hardware solutions like equatorial platforms or dedicated field derotators.
Applying Kappa-Sigma Clipping for Cleaner Stacks
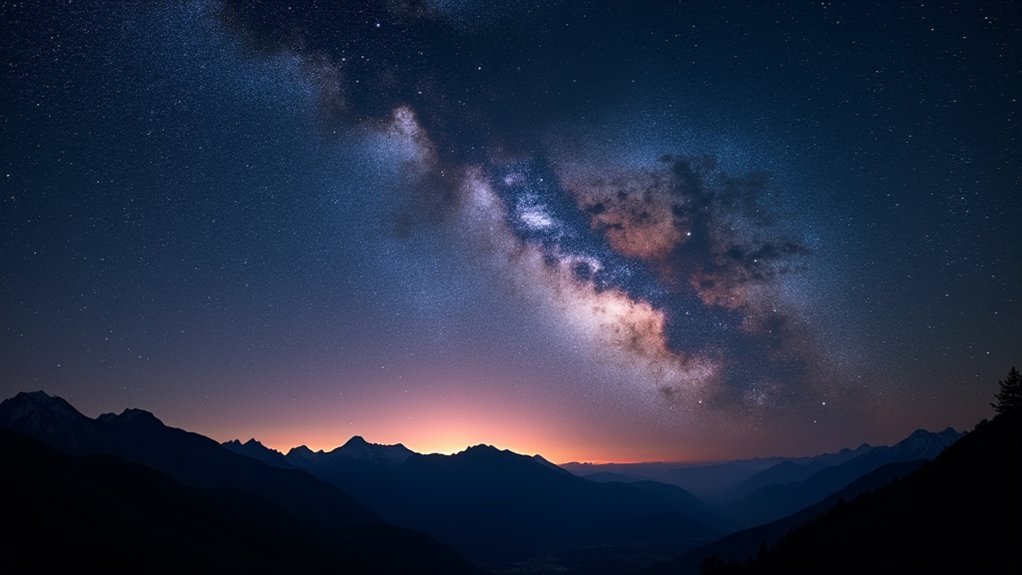
The secret weapon in an astrophotographer’s digital toolkit, Kappa-Sigma Clipping dramatically improves stacked images by systematically eliminating unwanted outliers and anomalies. This powerful technique identifies inconsistencies between frames—like satellite trails, airplane streaks, and hot pixels—and removes them during the stacking process.
When using software like DeepSkyStacker, you’ll need to adjust the Sigma value to fine-tune sensitivity. Higher values permit more outliers, while lower settings create cleaner results but risk losing detail. The key is finding balance: you want to preserve signal integrity while eliminating noise. Experimenting with different iteration and sigma values can help you optimize results for your specific data set.
For best results, capture multiple frames of your target. This gives the algorithm sufficient data to distinguish between persistent astronomical features and transient interference, ultimately producing images with improved clarity and signal-to-noise ratio.
Batch Processing Techniques for Large Image Sets
Processing hundreds of images from a lengthy imaging session can quickly become overwhelming when done manually. Automated workflows like WBPP in PixInsight or Autostakkert! can handle calibration, registration, and integration in one streamlined process, saving you hours of tedious work. WBPP excels at image registration alignment to ensure all your astrophotography frames match perfectly regardless of minor telescope movement.
- Set up parameter presets for consistent processing across datasets — particularly useful when handling multiple targets from the same night with identical equipment settings.
- Utilize grouped file naming to organize your lights, darks, flats, and bias frames, allowing processing software to automatically identify and apply proper calibration.
- Enable parallel processing to maximize your computer’s resources, dramatically reducing completion time while the integrated frame rejection features automatically filter out frames containing satellite trails or tracking errors.
Frequently Asked Questions
How Do I Align Images With Drastically Different Exposures?
To align images with drastically different exposures, you’ll want to use Deep SkyStacker for automatic registration. Alternatively, identify reference stars in both images and manually align them using Photoshop’s layer tools for precise results.
Can Alignment Correct for Atmospheric Turbulence Effects?
No, alignment can’t correct for atmospheric turbulence. You’ll need specialized techniques like lucky imaging, adaptive optics, or speckle interferometry to address the random distortions that occur faster than alignment software can compensate for.
How Many Frames Minimum Are Needed for Effective Stacking?
You’ll need at least 100 light frames for effective stacking in untracked astrophotography and 15-20 dark frames for noise reduction. More frames will improve your signal-to-noise ratio proportionally to the square root.
Should I Align Images Before or After Dark Frame Calibration?
You should typically calibrate with dark frames first, then align your images. This removes thermal noise before alignment, resulting in cleaner reference points for more accurate image registration during the stacking process.
How Do I Handle Alignment When Using Different Filters?
When using different filters, align your images using prominent stars as reference points. You’ll want to employ specialized astrophotography software that can account for slight shifts in star positions across different wavelengths.
In Summary
Remember, you’ll find that aligning your astrophotography images isn’t just technical—it’s an art form. By mastering polar alignment, selecting proper reference stars, and using the right software tools, you’re setting yourself up for stunning results. Don’t forget to experiment with advanced techniques like drizzle integration and kappa-sigma clipping. With practice, you’ll transform those raw frames into breathtaking cosmic portraits that showcase the universe’s true beauty.



Leave a Reply