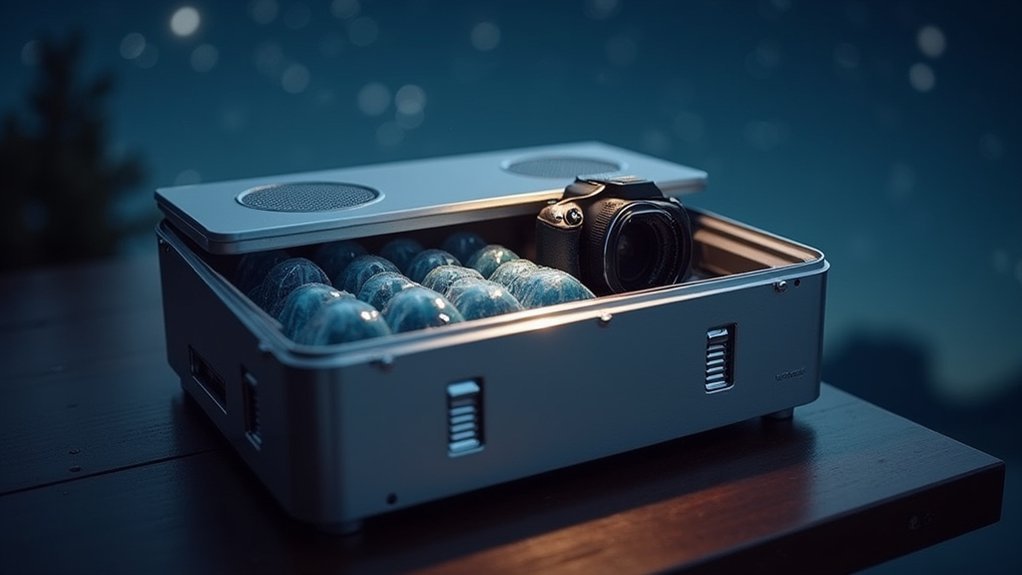
To make a simple camera cooling box for astrophotography, you’ll need a Peltier cooling module, aluminum sheets, a 92mm heatsink with fan, insulation foam, and a temperature monitor. Mount your camera securely inside the insulated box with cutouts for cables, apply thermal compound between components, and power it with a 12V supply. Expect a 15°C temperature drop, which greatly reduces sensor noise and reveals finer details in your night sky images. The difference in image quality will surprise you.
Understanding Thermal Noise in Astrophotography
When you point your camera at the night sky, you’re not just capturing stars and nebulae—you’re also recording unwanted thermal noise.
This noise stems from electrons moving randomly within your camera’s sensor as it heats up during operation. The warmer your sensor gets, the more hot pixels and noise appear in your final image, degrading the delicate details of celestial objects you’re trying to capture.
Thermal sensor noise is the silent enemy of astrophotography, obscuring the universe’s secrets with each degree of heat.
Research shows that cooling your sensor by just 5°C can noticeably improve image quality.
That’s why cooling solutions are critical for serious astrophotographers. By reducing sensor temperatures to as low as -20°C, you’ll dramatically minimize thermal noise and enhance your signal-to-noise ratio.
Pair this with proper dark frame calibration at matching temperatures, and you’ll see markedly cleaner, more detailed astronomical images.
Materials Needed for a DIY Cooling Box
Building an effective camera cooling box requires several essential components including a 12703 Peltier cooling module, aluminum sheets, thermal compounds, a 92x92mm heatsink, and insulation materials.
You’ll need a digital thermometer to monitor internal temperature and an appropriate power supply capable of handling the Peltier’s 3-amp draw during nighttime imaging sessions.
Optional accessories like additional foam insulation or a voltage controller can enhance your cooling system’s performance and give you more control over temperature regulation.
Essential Components
To construct an effective camera cooling box for astrophotography, you’ll need several critical components that work together to reduce sensor temperature. The Peltier cooler (12703 model recommended) forms the heart of your cooling system, working alongside a properly sized heatsink and fan to efficiently dissipate heat.
Your build will require:
- Aluminum sheeting for the box structure – preferably laser cut for precision and carefully de-burred for proper component fit.
- Thermal insulation materials such as adhesive foam sheets or neoprene to maintain low temperatures and prevent condensation.
- A digital thermometer to monitor internal conditions and make necessary adjustments.
- Power supply for the Peltier unit, thermal compound for heat transfer, and a project box to house electrical connections.
Optional Accessories
Beyond the core components, several optional accessories can greatly enhance your cooling box’s performance and usability.
Consider adding a secondary temperature sensor that monitors both the camera and heatsink temperatures for more precise peltier cooling control. A variable power supply will let you adjust the cooling intensity based on ambient conditions, preventing unnecessary power consumption on milder nights.
You might also benefit from quick-release fasteners for easier camera access and silica gel packets to combat internal moisture.
Rubber grommets for cable management will maintain the box’s thermal integrity while allowing power and data connections.
For advanced setups, a microcontroller like Arduino can automate temperature regulation, maintaining your sensor at the ideal temperature throughout your imaging session without manual adjustments.
Selecting the Right Container Size and Insulation

When constructing a camera cooling box for astrophotography, choosing the appropriate container dimensions and insulation materials directly impacts your system’s efficiency.
You’ll need a box that accommodates both your camera and cooling elements while maintaining ideal thermal properties.
- Size matters – Select a container with internal dimensions of at least 12″ × 10″ × 8″ for standard DSLR or mirrorless cameras, ensuring sufficient space for components and airflow.
- Material selection – Opt for polystyrene or adhesive foam insulation sheets with low thermal conductivity to minimize heat transfer.
- Create a seal – Apply double insulation layers and foam strips around the lid to achieve an airtight environment that prevents warm air infiltration.
- Consider weight – Choose lightweight insulation materials to keep your setup portable without sacrificing thermal performance.
Peltier Cooling Elements: How They Work
At the heart of effective camera cooling systems lies the remarkable Peltier element, a solid-state device that transforms electrical energy directly into temperature differentials.
When you apply voltage across these thermoelectric coolers, they create a cold side that absorbs heat and a hot side that dissipates it.
For your astrophotography setup, these elements can lower your camera’s temperature by up to 60°C below ambient conditions, dramatically reducing sensor noise.
You’ll get peak performance by running Peltier modules at about 50% of their rated capacity, as maximum power actually diminishes cooling efficiency through excessive heat generation.
The heat transfer effectiveness depends on your system’s design—quality heat sinks, proper insulation, and minimized thermal resistance all contribute to performance.
These factors will determine how effectively your cooling box maintains those essential low temperatures.
Heat Sink and Fan Selection for Efficient Cooling

Selecting the right heat sink and fan combination forms the cornerstone of an effective astrophotography cooling system. Your heat sink should feature larger dimensions, around 92 x 92 mm, to maximize surface area for ideal heat dissipation from your camera sensor.
The heart of astrophotography cooling lies in selecting generously-sized heat sinks that maximize thermal efficiency through optimal surface area.
When building your cooling box, focus on these essentials:
- Choose a larger heat sink with maximum surface area to efficiently draw heat away from the Peltier module.
- Add a small fan to circulate air around the heat sink, greatly enhancing cooling performance.
- Apply high-quality thermal compound like Shin Etsu x23 between components to guarantee superior heat transfer.
- Install a digital thermometer to monitor internal temperatures and adjust your cooling settings accordingly.
Power Supply Options for Your Cooling System
You’ll need a reliable power source for your cooling system, with options ranging from desktop power supplies for initial testing to Arduino-controlled setups for automated temperature management.
For field use, portable battery solutions can work if they maintain the necessary 12V and 3A requirements that most Peltier coolers demand.
Alternatively, AC/DC converters offer a convenient option when shooting near power outlets, though you’ll want to guarantee proper voltage regulation to protect your cooling module.
Battery Power Solutions
When venturing away from power outlets for astrophotography sessions, reliable battery power becomes essential for your camera cooling system.
You’ll need power solutions that can handle Peltier coolers without damaging your setup or interrupting your imaging session.
For peak performance, consider these key components:
- Battery type – Choose either a 12V sealed lead-acid battery or lithium-ion pack with at least 10Ah capacity to handle the typical 3A draw of Peltier modules.
- PWM controller – Add this to regulate power flow, reducing battery drain while maintaining precise temperature control.
- Battery management system – Protect your lithium batteries from over-discharge and monitor voltage levels.
- Accessible design – Create an easy-access battery compartment in your cooling box for quick replacements during extended imaging sessions.
AC/DC Converter Options
While portable battery solutions give you freedom to image from remote locations, many astrophotographers prefer to set up near power sources for extended cooling sessions.
When selecting an AC/DC converter for your Peltier cooler system, opt for a power supply that outputs 12V DC with a current rating exceeding your cooler’s demands—typically at least 3 Amps for a standard 12703 Peltier module.
Desktop power supplies offer advantages for stationary setups, including current ramping capabilities that allow precise temperature control.
For safety, incorporate a switch or relay in your setup to prevent overheating and protect your equipment. If you’re using multiple Peltier modules, make certain your power supply can handle the combined load.
Remember that proper power supply selection directly impacts your cooling system’s performance and reliability during those critical long-exposure imaging sessions.
Preventing Condensation Inside Your Cooling Box

Moisture management represents one of the most critical challenges in maintaining an effective astrophotography cooling box. To prevent condensation from damaging your valuable equipment, you’ll need to implement several protective measures.
- Line your cooling box with kitchen toweling or place packets of silica gel inside to absorb excess moisture that accumulates during cooling sessions.
- Guarantee proper insulation using EPDM rubber or neoprene materials, which helps maintain stable temperatures and reduces condensation risk.
- Create an airtight environment by sealing all joints with adhesive foam insulation sheets, preventing humid air from entering.
- Keep your cooling box closed with fans running after sessions to evaporate any residual moisture before opening and exposing equipment to ambient air.
Monitor internal temperature with a digital thermometer to verify your box maintains conditions that discourage condensation formation.
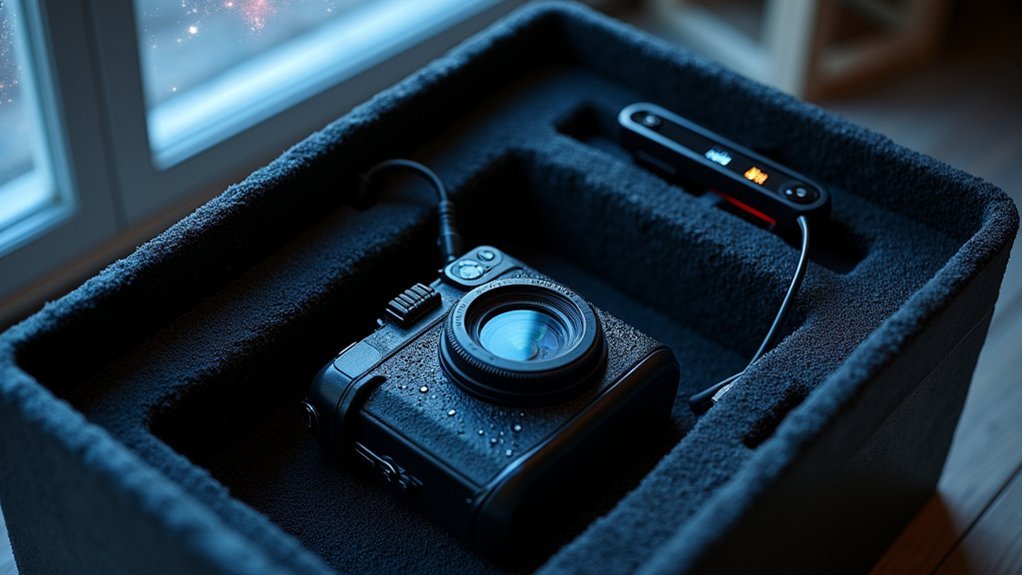
Camera Mounting and Cable Management
With your cooling system and condensation safeguards in place, proper camera mounting and cable organization become your next priority.
Secure your camera body inside the cooling box using adjustable brackets or a custom holder to prevent any movement during long exposures. This stability is essential for capturing sharp, detailed celestial images.
Create strategic cutouts in your cooling box for easy access to camera ports and controls, allowing quick adjustments without dismantling your setup.
For effective cable management, use clips or ties to organize power and data cables, preventing tangles that could interfere with cooling performance.
Don’t forget to implement strain relief for cables entering and exiting the box, and choose flexible, temperature-resistant wiring materials that can withstand the cooling environment’s demands.
Temperature Monitoring and Control Systems

Temperature monitoring systems serve as the brain of your astrophotography cooling box, allowing you to track sensor temperature and optimize cooling performance.
You’ll need to contemplate strategic sensor placement near the camera body and heat sink to guarantee accurate readings that inform your cooling decisions.
Implementing automation through Arduino-based thermostats or closed-loop controls with the ZWO SDK will let you maintain precise temperature regulation while focusing on capturing the night sky.
Temperature Monitoring and Control Systems Subheadings
Effective cooling systems rely on precise temperature monitoring to achieve ideal results in astrophotography.
Your DSLR Cooler needs reliable temperature feedback to maintain peak sensor performance and guarantee dark frame calibration accuracy.
Consider these monitoring options for your cooling system:
- Arduino Integration – Connect temperature sensors to microcontrollers for real-time readings and automated Peltier control.
- Digital Thermometer Display – Install sensors inside your cooling box with external readouts to track internal conditions.
- Closed-Loop Systems – Implement ZWO SDK or ASCOM-compatible controls for automated temperature management.
- Manual Adjustment Methods – Use variable current controls and infrared thermometers for flexibility during experimentation.
Sensor Placement Strategy
Strategic placement of temperature sensors throughout your cooling system serves as the cornerstone of effective DSLR temperature management.
Position your primary sensor as close as possible to the camera’s imaging chip, ensuring direct thermal contact with minimal resistance. This proximity maximizes the benefits of cooling by providing accurate readings of the actual sensor temperature.
Install secondary sensors at the heat exchanger and ambient air intake points to monitor the thermal gradient across your system.
By connecting these sensors to an Arduino microcontroller, you’ll enable real-time temperature monitoring and dynamic cooling adjustments. This thorough sensor placement strategy facilitates a closed-loop control system using ZWO SDK or ASCOM protocols, automatically regulating the Peltier cooler’s power output based on temperature differentials.
Remember that precise sensor placement greatly improves cooling efficiency, ultimately resulting in cleaner, noise-free astrophotography.
Cooling Automation Options
While manual cooling systems can serve basic needs, implementing automation transforms your astrophotography setup into a precision instrument capable of maintaining ideal sensor temperatures throughout your imaging session.
You can build a closed-loop control system using an Arduino that monitors your ZWO camera’s sensor temperature and adjusts the Peltier cooler’s power accordingly.
Four essential components for your automated cooling system:
- Arduino controller – The brain that processes temperature data and controls cooler power
- Temperature sensor – Digital thermometer placed inside your cooling box for real-time monitoring
- PWM control circuit – Regulates power to your Peltier device (variable current control offers better efficiency)
- Safety monitoring – IR thermometer to prevent cooler overheating and protect your camera
Access your camera’s temperature data through the ZWO SDK or ASCOM protocol for seamless integration.
Testing Your Cooling Box Performance
Once you’ve assembled your cooling box, thorough testing becomes essential to verify its effectiveness for astrophotography.
Initial tests should monitor temperature drops over time—expect around 15°C after 30 minutes and 20°C after two hours, potentially reaching as cold as -8°C in ambient temperatures around +7°C.
Compare your camera’s internal temperature without cooling (typically around 29.7°C) to temperatures with cooling activated (potentially dropping to 7.3°C).
Capture dark frames in both conditions to evaluate noise reduction, particularly looking for decreased hot pixels during longer exposures.
For proper calibration, maintain a maximum 5°C difference between your cooled and uncooled dark frames.
Installing a digital thermometer inside your cooling box provides real-time temperature monitoring, ensuring ideal cooling efficiency throughout your imaging session.
Before and After: Image Quality Comparisons
Now that you’ve tested your cooling box, you’ll want to examine the tangible benefits in your astrophotography results. The dramatic temperature reduction from 35°C to just 8°C markedly transforms your image quality by reducing thermal noise generated by the image sensor.
The evidence of this improvement is clear when comparing shots:
Visual proof awaits in the side-by-side comparison – cooled images simply reveal what heat conceals.
- Dark frames at 7.3°C show substantially lower noise levels than those taken at 29.7°C.
- Hot pixels virtually disappear in cooled images, creating cleaner overall results.
- Signal-to-noise ratios improve dramatically, revealing finer details in celestial objects.
- Random noise patterns diminish considerably during long exposures.
Users consistently report these improvements aren’t subtle – they’re game-changing. Your cooling box effectively transforms what your camera can capture, making previously impossible shots achievable even with modest equipment.
Upgrades and Modifications for Better Results
After seeing impressive improvements in your images, you’ll likely want to push your cooling system even further.
Consider upgrading to a larger heatsink with an aluminium sheet backing and a more powerful fan to greatly enhance cooling efficiency during long exposures.
Double layers of adhesive foam insulation will better maintain cold air and reduce thermal radiation for more stable temperatures.
Run your Thermoelectric Cooler (Peltier module) at about 50% capacity for maximum efficiency without excessive heat generation.
Add a digital thermostat paired with an Arduino system for automated control, giving you precise temperature monitoring and adjustment.
Don’t forget to include silica gel inside the box to absorb moisture and prevent condensation on your valuable optical components—a simple addition that protects your equipment while delivering cleaner astrophotography results.
Frequently Asked Questions
Do I Need a Cooled Camera for Astrophotography?
You don’t need a cooled camera, but it’ll greatly improve your deep-sky astrophotography by reducing thermal noise and hot pixels, especially during long exposures when capturing faint objects.
What Is a Cooled Camera?
A cooled camera is a device that actively lowers your sensor’s temperature using Peltier technology, reducing thermal noise during long exposures. You’ll get cleaner astrophotography images with fewer hot pixels than with standard cameras.
Why Are Astronomy Cameras Cooled?
Astronomy cameras are cooled to reduce thermal noise during your long exposures. You’ll get clearer images with fewer hot pixels, better signal-to-noise ratios, and more consistent dark frame calibration for your astrophotography.
In Summary
You’ve just built a practical cooling solution that’ll dramatically reduce thermal noise in your astrophotography. By maintaining your camera at lower temperatures, you’ll capture cleaner images with better detail and less digital noise. Don’t stop here—experiment with different cooling levels and continue refining your setup. Your dedication to improving image quality will show in your stunning cosmic photographs. The universe is now yours to capture clearly!


Leave a Reply