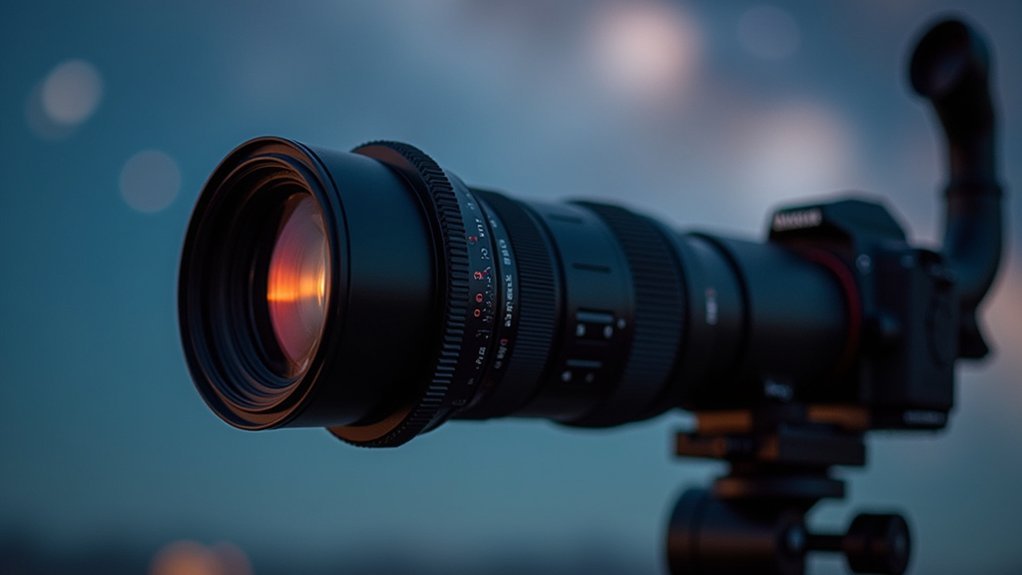
When connecting your DSLR to a telescope, proper back focus distance (typically 55mm) is essential for sharp astrophotographs. You’ll need a T-ring for your camera model and appropriate T-adapter. Use Live View mode with magnification to achieve precise focus on bright stars. For reflectors with insufficient inward focus travel, try inserting a 2x Barlow lens to move the focal point outward. Understanding these adapter combinations will transform your frustrating focusing attempts into stunning celestial captures.
Understanding Back Focus Distance for DSLR-Telescope Combinations

When attaching your DSLR to a telescope, back focus distance becomes one of the most important measurements you’ll need to master for successful astrophotography. This vital spacing—typically standardized at 55mm—represents the distance between your telescope’s final optical element and your camera’s sensor plane.
Incorrect back focus causes elongated stars and degraded images, especially with fast optical systems. Your T-Ring, filters, and focal reducers all affect this measurement, so you’ll need to calculate them carefully. Measure from the flat edge of your corrector to the sensor, accounting for all adapter components in between.
Achieving perfect back focus is critical—every millimeter matters when pursuing pinpoint stars in your deep sky images.
Different telescopes have specific requirements: Celestron EdgeHD models need 55mm, while the Celestron 8 RASA requires only 25mm with its included adapter.
Precise back focus guarantees peak imaging performance and sharper stars in your astrophotographs.
Essential Adapters for Prime Focus Astrophotography
Three critical components form the foundation of any prime focus astrophotography setup. First, you’ll need a T-Ring specific to your DSLR camera mount type, which creates the essential connection between your camera body and telescope.
Second, a T-Adapter (available in 1.25″ or 2″ sizes) connects directly to your telescope and aligns your camera sensor with the focal plane.
When assembling your equipment, consider:
- The flange-to-sensor distance (typically 44mm for standard DSLRs)
- Back focus requirements when using focal reducers
- Proper spacing to achieve sharp focus at prime focus
- Using a remote shutter release to eliminate vibration
The correct combination of these adapters guarantees your DSLR camera precisely interfaces with your telescope’s optical system, maximizing image quality and focusing capability.
Barlow Lenses as Focusing Solutions for Reflector Telescopes

Many reflector telescope owners face a common frustration: their DSLR cameras simply won’t reach focus. This typically happens because the focuser doesn’t have enough inward travel to compensate for the DSLR’s flange distance when using a T-ring.
A Barlow lens offers an elegant solution by increasing the effective focal length of your telescope. By inserting a 2x Barlow between your primary mirror and camera, you’ll effectively move the focal point outward, making it easier for your DSLR camera to reach focus.
Tele-centric Barlow designs are particularly valuable for astrophotography setups, as they project light in parallel rays, maintaining consistent focus regardless of distance.
If you’re struggling to focus using your reflector telescope with a DSLR, adding a Barlow lens to your optical train might be your simplest solution.
Live View Mode and Digital Focusing Techniques
Modern DSLRs offer a powerful focusing advantage through Live View mode, which transforms your camera’s LCD screen into a precision focusing tool.
When using telescope adapters, you’ll achieve sharp focus by magnifying portions of the image and selecting bright stars or high-contrast edges for adjustment.
- Enable digital focusing aids like focus peaking to highlight in-focus areas
- Adjust ISO and exposure settings to enhance star visibility during the focusing process
- Use a remote shutter release or timer function to eliminate vibrations that can blur your image
- Magnify specific areas of your Live View display to fine-tune focus on celestial details
These techniques harness your DSLR’s digital capabilities to overcome traditional focusing challenges, making your astrophotography sessions more productive and your images impressively crisp.
Focusing Aids and Masks for Precise Star Imaging

Achieving tack-sharp focus on tiny pinpoints of starlight presents one of astrophotography’s greatest challenges, which is why specialized focusing aids have become essential tools in the DSLR astronomer’s kit.
Bahtinov masks create distinctive diffraction spikes that visually indicate when you’ve reached precise star focus, eliminating guesswork when aligning your telescope’s optics with your camera sensor.
For even greater accuracy, try electronic focusing aids like FocusBoss that provide digital readouts and motorized adjustments.
Most telescopes feature built-in focusers with fine adjustment knobs for the minute changes needed when photographing small star fields.
Software solutions complement hardware tools—SharpCap offers live view focusing capabilities that let you zoom in on stars and assess focus quality in real-time before capturing your celestial portraits.
Troubleshooting Common DSLR Focusing Issues With Adapters
While enthusiasts keenly connect their DSLRs to telescopes, they often encounter frustrating focusing issues that can derail an otherwise perfect imaging session.
Understanding the relationship between your camera’s flange to focal plane distance (approximately 44mm) and the added length of T-Ring adapters is vital for solving back focus problems.
If you can’t achieve focus when using a T-Ring adapter because your focuser travel is insufficient:
- Insert a Barlow lens to move the focal point outward, giving your camera setup the extra distance needed
- Try eyepiece projection instead of prime focus for distant objects
- Calculate your total back focus requirements before purchasing adapters to guarantee compatibility
- Check that your telescope’s specifications match your DSLR setup to prevent blurred or elongated stars
Budget-Friendly Solutions for Focus Challenges

Frustrated by focusing issues with your DSLR and telescope setup? Several affordable options can help your camera attached to a telescope reach focus without expensive modifications.
| Solution | Cost Range | Benefits |
|---|---|---|
| Ultra-short T-ring | $20-40 | Provides additional inward travel |
| 2x Barlow lens | $50-100 | Increases focal length for easier focus |
| Eyepiece projection | $30-70 | Enables imaging without telescope modification |
| Extension tubes | $15-45 | Adjusts camera-to-telescope distance |
Consider using a Baader ultra-short Canon EOS T-ring for immediate improvement. A budget-friendly 2x Barlow lens temporarily extends focal length while you explore permanent solutions. Extension tubes offer flexibility in positioning your DSLR. Don’t overlook community DIY solutions like OTA modifications. Even adding a light pollution filter can improve focus by reducing stray light interference.
Field-Tested Focusing Methods for Different Celestial Objects
Different celestial objects demand specific focusing techniques to capture their unique characteristics.
When planetary imaging, attach a 2x or 3x Barlow lens to increase magnification, helping you find the perfect focal point. For lunar photography, use shorter exposures with higher ISO settings to combat Earth’s rotation while maintaining detail.
- Start with a bright star to establish your initial focus before moving to your target.
- When you focus on deep-sky objects, capture raw video frames for stacking to improve image quality.
- Try using a Bahtinov mask to visualize the light cone for precise focusing adjustments.
- Use a filter when photographing bright objects like the Moon to prevent overexposure when using a camera at high magnification.
Frequently Asked Questions
How to Take Pictures Through a Telescope With a DSLR?
You’ll need to attach a T-Ring to your camera, connect it to a telescope adapter, and secure it in the focuser. Use a Barlow lens for focus, and a remote shutter to avoid camera shake.
How to Use Nikon DSLR With Telescope?
You’ll need a Nikon-compatible T-Ring and T-adapter to connect your DSLR to the telescope. Attach them to your camera body, insert into the telescope’s eyepiece holder, then use live view for focusing.
How to Use DSLR With Dobsonian Telescope?
To use your DSLR with a Dobsonian telescope, you’ll need a T-ring for your camera model, a T-adapter, and likely a Barlow lens to achieve proper focus due to the telescope’s focal length limitations.
How Do You Focus on a Star With a Telescope?
To focus on a star, select a bright one, adjust your telescope’s focuser slowly while watching through the eyepiece, and aim for the sharpest point of light. A Bahtinov mask can help achieve perfect focus.
In Summary
You’ll face challenges when connecting your DSLR to a telescope, but proper focusing technique makes all the difference. With the right adapters, focusing aids, and digital tools at your disposal, you’ll capture stunning celestial images even with modest equipment. Remember to practice patience and experiment with different methods—the perfect focus might take time, but the breathtaking results are worth your persistence.


Leave a Reply