For night sky photography, you'll need an entry-level DSLR like the Canon EOS Rebel T8i or Nikon D5600, paired with a wide-angle lens that has at least an f/2.8 aperture. The Rokinon 14mm f/2.8 is a popular budget-friendly choice. Don't forget a sturdy tripod and remote shutter release to prevent camera shake. Start with manual settings: 15-30 second exposures, ISO 400-1600, and proper white balance. There's much more to mastering the perfect astro setup.
Essential Camera Gear for Night Sky Shooting
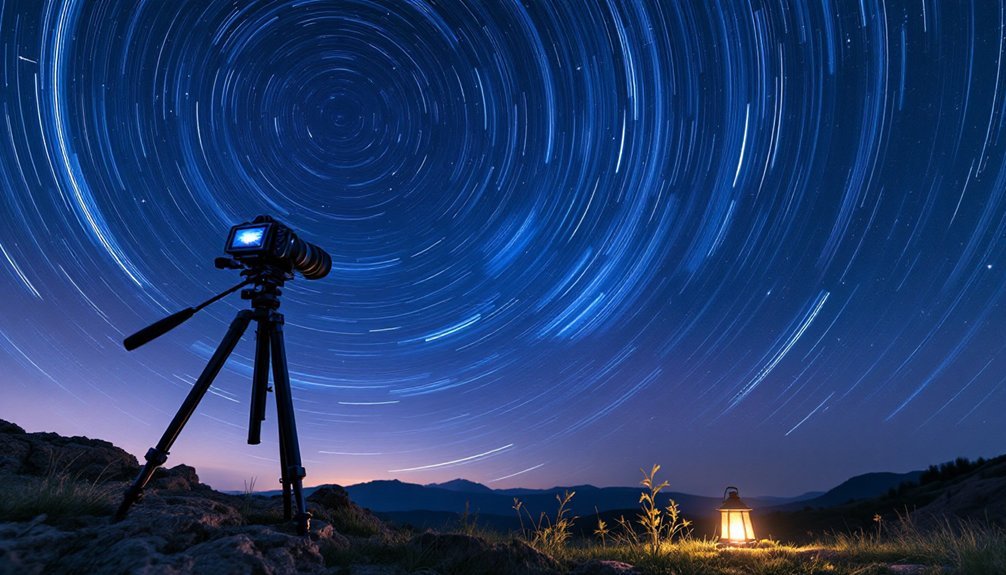
When venturing into night sky photography, you'll need specific gear to capture the stars in all their glory.
Start with a full-frame DSLR or mirrorless camera for ideal low-light performance, though a quality APS-C camera can work if you're on a budget. You'll want a camera with robust manual controls and the ability to shoot in RAW format. The Nikon Z9 represents an excellent choice for its dedicated starlight mode.
Pair your camera with a wide-angle lens that has a maximum aperture of f/2.8 or wider to let in enough light.
A sturdy tripod with a reliable ball head is non-negotiable – don't consider monopods as they won't provide the stability you need for long exposures.
Make sure to get a quick-release plate for your tripod to make adjustments easier when shooting in dark conditions.
Recommended Entry-Level DSLR Models Under $1000
Several excellent entry-level DSLRs under $1000 can serve as your gateway to night sky photography. The Canon EOS Rebel T8i/850D stands out as the top choice, offering user-friendly controls and superior image quality. Its comfortable handgrip and well-spaced controls make it ideal for long nights of stargazing.
If you're looking for weather resistance, consider the Pentax K-70, which excels in low-light conditions and features a sealed body.
The Canon EOS Rebel SL3 provides a compact alternative with beginner-friendly features, while the Nikon D5600's touch screen and Wi-Fi connectivity make sharing your celestial captures easier.
If you're working with a tighter budget, don't overlook used models like the Nikon D5300, which can still deliver impressive night sky results.
All these cameras offer the essential features you'll need: manual controls, decent ISO ranges, and compatibility with telescope mounts.
Must-Have Accessories for Your First Astro Setup
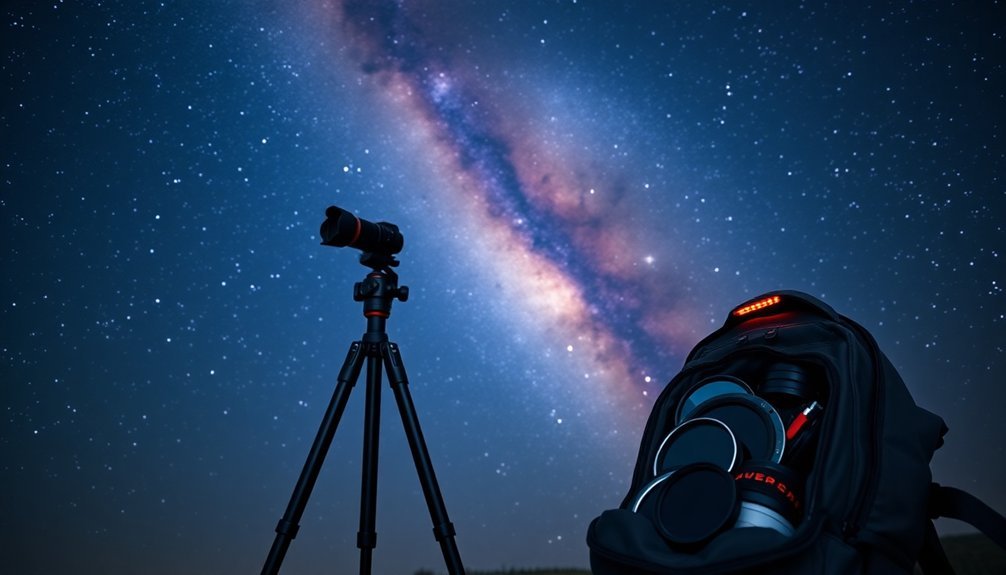
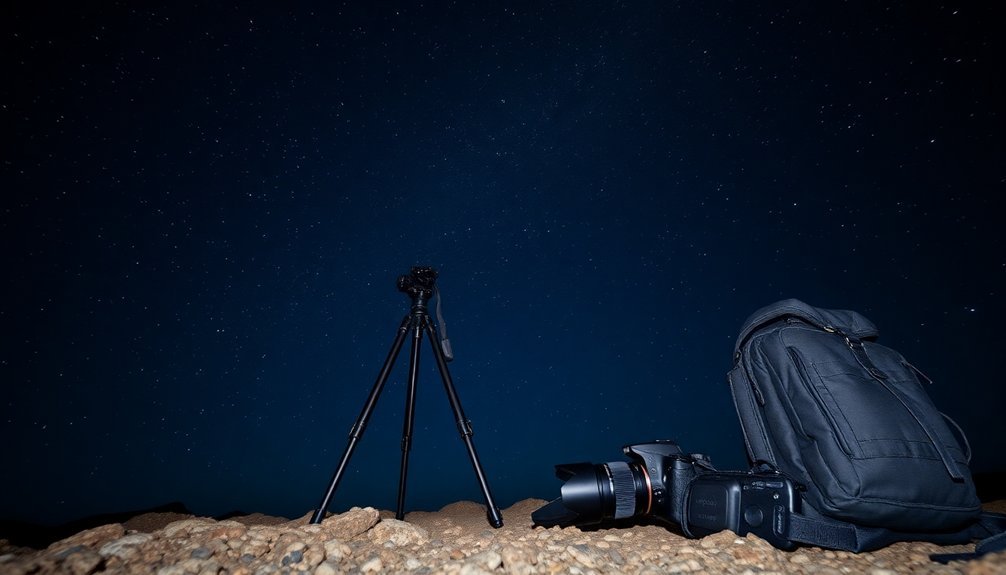
Building a complete astrophotography setup requires more than just a camera body, as specific accessories play essential roles in capturing clear night sky images.
Mastering astrophotography demands specialized gear beyond a basic camera to unlock the mysteries of the night sky.
You'll need a sturdy tripod or mount as your foundation – an equatorial tracking mount like the Sky-Watcher Star Adventurer GTi will help you follow celestial objects. Having a direct mains power supply is preferable to battery options for longer imaging sessions.
A prime lens between 100-200mm is ideal for your DSLR, with the Rokinon 135mm f/2 being a popular choice.
Don't forget to add a T-ring adapter to connect your camera to telescopes.
For control and stability, you'll want an intervalometer for automated shooting and a remote shutter release to prevent camera shake.
Consider adding dew heaters to protect your equipment on cold nights, and invest in basic image processing software to enhance your captured photos.
Basic Camera Settings to Capture the Stars
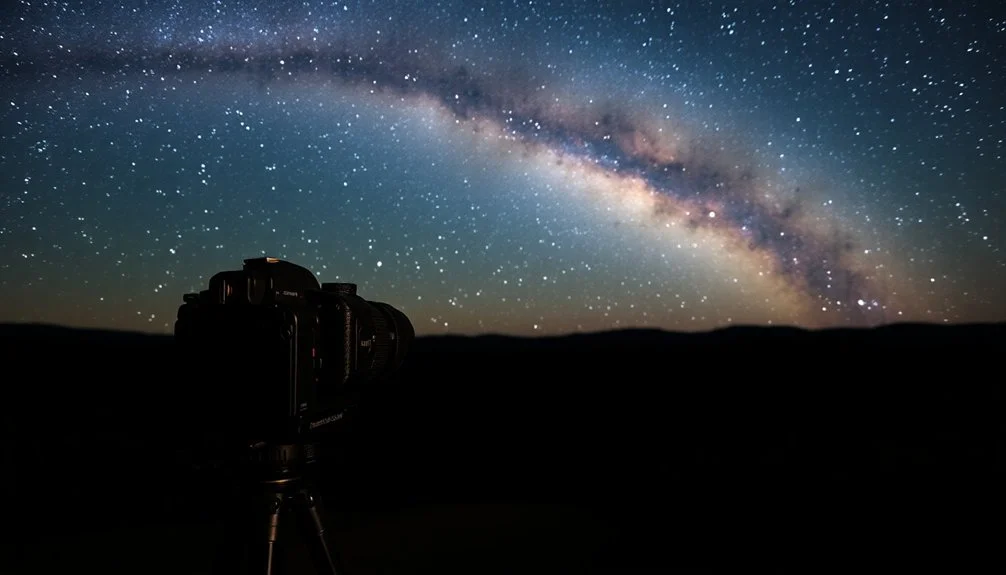
Now that you've gathered your equipment, mastering the right camera settings will make or break your night sky images.
Start by switching to manual mode and setting your aperture as wide as possible (ideally f/2.8 or f/4) to capture more light. Keep your shutter speed between 15-30 seconds to avoid star trails while guaranteeing proper exposure.
Set your ISO between 400 and 1600, but don't go too high to prevent excess noise. Using a full-frame DSLR will help minimize noise at higher ISO settings.
Switch to manual focus and use live view to zoom in on a bright star for precise infinity focus. You'll want to adjust your white balance to 3400-4400 Kelvin for natural-looking colors.
Remember to check your histogram to guarantee proper exposure, and don't hesitate to overexpose by one or two stops in particularly dark conditions.
Affordable Wide-Angle Lens Options
Great wide-angle lenses for astrophotography don't have to break the bank. The Rokinon 12mm f/2 and 14mm f/2.8 are excellent budget choices for capturing expansive night sky views.
Priced at around $300, the Rokinon 12mm f/2 offers exceptional value for night photography enthusiasts. If you're using an APS-C camera, the 12mm f/2 will serve you well, while full-frame users should consider the 14mm f/2.8 for Milky Way shots.
For an ultra-budget option, you can start with your kit lens or explore the lightweight Canon EF 50mm f/1.8. While it won't give you the widest view, its fast aperture excels in low light.
If you're using a micro 4/3 system, check out the Laowa 7.5mm f/2 for ultra-wide capabilities.
Frequently Asked Questions
How Long Should I Wait for My Camera to Adjust to Cold Temperatures?
You'll want to gradually expose your camera to cold temperatures for about 15-20 minutes before shooting. Don't rush this process, as sudden temperature changes can cause condensation and potential damage.
Can I Photograph the Night Sky During Winter When Batteries Drain Faster?
Yes, you can shoot winter night skies effectively by carrying multiple spare batteries in your inner pockets, using battery-saving techniques like turning off Live View, and insulating your camera with protective clothing between shots.
Should I Remove UV Filters When Shooting Stars at Night?
Yes, you'll want to remove your UV filter for night sky photography. It can reduce image quality, create unwanted halos, and isn't necessary for digital sensors. You'll get clearer, sharper star images without it.
How Do I Prevent Lens Condensation During Long Exposure Night Shots?
You'll need to keep your lens warm. Use dew heater strips, hand warmers, or a small fan. Monitor the dew point and wrap your lens with insulating materials like LensMuff to prevent moisture buildup.
What Smartphone Apps Are Best for Finding Dark Sky Locations Nearby?
You'll find the best dark sky spots using Light Pollution Map and Scope Nights. These apps show real-time light pollution data and provide location-specific forecasts to help plan your nighttime photography sessions.
In Summary
You've got all you need to start capturing stunning night sky images. Remember to pair your entry-level DSLR with a solid tripod, wide-angle lens, and remote shutter. Don't forget to practice your manual settings and check the weather before heading out. With patience and the right gear setup, you'll be shooting amazing star trails and Milky Way photos in no time.


Leave a Reply