
Start with a Canon Rebel series DSLR (like the T7) as your foundation for astrophotography. You'll need a fast, wide-angle lens – the Rokinon 14mm f/2.8 or Canon 50mm f/1.8 are solid budget choices. Don't skip the sturdy tripod and remote shutter release to minimize vibration. Set your camera to manual mode, use high ISO (1600+), and expose for 15-30 seconds. Free software like SIRIL and AutoStakkert will transform your initial shots into stunning celestial images.
Basic Camera Body Selection: The Canon Rebel Series
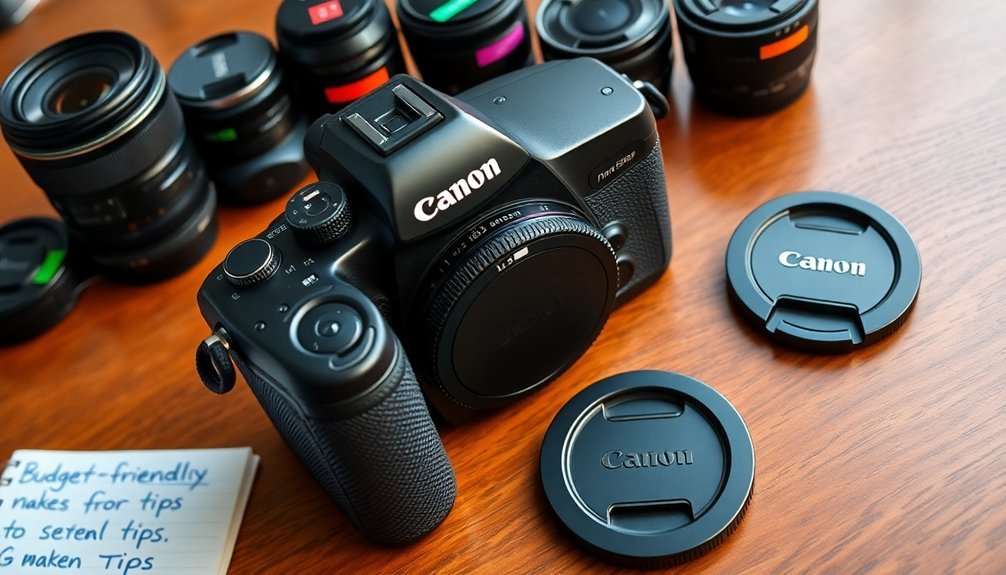
When starting your photography journey, Canon's Rebel series offers an ideal entry point into the world of DSLR cameras.
These cameras feature APS-C cropped sensors and provide impressive resolution options, from 18 MP in the T5 and T6 to 24.1 MP in the T7. Recent models like the T7i and 77D come with Dual Pixel Autofocus for superior live view performance. You'll find they're built with a durable combination of high-impact plastic and aluminum frame, making them both lightweight and reliable.
For under $400, you can get a basic Rebel model that'll give you essential features like 9-point autofocus, HD video capabilities, and a maximum shutter speed of 1/4000th second.
The penta-mirror viewfinder keeps the camera's weight and cost down while still delivering clear image preview. With 3 frames per second continuous shooting, you'll be ready to capture fast-moving subjects.
Essential Lenses for Night Sky Photography
Now that you've got your Canon Rebel, selecting the right lens becomes your next key step for capturing stunning night sky photographs. For budget-conscious photographers, several affordable options deliver impressive results.
The Canon EF 50mm f/1.8 STM, often called the "nifty fifty," offers excellent value at around $125, while the Rokinon 14mm f/2.8 provides wider views for about $300. While zoom lenses are versatile, prime lenses typically deliver superior results for astrophotography.
Two standout budget-friendly lenses perfect for night photography: the affordable nifty fifty and the wide-angle Rokinon.
- Fast apertures (f/2.8 or wider) capture more starlight
- Manual focus capability guarantees precise star clarity
- Wide-angle options (24mm or wider) frame the Milky Way effectively
- Weather-sealed construction protects against night moisture
When choosing your lens, prioritize wide apertures over zoom versatility.
Consider buying used equipment from reputable sellers to maximize your budget while maintaining quality. The Canon EF 24-105mm f/4L offers a practical middle ground between performance and affordability.
Must-Have Accessories Under $100
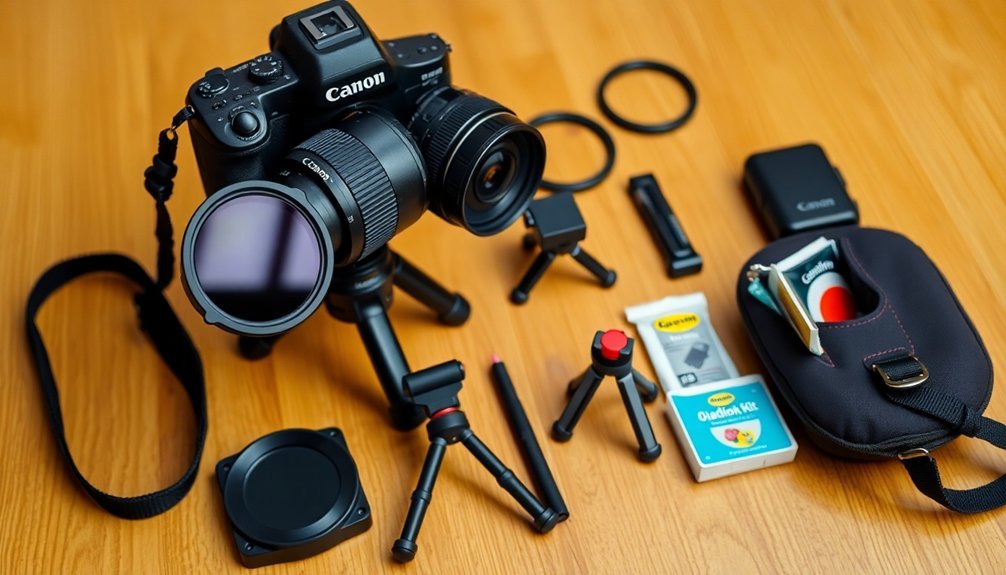
Five essential accessories under $100 can dramatically improve your Canon night photography experience without breaking the bank. You'll want to invest in a remote shutter release to minimize camera shake, and a sturdy tripod for stable long exposures. Don't forget an intervalometer to automate your star trail sequences, plus a lens cleaning kit to maintain pristine glass for those crisp star points. To improve your content planning and organization, utilizing productivity tools like Notion can help track your astrophotography accessories and shooting schedules.
| Accessory | Purpose |
|---|---|
| Remote Shutter | Eliminates vibration |
| Tripod | Stabilizes camera |
| Intervalometer | Automates sequences |
| Cleaning Kit | Maintains clarity |
Consider adding generic lens hoods to reduce stray light and protect your front element. While third-party accessories work well, confirm they're compatible with your specific Canon model before purchasing. These tools will help you capture stunning night sky images while staying within budget.
Camera Settings for Stellar Results
Successfully capturing the night sky requires mastering your Canon camera's essential settings.
Start by switching to manual mode and setting your aperture as wide as possible, ideally f/2.8 or wider. You'll want to adjust your shutter speed between 15-30 seconds, depending on your focal length – shorter focal lengths allow longer exposures. Set your ISO to 1600 as a baseline, though you can push it higher if needed. Use full-frame sensors for optimal wide-angle lens compatibility and superior low-light performance.
- Switch to manual focus and use Live View to focus on a bright star
- Set white balance between 3400K-4400K for natural star colors
- Shoot in RAW format to maximize post-processing flexibility
- Disable in-camera noise reduction and image stabilization
Remember to adapt these settings based on your specific conditions, as darker locations might require higher ISOs while brighter areas could benefit from lower sensitivity settings.
Free Software Tools for Image Processing
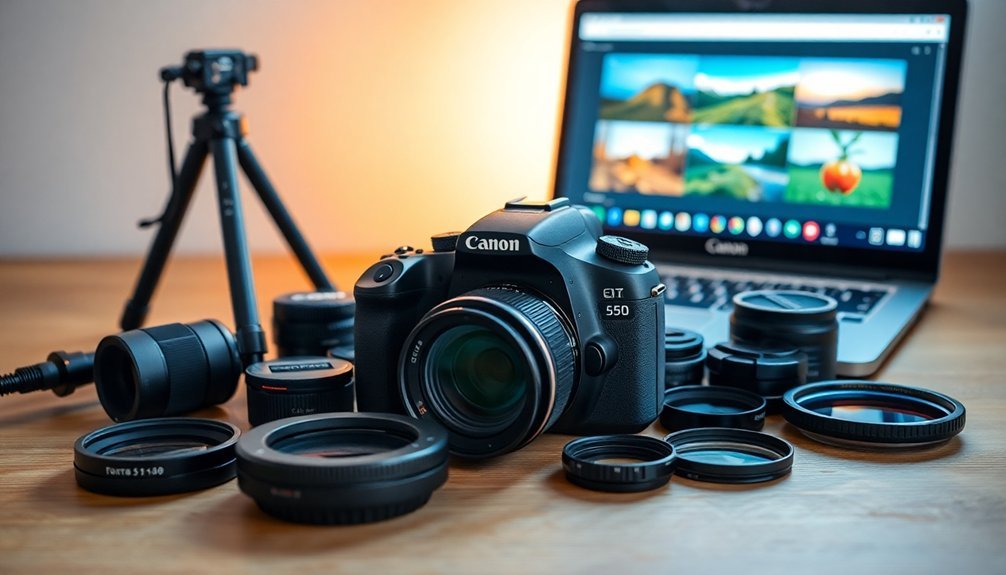
When diving into astrophotography post-processing, you don't need to spend money on expensive software to achieve stunning results. Start with GIMP for basic image editing and color adjustments – it's a powerful alternative to Photoshop.
For stacking your star photos, AutoStakkert and RegiStax6 are essential tools that'll help you align and combine multiple frames to reduce noise and improve detail. Regular users of these freeware astronomy tools are encouraged to support ongoing development through donations.
If you're shooting nebulae, Starnet will help you separate stars from nebulosity, giving you better control over processing each element.
SIRIL offers extensive tools for deep space imaging, including deconvolution and dynamic range compression.
For organizing your workflow, N.I.N.A. can streamline your imaging sessions by controlling your camera and mount, while PIPP helps manage and convert your data formats for stacking.
Frequently Asked Questions
How Do I Protect My Camera From Moisture During Night Shoots?
You'll need to use a camera bag with desiccants, apply hand warmers to prevent lens fog, keep a rain cover handy, and let your camera acclimate slowly to outdoor temperatures before shooting.
Can I Use Vintage Canon Lenses for Astrophotography?
Yes, you can use vintage Canon lenses for astrophotography. With the right adapter, they're excellent budget-friendly options, offering quality optics and wide apertures. Many photographers successfully use FD and FDn series lenses for night sky shooting.
What's the Minimum Clear Sky Conditions Needed for Good Star Photos?
You'll need at least 75% clear skies with no moon visible, minimal cloud cover, and dark conditions away from city lights. Aim for nights with 0-25% cloud coverage for ideal results.
How Long Should I Wait for Camera Sensor Temperature Equilibrium?
You'll need to wait 15-20 minutes for your camera's sensor to reach thermal equilibrium with the ambient temperature. Don't rush this process, as it's essential for reducing noise in your star photos.
Is It Possible to Stack Images Without Using a Star Tracker?
Yes, you can definitely stack images without a star tracker. You'll need to take multiple short exposures and use stacking software like Deep Sky Stacker or Sequator to combine them effectively.
In Summary
You don't need expensive gear to start capturing stunning night sky photos. With a basic Canon Rebel, the right lenses, and some affordable accessories, you're ready to begin. Remember to master your manual settings, experiment with different exposures, and take advantage of free processing software. Start practicing in your backyard tonight – the stars are waiting for you to document their brilliance.


Leave a Reply