Nebula details pop in astro editing through strategic processing techniques. Start by separating stars from nebulosity using tools like StarXterminator. Apply targeted histogram stretches to reveal hidden structures while using masks to protect delicate details. Enhance specific emission colors with selective adjustments and integrate narrowband data for better signal-to-noise ratio. Use multi-scale processing for different detail levels and local contrast enhancement for dimensionality. These techniques combined will transform your faint nebula captures into dramatic cosmic portraits.
What Makes Nebula Details Pop in Astro Editing?
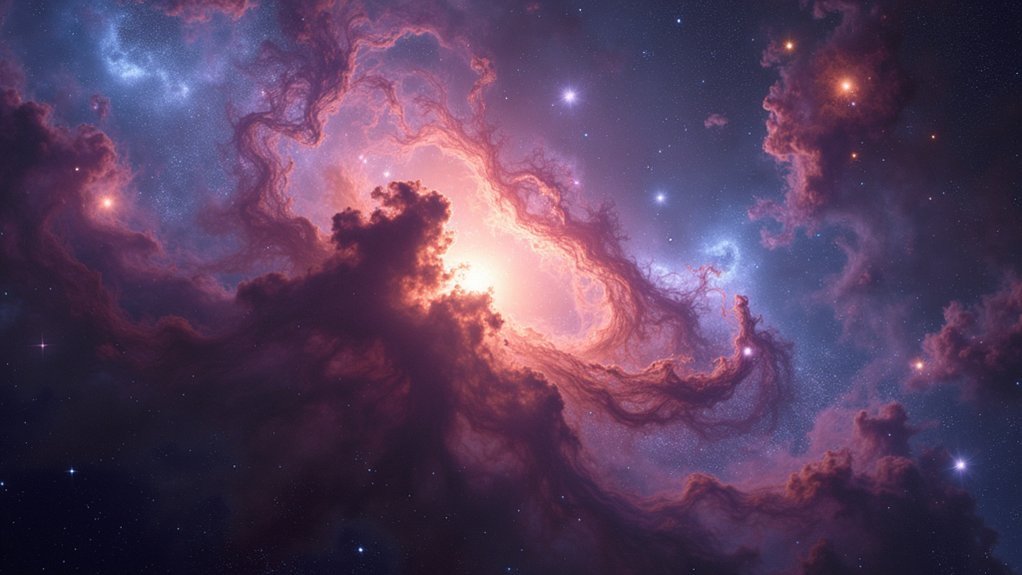
While capturing stunning nebulae requires skill during imaging, the true magic happens during post-processing. To make nebula details truly stand out, you’ll need to employ specialized techniques that separate and enhance the delicate structures.
Start by isolating nebula features from stars using tools like StarNet++ or StarXterminator. This separation allows you to process each element independently.
Next, apply targeted Color Range adjustments in Photoshop to selectively boost specific hues and brightness levels within the nebula without affecting stars.
Selective color enhancements unlock the hidden details within nebulae while preserving pristine star fields.
For maximum impact, implement Local Contrast Enhancement during final processing. This technique sharpens intricate details and improves structural definition.
Combine these approaches with longer exposure times (4-6 hours minimum) and narrowband filters like L-eXtreme during capture to achieve dramatic, detail-rich nebula images that truly pop.
Separating Stars From Nebulosity for Targeted Processing
One of the most powerful techniques in astrophotography post-processing involves isolating nebulosity from stars. By using specialized tools like StarNet++ or StarXterminator, you’ll create a star removal layer that lets you process the nebula without interference from bright stellar points.
This separation offers remarkable control—you can aggressively stretch and enhance the nebula’s delicate structures while preserving natural star appearances.
Once you’ve optimized the nebulosity with targeted contrast adjustments and color enhancements, simply blend the stars back using Lighten blend mode.
The key is maintaining balance. You’ll want to reveal those hidden wisps and filaments in the nebula without introducing artifacts.
This targeted approach creates dramatically more detailed images where both stars and nebulosity complement rather than compete with each other.
Stretching Techniques to Reveal Hidden Nebula Structure
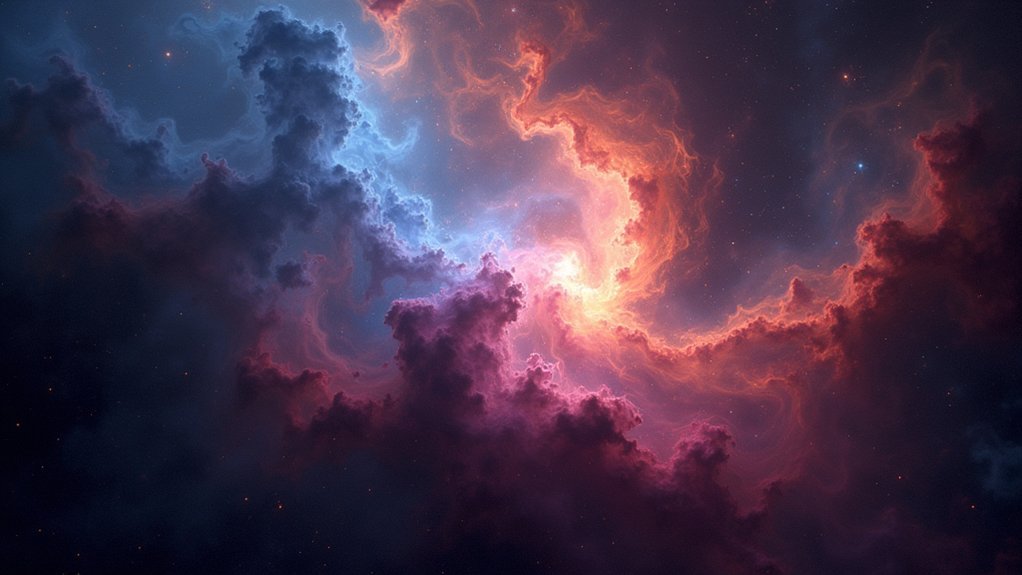
You’ll access nebula secrets by mastering histogram stretching to redistribute pixel values across the dynamic range, revealing faint structures previously hidden in noise.
Apply non-linear transformations through targeted curves adjustments to selectively enhance specific tonal regions while maintaining the integrity of brighter areas.
Start with bold initial stretches, then switch to incremental adjustments focused on particular nebula features, using layer masks to protect stars while gradually bringing subtle cosmic textures into view.
Histogram Stretching Magic
Beneath the seemingly faint and unimpressive raw data of nebula photography lies a universe of hidden detail waiting to be revealed through histogram stretching.
By manipulating your image’s tonal range, you’ll uncover intricate structures invisible in the original capture.
When applying histogram stretching, use the left slider to darken the background while carefully watching that you don’t clip essential data.
Create an adjustment layer to maintain non-destructive control over your process. For complex nebulae, try HDR Toning in Photoshop, which offers precise control over mid-tone contrast and shadow detail.
Don’t be afraid of significant stretches during initial processing—they often reveal unexpected features that guide your subsequent edits.
Remember to utilize layer masks to protect star regions while enhancing the delicate filaments and dust lanes in your cosmic subject.
Non-Linear Transform Mastery
While histogram stretching releases the initial level of nebula detail, non-linear transforms represent the next evolutionary step in your processing arsenal.
These sophisticated image processing techniques redistribute pixel brightness values without data loss, revealing structures that remain invisible in linear adjustments.
When applying non-linear stretching techniques, start with a significant stretch to uncover faint nebula features.
You’ll need to carefully balance this enhancement with natural appearance—tools like Shadow/Highlight adjustments excel at bringing out subtle details in darker regions.
For best results, implement layering by blending shorter exposure stacks with your stretched images.
This preserves bright area details while enhancing fainter structures.
Remember to regularly check color balance during stretching to prevent unnatural color shifts that could compromise your nebula’s authentic appearance.
Incrementally Revealing Faintness
Successful nebula processing hinges on the gradual disclosure of delicate structures rather than aggressive exposure adjustments. When you’re incrementally revealing faintness in nebulae, apply a series of gentle stretches rather than one dramatic transformation. This methodical approach preserves detail integrity while coaxing hidden features into view.
Focus on histogram stretching techniques that target midtones and shadows, where nebula secrets often hide. You’ll find that subtle adjustments build upon each other, gradually disclosing cosmic intricacies without clipping valuable data.
Consider implementing layer masks to protect brighter regions while enhancing fainter areas.
Don’t limit yourself to a single stretching method—experiment with curves and levels to highlight distinct nebula features. Each adjustment should contribute to a natural-looking result where even the faintest wisps become visible without appearing artificially enhanced.
Color Enhancement Methods for Emission Nebulae
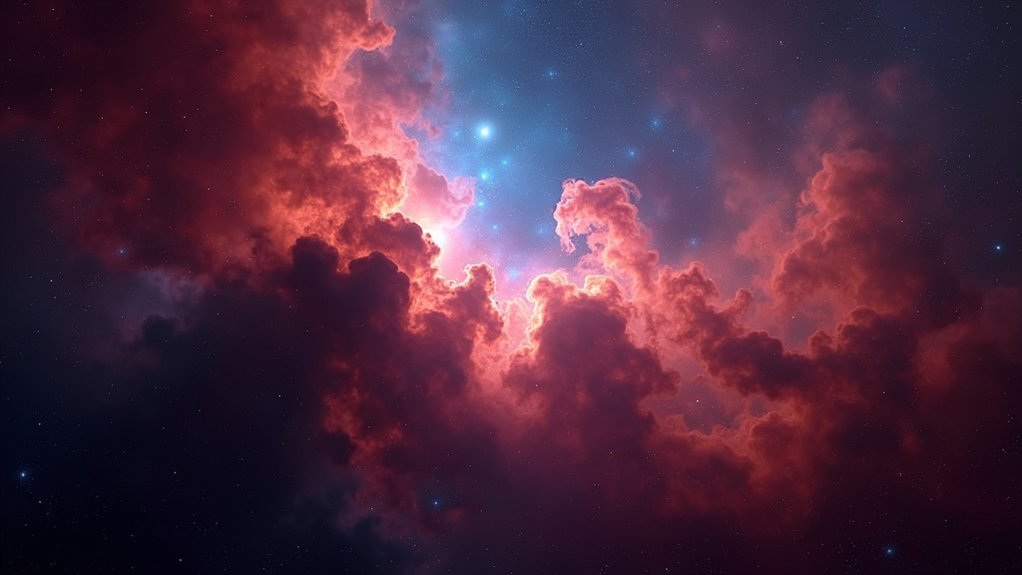
To bring out the ethereal beauty of emission nebulae, you’ll need specialized techniques that highlight their distinctive structures and colors. Narrowband filters like L-eXtreme capture specific emission lines (H-alpha and O-III), dramatically enhancing color contrast in your images.
LRGB techniques integrate multiple color bands, revealing subtle compositional variations through richer channel data.
- Layer H-alpha data as a luminosity channel to instantly add depth while preserving natural color relationships.
- Apply targeted adjustments to specific color ranges, making emission boundaries pop against the darkness of space.
- Fine-tune saturation of red and teal channels to emphasize the dramatic interaction of hydrogen and oxygen regions.
- Use vibrance adjustments selectively rather than globally to maintain authentic color while enhancing visual impact.
Narrowband Data Integration for Detail Enhancement
Narrowband data integration represents the next frontier in truly magnificent nebula imaging, building upon the color enhancement techniques we’ve already explored.
By isolating specific wavelengths emitted by ionized gases, you’ll reveal intricate structures that remain hidden in broadband images.
Dual-band filters like the L-eXtreme dramatically boost contrast by capturing H-alpha, OIII, and SII emissions.
For best results, collect at least 2-3 hours of narrowband data to greatly improve your signal-to-noise ratio, allowing finer details to emerge during processing.
Consider combining your narrowband and broadband datasets through HaRGB processing.
This technique merges the structural clarity of narrowband data with the rich colors of RGB, creating a thorough representation of your target nebula.
The result? Vivid color palettes that enhance both aesthetic appeal and scientific value.
Noise Reduction Strategies That Preserve Fine Details

While achieving stunning nebula details through narrowband integration, you’ll eventually face the challenge of noise—that grainy texture that obscures the finest structures in your image. Effective noise reduction is essential, but must be applied strategically to avoid sacrificing the very details you’re trying to showcase.
The delicate balance of noise reduction in astrophotography—preserving nebula details while eliminating the grainy interference that masks cosmic beauty.
- Use specialized software like PixInsight or Affinity Photo with advanced algorithms such as Local Histogram Equalization that target noise while respecting detail boundaries.
- Apply selective masking to protect intricate nebula structures while reducing noise in background areas.
- Implement Kappa Sigma Clipping during stacking to eliminate outlier pixels that contribute to noise.
- Boost your signal-to-noise ratio by using cooled cameras and capturing more frames, resulting in naturally less noise before post-processing even begins.
Using Masks to Selectively Process Nebula Features
Mastering the art of selective processing transforms ordinary astrophotographs into breathtaking nebula portraits that reveal intricate structures hidden to the casual observer. By utilizing layer masks in Photoshop or Affinity Photo, you’ll gain precise control over which areas receive adjustments.
Create a star mask to protect stellar details while you enhance the nebula’s delicate features. The Color Range tool lets you isolate specific tonal areas for targeted processing without affecting the entire image.
| Mask Type | Best For | Processing Technique |
|---|---|---|
| Layer masks | Specific areas | Brush-based selective editing |
| Star mask | Protecting stars | Brightness/contrast isolation |
| Color Range | Tonal isolation | Targeted saturation adjustments |
| Luminosity masks | Detail enhancement | Contrast in specific brightness ranges |
Combine these techniques at varying opacities to achieve dynamic nebula representation with all the subtle details that make deep space imagery truly enchanting.
Contrast Adjustments That Highlight Filament Structure

Revealing the delicate filament structures within nebulae requires precise contrast adjustments that balance detail enhancement with noise management.
By starting with black point adjustments, you’ll immediately see those faint wisps emerge from the background sky. Local contrast enhancement then brings dimensionality to these structures, transforming flat images into depth-rich representations.
- Apply gradual mid-tone stretching to disclose subtle filament details without amplifying noise.
- Use layer masks to target contrast adjustments only where filaments need enhancement.
- Implement Color Range selections to isolate and intensify the specific hues within filament structures.
- Combine localized and global contrast adjustments for a natural-looking result that maintains star quality.
These techniques create the perfect balance between visibility and authenticity in your nebula processing.
Multi-Scale Processing for Different Detail Levels
To truly capture a nebula’s complexity in post-processing, multi-scale techniques reveal details at every level of the celestial structure.
By implementing wavelet transforms, you’ll separate frequency components, allowing you to sharpen fine details without introducing noise in darker regions.
Apply local contrast enhancement to mid-tones while preserving bright areas, creating that sought-after three-dimensional effect.
You’ll find working with multiple layers at varying opacities gives you precise control over enhancement at different scales – making delicate structures pop without overwhelming the composition.
For best results, adjust levels and curves independently across different detail scales.
This approach guarantees both background elements and nebula features remain well-defined, dramatically improving clarity.
Your astrophotography will showcase the nebula’s intricate architecture while maintaining a balanced, visually striking final image.
Sharpening Techniques for Nebula Edge Definition
While multi-scale processing establishes the foundation for detail enhancement, precise edge definition transforms nebulae from flat shapes into intricate cosmic sculptures.
You’ll find that Local Contrast Enhancement specifically targets edge shifts, revealing delicate filaments that would otherwise remain hidden in the cosmic haze.
- Apply deconvolution techniques with restraint, focusing on core structures to restore clarity without amplifying noise in darker regions.
- Layer your sharpening effects at reduced opacity (30-50%) to build definition gradually rather than forcing harsh shifts.
- Create targeted layer masks that protect star fields while enhancing only the nebula’s intricate boundaries.
- Implement high-pass filtering selectively on mid-tone areas where filaments and gas clouds intersect.
These approaches maintain the nebula’s natural appearance while dramatically improving definition where it matters most.
Exposure Blending to Capture Dynamic Range
Capturing a nebula’s full dynamic range requires you to blend multiple exposures, from short ones that preserve bright star details to longer ones that reveal faint dust clouds.
You’ll need to bracket your shots at varying exposure times (15, 30, and 60+ seconds) to collect all available detail across the brightness spectrum.
Using luminance masks in post-processing lets you precisely control which parts of each exposure appear in your final image, creating a natural-looking result with both highlight and shadow detail intact.
Exposure Blending to Capture Dynamic Range
Nebulae present photographers with a challenging dynamic range that’s nearly impossible to capture in a single shot. By combining multiple frames taken at different exposure times, you’ll reveal both bright cores and faint outer structures without sacrificing detail.
Modern editing programs make this process accessible even to beginners.
When blending exposures, you’ll:
- Capture shorter exposures for bright regions to prevent star bloat and maintain color accuracy
- Utilize longer exposures for faint dust lanes and delicate filaments hiding in darkness
- Align your frames with precision, ensuring stars and structures match perfectly across images
- Gradually mask and blend shifts between exposure zones for a natural, seamless result
This technique transforms flat images into dimensional cosmic portraits that reveal the nebula’s true complexity.
Bracketing for Nebula Detail
The hidden treasures within cosmic clouds often remain invisible without careful exposure bracketing. When you capture multiple shots at varying exposure levels, you’re effectively collecting data across the nebula’s full dynamic range. Short exposures of 15 seconds prevent bright regions from washing out, while longer 3.5-minute exposures reveal faint structures hiding in the darkness.
Your ambient temperature affects sensor performance, so consider this when planning your bracketing sequence.
By blending these exposures in post-processing software like Photoshop or Affinity Photo, you’ll create a composite that showcases both brilliant and subtle details. This technique not only balances light and dark regions but also reduces noise by improving the signal-to-noise ratio.
The result? Nebulae with intricate structures and vibrant colors that truly pop in your final image.
Luminance Mask Techniques
While traditional editing tools can reveal basic celestial details, luminance masking elevates your nebula photography to professional levels. By isolating bright regions, you’ll selectively enhance the nebula’s brightness and intricate structures without compromising the overall image integrity.
- Create precise masks using the Color Range feature to target only the nebula’s highlights while preserving the starfield background.
- Merge multiple exposures through blending techniques to capture both faint wisps and bright cores in a single composition.
- Apply local contrast enhancement through your masks to emphasize delicate filaments while maintaining natural softness in surrounding space.
- Combine your luminance masks with color adjustments to make nebula details pop dramatically against the dark cosmic backdrop.
This targeted approach guarantees your nebulae display their full dynamic range, revealing details invisible to standard processing methods.
Saturation Control for Subtle Color Gradients
Mastering saturation control stands as an essential skill for bringing out the delicate color gradients in nebula photography without overpowering the image’s natural beauty.
You’ll achieve more visually appealing results by making gradual adjustments, typically keeping saturation increases below 30% to preserve those subtle shifts.
Adobe Photoshop’s Vibrance adjustment layer offers an excellent tool for nuanced enhancements, selectively boosting colors in less saturated regions while maintaining natural tones in brighter areas.
For more precise control, use the Color Range tool to isolate specific hues within the nebula, making emission regions and dust lanes truly stand out.
Remember that layer masks are your allies during this process, allowing you to apply localized saturation adjustments to highlight intricate structures without disturbing the overall color balance of your astronomical masterpiece.
Frequently Asked Questions
How to Edit Nebula?
To edit nebula photos, you’ll need to separate stars from the nebula using tools like StarNet++, stretch your data to reveal details, use narrowband filters, blend images in Lighten mode, and adjust color levels selectively.
What Makes Nebula Colorful?
Nebulae get their colors from gases that emit specific wavelengths: hydrogen glows red, oxygen produces blue-green. You’ll capture these vibrant hues through narrowband filters and enhance them during processing with color stretching techniques.
What Makes Something a Nebula?
A nebula is fundamentally a vast cloud of gas and dust in space. You’re seeing either star birth regions, stellar remnants, or dark molecular clouds that scatter or absorb starlight across the cosmos.
What Makes an Emission Nebula?
You’re looking at an emission nebula when ionized gas (mostly hydrogen) glows after being energized by nearby hot stars. They’ll appear reddish from hydrogen-alpha emissions and often mark active star-forming regions.
In Summary
You’ve now got the tools to make your nebulae truly spectacular. By separating stars from nebulosity, applying targeted stretching techniques, and using multi-scale processing, you’ll reveal intricate details that were previously hidden. Balance your color enhancement with careful saturation control, and don’t forget that proper sharpening and exposure blending are your allies. Your astrophotography will showcase the universe’s most breathtaking structures in all their glory.


Leave a Reply