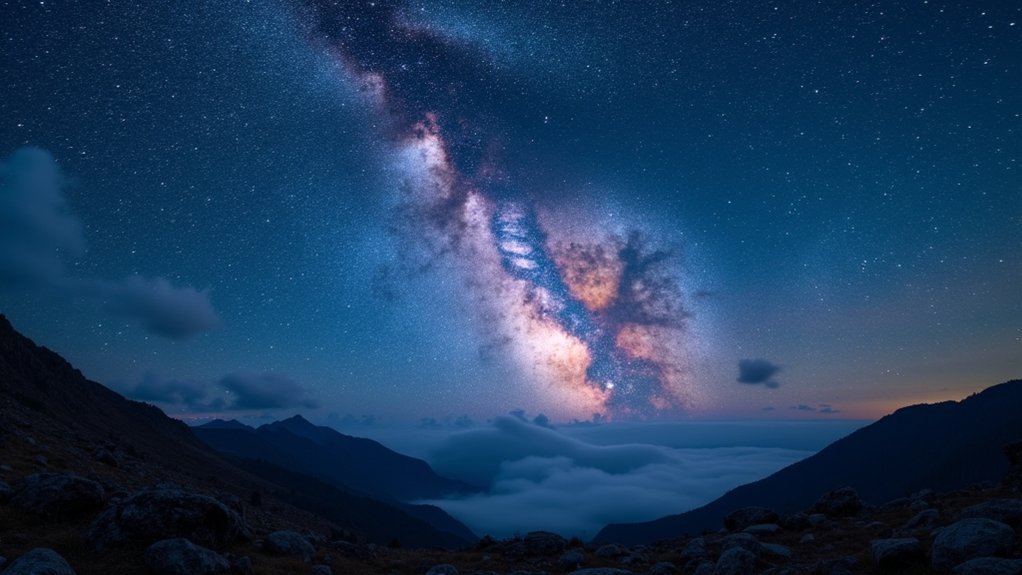
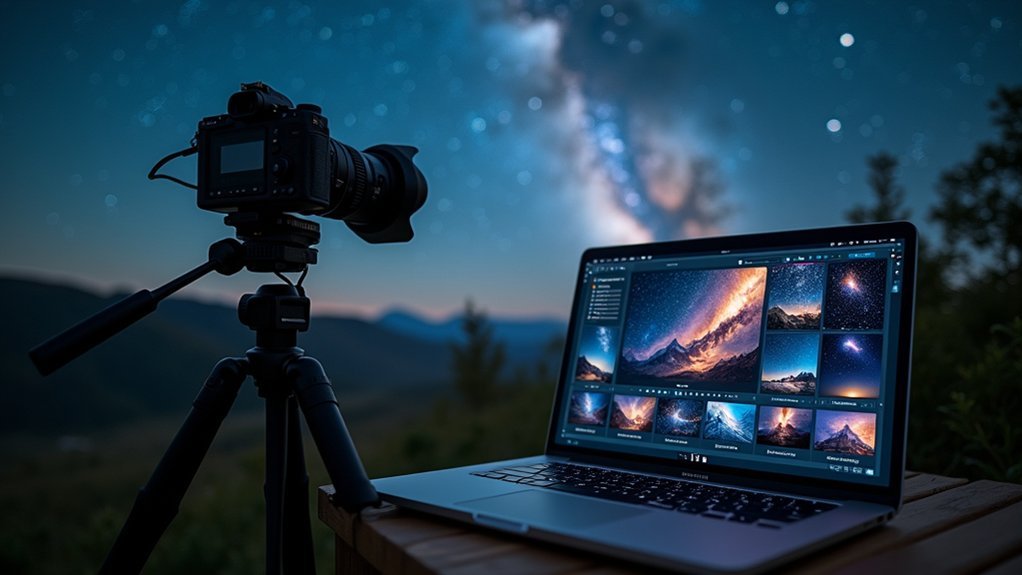
To stack astro photos like experts, you’ll need to select proper equipment, capture multiple high-quality light frames, take calibration frames (darks, flats, bias), prepare raw images by culling poor shots, align stars with registration software, choose the best stacking algorithm based on your target, and process the final image to bring out details. Each step builds on the previous one to dramatically reduce noise while preserving the faintest details in your deep sky images. Let’s explore each technique in depth.
7 Steps To Stack Astro Photos Like Experts

When diving into astrophotography stacking, proper preparation and organization create the foundation for success. Start by selecting multiple exposures of the same celestial target with consistent settings. Use tools like Adobe Bridge to efficiently sort your raw images before stacking.
Check each photo for proper focus and minimal star trailing. Images captured under similar conditions will yield better results with less noise in your final stack. Using a median stacking method produces optimal results by effectively eliminating random noise while preserving important details.
Next, employ specialized software like DeepSkyStacker to register and align your images. These programs detect star patterns and adjust for rotation and translation differences between frames.
Don’t forget to include calibration frames—dark frames eliminate sensor noise, flat frames correct vignetting, and bias frames calibrate electronic noise.
These essential steps greatly enhance your signal-to-noise ratio, revealing faint details invisible in single exposures.
Selecting The Right Image Acquisition Equipment
Because quality equipment forms the backbone of successful astrophotography, choosing the right imaging setup deserves careful consideration.
When selecting components, prioritize an equatorial mount with precise tracking capabilities, as this will determine how well your equipment follows celestial objects during long exposures. Accurate tracking compensates for Earth’s rotation during your imaging sessions, preventing star trails in long exposure photographs.
- Camera and sensor selection – Dedicated astronomy cameras like the ZWO ASI2600MC Pro offer superior results compared to standard DSLRs
- Proper image scale – Aim for 1.0-2.0 arcseconds per pixel for well-sampled images
- Quality optics – Petzval apochromatic refractors with field flatteners guarantee even illumination
- Integrated control systems – Software like N.I.N.A. or hardware controllers like ASIAIR Plus streamline your workflow
Remember that your mount represents your most critical investment—budget accordingly while balancing quality and portability.
Capturing Multiple High-Quality Light Frames

Successful astrophotography stacking hinges on gathering numerous high-quality light frames that collectively overcome the limitations of individual exposures.
You’ll need a minimum of 100 frames for basic untracked imaging, while advanced deep sky work often requires 500+ frames to dramatically improve signal-to-noise ratio.
Keep your exposures appropriate for your focal length—about 3 seconds at 200mm, less for longer focal lengths—to avoid star trailing that compromises stack alignment.
Shoot at higher ISO settings to capture faint details quickly, especially without tracking.
Implement dithering techniques between frames to effectively reduce hot pixel effects and improve the final stacked image quality.
Organize your sessions to maximize data collection when your target is highest in the sky.
Always shoot in RAW format and maintain consistent camera settings across multiple nights if needed.
Taking Essential Calibration Frames For Noise Reduction
While light frames capture the celestial objects you’re targeting, calibration frames serve as the essential foundation for creating clean, professional astrophotographs.
These specialized frames eliminate unwanted artifacts and enhance image quality by addressing various types of noise and optical imperfections.
For best results, capture 15-50 frames of each calibration type with settings matching your light frames:
- Dark frames – Capture with lens cap on to measure and subtract thermal noise, particularly valuable for longer exposures
- Flat frames – Photograph an evenly illuminated white surface to correct vignetting and dust spots
- Bias frames – Take extremely short exposures to address electronic read noise from your camera’s sensor
- Flat darks – Combine techniques to refine flat calibration for maximum precision
Maintaining consistent temperature and camera settings between your calibration and light frames guarantees the most effective noise reduction. Building a calibration library for darks and bias frames can save significant time during future imaging sessions.
Preparing Your Raw Images For The Stacking Process

Before stacking your astrophotography images, you’ll need to carefully check each frame for quality issues like star trailing, clouds, or satellite trails.
You should select the appropriate file format for processing, typically choosing between FITS for scientific data preservation or TIFF/JPEG for easier handling in photo editing software.
Converting your raw camera files to your chosen format while preserving essential metadata will guarantee peak results during the stacking process.
The stacking process requires special attention to alignment, particularly when working with images containing both foreground elements and the night sky.
Check Image Quality
The quality of your raw astrophotography images directly impacts the final stacked result, making thorough evaluation a critical step before processing.
Examine each frame for issues like poor seeing, tube currents, or tracking errors that could degrade your final image.
- Measure star sharpness using FWHM (Full Width at Half Maximum) – smaller values indicate better focus and seeing conditions
- Calculate Signal-to-Noise Ratio (SNR) to determine which frames contribute meaningful data versus noise
- Use side-by-side visualization tools to quickly identify frames affected by clouds, light pollution, or equipment issues
- Sort frames based on quality scores from software tools that evaluate star roundness and size
Recent research has shown that Automated Machine Learning approaches can be applied to systematically rate astronomical image quality, helping to remove subjective bias in the selection process.
Don’t hesitate to discard low-quality frames – it’s better to stack fewer excellent images than include many poor ones.
File Format Selection
Choosing the right file format stands as an essential decision point before you begin the stacking process, directly affecting both compatibility with your software and the quality of your final image.
For capturing, RAW files from your DSLR retain more data than JPEGs but require conversion for stacking. When selecting stacking software, verify format compatibility—ASIDeepStack only supports 16-bit FITS, while DeepSkyStacker accepts multiple formats.
FITS files excel for scientific work by preserving valuable metadata, while TIFF serves as an excellent output format for post-processing in Photoshop. Programs like DSS (Deep Sky Stacker) offer the advantage of letting you select output format between FITS or TIFF depending on your post-processing needs.
For organization, use Adobe Bridge or Lightroom to review and select your best RAW frames before conversion.
Remember to match your calibration files (darks, flats, bias) with your light frames for best results.
Aligning Stars With Registration Software
Properly aligning stellar objects across multiple exposures serves as the foundation for successful astrophotography stacking. Registration software like Sequence Generator Pro or PixInsight offers specialized tools to precisely match star positions across all frames.
You’ll need to employ plate solving to determine exact orientation and positioning of each image before combining them. Achieving proper polar alignment ensures your mount tracks celestial objects smoothly, reducing star trails and alignment difficulties during the stacking process.
- Feature detection algorithms identify consistent star patterns across multiple frames
- Cross-correlation methods compare and align similar celestial features with sub-pixel precision
- Reference frame selection uses your highest quality image as the alignment baseline
- Dynamic thresholding optimizes star detection under varying sky conditions
The most effective alignment strategies incorporate both automated processes and manual intervention when needed.
Always implement image calibration before alignment to guarantee uniformity and correct for optical variations across your dataset.
Choosing The Optimal Stacking Algorithm

When selecting a stacking algorithm for your astrophotography, you’ll need to match the method to your specific target and data characteristics. Different subjects demand different approaches.
For star clusters with fewer frames, median or Kappa Sigma methods work well as they require less stretching. If you’re capturing deep faint objects, Median Kappa Sigma becomes essential when extensive stretching is needed.
Annoying satellite or plane trails? Sigma Kappa or Median Kappa Sigma modes will effectively eliminate them.
Consider your data quantity too. Average stacking excels with fewer images, while median and sigma methods deliver superior noise reduction when you have more frames. Programs like ASIDeepStack offer impressive processing speed while maintaining quality results.
Remember that even the best algorithm can’t compensate for poor data quality—your stacking results will only be as good as your original images.
Frequently Asked Questions
How Does Moon Phase Affect Astrophotography Stacking Results?
Moon phase impacts your stacking outcomes by altering image contrast, shadow prominence, and background brightness. Full moons flatten details and increase noise, while crescent phases yield better shadow definition for stronger stacked results.
Can Stacked Images Be Combined From Different Nights?
Yes, you can absolutely combine stacked images from different nights. With proper alignment software, you’ll achieve better signal-to-noise ratios by increasing total exposure time, even when sessions are separated by days or weeks.
How Much Storage Space Is Needed for Raw Astrophotography Files?
You’ll need substantial storage for raw astrophotography files. A single night’s shooting can generate 10-50GB depending on your camera resolution, bit depth, and number of frames captured. Consider external drives for expansion.
Does Sensor Size Affect Stacking Quality and Processing Time?
Yes, sensor size affects both stacking quality and processing time. You’ll get better results stacking images from larger sensors, but you’ll also need more storage and processing power to handle the larger files.
Can Smartphone Astrophotography Benefit From Stacking Techniques?
Yes, you’ll definitely benefit from stacking in smartphone astrophotography. It reduces noise, reveals faint details, and overcomes your phone’s sensor limitations, allowing you to capture impressive night sky images despite hardware constraints.
In Summary
By mastering these seven stacking steps, you’ll transform your astrophotography from amateur to expert level. You’ve learned how to select equipment, capture quality frames, and use calibration techniques that eliminate unwanted noise. You’ve discovered the importance of proper image preparation, star alignment, and choosing the right stacking algorithm. Now it’s time to apply these skills and watch your cosmic images reach stunning new depths of clarity and detail.


Leave a Reply