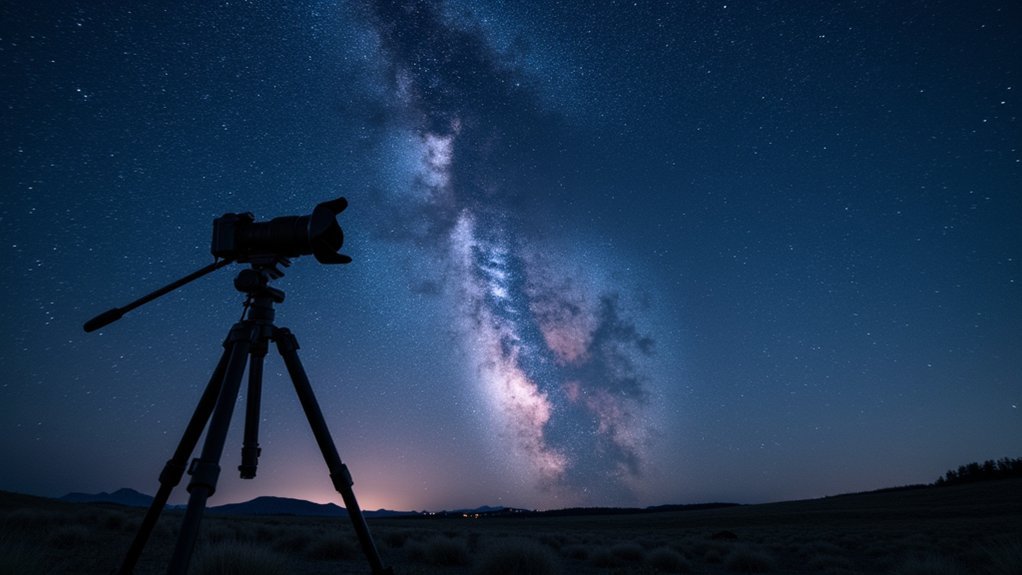
To capture stunning deep sky photos, set your camera to manual mode with RAW format, wide aperture (f/2.8-3.5), ISO 1600-3200, and exposure times of 20-30 seconds (untracked) or several minutes (with tracker). Use manual focus on bright stars through live view with magnification. Disable image stabilization, set white balance to 3400-3900K for dark skies, and employ exposure stacking for cleaner results. These fundamental settings will transform your cosmic captures, but proper technique makes all the difference.
Mastering Manual Mode for Night Sky Captures

When venturing into deep sky photography, mastering manual mode becomes your essential first step toward capturing the cosmos in all its glory. Switch your camera dial to “M” and set exposure compensation to zero for consistent control over your shots.
You’ll need to disable autofocus, manually focusing on bright stars or the moon instead. This prevents your camera from “hunting” in the darkness. A very wide aperture setting like f/2.8 or larger helps maximize light collection for dimmer celestial objects.
Keep shutter speeds between 20-30 seconds to avoid star trails if you’re shooting without a tracker.
Always shoot in RAW format with lossless compression to preserve image data for post-processing. The difference between JPEG and RAW becomes particularly noticeable when stacking multiple exposures.
RAW format preserves critical data that JPEG discards—an essential difference that becomes unmistakable during image stacking.
With these fundamentals in place, you’re ready to capture deep sky objects with precision and clarity.
Optimal ISO Settings for Celestial Detail
When shooting deep sky objects, you’ll need to balance high ISO settings (typically 1600-6400) against the noise they introduce.
Your camera’s ISO performance greatly impacts image quality, with ISO-invariant models allowing you to shoot at lower settings and brighten in post-processing without quality loss.
Many modern cameras offer dual-gain ISO technology at specific thresholds (often around ISO 800 or 1600), giving you cleaner images when shooting at or above these levels.
Canon DSLR users should consider using ISO 800 for optimal performance, as this setting typically provides the best balance between sensitivity and noise characteristics.
Understanding ISO Noise Relationship
Although many photographers instinctively avoid high ISO settings, deep sky photography follows different rules. When you increase ISO, you’re amplifying both the signal (celestial details) and noise in your image.
Your camera’s sensor introduces noise that becomes more prominent at higher ISOs. This noise can overwhelm faint celestial details if pushed too far. Modern cameras typically perform well between ISO 800-1600 for deep-sky imaging, offering a sweet spot between sensitivity and noise control. For optimal results, consider how your telescope’s f-ratio affects exposure, as this directly impacts the amount of light reaching your sensor.
You’ll need to find your camera’s ideal ISO range through testing. Remember that every ISO doubling equals one stop of additional light.
To combat noise effectively, employ techniques like image stacking and dark calibration frames. Monitor your histogram carefully to guarantee you’re capturing maximum detail without clipping important data.
Dual-Gain ISO Advantage
Modern astrophotography has been revolutionized by dual-gain ISO technology, offering photographers unprecedented control over deep sky imaging. This innovative sensor design captures two simultaneous exposures with different amplifications from the same photons, dramatically enhancing dynamic range.
When shooting deep sky objects, you’ll find dual-gain ISO particularly valuable for balancing bright stars against faint nebulosity. While ISO 800 might work with a star tracker, you’ll often need ISOs above 3200 at f/2.8 without tracking equipment to freeze star motion.
The dual-gain approach protects highlights while effectively amplifying shadows—crucial for capturing celestial details across varying light intensities. When setting up your camera, remember that dual-gain ISO results in a combined 22-bit image that provides exceptional tonal range for post-processing.
Your camera’s processing power handles the two-path capture efficiently, combining high and low gain images to reduce noise, particularly in shadow areas where detail is often lost with traditional sensors.
Exposure Duration: Balancing Light Collection and Star Trailing
Your deep sky exposure length directly impacts image quality, with longer exposures gathering more light but requiring precise tracking to prevent star trailing.
When using a fixed tripod, you’ll need to limit exposures to 15-30 seconds depending on focal length, while properly aligned tracking mounts allow exposures of several minutes.
Higher ISO settings can compensate for shorter exposures in untracked setups, but tracked imaging benefits from moderate ISO combined with longer exposures to maximize dynamic range and minimize noise. For optimal results, consider that the typical total exposure time for capturing detailed deep sky images is approximately 30 hours total.
Exposure Duration: Balancing Light Collection and Star Trailing
When capturing deep sky objects, determining the right exposure duration involves a delicate balance between collecting enough light and preventing star trails. Your goal is to maximize total integration time while managing various factors that affect image quality. Seeing conditions significantly impact your exposure length selection, with excellent seeing and good mount tracking allowing for longer exposures.
| Object Type | Ideal Exposure | ISO Range |
|---|---|---|
| Nebulae | 5-10 minutes | 800-1600 |
| Galaxies | 2-3 minutes | 1200-3200 |
| Clusters | 30-60 seconds | 1600-6400 |
Start with short test exposures to assess conditions before committing to longer integration times. If you’re using narrow-band filters, you’ll need to extend exposures considerably. Remember that faster optics (lower f-numbers) allow shorter exposures while maintaining quality. In darker skies, you can push exposure times longer without light pollution washing out detail.
Tracking vs. Fixed Mounts
The choice between tracking and fixed mounts represents perhaps the most critical decision you’ll make for deep sky photography success.
Tracking mounts allow for longer exposures without star trails, capturing faint details in nebulae and galaxies that fixed mounts simply can’t achieve.
While fixed mounts work for wide-angle Milky Way shots with short exposures, they’ll limit your deep sky capabilities considerably.
Tracking mounts, especially equatorial types, open possibilities for detailed object photography.
At latitude 9-10 degrees, proper polar alignment becomes challenging but remains essential for quality DSO imaging, particularly when using longer focal lengths with your Canon T2i setup.
Consider these factors when choosing:
- Target objects – Galaxies and nebulae require tracking for detail
- Budget constraints – Fixed mounts cost less but limit your potential
- Portability needs – Star trackers offer a lightweight compromise between tracking capability and field mobility
ISO-Exposure Relationship
Finding the perfect balance between ISO and exposure duration stands at the heart of successful deep sky photography. When you increase ISO, you’ll capture fainter celestial objects but introduce more noise.
Conversely, longer exposures collect more light but risk star trailing as Earth rotates.
For urban skies with an f/2.8 lens, try keeping exposures around 4 seconds at ISO 1600 to prevent star trails. If you’re using a tracking mount, you can extend exposure times and potentially lower your ISO for cleaner images.
Remember that wider apertures (lower f-numbers) allow shorter exposures or lower ISO settings. Start with ISO 800-1600 as your baseline, then adjust based on your results.
Modern cameras handle higher ISOs better than older models, so don’t be afraid to experiment with your specific equipment. For optimal starry sky photography, consider using ISO settings between ISO 1600-6400 to effectively capture the faint light from distant stars.
RAW Format: Why It’s Essential for Astrophotography

Choosing RAW format stands as perhaps the single most vital decision you’ll make for successful deep sky photography. Unlike JPEG, RAW preserves all the data your camera sensor captures—a vital advantage when photographing faint celestial objects.
You’ll retain the full 12-14 bit depth (versus JPEG’s limited 8-bit), giving you markedly more information to work with during processing.
The advantages for astrophotography are substantial:
- Superior dynamic range – recover details from both the darkest shadows and brightest highlights in nebulae and galaxies
- Non-destructive editing – adjust white balance, exposure, and color grading without degrading your original image
- Enhanced noise reduction – more effectively minimize noise while preserving delicate star details and faint structures
When capturing the cosmos, RAW isn’t just preferred—it’s essential. Some advanced cameras offer the convenience of capturing images in both formats simultaneously, allowing you to have immediate JPEGs for quick viewing while preserving RAW files for detailed post-processing.
Focus Techniques for Crystal Clear Stars
Achieving perfect focus represents the most challenging technical hurdle in deep sky photography, often making the difference between mediocre and breathtaking astronomical images. You’ll need to master several reliable focusing methods since autofocus systems typically fail in low-light conditions. Periodically check your focus throughout the night as changes in temperature can alter your lens’s focusing characteristics.
| Technique | Best For | Difficulty |
|---|---|---|
| Bright Star Focus | General use | Easy |
| Live View + Magnification | Precision work | Medium |
| Artificial Star | Poor conditions | Advanced |
Start by using your camera’s live view with maximum magnification on the brightest star visible. If you’re struggling, temporarily increase your ISO to brighten the display. Once focused, secure your focus ring with tape to prevent accidental adjustments. For challenging conditions, consider using focus peaking or an artificial star to achieve that crystal-clear sharpness that defines exceptional astrophotography.
Aperture Selection for Deep Sky Objects

Three critical aperture considerations will determine the success of your deep sky imaging. When photographing distant galaxies and nebulae, your aperture choices directly impact light collection, field of view, and exposure requirements.
- Aperture size matters greatly – Larger apertures collect more light from faint objects, revealing details invisible to smaller instruments. For deep sky work, prioritize the largest aperture your budget allows. Remember that light pollution significantly affects visibility, making larger apertures even more essential in urban locations.
- Choose lower f-numbers when possible – Faster optics (f/2.8-f/5.6) gather more light quickly, allowing shorter exposures that reduce star trailing and tracking issues. Reflectors with f/4-f/5 ratios offer an excellent balance for deep sky imaging.
- Match aperture to target size – Wider apertures provide broader fields of view, ideal for capturing extended objects like Andromeda Galaxy or North America Nebula.
White Balance Settings for Natural Cosmic Colors
The correct white balance setting can make or break your deep sky images, transforming dull, color-cast photos into vibrant, accurate cosmic portraits.
White balance isn’t just a setting—it’s the key that unlocks the true colors of the cosmos.
For dark skies, aim for cooler settings between 3400-3900K, while urban environments often require even colder temperatures around 3000K to combat light pollution.
When shooting, you’ll get maximum flexibility by capturing in RAW format, allowing you to adjust white balance during post-processing regardless of your initial settings.
While auto white balance provides convenience, it’s not always ideal for night photography. The daylight preset (5300K) can work for star colors but typically doesn’t render deep sky objects accurately.
Remember that environmental factors like cloud cover, atmospheric conditions, and location greatly impact your best settings.
Warmer white balance settings can enhance the visibility of celestial objects by bringing out yellow tones that might otherwise be lost.
Make adjustments in 100K increments until you achieve natural-looking cosmic colors.
Frequently Asked Questions
How Do Lens Heaters Prevent Dew During Long Exposures?
Lens heaters prevent dew during long exposures by keeping your optics warmer than the surrounding air’s dew point. They’ll maintain a consistent temperature, ensuring moisture can’t condense on your valuable glass surfaces.
Can Smartphone Cameras Capture Decent Deep Sky Photos?
Yes, you can capture decent deep sky photos with smartphones. Using stacking apps, long exposure modes, and stable mounting, you’ll get surprising results, especially with brighter objects like the Milky Way and Orion Nebula.
How Does Ambient Temperature Affect Image Quality?
Temperature notably impacts your image quality. Higher temps increase noise and dark current, while cold conditions cause focus drift. For best results, you’ll want to stabilize your camera at 20-30°C before shooting.
Is Dark Frame Subtraction Necessary for Every Shoot?
Dark frame subtraction isn’t necessary for every shoot. If you’re using a cooled camera or doing short exposures, you can often skip it. For DSLRs or long exposures, it’s highly recommended.
How Do Different Camera Sensors Compare for Astrophotography?
For astrophotography, your sensor choice matters considerably. Full-frame sensors capture more light but cost more, while cooled CMOS sensors reduce noise. Consider your specific needs for resolution, sensitivity, and budget when choosing.
In Summary
Deep sky photography doesn’t need to be intimidating. By mastering these seven essential camera settings, you’ll capture the cosmos with stunning clarity and detail. Remember to shoot in manual mode, select appropriate ISO, calculate ideal exposure times, use RAW format, nail your focus, choose the right aperture, and set proper white balance. Your journey to beautiful astrophotography begins with these technical foundations. Now get out there and shoot the stars!


Leave a Reply