Curved rails dramatically improve your astrophotography by precisely matching Earth’s rotation, eliminating the tangent error that causes star trails in long exposures. You’ll capture sharper stars across your entire frame, even with exposure times exceeding 30 seconds. They’re mechanically simpler, requiring fewer adjustments during shooting sessions, and can be built for under $20. The difference between straight and curved tracking will become apparent in your very first night sky images.
The Science Behind Curved Rails in Star Tracking
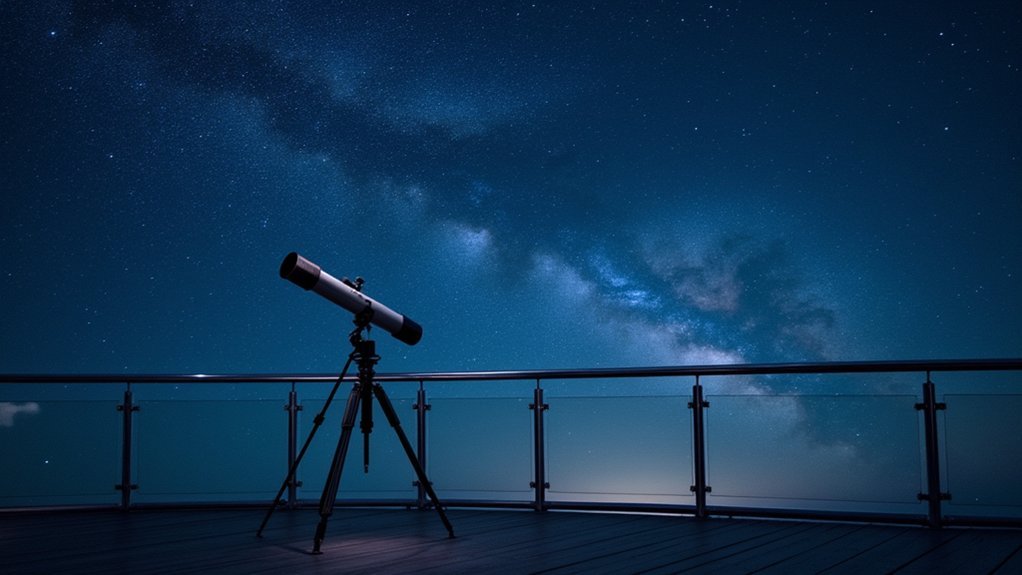
While traditional fixed tripods leave stars as streaks across long-exposure images, curved rails transform this limitation through elegant astronomical mechanics.
When you’re capturing the night sky, you’re battling Earth’s rotation. Curved rails precisely match this rotational movement by maintaining a constant angular velocity that aligns with Earth’s axis of rotation.
The curved drive system—typically using a 7-inch radius bolt—enables your camera to follow celestial objects along their natural arcs.
This clever design allows for long exposures of 30 seconds or more without star trailing, depending on your focal length. By matching the rail curvature to the hinge distance (about 11.43 inches for standard setups), you’ll achieve smoother tracking compared to linear systems.
Your astrophotography benefits from this simplified mechanical approach that requires fewer adjustments while delivering consistent results.
Eliminating Tangent Error for Sharper Astro Images
Although many tracking errors can plague astrophotography, tangent error remains one of the most persistent challenges when using traditional linear tracking systems. Curved rails provide an elegant solution by following Earth’s rotational arc, greatly improving your astro images.
| Problem | Solution with Curved Rails |
|---|---|
| Star trailing | Precisely matches Earth’s rotation |
| Tracking speed issues | Maintains consistent drive rate |
| Alignment errors | Reduces need for constant adjustments |
| Limited exposure times | Enables longer exposures without streaking |
| Post-processing workload | Minimizes correction requirements |
When you implement curved rails in your setup, you’ll notice immediately sharper stars, especially during exposures longer than 30 seconds. The curvature allows your camera to move in a true circular path rather than approximating it with linear segments, virtually eliminating the tangent error that causes star elongation at the frame edges.
DIY Construction of a Curved Rail Tracker System
Building your own curved rail tracker represents the most cost-effective way to eliminate tangent error in your astrophotography setup.
Start by bending a 1/4X20 threaded rod to an 11.43-inch radius, ensuring smooth movement of the drive nut when rotating once per minute—matching Earth’s rotation perfectly.
Mount everything on a sturdy piano hinge that eliminates play while providing stability for your camera equipment. This barn door tracker design offers many advantages over expensive equatorial mounts while delivering comparable results for wide-field imaging.
Install a regulated DC motor with appropriate gearing (like a worm gear system) for precise speed control.
Remember to set rotation direction counterclockwise if you’re in the Northern Hemisphere. This simple system effectively tracks celestial objects, allowing longer exposures without star trails.
Maximizing Exposure Times With Precision Tracking
To capture stunning deep-sky objects, you’ll need to extend your camera’s exposure time well beyond what ordinary tripod setups allow. Curved rails in your tracking mechanism make this possible by matching the Earth’s rotation precisely, preventing star streaking during long exposures.
With properly designed curved rails, you can achieve exposures up to 30 seconds using a 50mm lens without any trailing. The key is ensuring your motor shaft rotates the drive nut once per minute, aligning with the 23-hour, 56-minute sidereal day.
A voltage-regulated motor with fine-tuning capabilities lets you adjust tracking speed to compensate for any mechanical imperfections.
Cost-Effective Upgrades From Straight to Curved Designs
When upgrading from straight to curved tracking designs, you’ll find the investment surprisingly modest compared to the significant performance gains. The materials for a curved rail tracker can be sourced for under $20, making it an exceptionally cost-effective improvement over straight rail systems.
The curved rail design with a 7-inch radius drive bolt precisely matches Earth’s rotation, preventing the star streaking that plagues longer exposures with straight rails. You’ll immediately notice smoother motion and more consistent tracking accuracy without the binding issues of straight designs.
This upgrade also eliminates frequent gear resetting, as the curved design maintains proper gear meshing throughout operation.
For astrophotographers on a budget, this simple modification delivers professional-quality tracking capability while keeping costs minimal—allowing you to capture crisp, detailed images of faint celestial objects without breaking the bank.
Frequently Asked Questions
What Is the Best Budget Tracking Mount for Astrophotography?
For budget astrophotography, you’ll find the barn door tracker is your best option. You can build it yourself for just $20 using plywood and a threaded rod while using your existing tripod.
Do You Need a Tracking Mount for Astrophotography?
Yes, you’ll need a tracking mount for serious astrophotography. It compensates for Earth’s rotation, allowing longer exposures without star trails—essential for capturing faint objects like nebulae and galaxies with clarity and detail.
What Is the Best Setup for Astrophotography?
The best setup for astrophotography includes a stable tripod, equatorial mount, quality camera with manual settings, and fast wide-angle lens. You’ll also need a remote shutter and patience for those perfect night sky captures.
Where Should My Histogram Be for Astrophotography?
Your histogram should peak toward the right without clipping. Aim for a broad distribution of tones that captures faint celestial details while maintaining shadow information. You’ll want to avoid left-skewed histograms indicating underexposure.
In Summary
By choosing curved rails for your astrophotography tracking, you’ll eliminate tangent error and capture considerably sharper star images. You can build your own system affordably or upgrade your existing straight rails. The curved design isn’t just scientifically sound—it’s practical, allowing for longer exposures with precise tracking. Your deep-sky images will show remarkable improvement when you match your tracking motion to the actual arc of the stars.


Leave a Reply