T-ring adapters let you connect your DSLR camera directly to a telescope by replacing your camera lens. You'll need a brand-specific T-ring (Canon uses EF mount, Nikon needs T2) and a telescope adapter that fits standard 1.25" or 2" focusers. To achieve proper focus, you might also need a Barlow lens or extension tubes. A sturdy equatorial mount will guarantee stable imaging during long exposures. Dive deeper to reveal the full potential of your astronomical setup.
Understanding T-Ring Adapters for DSLR Cameras
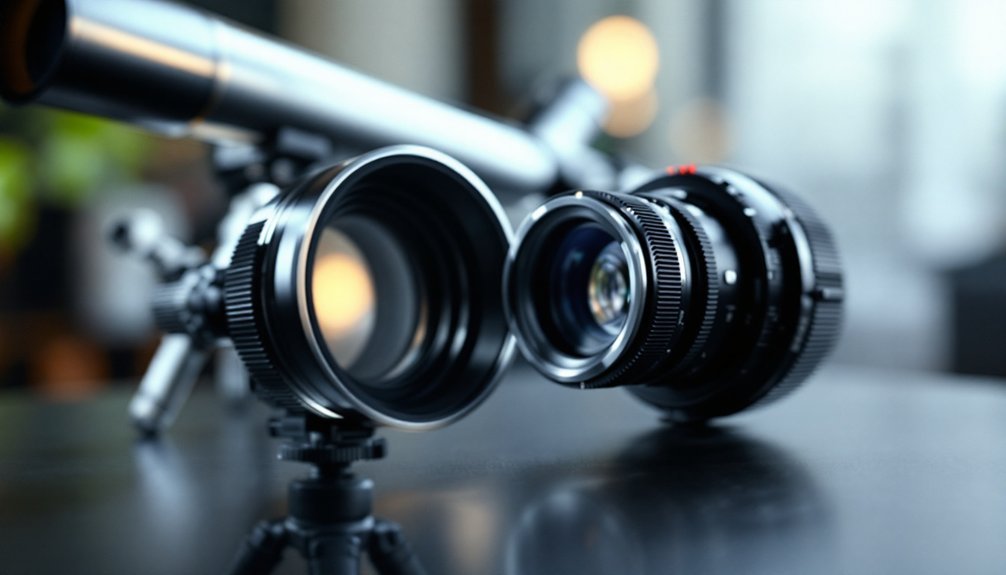
When venturing into astrophotography, T-ring adapters serve as essential connectors between your DSLR camera and telescope.
These adapters replace your camera's lens and interface with T-adapters, enabling prime focus photography where your telescope acts as the camera's lens.
T-rings transform your telescope into a powerful camera lens, creating a direct connection for capturing celestial objects in stunning detail.
You'll need to match your T-ring to your specific camera brand, as Canon and Nikon models require different fittings.
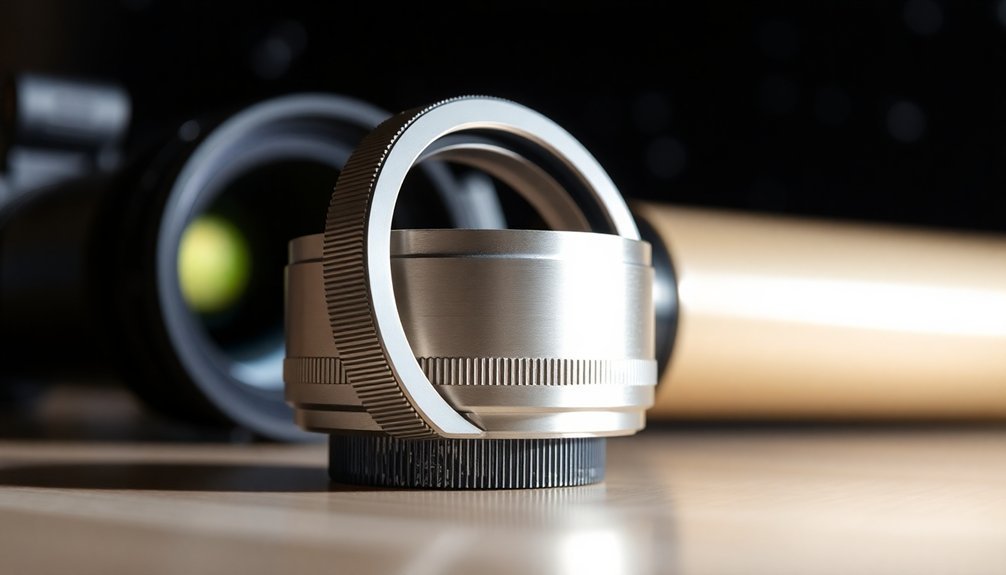
Most T-rings feature either M42x0.75 or M48x0.75 thread sizes, with the larger M48 helping reduce vignetting in wide-field imaging.
They're typically crafted from durable aluminum through precision CNC machining. For example, models like the SV195 are constructed with solid aluminum to provide exceptional stability during imaging sessions.
Since T-rings don't include electronic connections, you'll need to control focus and aperture manually.
Despite this limitation, they're vital for achieving infinity focus and maintaining a secure connection between your camera and telescope.
Essential Components for Lens-to-Telescope Conversion
Converting a DSLR lens into a telescope requires several key components working in harmony.
You'll need a standard 1.25-inch telescope eyepiece to view through your adapted setup, along with a Barlow lens or extension tube to achieve proper infinity focus. A custom adapter or modified lens cap will connect your eyepiece to the DSLR lens.
For enhanced viewing comfort, you might want to add a 45-degree erecting diagonal, which provides a right-side-up image.
Don't forget about mounting – a stable tripod is essential for shake-free observation. Your DSLR lens's focal length will determine your potential magnification, while its aperture affects light-gathering ability. The magnification can be calculated by dividing focal length by eyepiece focal length.
When assembling these components, you'll need to guarantee proper alignment between the eyepiece and the lens's focal plane.
Choosing the Right Adapter for Your Camera Brand
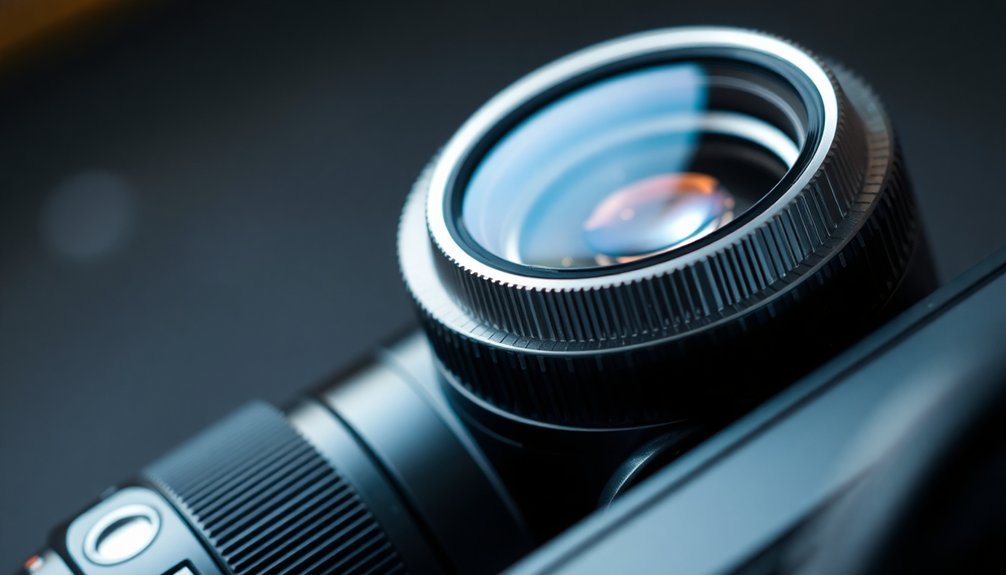
Selecting the right adapter for your camera requires careful consideration of both your camera's mount system and intended use.
If you're using a Canon DSLR, you'll need a Canon-specific T-Ring that fits the EF mount, while Nikon users should look for T2 T-Ring adapters compatible with their cameras.
For mirrorless cameras, you'll need brand-specific T-Rings that differ from DSLR versions. These adapters are typically passive, meaning they don't provide electronic communication between the camera and telescope. The popular M42 adapter 742 is specifically designed to work with EOS camera edges for telescope conversion.
When choosing between 1.25" and 2" nosepieces, consider that larger sizes can help reduce vignetting. The adapter you select must maintain proper optical alignment to avoid focal plane issues.
If you're planning astrophotography, verify your adapter setup includes necessary features for secure telescope attachment.
Types of Telescope Mounts Compatible With DSLRS
When selecting an equatorial mount for your DSLR setup, you'll need one rated to handle at least 1.5 times your total equipment weight to guarantee stable imaging.
Your mount must also feature precise tracking capabilities and allow for accurate polar alignment to capture long-exposure photos of deep sky objects.
While fork mounts can work with DSLRs, they typically offer less stability than German equatorial mounts and may introduce unwanted vibration during long exposures.
Using a tracking mount helps minimize blurring and distortion when photographing celestial objects through your telescope.
Equatorial Mount Requirements
Since equatorial mounts form the backbone of successful DSLR astrophotography, you'll need to carefully consider your mount's specifications to guarantee ideal performance. Your mount must support the combined weight of your DSLR, telescope, and accessories while maintaining precise tracking capabilities. Advanced users have found that GoTo functionality significantly enhances targeting accuracy and tracking of celestial objects.
| Feature | Requirement | Purpose |
|---|---|---|
| Weight Capacity | 1.5x equipment weight | Future upgrades |
| Power Source | 12V DC supply | Continuous operation |
| Tracking Accuracy | Sub-arcsecond | Sharp imaging |
When selecting your mount, make sure it offers smooth tracking through proper polar alignment and minimal vibration. You'll want to choose a German Equatorial Mount (GEM) for maximum stability during long-exposure shots. Consider mounts that support software integration for enhanced autoguiding, as this'll improve your deep-sky imaging capabilities considerably.
Fork Mount Stability Concerns
Although fork mounts offer several advantages for DSLR astrophotography, they come with unique stability considerations that you'll need to address. The weight distribution differs from equatorial mounts, which can impact your imaging stability, especially with heavier DSLR setups. Taking multiple short stacked exposures can help overcome some stability limitations when using fork mounts.
If you're planning long-exposure astrophotography, you'll face challenges with field rotation unless you use an equatorial wedge or field de-rotator. While these additions solve tracking issues, they'll add complexity to your setup.
However, you'll find that fork mounts can track through the meridian without interruption, making them effective for automated imaging sessions.
Despite these concerns, fork mounts remain a cost-effective choice compared to German equatorial mounts. You'll just need to carefully consider your specific imaging needs and whether the mount's payload capacity can handle your DSLR equipment efficiently.
Step-by-Step Guide to Mounting Your Camera
Before diving into astrophotography, you'll need to properly mount your DSLR camera to your telescope. Start by attaching the T-ring specific to your camera brand (Canon, Nikon, or Sony) to your camera body.
Next, connect the telescope adapter to the T-ring, ensuring the threads align perfectly.
Insert the assembled camera-adapter combination into your telescope's focuser. If you're using a 1.25" or 2" adapter, make sure it matches your focuser's size. For prime focus photography, attach the camera directly to the telescope. If you need more magnification, add a Barlow lens between the adapter and focuser. This setup allows for deep-sky imaging of distant celestial objects.
Check all connections are secure to prevent camera shake. Use a remote shutter release to minimize vibration during image capture.
Finally, carefully adjust the focuser until your target appears sharp in the viewfinder.
Common Challenges and Troubleshooting Tips
When mounting your DSLR to a telescope, you'll likely face focus issues due to the camera's deep sensor placement and limited adapter extension.
You can overcome these challenges by adding a Barlow lens or spacers to reach proper focal distance, while ensuring precise alignment between your camera's sensor and the telescope's image plane. For high-quality planetary imaging, you'll need to capture and stack 1000-2000 frames within optimal timeframes.
For ideal stability and image quality, consider using non-extensible eyepiece holders and high-quality Plossl eyepieces, which perform better than X-Cel alternatives for astrophotography.
Focus Issues Solutions
Since achieving proper focus poses one of the biggest challenges in telescope-to-DSLR adaptation, understanding common focus issues and their solutions is crucial.
You'll often encounter limited focuser travel, which you can address with extension tubes or by removing diagonals. For optimal results with a Meade 285, ensure your .965 focuser dimension is compatible with your adapters. If you're using a refractor, you might need to add extension tubes to reach prime focus, while reflector users may require a Barlow lens to move the focal plane outward.
T-thread adapters and parfocal eyepieces can help you attain better focus alignment.
When troubleshooting, check your focuser's travel range and verify all adapters are properly secured. If you're still struggling, consider using focal reducers or extenders to adjust the focal length.
Remember to minimize vibration with a remote shutter release for the sharpest possible images.
Alignment and Stability Tips
Proper alignment and stability form the foundation of successful DSLR astrophotography.
You'll need to verify your mount can handle the combined weight of your camera and telescope without straining. Use counterweights strategically and avoid over-tightening declination clamps to prevent system stress. The periodic error correction feature available on some mounts can significantly improve tracking accuracy.
- Your DSLR secured with a perfectly matched T-Ring adapter
- A steady mount gripping the polar axis without wobble
- Counterweights balanced like a perfectly tuned scale
- A remote shutter release dangling ready for action
- All connections snug but not overtightened
To maintain stability, keep your mount stationary and rebalance the system after adding any new accessories.
Live View helps refine your focus without disturbing the setup, while flip mirrors let you switch between camera and eyepiece views without disrupting alignment.
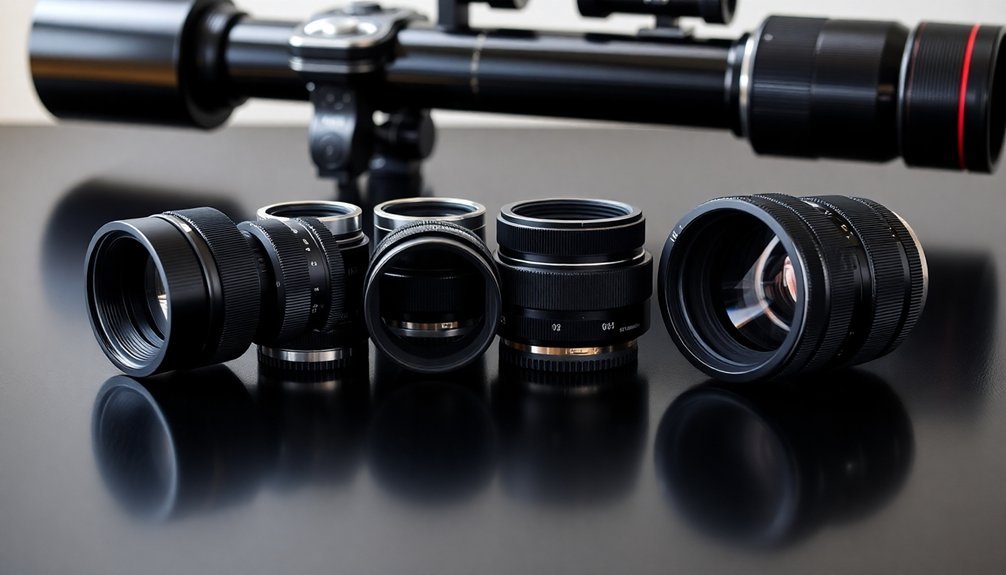
Popular Adapter Brands and Their Features
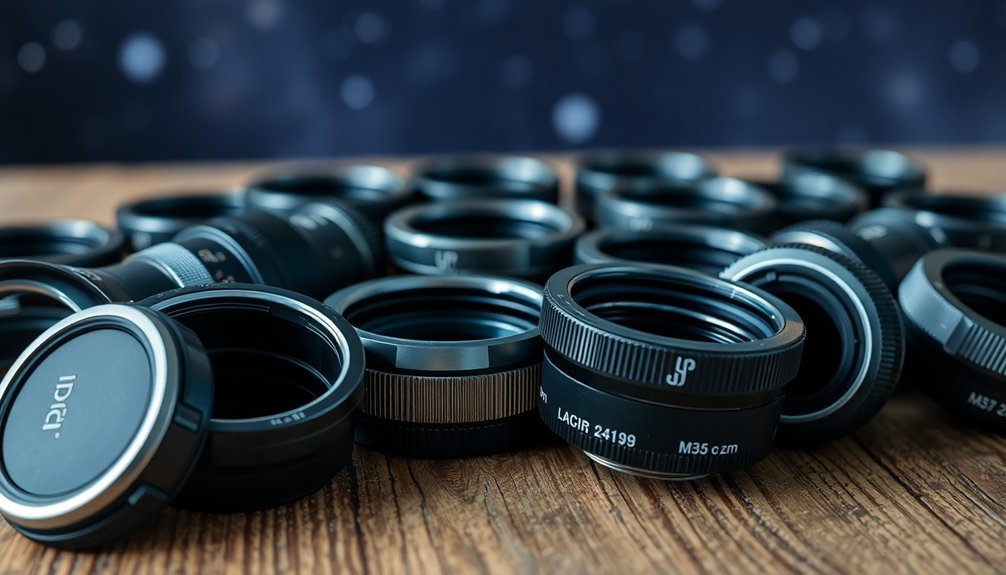
As photographers explore the possibilities of using DSLR lenses for astronomy, several trusted brands have emerged as go-to choices for reliable lens adapters.
Celestron's Universal T-Adapters are popular for their 1.25" focuser compatibility, while TeleVue specializes in refractor connections.
Astronomics and High Point Scientific offer solutions for achieving proper back focus.
You'll find most adapters feature T-threads for camera-specific mounting and rotating rings for easier lens marking visibility.
When selecting an adapter, consider your sensor coverage needs and focus mechanisms. Starting at $15.95, basic T-rings provide an affordable entry point for most major camera brands.
Some setups may require additional components like Barlows or field flatteners to optimize image quality.
While basic T-rings are widely available for most DSLR brands, specialty adapters can transform your setup for specific applications, from smartphone astrophotography to vintage lens conversions.
Budget-Friendly Options for Beginners
When you're starting with DSLR astrophotography, you'll find entry-level ring adapters and basic universal T-mounts offer affordable ways to connect your camera to telescopes.
Low-cost extension tubes can help you achieve proper focus distance without breaking the bank. You can often source these budget-friendly adapters through online marketplaces or by repurposing older telescope parts from flea markets and garage sales. Many photographers choose to use Kenko adapters for their built-in tripod mounts and fixed magnification capabilities.
Entry-Level Ring Adapters
Three essential components make up entry-level ring adapters for DSLR astrophotography: the T-ring, nosepiece, and focuser connection.
You'll find these basic adapters are both cost-effective and straightforward to use, making them perfect for your first steps into telescope photography.
The setup is most similar to standard eyepiece connections, allowing for familiar and intuitive installation.
- A Canon EF T-ring clicking securely onto your DSLR body
- A sturdy 1.25-inch nosepiece sliding into your telescope's focuser
- The T-ring's threading connecting smoothly to the nosepiece
- Your camera's live view screen displaying crisp star points
- The entire setup remaining stable when you gently tap the telescope
These entry-level adapters typically cost less than premium options while maintaining compatibility with most telescope focusers.
You'll need to match your camera's mount type with the correct T-ring, but manufacturers offer versions for all major brands.
Basic Universal T-Mounts
Beyond entry-level ring adapters, budget-conscious photographers can find exceptional value in basic universal T-mounts.
You'll need a T-Ring specific to your camera brand, but options like the Celestron Universal T-Adapter offer an affordable way to connect your DSLR to telescopes with 1.25" focusers for around $22.
These adapters excel at moon photography and terrestrial subjects, though you'll need to manage everything manually since they don't transmit electronic signals. Quality varies significantly among brands, so investing in higher-priced adapters typically delivers better performance.
While autofocus won't be available, you'll develop better photography skills through manual control. If you're using fast refractors or Newtonian telescopes, you might need to add a Barlow lens to achieve proper focus.
Remember to verify compatibility between your specific telescope and camera mount before making your purchase.
Low-Cost Extension Tubes
For photographers seeking an affordable entry into macro photography, extension tubes offer a practical alternative to expensive dedicated macro lenses. Popular budget options like Fotodiox and Fotogen provide solid construction while keeping costs low, typically under $50 for a complete set.
When shopping for your first extension tubes, look for these essential features:
- Metal construction for durability and stability
- Multiple tube lengths for versatile shooting distances
- Secure locking mechanisms that won't wobble
- Smooth mounting surfaces to protect your gear
- Clean interior coating to prevent light scatter
While these budget options may lack electronic contacts for autofocus, they'll help you master manual focusing skills. Quality sets feature T2 threading on both ends, making them compatible with a wide range of camera and telescope combinations.
You can even combine multiple tubes to achieve greater magnification, though you'll need to account for reduced light transmission and maintain steady camera support.
Maximizing Image Quality With Proper Adapters
While adapting DSLR lenses to different camera bodies offers creative flexibility, maintaining peak image quality requires careful consideration of adapter selection and compatibility.
To maximize your results, choose high-quality adapters that guarantee precise optical alignment and proper flange distance.
Quality lens adapters ensure proper alignment and focal distance, delivering optimal performance when mixing camera systems.
You'll want to verify that your adapter supports any electronic features you need, like autofocus or image stabilization.
Pay attention to material quality and manufacturing precision – poorly made adapters can introduce softness or shifting in your images.
For telescope mounting, select appropriate T-adapters and verify they match your specific equipment's requirements.
When working with vintage lenses or specialized setups, research adapter reviews thoroughly.
While native lenses typically deliver peak performance, well-chosen adapters from reputable brands can help you maintain excellent image quality across different camera systems.
Required Tools and Equipment for Setup
Setting up your DSLR with telescope adapters requires specific tools and equipment to guarantee successful imaging sessions.
You'll need a camera-specific T-ring that locks onto your DSLR body, along with a telescope adapter to connect everything to your focuser.
Don't forget a sturdy mount to minimize vibrations during long exposures.
- A manufacturer-specific T-ring matching your camera brand
- A universal T2 adapter compatible with your telescope's focuser size
- An intervalometer or remote shutter to prevent camera shake
- A reliable power source for extended imaging sessions
- Focus aids like Barlow lenses or extenders if needed
For best results, verify you're using the right focuser opening size (1.25" or 2") and consider adding a Barlow lens if your telescope struggles to achieve proper focus with your camera setup.
Best Practices for Lens-to-Telescope Photography
Successful lens-to-telescope photography requires careful attention to several critical elements before you begin shooting.
First, you'll need to focus precisely using your camera's Live View display, zooming in on bright stars and employing a Bahtinov mask for accurate results. Remember to refocus periodically as temperature changes can affect your optics.
Set your camera to manual mode and select ISO values between 400 and 1,600 to balance sensitivity with noise.
You'll want to use Bulb mode for complete control over exposure times. Verify your mount is properly polar-aligned and can support your equipment's weight. Use guiding systems to prevent star trails during long exposures.
For best results, capture images in RAW format and stack multiple frames later using specialized software to enhance detail and reduce noise.
Maintenance and Care of Adapter Equipment
To protect your investment in lens adapters, proper maintenance and storage procedures are essential. You'll need to store them in a dry place, regularly inspect for wear, and keep them organized with clear labels.
Protect your valuable lens adapters through smart storage, regular inspections and clear organization – essential steps for longer equipment life.
When assembling adapters, guarantee proper alignment and avoid over-tightening to prevent thread damage.
For effective maintenance, incorporate these key practices:
- Store adapters in protective cases lined with soft material
- Clean threads with a dry brush before each use
- Apply minimal anti-seize compound on metal connections
- Check for signs of corrosion under bright light
- Use microfiber cloths for cleaning optical surfaces
When issues arise, don't force connections or use harsh chemicals. Instead, verify compatibility, consult manuals, and seek professional help for complex repairs.
Keep detailed records of your setups to maintain consistency in your astrophotography sessions.
Frequently Asked Questions
Can Telescopic Adapters Affect the Camera Sensor's Long-Term Performance?
No, your camera's sensor won't be damaged by telescopic adapters. While they may add weight to your mount, there's no evidence that properly installed adapters negatively impact sensor performance over time.
What Weather Conditions Can Damage Lens Adapters During Outdoor Photography?
You'll find that moisture, extreme temperatures, UV exposure, and heavy winds can damage your lens adapters. Rain causes rust, temperature changes misalign components, and prolonged sun exposure weakens the adapter's structural integrity.
How Do Lens Adapters Impact Auto-Focusing Capabilities in Different Lighting Conditions?
Your autofocus performance varies with adapter type – mechanical ones disable it completely, while electronic adapters maintain function. In low light, Speed Boosters can help by increasing light transmission for better focusing capability.
Are Vintage Camera Lenses Compatible With Modern Telescopic Adapter Systems?
You'll find that vintage camera lenses aren't typically compatible with telescopic adapter systems. They're designed for different purposes, and you'll need specific T-ring adapters to connect cameras directly to telescopes instead.
Do Telescopic Adapters Change the Minimum Focusing Distance of DSLR Lenses?
Yes, when you're using telescopic adapters, they'll alter your lens's minimum focusing distance by reconfiguring the optical path. You'll notice the changes vary based on the adapter's design and added elements.
In Summary
You'll find that T-ring adapters are essential tools for transforming your DSLR lenses into telescope-ready equipment. By maintaining your adapters and following proper mounting techniques, you're set for successful astrophotography. Remember to match your adapter to both your camera brand and telescope mount type. With the right setup and care, you've got everything needed to capture stunning celestial images through your converted DSLR system.


Leave a Reply