
Basic intervalometers work best for star trails because they offer straightforward controls that let you focus on the night sky instead of complex menus. You’ll appreciate their simple timer settings when capturing hundreds of sequential shots for smooth star streaks. Their longer battery life supports extended shooting sessions, while basic models are typically more affordable yet reliable. With minimal buttons and functions, you’ll spend less time fiddling with equipment and more time creating stunning celestial images.
Simplicity Trumps Complexity: Why Basic Controls Excel for Night Sky
Three essential factors make basic intervalometers the preferred choice for star trail photography.
First, they feature straightforward controls that let you set exposure times and intervals without wrestling with complex programming. This simplicity is vital when you’re focusing on capturing the night sky’s beauty rather than traversing confusing menus.
Simplicity in settings means you can focus on stars, not struggle with screens.
Second, basic intervalometers provide all the necessary functions—timer settings and remote shutter release—without overwhelming you with excessive options. This allows you to concentrate on composition and ideal shutter speeds instead of troubleshooting complicated interfaces.
Finally, simpler models typically prove more reliable for beginners. While advanced intervalometers offer numerous settings, they often create confusion that can ruin a night’s shoot.
The basic model’s straightforward approach guarantees consistent shooting intervals—essential for creating seamless star trails.
Understanding Interval Timing for Seamless Star Streaks
Now that we’ve established why simple intervalometers work best, let’s focus on how to time your shots properly. For seamless star trails, you’ll want to set your interval to less than one second between exposures. This guarantees continuous light streaks without gaps.
| Interval Setting | Exposure Time | Result Quality |
|---|---|---|
| < 1 second | 20-30 seconds | Exceptional |
| 2 seconds | 20 seconds | Good |
| > 3 seconds | Any duration | Visible gaps |
While many photographers use a 2-second interval with 20-second shutter exposures, you’ll achieve smoother results with shorter intervals. Your camera model matters too – Sony cameras let you adjust exposure time and interval separately. For truly impressive trails, plan to capture at least 200 shots, keeping your interval timing consistent throughout the session.
Battery Life Considerations for Extended Shooting Sessions
Because star trail photography often requires hours of continuous shooting, your intervalometer’s battery life becomes a vital factor in capturing successful images.
Most basic intervalometers run on AAA batteries, which you’ll need to monitor carefully during extended shooting sessions.
Simpler models with fewer features typically consume less power, making them ideal for lengthy star trail captures.
Consider intervalometers that use only two AAA batteries if you’re concerned about weight and portability on night excursions.
Before heading out, test your device’s battery life to understand how many shots you can expect.
This preparation helps you determine how many spare batteries to pack.
Some models include helpful low-battery indicators that can prevent unwelcome interruptions during essential moments of your star trail sequence.
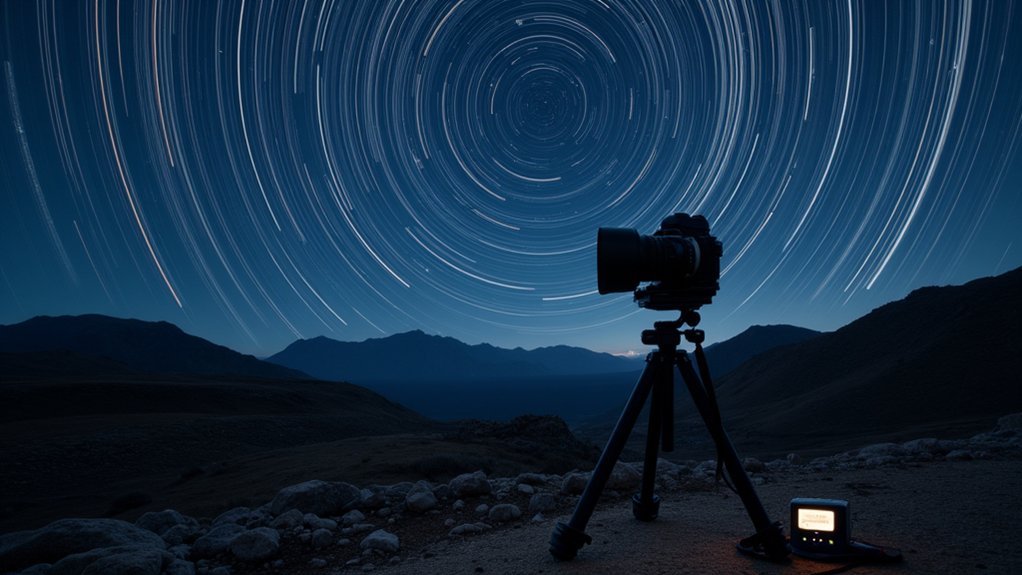
Cable Management and Setup Stability in the Field
Effective cable management can make or break your star trail photography session. When your intervalometer dangles freely, you risk disconnection that abruptly stops your camera shutter, ruining hours of potential shots.
Secure your setup by attaching the intervalometer to your tripod legs with Velcro strips, which prevents cable strain while maintaining setup stability throughout the night.
- Arrange cables to minimize swinging that can introduce unwanted vibrations during long exposures
- Use cable ties or velcro wraps to keep connections snug against the tripod
- Regularly inspect cables for wear points that might fail during critical shooting moments
- Create a consistent cable routing system that allows for quick adjustments in the dark
Well-managed cables let you focus on capturing stunning star trails rather than troubleshooting technical failures.
Cost-Effective Options That Deliver Professional Results
While professional-grade intervalometers can cost hundreds of dollars, you’ll find several budget-friendly options that deliver impressive results for star trail photography.
The Pixel TW-283 offers essential features with an impressive 80m wireless range, perfect for capturing distant star trails without disturbing your camera setup.
Don’t overlook the Neewer 6-in-1 Timer Shutter Release—though wired, its programmable functions effectively capture stunning night sky sequences at a fraction of the cost.
For versatility across camera brands, the AODELAN Intervalometer’s infinite shot capability guarantees you’ll never miss a moment of celestial movement.
Basic intervalometers from PHOLSY include precise timing and HDR bracketing, enabling you to achieve professional-grade star trails without the premium price tag.
These cost-effective options simplify your shooting process, reducing errors and enhancing your overall astrophotography experience.
Frequently Asked Questions
What Intervalometer Settings for Star Trail?
For star trail settings, you’ll want 20-second exposures with 1-2 second gaps between shots. Program your intervalometer for at least 60 exposures (20 minutes) or 200+ exposures for longer, more dramatic trails.
Do You Need an Intervalometer for Astrophotography?
Yes, you’ll greatly benefit from an intervalometer for astrophotography. It automates multiple exposures without camera shake, ensuring precise timing between shots. Many photographers consider it an essential tool for capturing stunning night sky images.
What Is the Best Interval for Astrophotography?
For astrophotography, you’ll get the best results with a 1-2 second interval between exposures. This minimizes gaps in star trails while giving your camera enough time to process each shot effectively.
What Are the Best Settings for Star Trails?
For star trails, use 22-second intervals (20-second exposure + 2-second gap), aperture at f/2.8-f/4, and ISO 200. You’ll need at least 200 shots with minimal delays between them for smooth, prominent trails.
In Summary
You’ll find that simple intervalometers deliver superior star trail photography where it matters most. They’re reliable in cold conditions, offer easier operation in darkness, and preserve battery life for those marathon sessions. Don’t let fancy features seduce you—when you’re standing under a starry sky at 2 AM, you’ll appreciate straightforward controls and dependable performance. Sometimes, basic really is better for capturing the cosmos.


Leave a Reply