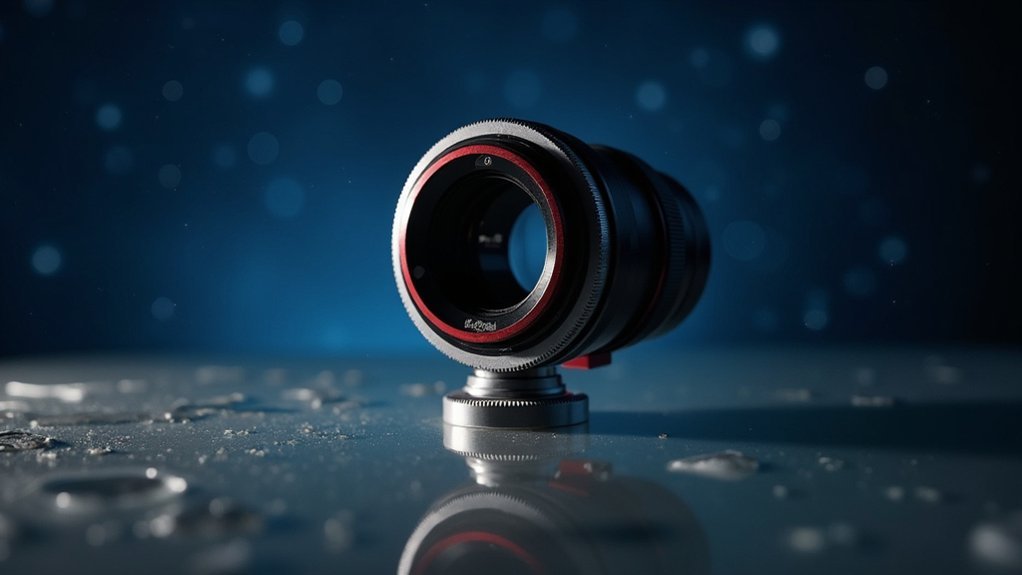
You can build a budget field flattener tonight using a PVC coupling and an old camera lens or magnifying glass with anti-reflective coating. Cut the coupling to fit your telescope’s focuser, secure the lens with adhesive putty, and guarantee it’s perfectly centered. Test by photographing stars and make incremental adjustments to optimize performance. This DIY solution costs under $20 and dramatically improves edge sharpness in your astrophotography. The difference in star shapes will convince you it was worth the effort.
Why Field Flatteners Matter for Astrophotography
When you’re pushing the boundaries of astrophotography, the quality of your celestial images depends on more than just your telescope’s aperture or your camera’s sensitivity.
Field flatteners play an essential role in correcting the curvature of the image field produced by your telescope.
Without this vital component, your images will suffer from distortion—stars appear stretched and blurry at the frame edges, diminishing overall image quality. This is particularly problematic with wide-field telescopes.
A field flattener guarantees stars and celestial objects remain sharp and focused across your entire image. It improves brightness uniformity and enhances detail in faint astronomical objects.
When paired with equipment like cooled cameras, you’ll be able to use longer exposure times without sacrificing clarity, maximizing the potential of your entire astrophotography setup.
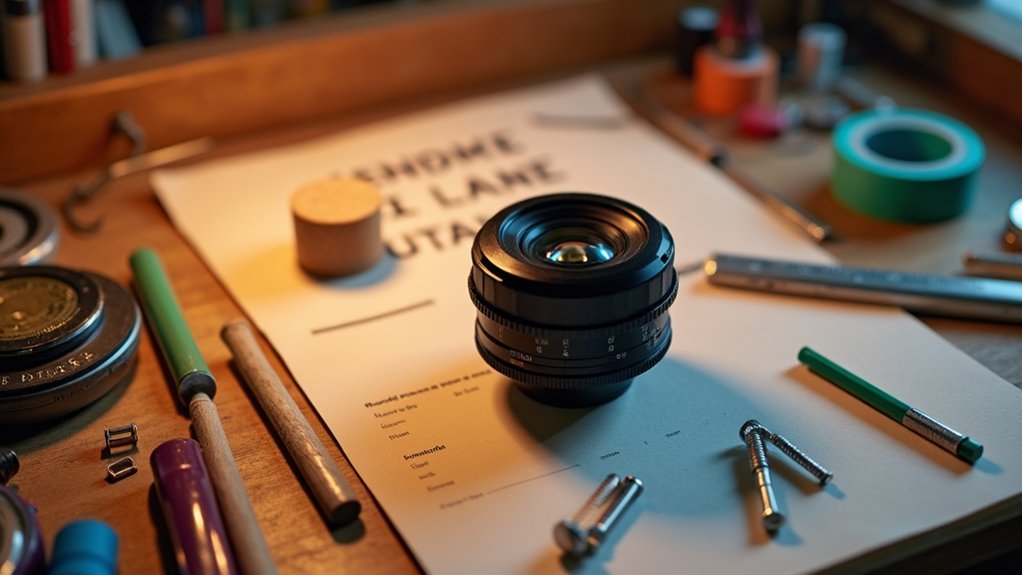
Materials Needed for Your DIY Field Flattener
Frugal astronomers rejoice! You don’t need expensive equipment to flatten those curved star fields. Your DIY field flattener requires just a few affordable components.
First, hunt for a quality lens about 50-100mm in diameter with a focal length matching your telescope’s specifications. Old camera lenses or magnifying glasses work well, especially those with anti-reflective coating.
You’ll also need a mounting solution—either a 3D-printed adapter or simple aluminum ring—to secure the lens to your telescope’s focuser.
Add a lightweight, adjustable spacer for precise alignment with your camera sensor. This critical component guarantees ideal image quality.
Finally, verify that all materials are compatible with your telescope’s threading system to prevent misalignment issues.
With these basic components, you’re ready to transform your astrophotography without breaking the bank.
Step-by-Step Assembly Process
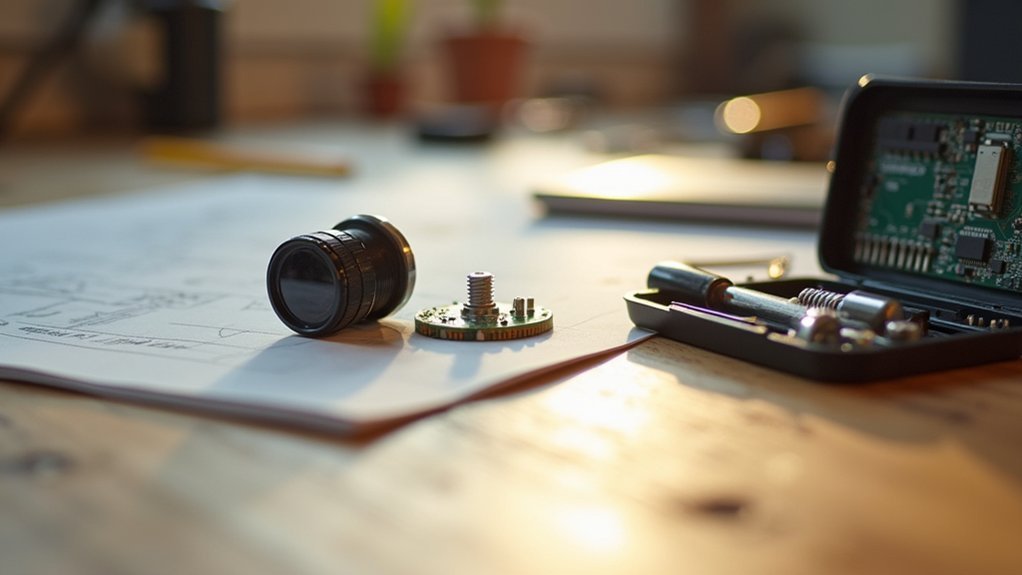
Once you’ve gathered all your materials, the assembly process begins with preparing the PVC coupling. Measure and cut the 2-inch PVC coupling to your desired length, ensuring it’ll fit properly onto your telescope’s focuser while leaving room for the lens.
Next, take your 50mm optical glass lens and position it at one end of the cut coupling. Apply small amounts of adhesive putty around the edge of the lens to secure it in place. Make sure it’s perfectly centered to maintain peak image quality.
After assembly, it’s time to test your creation. Attach the field flattener to your telescope and perform a star test. Check if stars appear sharp across the entire field of view. If necessary, adjust the lens position within the coupling until you achieve the best results.
Testing and Adjusting Your Homemade Flattener
After completing your field flattener assembly, you’ll need to thoroughly test and fine-tune it to achieve ideal performance.
Point your telescope at a bright star or distinct celestial object and capture images to evaluate sharpness across the entire field of view.
Make incremental adjustments to the flattener’s position, taking test shots after each change to determine the best spacing between the flattener and camera sensor.
Use software like SharpCap to analyze star shapes, noting any distortions that indicate misalignment.
Compare images taken with and without your flattener at various exposure lengths to verify its effectiveness.
Document each configuration’s results for reference—this empirical evidence will help you refine your design or make future adjustments as needed.
Before and After: Image Quality Comparison
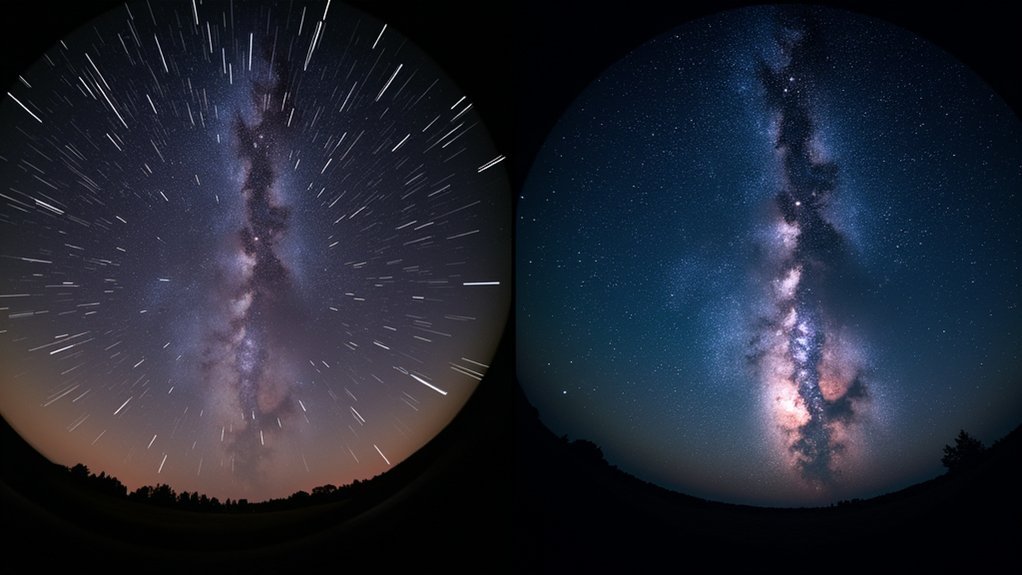
The most compelling evidence of your field flattener’s effectiveness lies in direct comparison images. When you examine photos taken with and without your DIY flattener, you’ll immediately notice sharper, more uniform star shapes across the entire frame.
Without the flattener, stars near the edges appear stretched and distorted, diminishing your image’s overall quality.
Pay special attention to the corners where improvements are most dramatic. You’ll see stars transform from elongated smudges into crisp points of light, particularly when using wide-field telescopes like the Zenithstar 61.
This enhanced uniformity also reveals fainter celestial objects that were previously lost in edge distortion.
The contrast and clarity improvements will reduce your post-processing workload considerably. Instead of struggling to correct edge aberrations, you’ll spend more time enhancing details in your already superior images.
Frequently Asked Questions
Is a Field Flattener Necessary?
You’ll need a field flattener if you want sharp, edge-to-edge astrophotography images. It’s especially necessary with fast telescopes, but if you’re on a budget, simpler targets can work without one.
How Critical Is Backfocus?
Backfocus is extremely critical for your imaging setup. It’s not just important—it’s essential for achieving sharp stars across your entire frame. You’ll notice significant degradation in image quality if you don’t measure it precisely.
How to Adjust Back Focus in Astrophotography?
To adjust back focus in astrophotography, you’ll need to measure the distance from your telescope to your camera’s sensor, then add or remove spacers until you achieve the specified distance for your optical setup.
What Is the Length of the Back Focus?
Back focus length varies by telescope model, typically between 55-75mm. You’ll need to check your specific telescope’s manual or manufacturer’s specifications to determine the exact back focus requirement for ideal imaging performance.
In Summary
You’ve now got a powerful astrophotography tool without breaking the bank. Don’t let stars at the edge of your frame ruin perfect shots anymore. With just $20 and an evening’s work, you’ve eliminated field curvature that expensive commercial flatteners target. Keep experimenting with different spacings for your specific telescope. Your images will show dramatically improved corner stars and overall sharpness that’ll make fellow astronomers wonder about your secret.


Leave a Reply