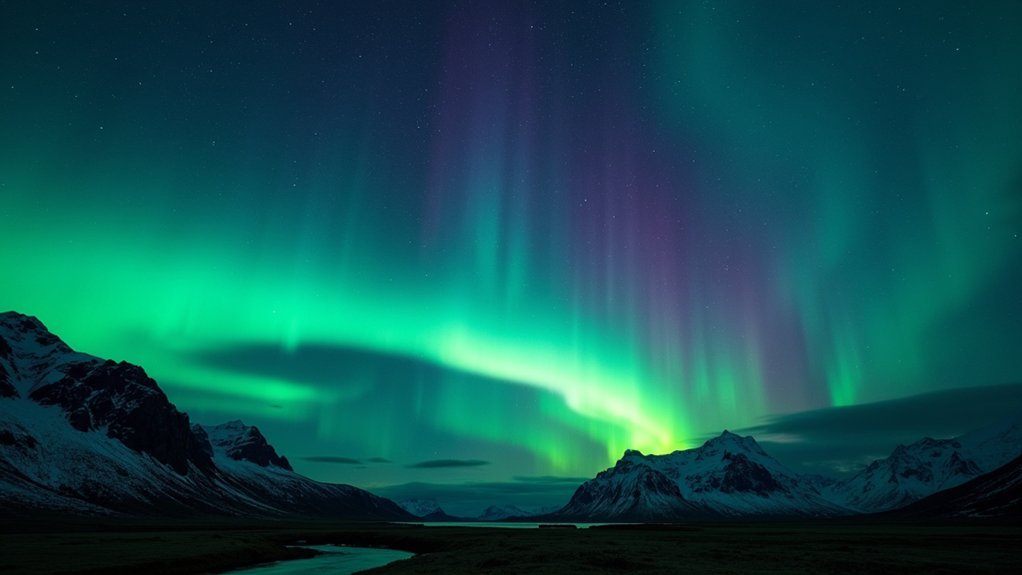
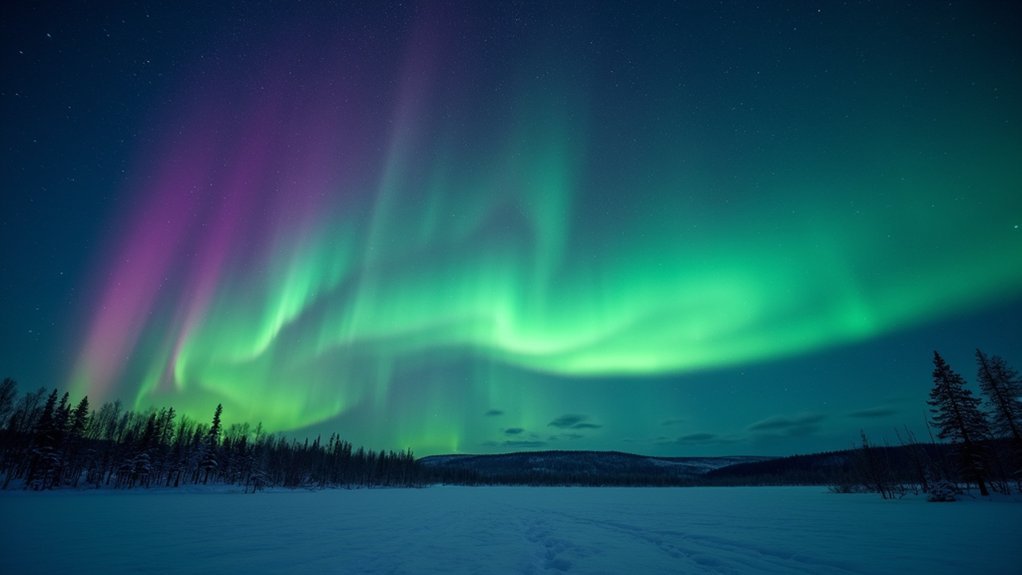
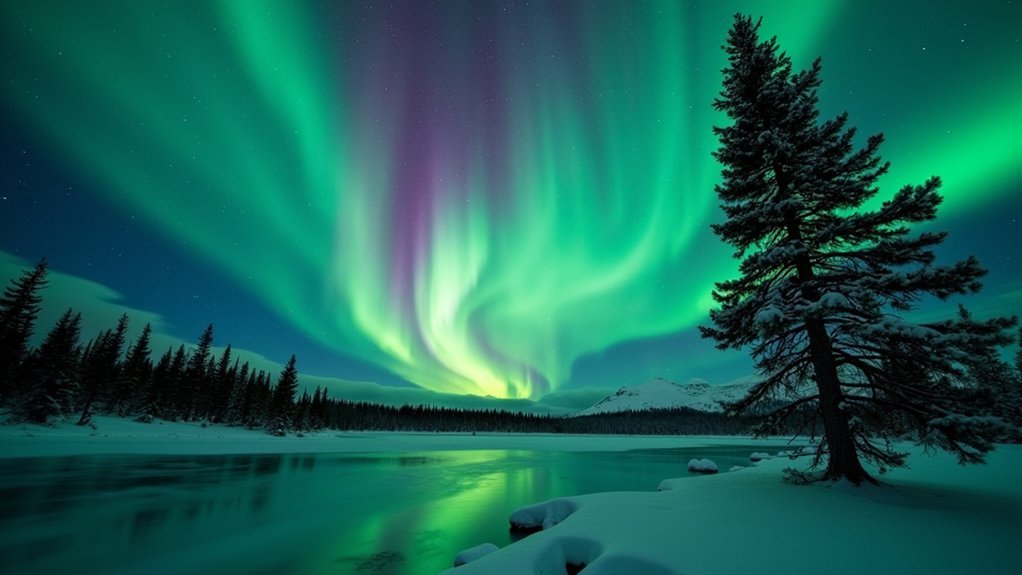
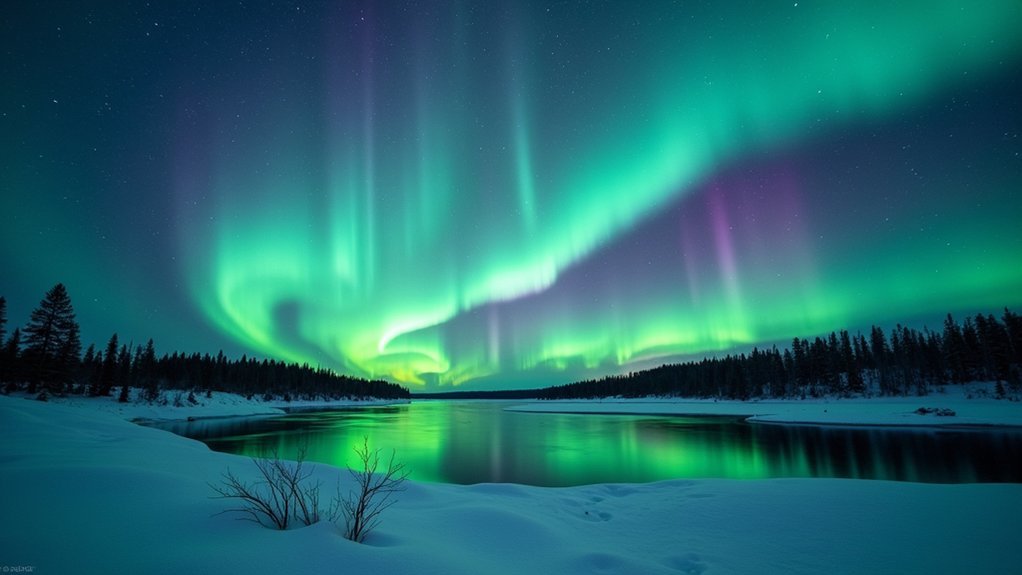
To capture the Northern Lights, use manual mode with a wide aperture (f/2.8-f/4), ISO 1600-3200, and shutter speeds between 5-25 seconds depending on aurora activity. Set manual focus to infinity and tape the focus ring. Use a wide-angle lens and sturdy tripod, and disable auto-ISO to prevent brightness fluctuations. Adjust your shutter speed—shorter for active displays, longer for faint auroras. These technical fundamentals will transform your aurora photography from ordinary to extraordinary.
The Ideal Camera Mode and Focus for Aurora Photography

When photographing the Northern Lights, manual mode isn’t just recommended—it’s essential. You’ll need complete control over your exposure triangle, with auto-ISO disabled to prevent brightness fluctuations as aurora intensity changes.
Set your white balance manually between 3000-4000K and always shoot in RAW format to maximize post-processing flexibility.
Switch to manual focus immediately—autofocus simply won’t work in these conditions. Use your live view’s zoom function to focus on a bright star until it appears sharp.
Take quick test shots at high ISO to verify focus before the show begins. Once you’ve nailed infinity focus, secure your focus ring with tape to prevent accidental adjustments. Marking your lens position during daylight hours can help you quickly achieve focus to infinity when darkness falls.
For compositions including foreground elements, consider using hyperfocal distance techniques when shooting at apertures narrower than f/2.8.
Mastering Aperture Settings for Northern Lights
Almost every successful aurora image relies on the right aperture setting as your primary light-gathering tool. When photographing the northern lights, you’ll want to use a wide aperture between f/1.4 and f/4 to capture as much light as possible while minimizing noise. Lenses with f/2.8 or wider apertures are ideal for this challenging environment.
The secret to capturing the dancing lights lies in opening your lens wide—shoot between f/1.4 and f/2.8 for aurora magic.
For the best aurora shots, follow these key guidelines:
- Balance depth of field – Use f/2.8 to keep foreground elements sharp while still gathering enough light.
- Consider your location – Shoot away from light pollution for cleaner images.
- Adapt to conditions – Widen your aperture during low activity and narrow slightly during intense displays.
Using a wide-angle lens can dramatically improve your composition by capturing more of the expansive aurora display across the night sky.
Remember that a sturdy tripod is essential when shooting with wide apertures in low light.
Balancing ISO for Clear, Low-Noise Aurora Images

While aperture settings gather light through your lens, ISO sensitivity determines how your camera’s sensor responds to that light. For aurora photography, aim for ISO settings between 800 and 6400, with 1600 as an excellent starting point.
You’ll need to adjust based on aurora brightness and ambient conditions. During a full moon, you can often get away with ISO 800, while faint displays might require pushing to 3200 or higher. Finding a location away from city lights will allow you to use lower ISO settings for cleaner images.
Professional cameras handle higher ISOs with less noise than budget models. Monitor your histogram to prevent overexposure and regularly check that no color channels are clipping.
When possible, keep ISO as low as conditions allow to minimize noise. Shooting in RAW format gives you more flexibility for noise reduction during post-processing.
Shutter Speed Techniques for Different Aurora Activities
Shutter speed settings dramatically affect how the northern lights appear in your final images, serving as your primary tool for controlling aurora movement capture.
Match your settings to the aurora’s behavior for best results.
Success in aurora photography comes from syncing your camera settings with the northern lights’ natural rhythm and intensity.
For different aurora intensities, adjust accordingly:
- Bright, Active Displays – Use shorter exposures (5-10 seconds) to freeze movement and preserve vibrant colors without overexposure.
- Moderate Activity – Try medium exposures (12-20 seconds) to capture smooth, flowing shapes while maintaining detail.
- Faint Auroras – Extend exposures to 20-25 seconds to enhance visibility and collect enough light to reveal dim displays.
When photographing fast-moving curtains, shorter exposures create a “dancing” effect, while longer exposures produce artistic blur—especially effective for slower-moving displays. Always check your histogram to ensure proper exposure balance while maintaining the lowest possible ISO setting.
Selecting the Right Lens for Northern Lights Compositions

Beyond adjusting your shutter speed, selecting the right lens dramatically impacts your northern lights photography success.
Prioritize lenses with large apertures (f/1.4, f/1.8, or f/2.0) to capture more light and reduce exposure times, which minimizes aurora motion blur.
Wide-angle lenses between 14mm and 24mm work best for showcasing the expansive nature of the aurora while including foreground elements.
Prime lenses typically offer wider maximum apertures than zooms, making them ideal for this challenging scenario.
Consider options like the Nikkor Z 20mm f/1.8 S, Sony 14mm f/1.8 GM, or the budget-friendly Rokinon 14mm f/2.8.
If you prefer versatility, the Nikkor Z 14-24mm f/2.8 allows you to adjust compositions while maintaining solid low-light performance.
When shooting in the Yukon Territory, photographers should prepare for frigid temperatures that can significantly affect camera performance and battery life.
Frequently Asked Questions
Can Smartphone Cameras Effectively Capture the Northern Lights?
Yes, your smartphone can effectively capture Northern Lights. Modern phones like Google Pixel 6, iPhone 13, and Samsung Galaxy S22 deliver great results when you use manual mode with a tripod.
How Do You Prevent Lens Fogging in Cold Temperatures?
To prevent lens fogging in cold temperatures, you’ll need to acclimate your gear gradually, use silica packets, keep batteries warm, and avoid breathing on lenses. Airtight bags can help during temperature shifts.
Should I Use Lens Filters When Photographing Aurora?
Generally, you shouldn’t use filters for aurora photography. They can create unwanted artifacts like concentric circles and may interfere with capturing the aurora’s true colors. If needed, only consider graduated ND filters for balancing exposures.
Is Image Stabilization Helpful or Harmful for Aurora Photography?
Turn off image stabilization when photographing auroras with a tripod. It’s harmful as it can introduce unwanted movement. If you’re hand-holding (rarely recommended), stabilization could help reduce camera shake.
How Do I Calculate the Optimal Exposure Time to Avoid Star Trails?
Use the 500/focal length rule: divide 500 by your lens’s focal length for maximum exposure time in seconds. You’ll avoid star trails while still capturing aurora details. Adjust shorter for brighter displays.
In Summary
Capturing the northern lights isn’t just about being in the right place—it’s about being prepared with the right settings. Use manual mode with wide aperture (f/2.8-f/4), moderate ISO (800-3200), and flexible shutter speeds (5-30 seconds) depending on aurora activity. Don’t forget to manually focus on infinity and pack a wide-angle lens. With practice, you’ll transform those magical moments into stunning photographs.


Leave a Reply