For perfect star trails, set your camera to manual mode with RAW format, using apertures between f/2.8-f/5.6 and ISO 400-1600. Use exposures of 20-90 seconds with an intervalometer to capture multiple frames for stacking. Disable auto-focus, image stabilization, and noise reduction. Focus manually during daylight and use daylight white balance (3800K) as your starting point. Mount your camera on a sturdy tripod for stability. The techniques below will transform your night sky photography.
Second-Level Headings for “Best Camera Settings: Capture Perfect Star Trails”
When organizing content about star trail photography, clear heading structures help photographers quickly find the specific technical information they need.
For an effective star trails photography guide, consider these second-level headings:
- Camera Mode Selection & Basic Setup
- Aperture Settings for Ideal Star Clarity
- Shutter Speed Techniques for Trail Capture
- ISO Selection & Noise Management
- Exposure Stacking Workflow
Each section should address specific technical concerns.
Detailed technical information in well-organized sections helps photographers master star trail techniques faster.
Under Camera Mode, cover manual settings and RAW format benefits.
The Aperture section should explain the f/2.8-f/5.6 sweet spot and focus techniques.
Shutter Speed content needs to address 20-90 second exposure guidelines and interval timing.
The ISO section should detail the 500-3200 range considerations, while the Stacking section covers multi-hour sessions and software recommendations. Ensure you fully charge your camera battery before beginning, as star trail photography consumes significant power, especially when stacking multiple exposures.
Understanding the Basics of Star Trail Photography
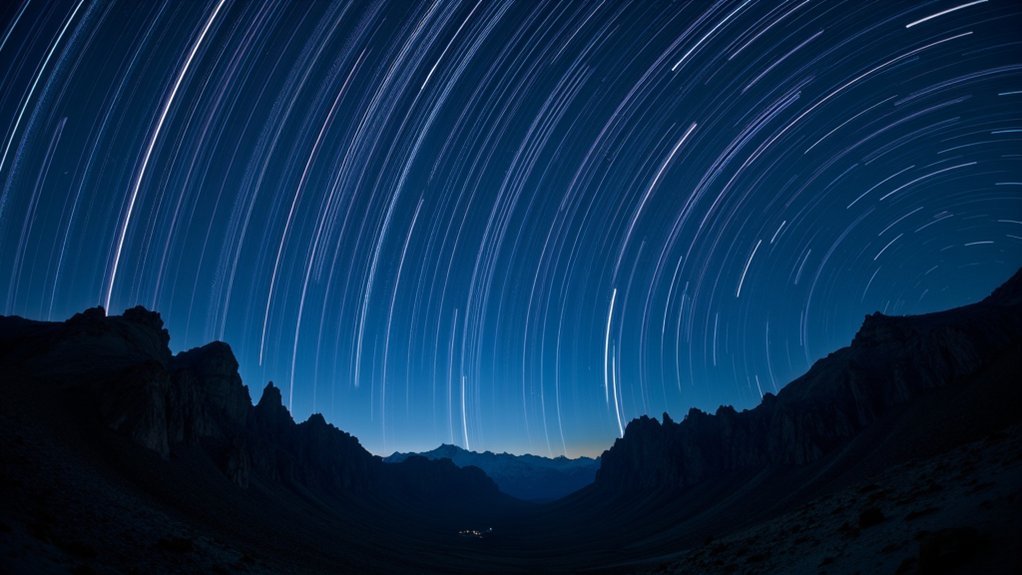
The Earth’s rotation causes stars to appear as if they’re moving across the night sky, creating the perfect opportunity for you to capture stunning light trails with your camera.
You’ll need to gather as much light as possible through your lens during long exposures, typically using a wide aperture and moderate ISO settings.
Understanding these two fundamental principles will help you anticipate star movement patterns and adjust your camera settings accordingly for the best results.
For optimal star trails photography, it’s recommended to use ISO 800-1600 to preserve the natural colors in the stars while maintaining good image quality.
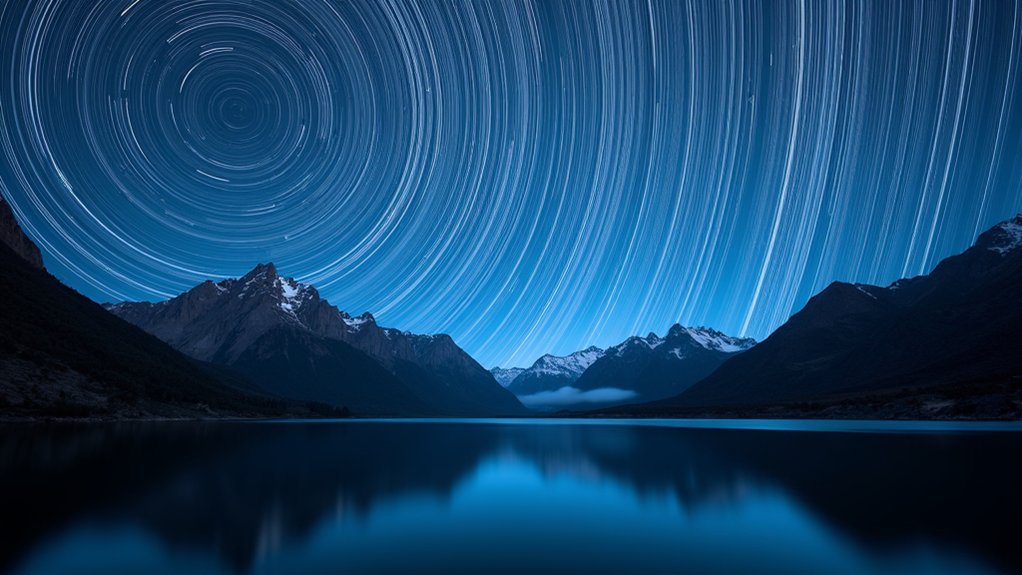
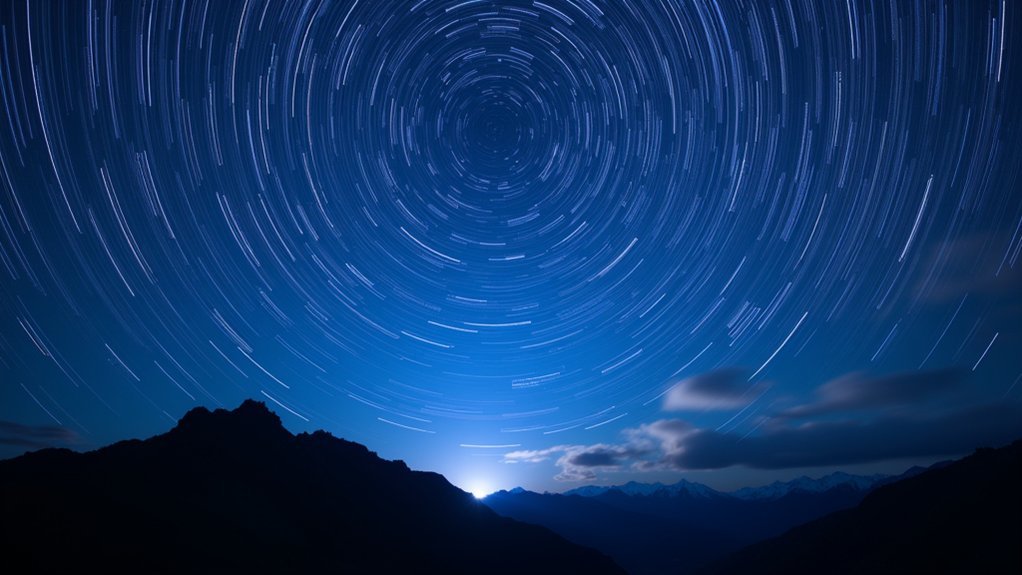
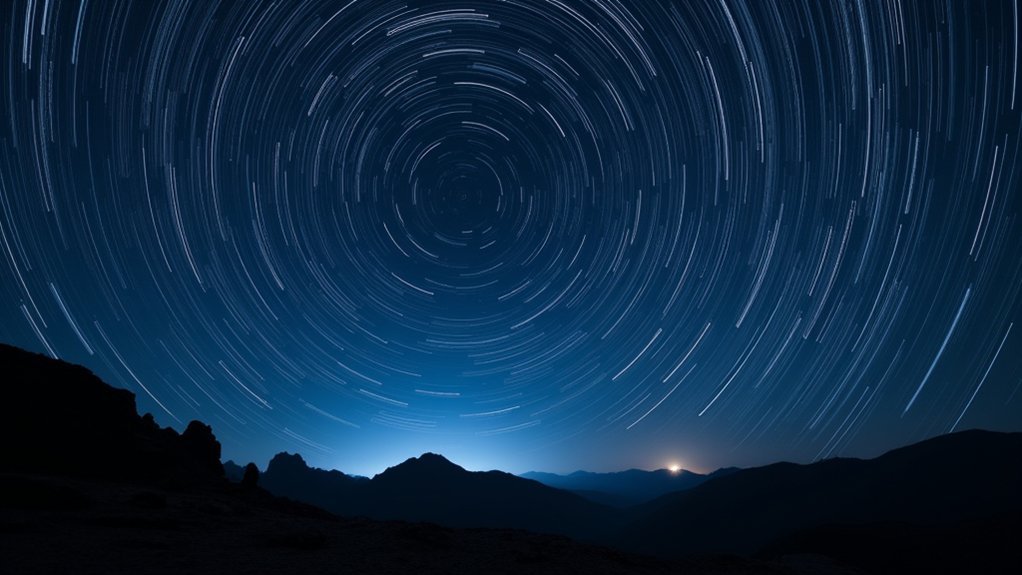
Earth’s Rotation Principles
Since Earth completes a full rotation on its axis every 23 hours and 56 minutes, stars appear to move across our night sky, creating the perfect opportunity for star trail photography. This rotation causes celestial bodies to trace predictable arcs across your camera frame when using long exposures.
The stars circle around fixed points in the sky – Polaris in the Northern Hemisphere and Sigma Octantis in the Southern Hemisphere. Your location’s latitude will affect how these circular patterns appear in your photographs.
- Stars near celestial poles create concentric circles in your images
- The sidereal day (23h 56m) differs from our solar day by about 4 minutes
- Circumpolar stars remain visible year-round, creating complete circular trails when properly captured
Understanding these principles helps you plan your composition and camera placement for dramatic star trail photography. Incorporating interesting foreground elements using wide-angle lenses can significantly enhance the visual impact of your star trail images.
Light Gathering Essentials
Mastering light collection fundamentals forms the cornerstone of compelling star trail photography.
Your lens choice greatly impacts results—wider angles capture more stars, while fish-eye lenses create dramatic curved trails. Select fast glass (f/2.8 or wider) to collect maximum starlight.
Set your aperture between f/2.8-f/5.6 to balance light gathering with adequate depth of field. For exposure times, you’ll need minutes to hours depending on desired trail length.
Choose your ISO carefully—typically 400-1600 works best, as higher settings introduce noise while lower values require excessively long exposures. Using a reliable carbon fiber tripod is essential for preventing any camera movement during these extended exposures.
Always shoot in RAW format to preserve detail for post-processing.
Remember to disable auto noise reduction and image stabilization, as these features can create unwanted gaps in your trails or introduce camera movement during critical long exposures.
Selecting the Right Camera Equipment for Night Sky Shooting
Capturing mesmerizing star trails begins with assembling the right gear for the job. You’ll need a full-frame camera with manual exposure controls that aren’t limited by automatic settings. Models like the Nikon Z9 or even used D850s offer excellent noise handling and dual card slots for those multi-hour exposures.
Your lens choice is equally critical – opt for wide-angle glass (14-24mm) with at least f/2.8 aperture to maximize light gathering and reveal more stars. Focusing manually on distant objects during daylight hours and taping the focus ring will ensure sharp star trails when darkness falls.
- Stable foundation: Select a tripod that exceeds your gear weight by 30%, with adjustable legs and a hook for adding weight in windy conditions.
- Essential accessories: An intervalometer, light pollution filters, and insulated wraps to prevent condensation.
- Budget options: Consider third-party lenses and refurbished star trackers to maximize value.
Mastering Manual Mode: The Foundation of Star Trail Images
To create stunning star trail photography, you’ll need to abandon automatic modes entirely and embrace manual control. Set your camera to manual (M) mode for complete command over all exposure variables.
Select the widest aperture your lens offers—ideally f/2.8 or wider—to maximize light capture during the night.
Your exposure strategy will involve carefully balancing the exposure triangle: consistent aperture, shutter speed, and ISO across all frames. For the best results, shoot in RAW format to preserve maximum detail for post-processing. Setting an ISO between 400-800 provides a good balance between light sensitivity and noise management.
When preparing your shots, determine whether you’ll use multiple short exposures (ideal for stacking) or a single long exposure, recognizing that longer exposures may introduce more noise in your final image.
Finding Your Ideal ISO Setting for Clear, Crisp Stars
Your camera’s ISO setting directly impacts the clarity and color of your star trails, with lower values typically producing less noise and better results.
You’ll need to weigh the benefits of using ISO 400-800 for cleaner images against the potential need for higher settings in extremely dark locations.
Try shooting test frames at various ISO values early in your session to determine the sweet spot that captures sufficient star detail without introducing excessive noise.
When planning your shoot, use PhotoPills app to assess location suitability and optimize your camera settings based on the specific night sky conditions you’ll encounter.
Low ISO Advantages
While high ISO settings might seem tempting for nighttime photography, choosing lower ISO values between 100-400 creates considerably better star trail images in most situations.
Lower ISO preserves your camera’s dynamic range, allowing you to capture both bright stars and dark landscape elements without losing detail in either.
When shooting those magical long exposures that create stunning trails, low ISO settings offer significant advantages:
- Reduced noise and sensor heat buildup during extended 15-60 minute exposures, eliminating the need for complex stacking techniques
- Enhanced color accuracy and star definition, particularly in areas with light pollution where high ISO would create muddy results
- Greater post-processing flexibility with cleaner files that require minimal noise reduction and maintain better highlight recovery
Your camera’s true potential emerges when you balance low ISO with proper exposure duration. Utilizing the histogram during test shots can help ensure you avoid data clipping in highlights or shadows while maintaining optimal exposure.
Balancing Noise Considerations
Finding the perfect ISO setting for star trail photography requires balancing multiple factors that affect image quality. While ISO 400-1600 typically works best, your specific shooting conditions should guide your choice.
Lower ISO values (400-800) minimize digital noise, preserving star colors and fine details in your images. This becomes especially important during longer exposures of 30 seconds to 1 minute. Instead of raising ISO, extend your exposure time when possible to maintain image clarity.
Consider your ambient light conditions carefully. In dark skies, you can use lower ISOs effectively, while light pollution might require adjustments. When shooting with moonlight, you can often use lower ISO settings while still capturing well-lit foregrounds.
Remember that post-processing can help reduce noise, but starting with clean images simplifies your workflow.
ISO Testing Methods
Now that you understand the importance of noise management, determining your camera’s ideal ISO setting requires methodical testing in the field.
Begin by taking 30-second test shots at ISO values from 100-800, focusing manually on a bright star while maintaining consistent aperture and maximum aperture to let in the most light.
For best results based on your shooting conditions:
- In moonlit scenes, start at ISO 300-800 and shoot opposite the moon to evenly light foreground elements while minimizing noise.
- When facing light pollution, reduce to ISO 100-400 and test shorter exposures (20-30 seconds) to prevent artificial light from overwhelming stars.
- For long-exposure stacking, set ISO 400-800 per frame with 30-60 second exposures, capturing 50+ frames for seamless trail blending.
Aperture Selection: Balancing Light and Depth of Field
When selecting aperture settings for star trail photography, you’ll need to balance light gathering capabilities with depth of field considerations. For most star trail shots, aim for apertures between f/2.8 and f/5.6, with wider apertures allowing more light and reducing the need for higher ISO settings. Manual mode provides the precise control needed for these specialized night photography settings.
| Aperture | Benefits | Considerations | Best For | Impact on Trails |
|---|---|---|---|---|
| f/2.8 | Maximum light gathering | Potential foreground focus issues | Dark skies | Brighter, denser trails |
| f/3.5 | Good light collection | Balanced approach | Most conditions | Clear, defined trails |
| f/4 | Sharp across frame | Less light than wider options | Partial moonlight | Well-defined stars |
| f/5.6 | Greater depth of field | Requires higher ISO | Brighter nights | Thinner but sharp trails |
| f/8 | Maximum sharpness | Noticeably less light | Rarely used | May miss dimmer stars |
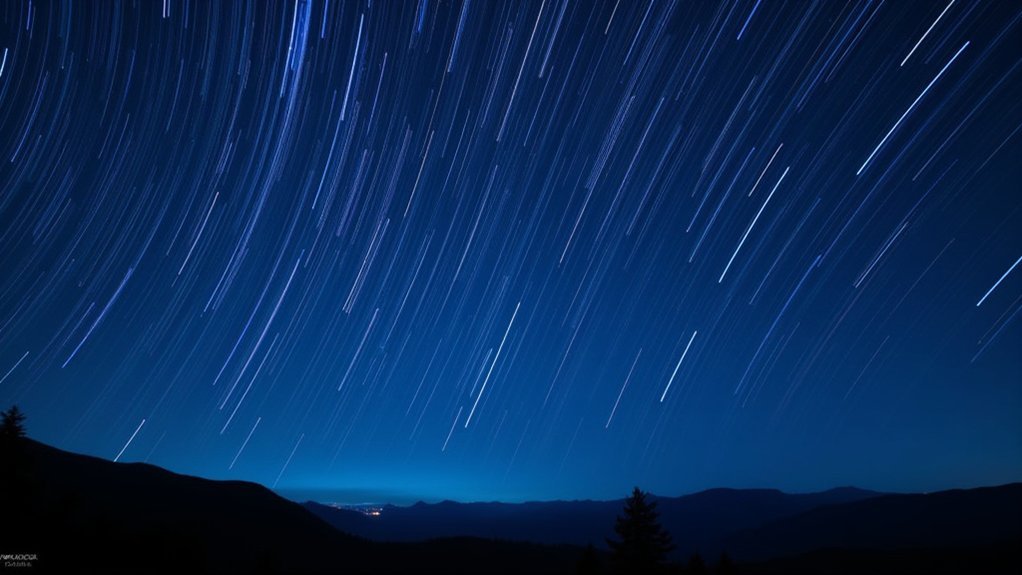
Shutter Speed Techniques for Different Trail Effects
Shutter speed selection forms the backbone of capturing compelling star trails, building upon the foundation set by your aperture choice. You have two primary approaches: multiple short exposures layered in post-processing or a single long exposure. Shutter speeds between 20 and 90 seconds work best, with longer exposures creating more pronounced trails but introducing additional noise. When pointing your camera toward celestial poles, you’ll achieve beautiful circular star trails that showcase Earth’s rotation.
- For cleaner images with minimal noise, shoot 50-100 exposures at shorter shutter speeds and layer them in post-processing.
- To create longer trails, halve your ISO or increase your f-stop by one stop each time you double your shutter speed.
- Experiment with varying shutter speeds during your session to capture different trail effects and create unique visuals.
Use an intervalometer to automate multiple exposures, freeing you to enjoy the night sky while your camera works.
White Balance Settings for Natural-Looking Night Skies

White balance profoundly influences the mood and realism of your star trail photography, often making the difference between an amateur snapshot and a professional-quality image. For best results, shoot in RAW format to allow post-processing flexibility. Consider using the daylight white balance setting as your starting point, then adjust cooler to enhance the blue tones in the night sky.
| Location | Recommended WB | Rationale |
|---|---|---|
| Dark skies | 3400-3900K | Minimal light pollution interference |
| Urban areas | Cooler settings | Counteracts warm city glow |
| Moonlit scenes | 4000-4200K | Matches natural moonlight temperature |
| General starting point | 3800K | Good baseline for adjustments |
When post-processing, use software like Lightroom to fine-tune both temperature and tint. Sample dark sky areas to neutralize unwanted color casts. Remember that custom white balance settings between 3200-4800K typically yield more natural night sky colors than standard daylight presets.
Essential Focusing Methods in Low-Light Conditions
Three critical challenges face photographers when focusing for star trails: darkness that confounds autofocus systems, pinpoint precision needed for stellar clarity, and the inability to check focus during long exposures.
Master these focusing techniques to achieve tack-sharp star trails. Pre-focus during twilight when there’s still ambient light, or use Live View with 10x magnification to manually focus on the brightest star. For consistent results, tape your focus ring once you’ve achieved perfect focus to prevent accidental adjustments. Understanding the concept that depth of field extends two-thirds behind the focal point and one-third in front helps optimize your star trail compositions.
- Use a fast lens (f/1.4-f/2.8) to gather more light for easier focusing
- Try back-button focusing to separate focus control from your shutter release
- Verify focus with a quick test shot at high ISO before starting your long exposure
Intervalometer Settings for Seamless Trail Sequences
Your intervalometer’s programming determines whether your star trails appear seamless or choppy when stacked together.
Set your interval to just 1 second longer than your exposure time, which creates minimal gaps while protecting your files from accidental overlap.
You’ll want to balance battery life with timing precision—shorter intervals create smoother trails but drain power faster, so pack extra batteries or use an external power source for those all-night sessions. For Nikon cameras like the D7500, setting your interval to 22 seconds with a 20-second exposure will help you avoid the common frustration of capturing fewer shots than calculated.
Programming Delay Options
Setting up proper delay options on your intervalometer guarantees your star trail sequences remain uninterrupted and visually cohesive. Aim for a 0-second delay whenever possible to prevent any misalignment between shots, which could create gaps in your final star trails.
For DSLR users, consider a 2-5 second delay when using mirror-up mode to eliminate vibration-induced blur—critical for maintaining sharp star points. If your camera has built-in timer functions, these can serve as reliable backups when external devices fail. Securing your intervalometer with Velcro to tripods prevents dangerous dangling that can introduce unwanted vibrations during long exposures.
- Use wireless remotes as alternatives when your intervalometer lacks customizable delay settings
- Ascertain any programmed delays don’t interfere with your calculated interval timing
- In cold weather, add 1-2 seconds of buffer time to compensate for battery performance lag
Optimal Gap Timing
Creating seamless star trails requires precise control over the gaps between consecutive exposures. You’ll want to set your intervalometer to create minimal gaps—typically just 1-2 seconds longer than your exposure time. For example, if you’re using a 30-second exposure, set your interval to 31-32 seconds.
| Exposure Length | Ideal Interval | Results |
|---|---|---|
| 30 seconds | 31-32 seconds | Perfect continuity |
| 1 minute | 62-63 seconds | Seamless trails |
| 2 minutes | 122-123 seconds | Unbroken arcs |
Your camera’s buffer capacity affects gap consistency, so verify it has sufficient processing time between shots. For the most impressive results, shoot for at least 2 hours with consistent intervals. This approach prevents those distracting breaks in your final star trails while maintaining image quality. Always remember to turn Long Exposure Noise Reduction OFF to avoid creating unwanted delays between your sequential shots.
Battery Conservation Techniques
When shooting star trails for extended periods, battery life becomes a significant concern that can make or break your session. Optimizing your intervalometer settings is essential for both seamless trails and power efficiency. Set intervals just slightly longer than your exposure time to minimize standby power consumption while still capturing continuous star movement. Ensure delays between shots are less than one second to avoid skipping points in your final star trail image.
- Lower your ISO settings (400-800) to reduce noise processing demands on your camera’s processor.
- Utilize longer exposure times (20-30 seconds) to decrease the total number of shots needed.
- Disable unnecessary features like autofocus, Wi-Fi, and bright LCD previews between shots.
For cold-weather shoots, remember that batteries drain faster, so keep spares warm in your pocket.
Manual mode combined with properly configured intervalometer settings will help you capture hundreds of exposures without exhausting your power reserves.
Avoiding Common Exposure Pitfalls in Star Photography
Even experienced photographers can fall victim to the common pitfalls that plague star trail photography if they’re not careful.
Overexposure is perhaps the most frequent issue – remember that longer focal lengths magnify trails, requiring shorter exposures to maintain control.
Don’t underestimate how quickly noise accumulates in long exposures, especially at high ISOs. Instead, opt for ISO 100-200 whenever possible and check your histogram regularly to ascertain proper exposure.
The 300 or 500 Rule is your friend – calculate maximum exposure times based on your focal length to avoid unintended streaking.
If you’re after sharp stars rather than trails, consider image stacking techniques using multiple short exposures. The use of a sturdy tripod is non-negotiable for successful night photography, as even the slightest movement will ruin your image during these extended exposures.
For controlled star trails, proper tracking mount alignment with celestial poles is essential, particularly when using longer focal lengths.
Frequently Asked Questions
How Can I Reduce Battery Drain During Long Star Trail Sessions?
You’ll reduce battery drain during long star trail sessions by lowering your ISO, disabling autofocus, turning off image review, using external power packs, and insulating batteries in cold weather. Plan setup before sunset.
Will Atmospheric Conditions Like Humidity Affect My Star Trail Images?
Yes, humidity will affect your star trail images. High humidity causes haze, reduces transparency, and can form condensation on your lens. You’ll get clearer, sharper trails on dry nights with stable atmospheric conditions.
Can I Capture Star Trails During Different Moon Phases?
Yes, you can capture star trails during all moon phases. During new moons, you’ll get darker skies for longer exposures, while brighter phases require shorter exposures to prevent washing out the stars.
How Do Seasons Affect Star Trail Patterns and Photography Opportunities?
Seasons change which constellations you’ll see in your star trails. You’ll find different patterns, weather conditions, and photography opportunities throughout the year. Winter offers clearer skies, while summer provides longer shooting sessions.
What Post-Processing Techniques Help Bring Out Faint Stars in Trails?
To bring out faint stars in trails, you’ll want to adjust your histogram, increase contrast, recover shadows, and apply subtle sharpening. Layer blending modes and StarStax software can also reveal previously invisible celestial details.
In Summary
Star trail photography isn’t just about technical settings—it’s about patience and experimentation. You’ll find your style as you practice. Remember to protect your gear from moisture, pack extra batteries for long exposures, and always check your first few test shots. With these settings mastered, you’re ready to create stunning celestial images that capture the earth’s rotation in breathtaking detail. Now get out there and shoot!


Leave a Reply