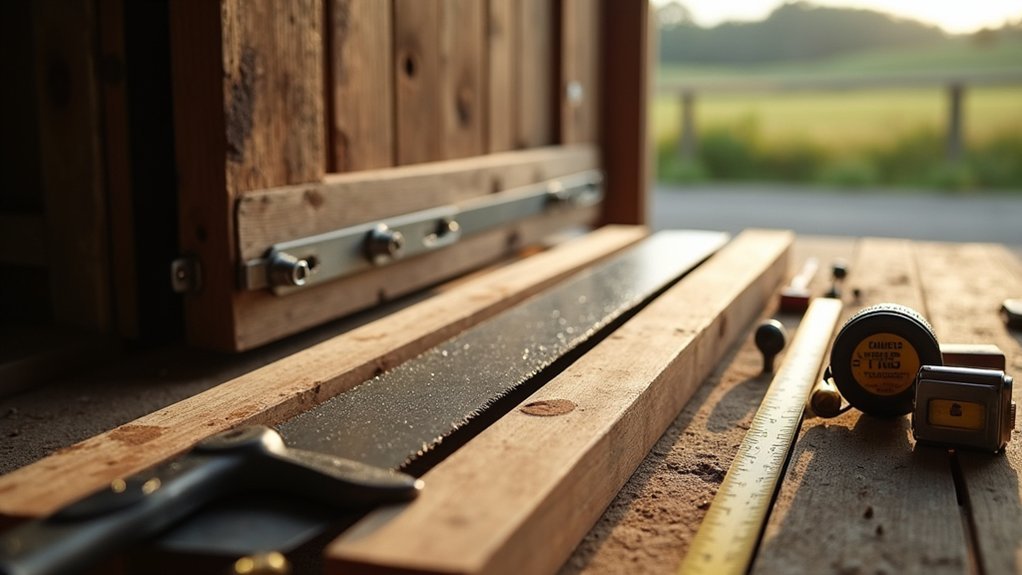
Building a barn door tracker involves five key steps: 1) Gather materials including boards, hinges, and a motor; 2) Cut and assemble the base boards with a high-quality hinge; 3) Install the drive mechanism with proper gear ratio; 4) Set up the motor with threaded rod to create rotation; and 5) Calibrate the tracker by aligning with celestial poles. Following these steps will enable stunning long-exposure astrophotography without star trails.
5 Steps to Build Your Barn Door Tracker
These five construction steps will transform simple materials into a precise astrophotography tool.
First, cut two boards to your desired length, guaranteeing they’ll provide a stable platform for your camera mount.
Next, attach a quality hinge between the boards, minimizing play for accurate movement during tracking.
Install a 1/4-20 threaded rod to connect with your motor, which drives the rotation essential for following celestial objects.
Implement gears to achieve the ideal 1:4 gear ratio, converting your motor’s speed to the proper tracking rate for star movement.
Finally, calibrate your tracker by aligning it with the Polar Star (North Celestial Pole) and fine-tuning the motor speed. This guarantees your device accurately tracks stars during long exposure photography sessions.
Gathering Materials and Essential Components
Four key materials form the foundation of your barn door tracker project.
The foundation of your DIY barn door tracker relies on four essential materials that work together to create accurate astronomical tracking.
First, collect two boards (ideally repurposed bed slats) cut to your desired length.
Second, acquire a 63mm solid brass hinge with minimal play—this will serve as your hinge pin and guarantee smooth tracking motion.
For the base board, you’ll need a 500mm length of 22mm x 69mm pine, which provides the stability needed for accurate astronomical photography.
A 230V AC synchronous motor with a 1 rpm rotation rate delivers the constant rate required to match Earth’s rotation.
Additional components include M6 threaded rods for the drive mechanism, wood screws for assembly, and a sturdy tripod to mount your tracker.
Before drilling the holes, verify all materials are properly aligned to achieve precise tracking results.
Crafting the Base Structure and Hinge Assembly
With your materials gathered, let’s begin assembling the foundation of your tracker. Cut two boards to approximately 500mm in length, ensuring they’re perfectly square for smooth movement when joined.
Attach the solid brass hinge (63mm) to one end of both boards. Proper alignment is essential—the hinge must allow the top board to open to your maximum tracking angle while maintaining precision.
Next, drill holes in the stationary board for your threaded rod and insert an M6 Tee nut to secure the drive rod. This connection must be parallel to the hinge axis for accurate tracking.
Create sliding mounts for your stepper motors, ensuring they’re perfectly aligned with the drive rod. This parallel arrangement guarantees smooth operation as the top board moves during your astrophotography sessions.
Installing the Drive Mechanism and Motor
The heart of your barn door tracker lies in its drive mechanism and motor installation.
Mount your motor to the base board using oversized holes for proper gear meshing. Connect the motor shaft to your drive rod using an M6 coupling nut, guaranteeing tight securement to prevent slippage during tracking. Install a T-nut into the stationary board for the threaded rod to move smoothly along the hinge axis.
Proper motor mounting with oversized holes ensures perfect gear mesh and smooth tracking performance essential for capturing celestial wonders.
- Position the curved rod perpendicular to the hinge axis for ideal tracking accuracy
- Attach the PWM motor speed control unit where you can easily adjust it during nighttime use
- Test rotation direction before finalizing – you’ll need exactly 1 rpm to match Earth’s rotation
After installation, run a complete test of your drive mechanism, making adjustments to guarantee smooth operation for your astrophotography sessions.
Aligning and Calibrating Your Tracker

Proper alignment of your barn door tracker forms the foundation for successful astrophotography sessions.
Begin by orienting the hinge toward the South Celestial Pole, sighting along the hinge pin while adjusting its tilt to match your latitude. Use a compass and protractor to measure the hinge angle precisely.
Next, calibrate your motor to achieve the critical tracking rate of 0.2507° per minute, aiming for a 62-second rotation that properly follows celestial objects.
Once mounted, align your red dot finder with the North Celestial Pole to enhance tracking accuracy.
Don’t expect perfect results immediately—conduct test exposures and make small adjustments as needed.
Watch your star images carefully; properly calibrated trackers produce round stars instead of streaks or arcs, confirming your setup is capturing the night sky effectively.
Frequently Asked Questions
How Does a Barn Door Tracker Work?
A barn door tracker mimics Earth’s rotation by pivoting your camera on hinged boards. You’ll drive this motion with a threaded rod turned by a motor, allowing long exposures without star trails.
In Summary
You’ve now completed your DIY barn door tracker! With practice, you’ll capture stunning night sky photographs that were previously impossible with static mounts. Don’t worry if your first images aren’t perfect—adjust your alignment and try different exposure times. As you fine-tune your tracker, you’ll develop both your astrophotography skills and a deeper appreciation for our celestial neighborhood. Clear skies and happy shooting!


Leave a Reply