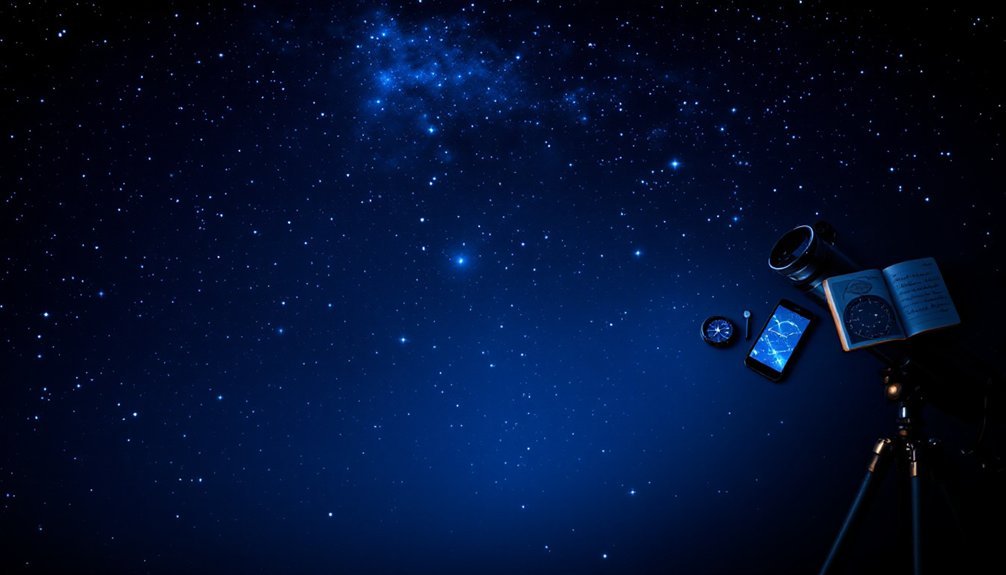
You don't need expensive equipment for accurate polar alignment. Repurpose an 8×20 finder scope or create a handmade polar finder from basic materials. Free smartphone apps like PolarFinder and Polar Scope Align Pro provide precision guidance. For professional-grade results, try the drift method by monitoring star movement through a high-power eyepiece. Start with a level tripod, point roughly north, and adjust your mount to match your latitude. These budget-friendly techniques deliver impressive astrophotography results without breaking the bank.
Understanding the Basics of Polar Alignment

When you're aiming for clear, trail-free astrophotography, proper polar alignment becomes your foundation for success. This critical process aligns your telescope mount's axis with Earth's rotational axis, allowing smooth tracking of celestial objects as our planet spins.
While equatorial mounts are designed specifically for this purpose, you don't need expensive equipment to achieve good results. Polar alignment fundamentally involves pointing your mount's axis toward the celestial pole (near Polaris in the Northern Hemisphere) and making precise altitude and azimuth adjustments.
Don't let cost deter you – precise polar alignment requires technique, not necessarily expensive equipment.
For casual visual observation, rough alignment might suffice. However, if you're capturing images, proper alignment prevents star trails and reduces strain on autoguiding systems. Proper alignment also significantly enhances the accuracy of plate solving results when locating astronomical targets.
Understanding these fundamentals will help you achieve better results regardless of your equipment's price point.
DIY Polar Alignment Tools You Can Make at Home
Armed with the right knowledge, you can build effective polar alignment tools using materials already in your possession.
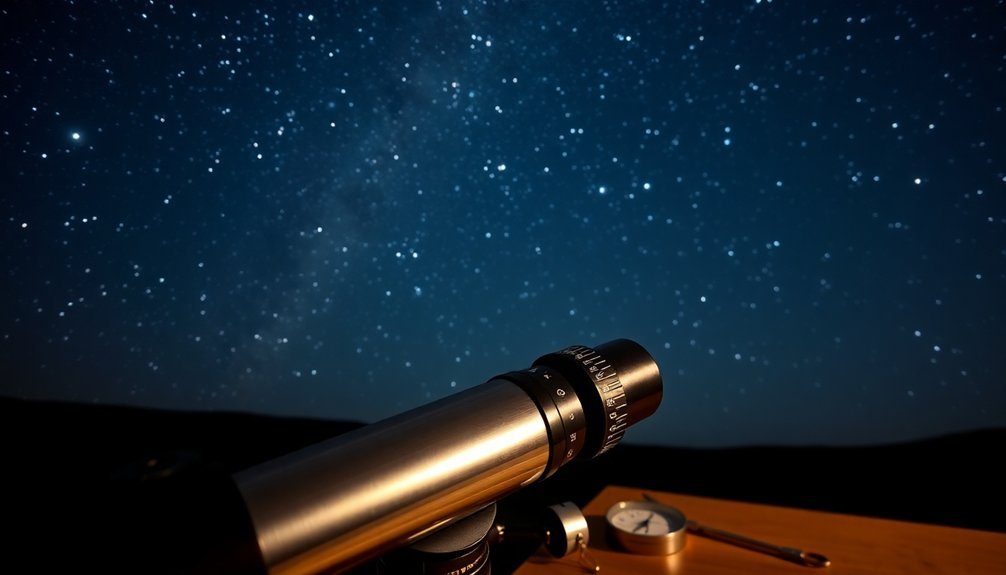
Consider repurposing an 8×20 finder scope as a polar scope by modifying it to fit your mount's polar scope slot. This simple conversion gives you a functional alignment tool without purchasing specialized equipment.
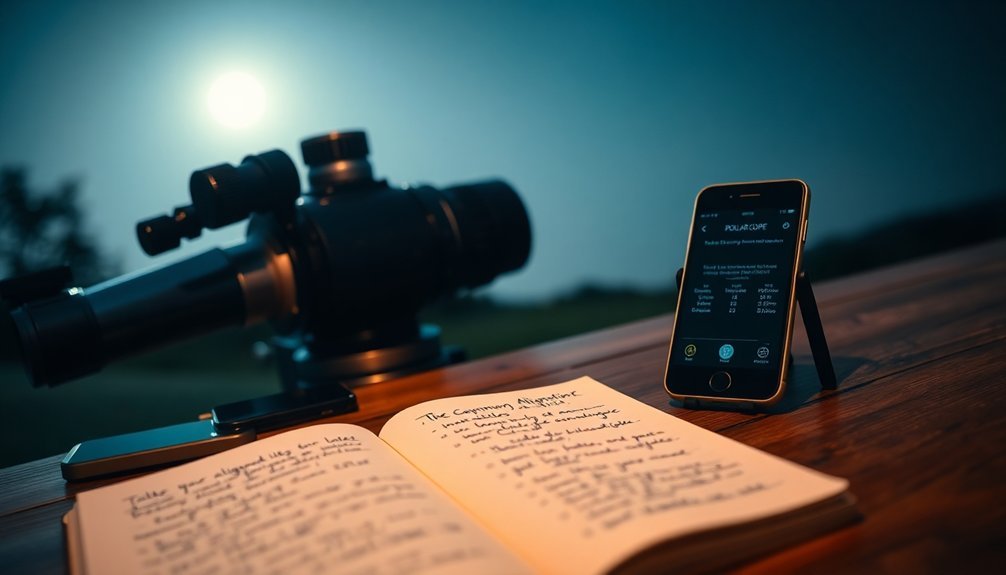
You can also create a handmade polar finder using basic DIY materials. Pair these physical tools with free apps like PolarFinder (Android) or Polar Scope Align Pro (iOS) to accurately position Polaris based on your location's GPS data.
For those who can't see Polaris, try using planetarium apps to guide your altitude and azimuth adjustments. The process can be completed in less than 10 minutes once you understand the basics.
While these DIY solutions work well for visual astronomy, understand they may lack the precision required for serious astrophotography.
The Drift Method: Precision Without the Price Tag

You'll find the drift method delivers professional-grade polar alignment by simply watching a star's movement over time.
All you need is a clear view of the equatorial region, patience to observe subtle stellar drift, and the ability to make small mount adjustments based on what you see.
This sky-based approach costs nothing beyond your existing equipment while offering precision that rivals expensive specialized alignment scopes.
The technique works especially well for long-exposure astrophotography where precise tracking is essential to prevent star trails in your images.
Patient Star Observation
Unlike costly polar alignment scopes, the Drift Method offers exceptional precision through careful observation and minor adjustments.
You'll need to select bright stars near the celestial equator, about 20-30° above the horizon, and watch them patiently through a high-power eyepiece with illuminated crosshairs.
The key is monitoring star drift in declination only. Make azimuth adjustments for east-west alignment using a star on the meridian, then altitude adjustments for north-south alignment with a star near the eastern horizon. Defocusing a bright star can significantly improve your ability to detect subtle movements during alignment.
This iterative process requires patience—observe for 5-10 times your intended exposure duration to verify proper alignment.
While time-consuming, this method delivers professional-grade results without specialized equipment. Your digital camera can simplify the process by tracking star positions in real-time, making adjustments more efficient.
Sky-Based Accuracy Tools
The drift method stands as astronomy's time-honored approach to precise polar alignment without expensive equipment. You'll need only your existing telescope setup and patience to achieve professional-grade alignment.
Choose a star near the horizon about 20°-30° above it, close to the celestial equator. Observe for 10-15 minutes to detect any north-south drift through your eyepiece or camera. An illuminated reticle eyepiece or software crosshairs can help track tiny movements.
When you spot drift, adjust your mount's latitude accordingly. Repeat until the star remains stationary. This iterative process works in both hemispheres and with all equatorial mounts.
While more time-consuming than SharpCap or PoleMaster, the drift method costs nothing extra and works even when the celestial pole is obstructed. Unlike SharpCap's approach which requires a field of view between 1-2.5 degrees, the drift method works with any telescope focal length.
Smartphone Apps That Replace Expensive Equipment
You'll find free apps like Polar Scope Align with optional donations, alongside affordable options such as PolarFinder Pro at just $3.99, that rival the precision of equipment costing hundreds more.
These smartphone tools correct for atmospheric refraction, precession, and even annual aberration, delivering accuracy comparable to specialized hardware while eliminating the need for extra gear.
The intuitive interfaces on these apps make polar alignment accessible to beginners without sacrificing the technical precision demanded by experienced astrophotographers. They support various polar scope reticles from multiple telescope brands, making them compatible with almost any equipment setup you might own.
Free App Recommendations
Several powerful smartphone apps have revolutionized polar alignment, eliminating the need for expensive specialized equipment.
If you're using an Android device, try the free "Polar Alignment – Polaris hour angle" app that calculates Polaris's position relative to the North Celestial Pole.
iOS users can leverage "Polar Scope Align Pro," which offers high accuracy with atmospheric refraction correction.
"PolarFinder" works across platforms, using your phone's GPS to determine the exact Polaris position for near-perfect alignment from any location.
The Polar Alignment app is particularly useful for those with German Equatorial Mount telescopes, making precise alignment much more accessible to amateur astronomers.
For deep-sky imaging, consider the ASIAIR app's plate-solving feature.
- Save hundreds of dollars on specialized alignment equipment
- Set up your telescope faster and more accurately, even as a beginner
- Enjoy the night sky sooner without frustrating alignment procedures
- Use your existing smartphone instead of purchasing additional gear
- Achieve professional-quality results with free technology
Accuracy vs. Cost
When considering astronomical equipment, many amateurs face a critical dilemma between accuracy and cost. Smartphone apps like Polar Scope Align offer an impressive solution, providing precise alignment without breaking the bank.
These apps deliver professional-grade features—correcting for atmospheric refraction and centering errors while supporting over 18 different reticles. You'll get capabilities that rival expensive hardware at a fraction of the price.
However, understand the limitations: your phone's compass and sensor quality directly impact alignment accuracy. Environmental factors like obstructions or cloud cover can also reduce effectiveness.
For most hobbyists, the trade-off is worthwhile. You're gaining versatility (including both hemisphere support), portability, and long-term value that traditional equipment can't match—all while keeping hundreds of dollars in your pocket. The new Hop Align feature even allows for precise polar alignment without requiring visibility of Polaris.
Setting Up Your Mount Based on Latitude
Properly setting your mount's latitude is the foundation of successful polar alignment.
You'll need to adjust your equatorial mount to match your precise geographical location using the latitude scale and altitude adjustment bolts. This guarantees your mount aligns correctly with Earth's rotational axis—essential for tracking celestial objects accurately. For proper alignment, you'll need to use azimuth and altitude adjustments to position Polaris with precision.
- Feel the satisfaction of seeing your mount perfectly aligned with Earth's axis, just as astronomers have done for centuries.
- Experience the thrill of watching stars stay centered in your eyepiece for hours without constant adjustments.
- Enjoy the confidence of knowing you've mastered a fundamental astronomical skill without expensive equipment.
- Discover the connection between your exact location on Earth and the celestial sphere above.
- Celebrate your ability to navigate the night sky like ancient mariners, using the stars as your guide.
Star Hopping Techniques for Better Alignment
Star hopping serves as your telescope's navigation system, allowing you to methodically locate celestial objects without expensive computerized equipment. By using bright, familiar stars as guideposts, you'll navigate efficiently through the night sky to your target.
When selecting alignment stars, choose bright ones near the meridian and celestial equator for ideal visibility. Avoid stars directly overhead as they make azimuth adjustments difficult to discern. Stars too close to the west or east horizon should also be avoided for accurate tracking. Seasonal variations affect star visibility, so maintain a seasonal alignment star list.
Use celestial grids with right ascension and declination coordinates to precisely identify stars. Star charts, atlases, and astronomy apps provide real-time positioning information.
For refined alignment, try techniques like drift alignment or all-star polar alignment, which don't require direct visibility of pole stars. High-power eyepieces can improve visibility and precision during your star hopping journey.
Common Mistakes to Avoid When Polar Aligning
Even the most seasoned astronomers can fall prey to common polar alignment traps that compromise observation quality.
You'll save hours of frustration by avoiding these pitfalls that often derail a promising night under the stars. The difference between crisp star trails and blurry disappointment frequently comes down to these fundamental errors.
- Misidentifying Polaris – that bright star you're confidently using might actually be the wrong celestial reference point!
- Using RA/DEC knobs instead of altitude/azimuth adjusters – a critical mistake that wreaks havoc on your entire setup.
- Skipping proper tripod leveling – the foundation of alignment that's often rushed.
- Ignoring environmental factors like changing temperatures that affect equipment.
- Failing to verify your alignment with additional star checks before deep-sky imaging.
Contrary to popular belief, tripod leveling has minimal impact on your tracking accuracy as equatorial mounts operate based on the equatorial reference frame rather than horizontal leveling.
Practical Field Tips for Quick Alignment
When you're out in the field with limited time and resources, achieving accurate polar alignment doesn't need to be complicated or expensive. Start with a level tripod and point your equatorial mount roughly north (or south in the southern hemisphere). Adjust your mount's latitude to match your location.
For quick alignment, use a smartphone app like Polar Scope Align to locate Polaris. If visibility is poor, the drift method using bright stars near the celestial equator can provide precise alignment. Accurate polar alignment significantly reduces star trails in long-exposure astrophotography.
Choose a standardized workflow and stick to it. Combine manual techniques with digital tools for best results. Remember that stability is essential—ensure your tripod is secure to prevent vibrations.
Regular practice during short sessions will greatly improve your speed and accuracy over time.
Long Exposure Photography With Basic Alignment Methods

Long exposure photography becomes accessible to all astronomers through basic alignment methods that don't require specialized equipment.
You'll achieve impressive deep-sky images by mastering declination drift techniques, latitude methods, and iterative adjustments. When properly balanced, even a basic mount can support autoguiding systems that maintain tracking during multi-minute exposures. Achieving proper balance ensures your telescope remains in position without swinging for more accurate star tracking.
- Capture awe-inspiring nebulae that were previously beyond your reach
- Reveal galaxy details invisible to the naked eye without spending hundreds on polar scopes
- Experience the thrill of seeing your first perfectly aligned deep-sky image emerge
- Break free from equipment limitations that held back your astrophotography
- Share breathtaking cosmos views that will amaze friends and family
Combine short unguided exposures with stacking techniques to overcome alignment limitations while saving money and still producing stunning results.
Frequently Asked Questions
Can Polar Alignment Be Done During Daytime or Twilight Hours?
Yes, you can do polar alignment during daytime using the Sun as a reference with proper solar filters. During twilight, you'll have limited star visibility, but it's possible with a compass and bubble level.
How Does Poor Polar Alignment Affect Different Focal Lengths?
With poor polar alignment, longer focal lengths show more noticeable star trails and field rotation than shorter ones. You'll experience reduced maximum exposure times and need more precise alignment as your focal length increases.
What's the Polar Alignment Accuracy Needed for Planetary Photography?
For planetary photography, you'll need medium accuracy polar alignment. Since you're using short exposures, drift is less problematic than in deep-sky imaging, but at high magnifications, you'll still want precision to prevent blurring.
Can I Use Polar Alignment Techniques in Southern Hemisphere?
Yes, you can use polar alignment in the Southern Hemisphere. You'll need to align with the Southern Celestial Pole using the Southern Cross or stars like Beta Hydrae instead of Polaris.
How Often Should Polar Alignment Be Readjusted During an Imaging Session?
You won't need to readjust polar alignment during a single imaging session unless your mount gets bumped or moved. One good alignment at the start of your session is typically sufficient.
In Summary
You don't need to spend hundreds on fancy equipment to enjoy astrophotography. By using these DIY methods, free apps, and simple techniques, you'll achieve surprisingly accurate polar alignment on a budget. Remember, precision comes with practice, not price tags. Next time you're under the stars, try these approaches—you'll discover that patience and basic tools can capture the cosmos just as beautifully as expensive setups.


Leave a Reply