
DSLRs under $500 give you impressive deep-sky photography capabilities without breaking the bank. You'll get essential manual controls, live view focusing, and high ISO performance needed for capturing faint celestial objects. These cameras excel at both nightscape and deep-sky imaging while offering RAW format flexibility for post-processing. Whether new or used, budget DSLRs like the Canon Rebel series and Nikon D3400 provide a perfect entry point. The journey to stunning astrophotography starts with these accessible tools.
The Budget-Friendly Gateway to Deep-Sky Photography
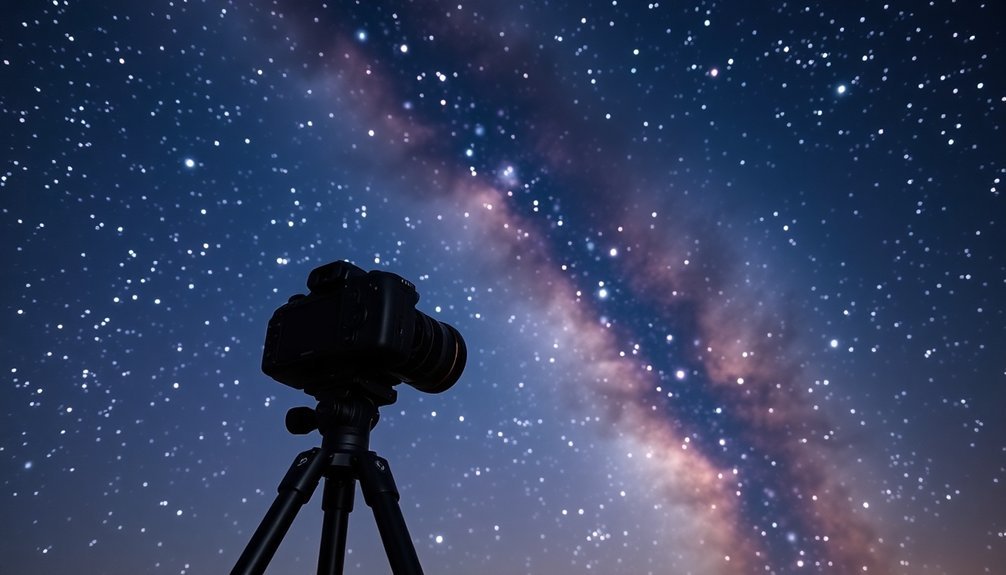
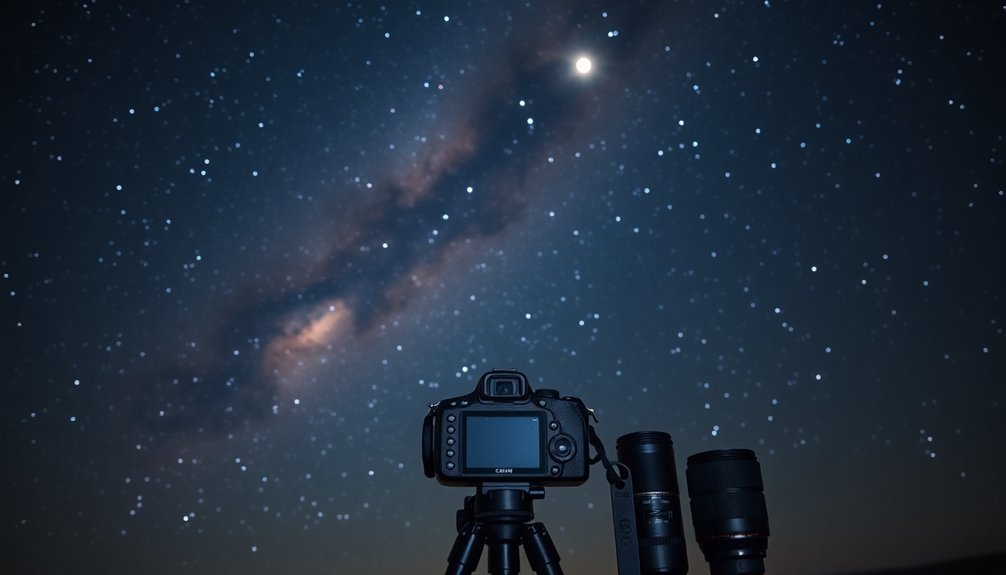
While deep-sky photography often conjures images of expensive equipment and complex setups, DSLRs under $500 have revolutionized the hobby's accessibility. You'll find that these cameras offer an ideal starting point, combining affordability with versatility for both nightscape and deep-sky imaging.
Unlike dedicated astronomy cameras, you won't need additional cooling systems or complicated software to get started. Simply attach your DSLR to a telescope using a T-ring adapter, and you're ready to explore the cosmos.
Popular models like the Canon Rebel series and Nikon D3400 provide excellent image quality without breaking the bank. You'll also benefit from built-in screens for instant image review and straightforward controls that make learning astrophotography techniques more manageable. Used entry-level DSLRs can be found for as little as under $250 in good condition.
The wide availability of used models makes entering this fascinating hobby even more attainable.
Essential Features of Entry-Level DSLRs for Night Sky Imaging
Successful deep-sky photography starts with understanding the right camera features to look for in your budget DSLR.
You'll need manual mode control to adjust exposure settings precisely, and live view capabilities help you focus on dim celestial objects. The camera's ability to handle high ISO settings while maintaining image quality is essential for capturing faint deep-sky targets.
Look for a DSLR that offers RAW image capture and interval shooting features. Many photographers find success with Canon Rebel series cameras, which provide excellent value for beginners.
RAW files give you more flexibility during post-processing, while interval shooting lets you take multiple exposures automatically. Your camera should also have good low-light focusing capabilities and be compatible with telescope adapters through T-rings.
When paired with a stable mount, these features will help you capture detailed images of galaxies, nebulae, and star clusters.
Comparing New Vs Used DSLR Options Under $500
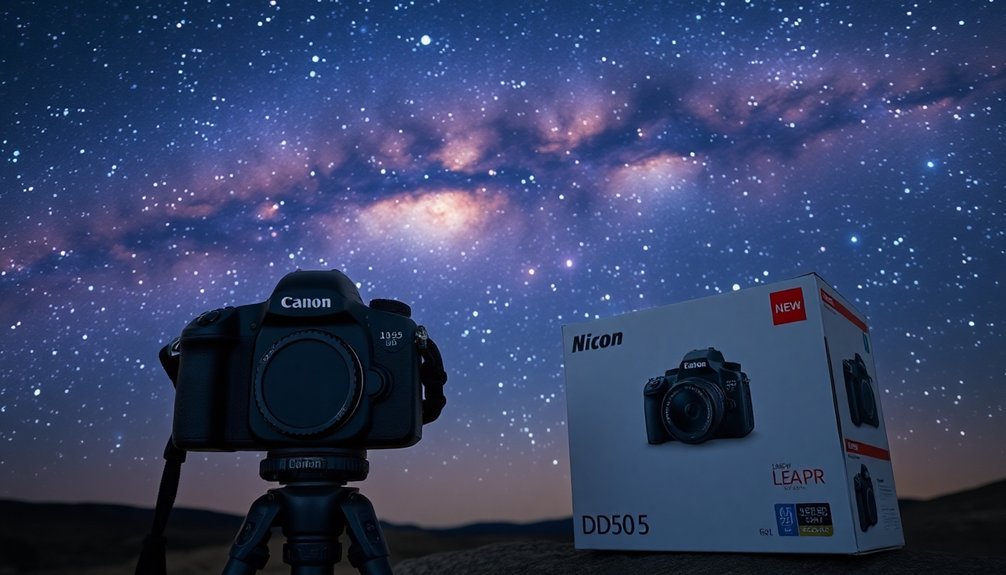
When shopping for a DSLR under $500, you'll find distinct advantages in both new and used markets. While new cameras like the Canon EOS Rebel T7 offer warranties and current firmware, used models can provide superior features at the same price point. You'll often get more value from pre-owned professional-grade bodies than entry-level new ones. The addition of simple DSLR design makes cameras like the T7 especially appealing for beginners who want to start astrophotography.
| Feature | New DSLR | Used DSLR |
|---|---|---|
| Cost | Basic features at $500 cap | Pro features at $500 cap |
| Reliability | Factory warranty included | No warranty, potential wear |
| Versatility | Limited lens options | Access to vast lens libraries |
Consider your priorities carefully. If you're new to astrophotography, a fresh warranty might matter more than advanced features. However, if you're comfortable with photography basics, a used professional DSLR could offer better low-light performance and more robust construction for night shooting sessions.
Best Camera Models for Beginner Astrophotographers
Building on the new vs. used DSLR comparison, let's look at specific models that stand out for beginners. The Canon EOS Rebel series offers an excellent entry point, combining affordability with proven astrophotography capabilities.
You'll find the Nikon D3400 particularly suitable for deep-sky imaging due to its impressive low-noise performance and versatile lens compatibility. Creating a cost-effective solution with these cameras allows beginners to explore astrophotography without excessive investment.
If you're working with a tighter budget, consider a used Canon T3i, which still delivers quality results for deep-sky photography. The Canon EOS T7 presents another solid option, balancing cost with performance.
For those who can stretch their budget closer to $500, the Nikon D7500's tilt-LCD display makes framing and focusing considerably easier when your camera's attached to a telescope.
Maximizing Image Quality With Basic DSLR Settings
To achieve crisp, detailed images of deep-sky objects, you'll need to optimize several fundamental DSLR settings. Start by switching to manual mode and RAW format to gain complete control over your exposure settings while capturing maximum image data. Set your ISO between 400-1600, with 800 being an ideal starting point for 30-second exposures. Disabling image review helps conserve battery life and prevents unwanted delays between shots.
Mastering deep-sky astrophotography starts with proper DSLR settings: manual mode, RAW format, and balanced ISO for maximum detail capture.
- Use manual focus and live view to achieve precise focus on bright stars.
- Enable bulb mode for exposures longer than 30 seconds.
- Set white balance to daylight for accurate color reproduction.
- Activate mirror lockup to minimize camera vibrations.
Remember to use wide apertures (f/2.8 or wider) to gather more light, and follow the 500 rule to avoid star trails.
For the cleanest results, shoot multiple exposures at moderate ISOs rather than pushing to extreme sensitivity levels.
Telescope Integration and Mount Compatibility
Beyond mastering your DSLR settings, successful deep-sky photography requires proper telescope integration and a stable mounting system. You'll need specific adapters like T2-rings to connect your camera to telescopes with prime focus capability, such as refractors or Newtonians. A telescope with focal length under 400mm is particularly effective for capturing large objects like the Andromeda galaxy in a single frame.
| Equipment | Budget Option | Premium Option |
|---|---|---|
| Mount | Manual Alt-Az ($200) | HEQ5 Equatorial ($899) |
| Telescope | 70mm Refractor ($150) | 8" Newtonian ($600) |
| Adapters | Basic T-Ring Kit ($30) | Precision Kit ($100) |
Even with a budget setup under $500, you can capture impressive deep-sky images by stacking multiple short exposures. While equatorial mounts offer superior tracking, you don't need one to start – manual adjustments and post-processing can compensate for basic equipment limitations while you're learning.
Common Challenges and Simple Solutions
While deep-sky astrophotography with budget DSLRs presents several technical hurdles, you'll find most challenges have straightforward solutions.
When dealing with light pollution, filters like the Optolong L-eNhance can isolate specific wavelengths, while longer exposure stacking helps increase signal strength. You can overcome focusing difficulties with a Bahtinov mask, and combat noise by shooting at ideal ISO settings around 1600. Taking dark frames and flat frames during your imaging session is essential for achieving clean, well-calibrated final images.
- Mount your camera on a stable tracking mount to prevent star trails
- Use mirror lock-up and an intervalometer to minimize camera shake
- Consider modifying your DSLR to enhance red light sensitivity
- Employ light pollution filters to capture clearer deep-sky targets
Remember to use FOV calculators for proper framing, and match your targets to your equipment's capabilities for the best results.
Post-Processing Tips for DSLR Deep-Sky Images
Post-processing mastery makes the difference between mediocre and stunning deep-sky images.
You'll need DeepSkyStacker to combine your light frames with calibration frames, reducing noise and enhancing detail. Save your work as 32-bit TIFF files to preserve maximum dynamic range.
In Photoshop, you'll use levels and curves to reveal faint details while managing gradients. Don't forget to adjust color balance to maintain natural star colors and nebula hues. Create a 16-bit conversion to properly access color histograms for processing.
Apply noise reduction carefully to preserve critical details, and use layers for targeted adjustments to specific image areas.
For nebulae, try the HaRGB technique to enhance detail, and consider star minimization to emphasize your deep-sky object.
As you learn, start with basic tutorials and develop a consistent workflow. You'll find that practice and experimentation lead to increasingly impressive results.
Recommended Accessories Within Budget
To maximize your deep-sky photography success under $500, you'll need several essential accessories beyond just the camera body. Focus on items that'll directly improve your image quality while keeping costs down. Many top astrophotographers achieve amazing results with budget-friendly gear choices.
A sturdy tripod with at least 5 lbs capacity prevents unwanted vibrations, while a remote shutter release helps you capture crisp shots without touching the camera.
- Wide-angle lens like the Rokinon 14mm f/2.8 – reduces star trails and captures more sky
- External power bank or battery pack – enables longer shooting sessions
- Free stacking software like StarStaX – enhances final image quality
- Basic star tracker like iOptron SkyGuider Pro – allows longer exposures
Remember to check used equipment markets for these accessories, as you can often find quality gear at significant discounts while staying within your budget constraints.
Long Exposure Techniques for Deep-Sky Objects
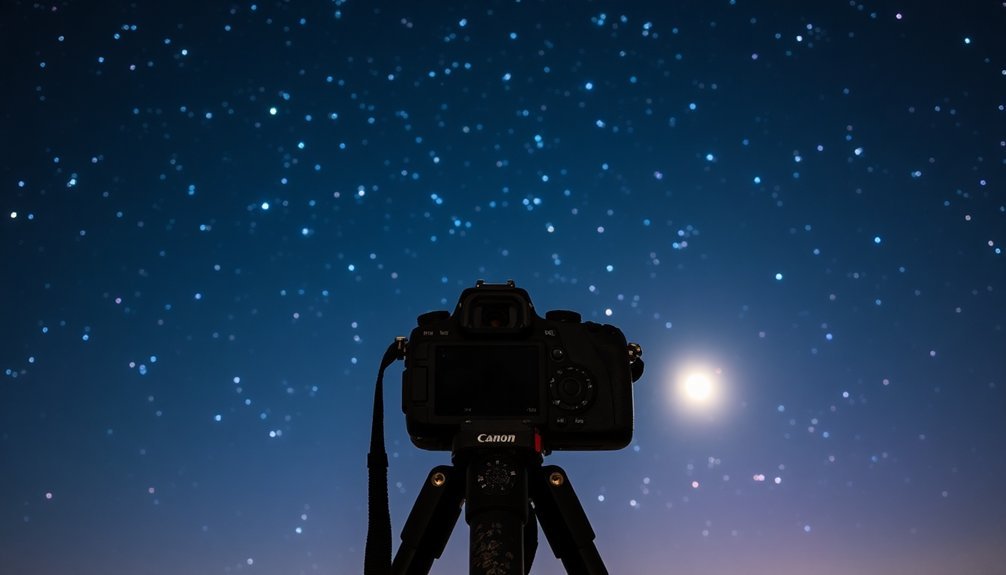
Capturing deep-sky objects requires mastering long exposure techniques that'll dramatically improve your images' quality and detail.
You'll want to keep your ISO settings low while extending exposure times to reduce noise and capture more light from distant objects.
Monitor your histogram carefully, ensuring the peak doesn't exceed one-third from the left.
When you're shooting, use your camera's RAW format and focus on bright stars through live view for the sharpest results.
You'll get better results on cold, clear nights when thermal noise is minimal.
If you're in an urban area, you'll need shorter exposures due to light pollution, but image stacking can help reveal more detail. Consider that stacking fifty images can reduce noise by seven times compared to a single exposure.
Remember to use a reliable tracking mount and disable your flash – these basics will help you maximize your DSLR's potential for deep-sky photography.
Understanding Sensor Performance in Night Photography
Your DSLR's sensor performance plays a central role in deep-sky photography success, building on the long exposure techniques we've discussed.
While high-end cameras offer advanced features, even budget DSLRs can deliver impressive results when you understand their sensor capabilities. The Dual Pixel AF2 technology found in modern cameras helps maintain sharp focus during extended night exposures.
- Large sensors capture more light and reduce noise, making full-frame sensors ideal – but don't worry, APS-C sensors can still perform well with proper technique.
- Modern DSLRs include effective noise reduction features that help minimize digital noise at higher ISOs.
- Your camera's processor greatly impacts noise handling and image sharpness.
- You'll get better results by balancing ISO settings between 400-800, though you might need higher values for certain shots.
Field Testing Your Budget DSLR Setup
Three key elements define successful field testing of budget DSLR setups for deep-sky photography: location, timing, and systematic testing.
Success in budget astrophotography hinges on three fundamental pillars: where you shoot, when you shoot, and how you test your gear.
You'll need to find a spot away from city lights where clear skies and calm winds prevail. Time your sessions to coincide with prime viewing periods of your target celestial objects.
Before each session, verify your equipment's functionality and alignment. Start with a simplified setup – your DSLR, a basic refractor telescope, and a portable mount like the Sky-Watcher Star Adventurer. Using a Bahtinov mask can help achieve precise focus during your field testing.
You don't need complex power systems, making field testing straightforward. Consider adding essential accessories gradually, such as a remote shutter release and guide scope, as you gain experience.
Focus on mastering basic techniques like accurate focusing and exposure bracketing before advancing to more sophisticated methods.
Upgrading Pathways From Entry-Level Equipment
While starting with an entry-level DSLR under $500 provides a solid foundation, understanding the key upgrade pathways will help you make informed decisions as your skills advance.
You'll find that strategic upgrades can greatly enhance your deep-sky imaging capabilities without breaking the bank. A quality tracking mount like the Rokinon lens can deliver impressive deep sky results with proper technique.
- Mount upgrades should be your first priority – consider the Sky Watcher Star Adventurer as an affordable stepping stone to better tracking.
- Wide-field refractor telescopes offer an excellent next step, especially apochromatic models that reduce chromatic aberration.
- Camera modifications like IR filter removal can dramatically improve your nebula captures.
- Software and accessories like autoguiding systems and light pollution filters will refine your results.
As you progress, focus on one upgrade at a time, testing thoroughly before moving to the next improvement.
Frequently Asked Questions
How Long Do Entry-Level DSLRS Typically Last Before Needing Replacement?
You'll typically get 3-5 years from an entry-level DSLR with proper care. Your camera's lifespan depends on usage frequency, maintenance, and shutter count – usually lasting between 50,000 to 100,000 shots.
Can Budget DSLRS Capture Nebulae Without Specialized Filters?
Yes, you can capture nebulae with budget DSLRs without specialized filters. You'll need long exposures and dark skies, but bright objects like the Orion Nebula are particularly achievable through standard camera sensors.
What Temperature Range Is Safe for Operating DSLRS During Night Shoots?
You'll want to keep your DSLR between -10°C and 40°C (14°F to 104°F) during night shoots. Be careful in extreme cold, as it'll drain batteries faster and may affect your camera's electronics.
Are Third-Party Battery Grips Reliable for Extended Astrophotography Sessions?
You'll find most modern third-party battery grips are reliable for long astrophotography sessions. They offer good battery life and functionality, though it's smart to read reviews and choose reputable brands for best results.
How Does High Humidity Affect DSLR Sensor Performance During Deep-Sky Imaging?
High humidity will degrade your DSLR's sensor performance by increasing noise, causing condensation, and risking electronic damage. You'll notice reduced star visibility and image quality during long exposures in humid conditions.
In Summary
Don't let budget constraints hold you back from capturing the cosmos. With a sub-$500 DSLR, you'll have the core features needed for deep-sky imaging. Start with basic settings and long exposure techniques, then gradually refine your skills and equipment. As you progress, you'll discover that these entry-level cameras provide an excellent foundation for more advanced astrophotography pursuits. Keep shooting, learning, and exploring the night sky.


Leave a Reply