You can make your own T-ring adapter to mount a camera to your telescope using basic materials like PVC pipe, electrical tape, and mounting hardware. Start by measuring your camera's focal distance, then cut PVC pipe to size and secure it with tape. Add stability with nylon screws through drilled holes, and use cardboard tubes for an even cheaper option. With proper testing and adjustments, you'll reveal stunning astrophotography possibilities without breaking the bank.
Understanding Camera-to-Telescope Mounting Basics
When you're ready to start astrophotography, understanding how cameras connect to telescopes is your vital first step.
Your camera won't simply attach directly to the telescope – you'll need specific adapters to create a secure connection.
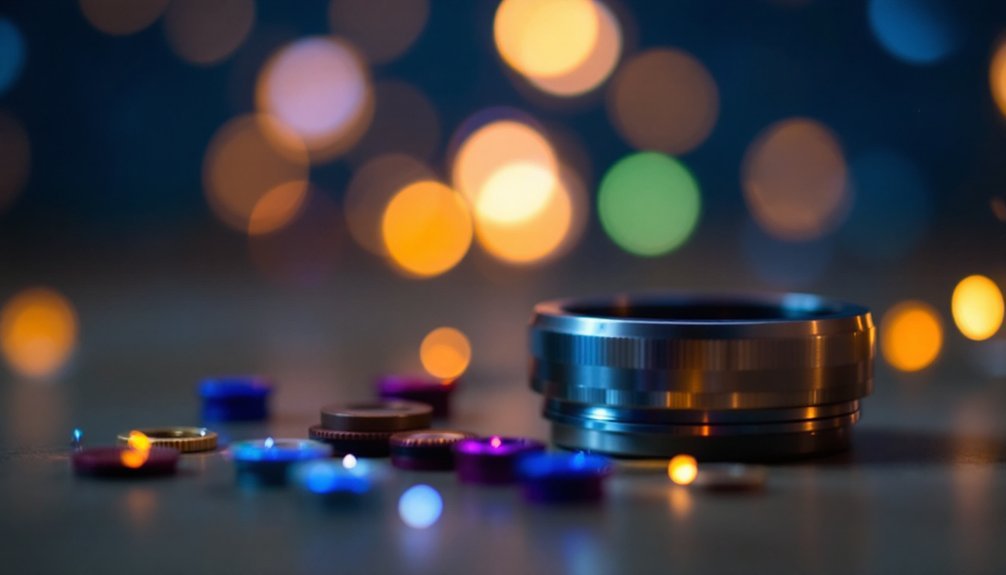
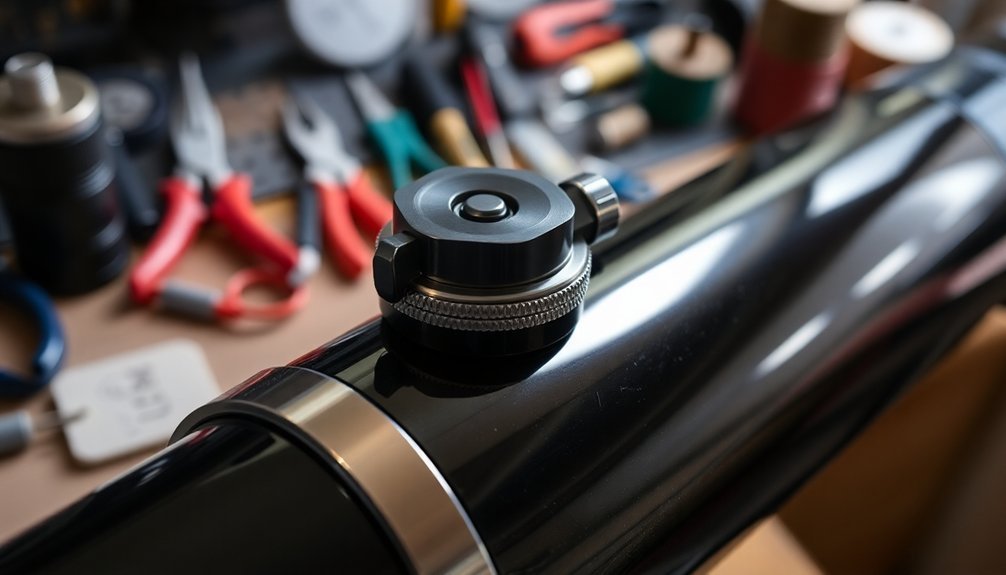
The most common setup uses a T-ring, which fits onto your camera like a lens would, and then connects to your telescope's focuser tube.
T-rings are essential adapters that connect your camera to the telescope, functioning just like a camera lens mount.
You'll need either a 1.25" or 2" adapter, with 2" being ideal for full-frame cameras to prevent vignetting. Mirrorless cameras require choosing between long or short T-ring styles, with the longer version typically recommended for better results.
If you're using a DSLR or mirrorless camera, you'll want to use the prime focus method, which provides the widest field of view for deep-sky imaging.
Required Tools and Materials for DIY T-Rings
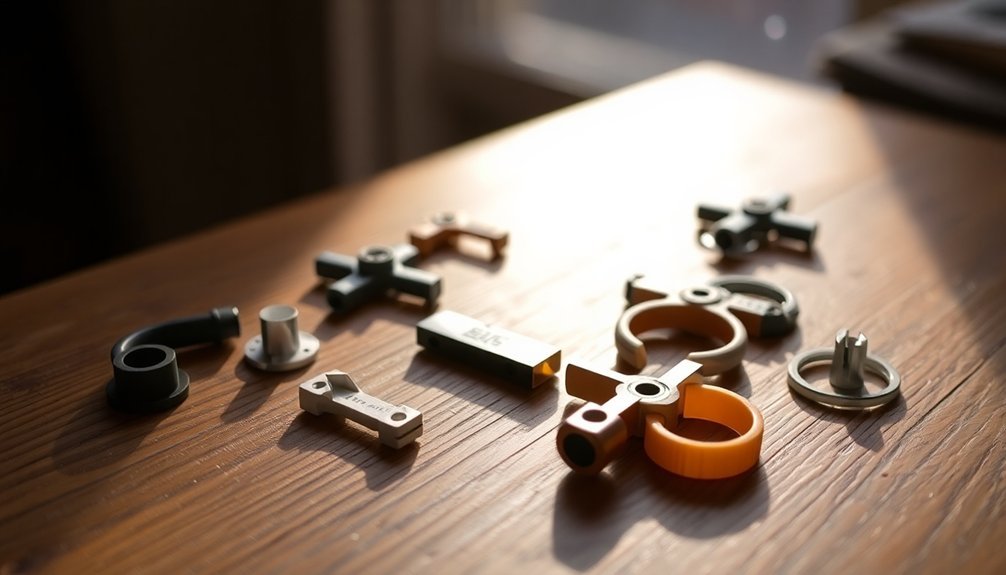
You'll need basic hand tools like a sharp knife, scissors, and a drill press to craft your DIY T-ring adapters.
Essential hardware store items include PVC pipe, mounting bolts, and washers that match your camera's specifications.
For those on a tight budget, you can repurpose existing camera body caps and use cardboard tubes as temporary adapters while testing your setup. Secure all connections with electrical tape for stability and light-blocking.
Essential Hand Tools Needed
Success in creating a DIY T-ring adapter starts with gathering the right hand tools.
You'll need a ruler and tape measure for precise measurements, ensuring your adapter fits perfectly between your camera and telescope. A sharp knife and scissors are essential for cutting through various materials like PVC pipe and cardboard tubes.
Don't forget a pencil for marking your cutting lines and measurement points. Having precise measuring tools is crucial since T-rings must maintain the correct flange focal distance between components.
While these basic tools will get you started, consider adding a drill, screwdriver, and pliers to your toolkit for more advanced modifications. A wrench helps secure components tightly, and a file smooths rough edges after cutting.
Keep these tools organized on your workbench, and you'll be ready to tackle your DIY T-ring project efficiently and effectively.
DIY Hardware Store Items
A successful DIY T-ring project starts at your local hardware store.
You'll need a combination of metal components and protective materials to create a secure camera-to-telescope connection. The proper setup takes about 30 minutes to complete. Focus on getting durable materials that can handle precise adjustments and repeated use.
Essential hardware items for your DIY T-ring include:
- Metal strips or plates (aluminum or stainless steel) for the main adapter body
- Various sized washers, bolts, and nuts that match your camera's thread specifications
- Protective materials like rubber washers, nylon spacers, and non-slip padding
When selecting materials, make certain they're compatible with your specific camera mount and telescope fitting.
Choose metal components that can withstand bending and adjustment without compromising structural integrity.
Don't forget to pick up some protective coating or rubber strips to prevent scratching your equipment.
Budget-Friendly Material Options
Building a DIY T-ring doesn't require expensive materials – many common household and workshop items can serve as effective substitutes for commercial components. With basic items like cardboard tubes, electrical tape, and PVC pipe, you'll be able to create functional camera mounts and adapters for your telescope. Following successful examples of piggyback camera mounts from vintage telescopes, these DIY solutions can be very effective.
| Material | Purpose |
|---|---|
| Cardboard tubes | Camera mount base |
| Electrical tape | Secure components |
| PVC pipe | Custom fittings |
| Zip ties | Stabilize attachments |
You'll need some basic tools to assemble your T-ring, including a drill, ruler, and sharp knife. For secure attachments, use double-sided sticky squares, soft Velcro pads, and rubber washers to prevent scratches. Consider adding springs for better camera positioning and nylon webbing to wrap around your scope for extra stability.
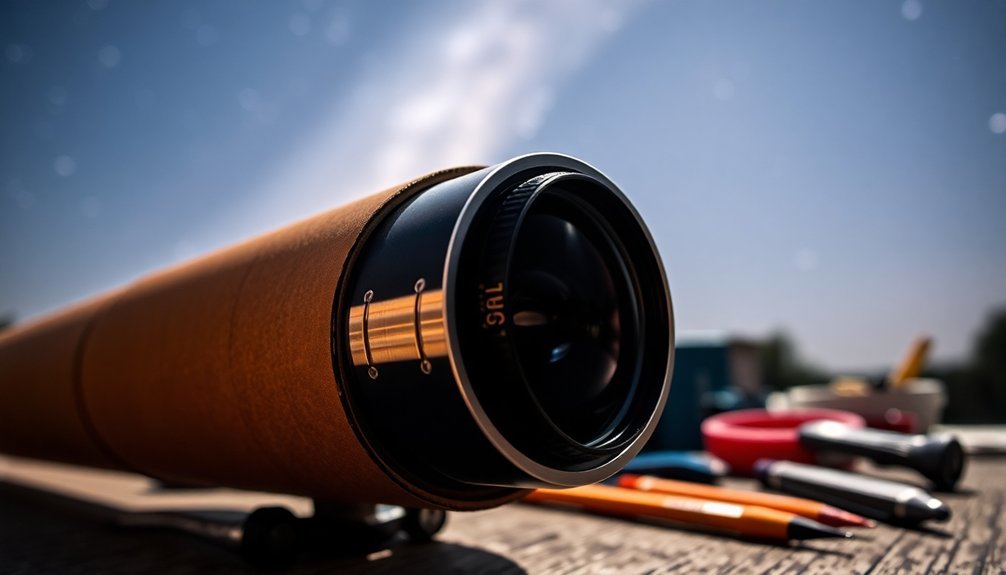
Building a PVC Pipe Camera Mount
You'll need basic items to build your PVC camera mount: a 2" PVC pipe, electrical tape, scissors, and a cardboard tube sized to your telescope's eyepiece.
Start by cutting the PVC pipe to match your camera's focal distance, using the pipe as a spacer between your camera lens and the cardboard tube.
Secure everything with electrical tape, ensuring your camera attaches firmly to the mount while allowing adjustments for ideal focus. Two nylon screws can be added through drilled holes to provide extra stability when mounting to the eyepiece.
Materials and Tools Required
Three main categories of items are essential for constructing a PVC pipe camera mount: basic materials, tools, and auxiliary components.
You'll need PVC pipes, elbows, tees, caps, and fasteners for the basic structure. Your toolbox should include a pipe cutter, drill, measuring tape, and safety goggles for precise fabrication. Be sure to obtain half inch schedule 40 PVC pipes for proper fit and durability.
For a functional mount, you'll require these critical components:
- Smartphone or camera mount with 1/4-20 bolt compatibility
- Threaded rods and nuts for adjustable parts
- Weight material like sand or gravel for stability
Don't forget to grab some electrical tape and decorative elements if you want to enhance the mount's appearance.
The modular nature of PVC allows you to experiment with different configurations, so consider getting extra fittings for future modifications.
PVC Assembly Steps
When constructing a PVC pipe camera mount, proper assembly sequence is essential for structural integrity. Begin by cutting your PVC pipes to the required lengths, using either a pipe cutter or hacksaw. You'll want to dry fit all components before final assembly to guarantee everything aligns correctly. For enhanced stability, consider adding painters tape wrapping to the upright supports.
| Step | Action | Tool Needed |
|---|---|---|
| 1 | Mark pipe lengths | Measuring tape |
| 2 | Cut pipes | PVC cutter/hacksaw |
| 3 | Connect base with T-joints | Mallet |
| 4 | Attach vertical supports | PVC elbows |
| 5 | Mount camera clip | Screws/bolts |
Create the camera mount by heating and bending thin-wall PVC into a clip shape. Once you've confirmed all components fit properly, secure the joints and attach your camera mount. Don't forget to test the setup's stability and adjust the height as needed for ideal viewing angles.
Cardboard Tube Mounting Solutions
Building a cardboard tube mounting solution offers a cost-effective way to attach your camera to a telescope, though it requires careful assembly for best results.
DIY telescope camera mounts can be built affordably with cardboard tubes, but success depends on precise construction and attention to detail.
You'll need a cardboard tube that fits over your telescope's eyepiece mount, along with PVC material to create a secure connection to your camera lens.
The lack of secure attachment can lead to camera shake or movement during long exposure photography, making image quality significantly worse.
To guarantee proper mounting, follow these critical steps:
- Cut a vertical slit in the cardboard tube to accommodate the eyepiece thumb screw.
- Wrap the PVC piece with electrical tape until it fits snugly inside the tube.
- Add extra cardboard pieces if needed to eliminate any wobble.
Remember that this DIY solution works best for photographing bright objects like the moon or planets, and you'll need to replace it periodically due to wear and potential moisture damage.
Consider upgrading to a professional T-ring adapter for long-term use.
Safety Measures for DIY Camera Attachments
Safety must be your top priority when creating DIY camera attachments for telescopes. Before mounting your camera, verify all components are structurally sound and can support its weight. Use soft materials like electrical tape to protect both your telescope and camera from scratches, and don't over-tighten any parts.
Always check that your DIY attachment is properly insulated to prevent electrical issues, and keep all cords secured and untangled. You'll need to regularly inspect your setup for wear and tear, especially before each use. Consider using epoxy on seams for additional structural integrity.
Make certain your camera-telescope combination stays balanced and properly aligned to avoid focal problems. When transporting your equipment, pack it securely and have backup parts ready. If you're using any electrical components, protect them from moisture and monitor for overheating.
Testing and Adjusting Your Custom Mount
To test your custom mount's performance, you'll need to check both focus accuracy and mechanical stability through a series of test shots at different exposure lengths.
You can verify proper balance by carefully loosening the clutches and ensuring the telescope remains stationary at various positions.
Run stability tests by taking long exposure images of stars to identify any tracking errors or mechanical issues that need addressing. Your test images should aim to keep guiding errors under 1.5 arc seconds to achieve clear, non-distorted star captures.
Focus Testing Methods
The process of focus testing requires careful preparation of both your telescope and camera equipment. You'll need to remove all visual accessories and guarantee you've selected the right T-Ring and adapter for your setup. For optimal results, use prime focus method since it eliminates additional lenses that could affect image quality.
Start by using an eyepiece to achieve initial focus before switching to your camera.
For precise focus testing, you'll want to:
- Use parfocal rings to maintain consistency when switching between eyepiece and camera
- Select a bright star as your focus target to minimize exposure adjustments
- Lock your focuser's position once you've achieved sharp focus
Consider using a Hartmann mask for enhanced precision, or if available, focus-assistance software to automate the process.
Remember to evaluate your images based on FWHM measurements to guarantee you're achieving ideal focus quality for your astrophotography sessions.
Stability and Balance Checks
Before mounting your camera to the telescope, performing thorough stability and balance checks will prevent equipment damage and confirm sharp images. Check your setup's structural integrity by testing material strength and connection points. You'll need to ascertain proper weight distribution and minimize vibrations. When using a setup like the Nikon D3500 DSLR, ensure the T-ring connection is completely secure before proceeding with any tests.
| Test Type | What to Check |
|---|---|
| Structural | Look for loose screws and flexing parts |
| Balance | Center camera weight over telescope axis |
| Vibration | Tap mount, observe settling time |
| Stability | Test under actual imaging conditions |
If you notice issues, make immediate adjustments. Reinforce weak points with metal plates, add counterweights for better balance, or install damping mechanisms to reduce vibrations. Consider upgrading materials if your current setup isn't stable enough. Remember to retest after each modification to confirm improvements.
Improving Mount Stability on a Budget
Since achieving mount stability can make or break your astrophotography sessions, you'll be glad to know there are several cost-effective solutions available.
You can dramatically improve stability by hanging water jugs or stone-filled bags from your tripod using a simple rope setup, which lowers the center of gravity without permanent modifications.
For immediate stability improvements, try these proven techniques:
- Use zip ties and foam tape to secure your finderscope and focuser
- Place flat boards under tripod legs on uneven ground
- Distribute weight evenly around your mount to minimize wobble
Don't overlook the importance of surface contact – adding anti-vibration pads or ensuring your tripod sits on stable ground can greatly reduce unwanted movement. Removing excess grease from worm gears can also help eliminate unwanted axis play during operation.
These budget-friendly solutions work particularly well with EQ-3 or better mounts.
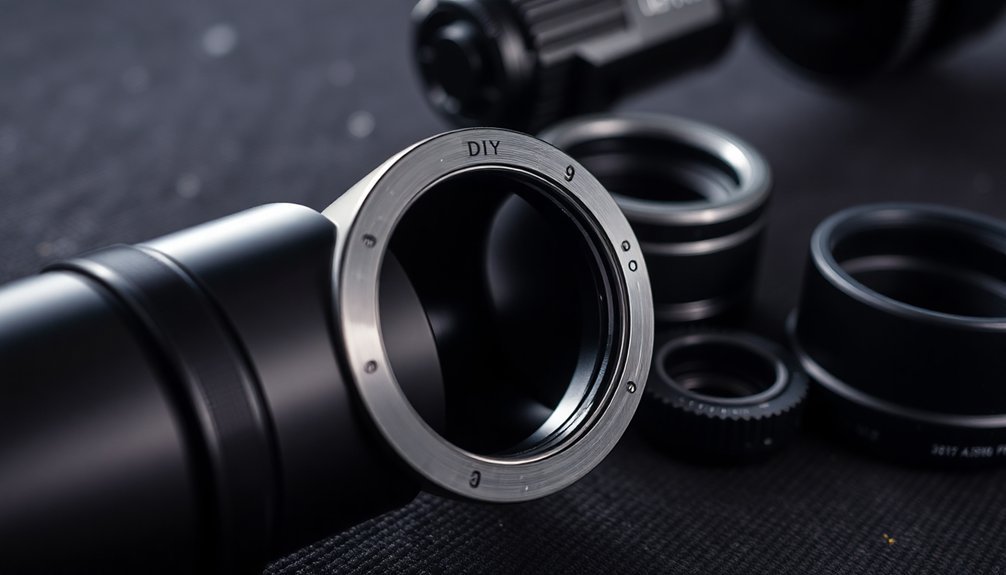
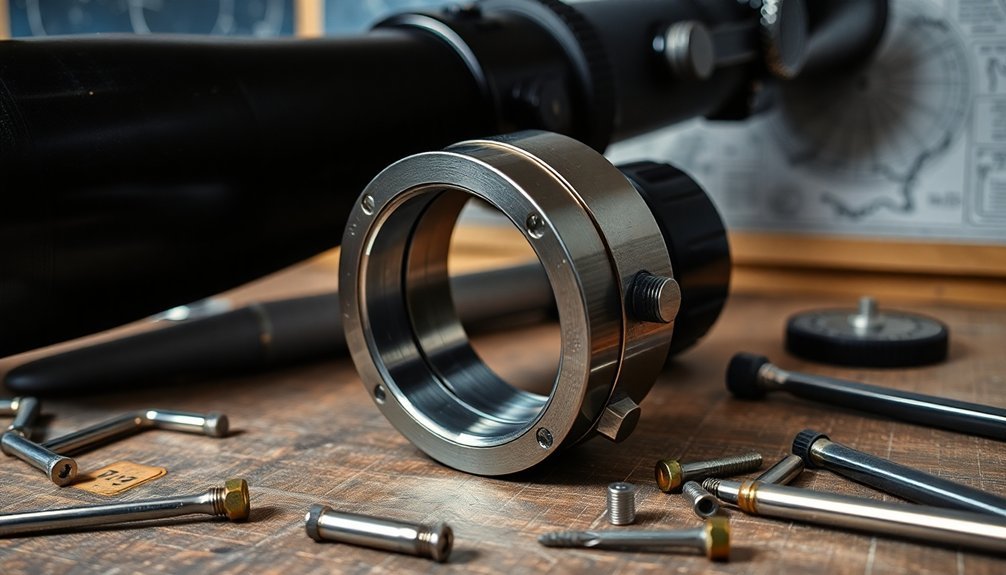
Alternative Materials for T-Ring Construction
Building your own T-ring doesn't require expensive materials – several common household and hardware store items can create an effective telescope-to-camera connection.
You'll need basic components like 1/4" bolts with 20 threads per inch, metal washers, and rubber washers to prevent scratching. Heavy aluminum stock provides excellent stability and smooth operation when properly machined.
For a simple approach, you can use PVC pipe sections wrapped in electrical tape to create a snug fit around your camera lens, or repurpose cardboard tubes for 1.25" eyepieces.
If you're seeking more durability, consider using metal strips that you can bend to match your camera's dimensions.
For flexible options, nylon webbing with snap buckles works well.
You can also explore 3D printing custom mounts if you need precise fits for specific camera models.
Troubleshooting Common DIY Mount Issues
When troubleshooting DIY telescope mounts, you'll encounter several common issues that can affect your viewing experience. Pay attention to alignment, vibration, and backlash problems that can compromise your mount's performance.
Start by checking all attachments are secure and properly balanced to prevent sagging or instability.
For peak performance, you'll need to address these critical areas:
- Confirm your mount has a stable foundation and use damping materials to reduce unwanted vibrations.
- Check gear meshing and implement proper spring loading to minimize backlash.
- Maintain clean, well-lubricated gearboxes and calibrate motors regularly.
Don't forget to test your mount under full payload conditions and implement proper cable management to prevent interference.
Using counterweights correctly will help stabilize heavier setups and improve tracking accuracy.
Upgrading Your DIY Setup Over Time
As you gain experience with your DIY telescope setup, you'll discover numerous opportunities to enhance its capabilities and performance. You can systematically upgrade each component while maintaining cost-effectiveness through careful planning and community insights.
| Upgrade Area | Implementation |
|---|---|
| Camera | Replace with higher-resolution DSLR or add cooling system |
| Mount | Add autoguiding features or upgrade to GoTo system |
| Optics | Install better eyepieces and apply reflective coatings |
| Adapters | Create custom 3D-printed solutions for better fit |
| Software | Integrate advanced imaging and tracking programs |
Keep a detailed log of your modifications and their results. You'll find that participating in astrophotography communities can provide valuable tips for your upgrade path. Remember to maintain your equipment regularly and make incremental improvements based on your specific needs and observation goals.
Frequently Asked Questions
Can Vintage Film Cameras Be Adapted for DIY Telescope Mounts?
Yes, you can adapt vintage film cameras for telescope mounts. You'll need to modify mechanical parts, create custom adapters, and use materials like lens caps or 3D printed pieces to connect them properly.
How Long Do Homemade T-Rings Typically Last Before Needing Replacement?
You'll typically get 1-2 years from a well-made homemade T-ring, but it depends on your construction quality and usage. Regular maintenance can extend its life, while poor craftsmanship may require replacement sooner.
Will DIY Mounts Work With Computerized Telescope Tracking Systems?
Yes, you can make your DIY mount work with computerized tracking systems through ASCOM drivers. You'll need to guarantee proper stepper motor integration and driver compatibility, but it's definitely achievable with some technical know-how.
Does Humidity Affect the Performance of DIY Camera Mounts?
Yes, humidity can seriously affect your camera mount's performance. You'll need to protect it from moisture damage, which can cause rust, corrosion, and electronic malfunctions. Regular maintenance and proper sealing are essential.
Can 3d-Printed T-Rings Achieve the Same Precision as Commercial Ones?
You won't achieve the same precision as commercial T-rings with 3D printing. While SLA printers offer better accuracy than FDM, they still can't match the tight tolerances and material stability of metal components.
In Summary
You've now learned several budget-friendly ways to attach your camera to a telescope. Whether you've chosen PVC pipe, cardboard tubes, or alternative materials, remember to prioritize stability and safety. Don't forget to test your DIY mount thoroughly before using expensive equipment. As your astrophotography skills grow, you can gradually upgrade your mounting solution while building on the knowledge you've gained from these DIY projects.


Leave a Reply