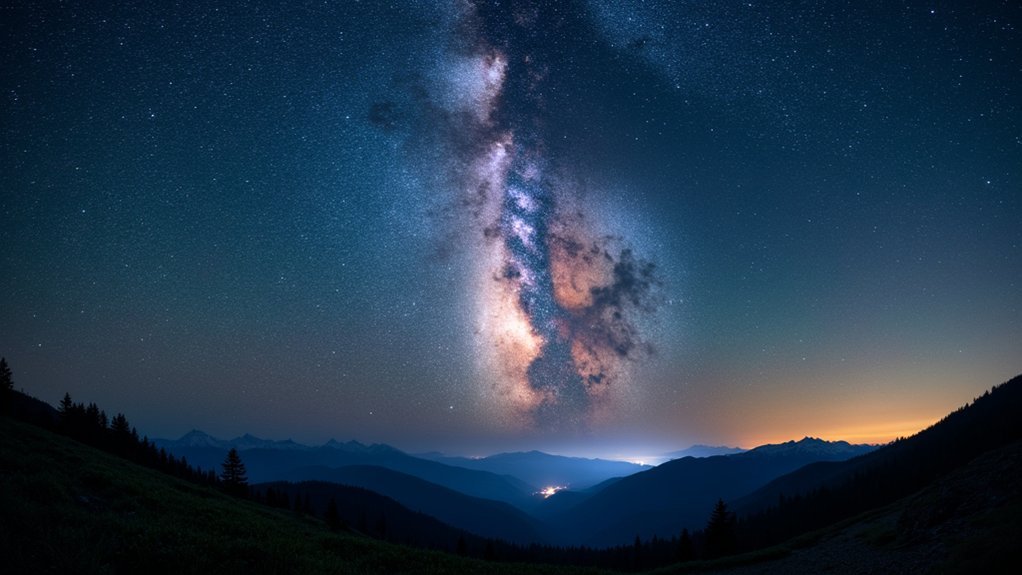
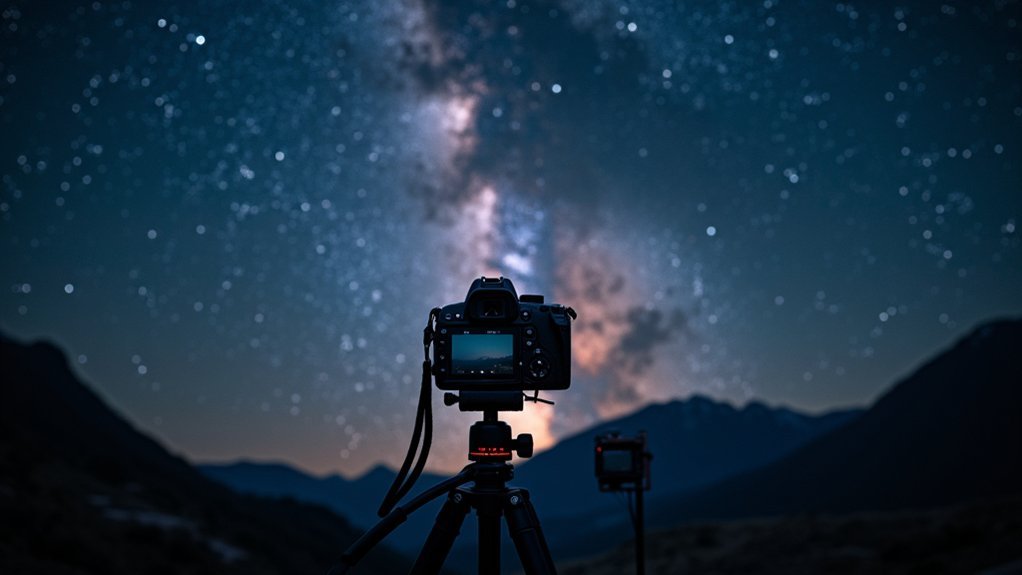
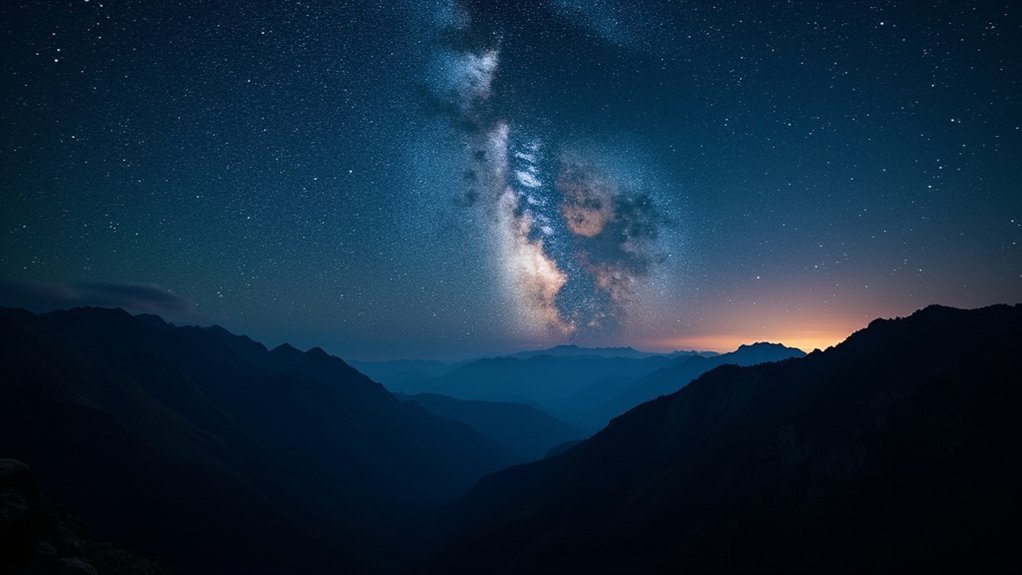
For perfect Milky Way photography with an intervalometer, set your exposure to 20 seconds with a 1-second buffer between shots. Aim for 31 total images for quality stacking, and use a 0-second self-timer to prevent camera shake. Secure cables with Velcro to avoid disconnections, and pack extra batteries as cold nights can reduce battery life by 50%. These settings create the ideal balance between capturing sufficient light and maintaining workflow efficiency throughout your nighttime shoot.
Perfect Intervalometer Settings For Milky Way Photography

While capturing the Milky Way requires careful attention to many details, mastering your intervalometer settings is crucial for successful night sky photography.
Set your exposure time to approximately 20 seconds to gather sufficient light from the distant stars while mounted on a sturdy tripod.
Longer exposures around 20 seconds capture the galaxy’s faint details while your tripod ensures tack-sharp stars.
Program your interval settings with a 1-second gap between shots to minimize breaks in your star trails. Configure the self-timer to 0 seconds to prevent camera shake while maintaining precise timing control.
For best results, plan to capture about 31 total shots, which will provide enough frames for a quality image stack.
Always use a reliable wired intervalometer rather than wireless options, and double-check all settings before beginning your shoot to guarantee you’ll achieve the dramatic star trails you’re aiming for.
Why Intervalometers Are Essential for Milky Way Photography
Because the night sky reveals its secrets slowly, an intervalometer becomes your most valuable tool when photographing the Milky Way. When capturing celestial scenes, you’ll need precise control over exposure times without introducing camera shake or constantly monitoring your equipment in the dark.
| Function | Without Intervalometer | With Intervalometer |
|---|---|---|
| Camera Vibration | High (manual pressing) | Minimal to none |
| Exposure Consistency | Variable | Perfectly consistent |
| Workflow Efficiency | Requires constant attention | Set and forget |
| Battery Life | Drains faster | Optimized usage |
| Multi-shot Sequences | Difficult to time | Automated precision |
Your night photography sessions will transform when you can program specific sequences – like thirty-one 20-second exposures with 1-second intervals – allowing you to focus on composition while capturing noise-free images at lower ISO settings. You’ll appreciate this hands-off approach during long, cold nights under the stars.
Selecting the Right Intervalometer for Your Camera System

When shopping for an intervalometer, you’ll need to confirm it’s compatible with your specific camera model, as mismatches can render the device useless for your Milky Way photography.
You’ll face the choice between wired options, which offer reliability and longer battery life, or wireless models that provide freedom of movement during those cold night shoots.
Look for essential features including precise interval timing, exposure duration control, and shot count programming capabilities to maximize your success capturing the galaxy’s breathtaking details.
Brand Compatibility Matters
Since your camera’s unique electronic language determines intervalometer function, choosing the right brand-compatible device can make or break your Milky Way photography session.
Nikon users often face more complex intervals and exposure settings than Canon photographers, requiring careful selection for ideal results.
- Wired intervalometers provide superior reliability for Pentax and Nikon systems, guaranteeing precise timing control during long Milky Way exposures.
- Sony cameras need intervalometers that clearly separate exposure time from interval settings to eliminate confusion during nighttime shoots.
- Brand-specific devices include tailored features that work seamlessly with your camera’s internal settings, enhancing compatibility.
Before purchasing, check user reviews from fellow astrophotographers who’ve tested the intervalometer with your exact camera model.
This research guarantees you’ll capture stunning Milky Way sequences without frustrating technical issues.
Wired Vs Wireless
Two critical factors will determine your Milky Way photography success: connection reliability and shooting flexibility.
When choosing between intervalometer types, you’ll need to balance these priorities.
Wired intervalometers offer superior reliability and value. They maintain stable connections during extended night shoots, eliminating the frustration of dropped signals when capturing star trails or time-lapses.
Many photographers find the Vello Shutterboss II provides excellent functionality without breaking the bank.
Wireless options, while typically more expensive, give you freedom to move away from your camera—ideal when you’re shooting in challenging terrain or need to monitor multiple setups simultaneously.
Before purchasing, confirm compatibility with your specific camera model.
Different brands have unique connection ports and camera settings interfaces, so choosing the right intervalometer guarantees seamless integration with your workflow.
Advanced Feature Necessities
Selecting an intervalometer packed with the right advanced features transforms your Milky Way photography from basic snapshots to breathtaking celestial portraits.
When evaluating options, prioritize compatibility with your specific camera model, as connection types vary between manufacturers. For ideal results, choose an intervalometer that supports bulb mode, allowing exposure durations beyond your camera’s standard limits—essential for capturing faint celestial details.
- Look for customizable settings that control exposure duration, interval timing, and total shot count for complete creative control.
- Consider models with built-in timer functions for precisely orchestrating star trails and time-lapse sequences.
- Choose wired over wireless options for greater reliability during extended shooting sessions.
Understanding Exposure Duration for Capturing the Milky Way

When photographing the Milky Way, exposure duration stands as one of the most critical settings you’ll need to master. The sweet spot typically ranges from 15-30 seconds, allowing you to collect enough starlight without introducing star trails.
To determine your maximum exposure time, apply the 500 Rule by dividing 500 by your lens’s focal length. For example, with a 24mm lens, you’d use approximately 20 seconds (500 ÷ 24 = 20.8). Remember to adjust for crop sensors if necessary.
When programming your intervalometer, aim for shorter shutter speed durations around 20 seconds with brief 1-second intervals between shots. This approach minimizes noise while maintaining image quality.
Always set a 0-second self-timer to reduce camera shake during these critical exposures.
Optimal Interval Timing Between Consecutive Shots
With your shutter speed properly configured, the next element to master is the timing between shots. Setting your intervalometer correctly guarantees you’ll capture all the celestial drama without missing vital moments. For standard Milky Way photography, use a 1-2 second interval between exposures to reduce noise while maintaining peak performance.
- For high ISO Milky Way shots, set a 1-second interval to minimize noise while capturing multiple shorter exposures.
- When creating star trails, program your intervalometer for a 22-second interval (20-second exposure plus 2-second gap) for smoother trails.
- Always adjust intervals based on your specific camera brand’s requirements—different models process night images at varying speeds.
Setting the Number of Exposures for Complete Coverage

The success of your Milky Way time-lapse depends critically on calculating the right number of exposures before you begin shooting. Your intervalometer’s shutter release count setting is the key to guaranteeing complete coverage of the celestial movement.
| Final Video Length | Frame Rate | Total Exposures Needed |
|---|---|---|
| 10 seconds | 24 fps | 240 images |
| 20 seconds | 30 fps | 600 images |
| 30 seconds | 24 fps | 720 images |
Always determine your total exposure count by multiplying your desired video length by your frame rate. For example, a 10-second time-lapse at 24 fps requires 240 photos. If you’re shooting over 2 hours, set your intervalometer to fire every 30 seconds to capture these 240 frames. Regularly check your progress to guarantee your settings deliver complete coverage of the Milky Way’s journey across the night sky.
Delay Timer Settings to Reduce Camera Vibration
Once you’ve determined the total number of exposures needed, it’s time to perfect the subtle yet significant delay timer settings on your intervalometer. A 2-second delay timer is generally recommended to eliminate vibrations caused by pressing the camera shutter, resulting in sharper Milky Way images during long exposures. This brief pause allows tripod and camera vibrations to settle before the exposure begins.
- In windy conditions, consider extending your delay timer to 5 seconds for additional stability.
- When shooting at high ISO settings, even minor vibrations can create noticeable blur, making your delay timer essential.
- Experiment with different delay settings to find the ideal balance for your specific equipment and shooting environment.
Your delay timer might seem insignificant, but it can make the difference between blurry star trails and crisp, detailed celestial captures.
Intervalometer Settings for Star Stacking Techniques

Star stacking techniques require precise intervalometer settings to achieve those stunning, noise-free Milky Way images many photographers dream of capturing.
For ideal results, set your intervalometer to capture long exposures of 20-30 seconds, which allows sufficient light collection without creating star trails in individual frames.
Program your intervalometer with a 1-second interval between shots, giving your camera just enough time to process each image while maintaining continuous capture. You’ll want to collect at least 30 images for effective stacking, so calculate your total shooting time accordingly.
Set your self-timer to 0 seconds to eliminate unnecessary delays and potential camera shake.
Throughout your session, periodically check your shooting duration to guarantee you’re gathering enough frames for your desired star stacking effect, adjusting your shutter and intervalometer settings as needed.
Battery Management During Extended Milky Way Sessions
Since capturing the Milky Way often requires hours under dark skies, managing your battery resources becomes crucial for success. Your intervalometer continuously draws power while orchestrating those perfectly timed sequential exposures, potentially draining your camera faster than standard shooting.
- Always pack at least two fully-charged extra batteries—cold night temperatures can reduce battery efficiency by up to 50%.
- Consider investing in a battery grip that doubles your capacity without interrupting your shooting sequence.
- Disable unnecessary camera functions like image review and Wi-Fi to maximize battery life.
For truly marathon sessions, connect an external power bank to your camera if your model supports it. This setup guarantees uninterrupted shooting through the entire night, allowing you to focus on capturing the perfect Milky Way composition rather than worrying about power.
Weather Considerations When Programming Your Intervalometer
While technical settings on your intervalometer are essential, the weather conditions during your shoot will dramatically influence how you should program this crucial tool. Always check forecasts beforehand to guarantee clear skies, as clouds will obstruct the Milky Way and waste precious shooting time.
Monitor humidity levels when setting up your intervalometer sequence—high humidity can cause condensation on your equipment during long exposures.
Additionally, adjust your intervals in windy conditions to allow for shorter exposures, reducing the risk of camera shake that can ruin your star shots.
Program your intervalometer to take advantage of moonless periods, as these offer minimal light pollution and maximum galactic visibility.
Finally, account for temperature drops by scheduling shorter shooting sessions or using insulated battery packs to maintain consistent performance throughout your sequence.
Cable Management and Securing Your Intervalometer
Proper cable management of your intervalometer isn’t just about neatness—it’s critical for preventing vibrations that can ruin your Milky Way shots.
You’ll find that mounting your intervalometer to your tripod leg with Velcro provides a secure, easily accessible solution while keeping cables organized.
Route your cables with minimal tension and avoid positions where they might snag, as a disconnected intervalometer during a long exposure sequence can waste hours of prime night sky photography time.
Preventing Tripod Vibrations
Three major vibration sources can ruin your Milky Way shots, with the intervalometer cable being one of the most overlooked. When your intervalometer dangles freely from your camera, it creates subtle movements that can blur stars and reduce image sharpness.
To maintain stability during those critical long exposures, secure your intervalometer to one of your tripod legs using Velcro strips or cable ties.
- Attach the intervalometer to your tripod leg rather than letting it hang, which prevents unwanted movement during shooting
- Regularly inspect cable connections to avoid unexpected disconnections that interrupt your sequence
- Position the intervalometer so it doesn’t shift your tripod’s center of gravity, especially on windy nights
This simple cable management technique dramatically improves your Milky Way photography results by eliminating a common source of vibration.
Velcro Mounting Solutions
Velcro strips offer the most practical and versatile solution for securing your intervalometer to your tripod. By attaching it firmly to the tripod leg, you’ll prevent it from dangling and reduce the risk of cable disconnection during your Milky Way photography sessions.
Proper cable management using Velcro eliminates excessive swinging and vibrations that can compromise image quality during long exposures. Strategic placement guarantees your intervalometer stays put throughout the entire shoot, enhancing reliability when you need it most.
This simple mounting approach also protects your intervalometer’s cable from unnecessary wear and tear, extending the device’s lifespan and maintaining consistent performance.
You’ll appreciate how this streamlined setup keeps your intervalometer accessible while reducing clutter, allowing you to focus on capturing stunning night sky images.
Stress-Free Cable Routing
Cable routing deserves special attention when setting up your intervalometer for Milky Way photography.
Never let your intervalometer dangle freely from the camera—this creates unwanted vibrations that can blur your carefully composed shots. Instead, secure the device to your tripod legs using Velcro strips, which both manages the cable and prevents wear from constant tension.
Route your cable thoughtfully to maintain image sharpness:
- Create a gentle loop in the cable rather than a tight pull to reduce stress on connection points
- Use small adhesive cable clips along your tripod to prevent swinging motion during long exposures
- Inspect connection points before each shoot to avoid disconnections during critical moments
This careful attention to cable management guarantees reliable operation and preserves the stability of your entire astrophotography setup.
Troubleshooting Common Intervalometer Issues in the Field
Even the most carefully planned Milky Way photography session can be derailed when your intervalometer doesn’t cooperate in the field. When your device fails to trigger your camera, first check all connections and verify compatibility with your specific camera model.
For star trails without gaps, set your interval time to include exposure time plus a 2-second buffer for image processing. Test your setup before heading to remote locations to avoid surprises.
| Issue | Probable Cause | Solution |
|---|---|---|
| No triggering | Loose connection | Secure all cables |
| Missed frames | Incorrect interval settings | Include exposure + buffer time |
| Random disconnects | Cable movement | Use cable ties and tape |
| Fewer shots than expected | Settings conflict | Consult manual for timing logic |
Monitor your intervalometer throughout long shoots, as disconnections can occur when cables swing or vibrate, especially in windy conditions.
Frequently Asked Questions
What Settings Should I Use to Shoot the Milky Way?
For Milky Way shooting, use 20-second exposures with 1-second intervals between shots. Set your intervalometer to 0-second self-timer and plan for about 31 shots to effectively capture the galaxy’s movement across the night sky.
What Is the Best Interval for Astrophotography?
For astrophotography, you’ll want to set your interval 2-3 seconds longer than your exposure time. For Milky Way shots, try 20-second exposures with a 1-second interval to guarantee smooth time-lapses without unwanted gaps.
What Is the Best ISO for Milky Way Photography?
For Milky Way photography, you’ll want to start with ISO 3200 as your baseline, but you can push to 6400 depending on your camera’s noise tolerance. Always test your specific gear first.
What Is the 400 Rule in Astrophotography?
The 400 rule helps you avoid star trails in astrophotography. Simply divide 400 by your lens’s focal length to find your maximum exposure time in seconds. It’s a handy starting point for night sky shots.
In Summary
You’ve now mastered the perfect intervalometer settings for stunning Milky Way photography. Remember, it’s all about balancing exposure time with interval spacing while managing your battery life. Don’t let challenging weather conditions or technical hiccups derail your shoot. With your intervalometer properly secured and programmed, you’ll capture breathtaking star trails and celestial landscapes every time. Take these techniques into the field and watch your night photography transform.


Leave a Reply