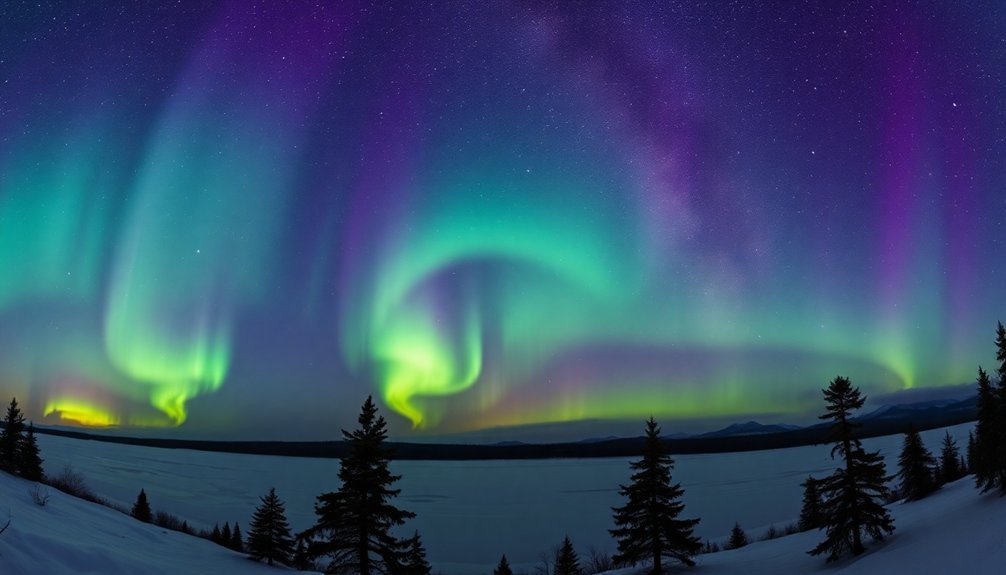
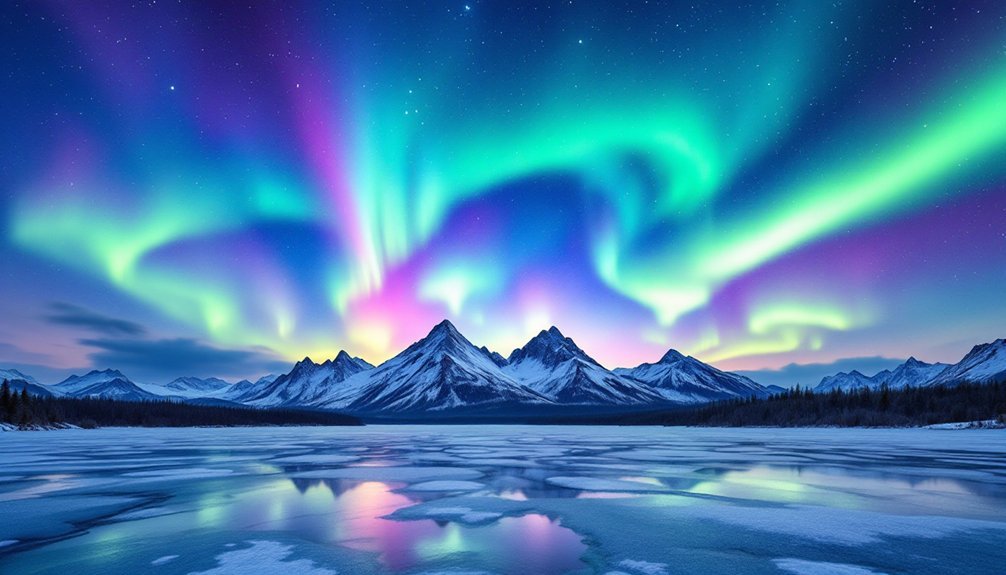
For capturing the Northern Lights, you'll want a DSLR with exceptional low-light performance and weather sealing. Top choices include the Canon EOS 80D/90D for their enhanced autofocus and the Nikon D5600 for superior image quality. Full-frame sensors will give you the best results, handling high ISOs of 3200-8000 with minimal noise. Don't forget to pack extra batteries, as cold temperatures drain power quickly. Our detailed guide covers everything from camera settings to essential accessories.
Best Entry-Level DSLRs for Aurora Photography

When venturing into aurora photography, entry-level DSLRs offer an excellent starting point for capturing the Northern Lights without breaking the bank. Among Canon's lineup, the EOS Rebel T7 provides solid performance for beginners, while the EOS 80D and 90D deliver enhanced autofocus capabilities and superior low-light handling. A used EOS 70D can be an excellent budget-friendly choice that still delivers professional-quality results.
For Nikon users, the D3500 stands out as an affordable option with excellent image quality, while the D5600 offers advanced autofocus and improved video features.
Both brands' entry-level models support interchangeable lenses, essential manual controls, and sufficient ISO ranges for aurora shots. You'll want to pair your camera with a fast wide-angle lens (f/2.8 or wider) and start with ISO settings between 1600-3200.
Wide apertures and high ISO sensitivity, combined with quality wide-angle lenses, create the perfect foundation for stunning aurora photography.
With 15-second exposures and proper timing during peak aurora activity, you'll capture stunning Northern Lights images.
Essential Camera Features for Northern Lights
When photographing the Northern Lights, you'll need a camera with exceptional low-light performance that can capture clear images at high ISO settings without excessive noise.
Your camera's sensor size plays an essential role, with full-frame sensors offering superior light gathering capabilities and better ISO range performance between 3200-8000.
The camera's build quality must include weather sealing to protect against moisture and extreme cold, as you'll often shoot in challenging arctic conditions. Pack extra batteries since cold temperatures drain camera power rapidly.
Low Light Performance Capabilities
The heart of Northern Lights photography lies in your camera's ability to perform in extreme low-light conditions.
You'll want to focus on cameras with full-frame sensors, as they excel at gathering light and managing noise in dark environments.
Your camera should offer extensive manual controls, allowing you to adjust settings quickly as the Aurora's intensity changes.
Look for models with reliable autofocus systems that can lock onto subjects even in dim conditions.
You'll need a camera that supports long exposures up to 30 seconds and includes bulb mode for even longer shots when necessary.
While high ISO capabilities are important, you'll also want to verify your camera body is weather-sealed to withstand cold temperatures.
The ability to shoot in RAW files is crucial for preserving maximum detail and editing flexibility in post-processing.
Pair these features with a fast wide-angle lens (f/2.8 or wider) to maximize your low-light shooting potential.
Sensor and ISO Range
Two essential features determine your camera's ability to capture the Northern Lights effectively: sensor size and ISO range.
For ideal results, you'll want a camera with a full-frame sensor, as its larger pixels capture more light and perform better in dark conditions. These sensors also handle higher ISOs with less digital noise, which is vital for aurora photography. Some advanced point-and-shoot cameras can work if they meet exposure and ISO requirements.
When shooting the Northern Lights, you'll typically need to set your ISO between 3200 and 8000, depending on the aurora's brightness. While higher ISOs can introduce noise, modern full-frame cameras manage this well.
To maximize your camera's potential, always shoot in RAW format – this gives you more flexibility during post-processing, especially when you need to reduce noise or adjust exposure.
If you're using a crop sensor camera, you might need to compensate with longer exposures or higher ISOs.
Weather-Ready Construction Features
Beyond sensor capabilities, your camera's physical construction plays an essential role in capturing the Northern Lights.
You'll need a camera body that can withstand extreme cold, moisture, and harsh outdoor conditions. Look for cameras featuring weather sealing and magnesium alloy construction, similar to those found in professional models like the Nikon D6.
These features protect your camera's internal components from snow, light rain, and dust. The Olympus OM-D E-M1X with its rugged construction is specifically designed for arctic conditions. Rubberized seals around buttons and joints provide additional protection against the elements.
While shooting aurora, you'll often face challenging weather conditions, so durability is vital. Your camera should handle extreme temperatures without failing.
Though weather-sealed cameras aren't waterproof, they'll give you the protection needed to shoot confidently in cold, damp conditions typical of Northern Lights photography.
Wide-Angle Lens Options Under $1000
When searching for wide-angle lenses under $1000, you'll find several compelling options across major camera systems. The Sigma 10-18mm f/2.8 DC DN stands out for both Sony and Fujifilm APS-C cameras, while the Rokinon 14mm f/2.8 serves as a budget-friendly choice for full-frame systems, despite lacking autofocus. The manual focus type of the Rokinon makes it particularly suitable for aurora photography where autofocus isn't essential.
| Lens Model | Key Feature | Best For |
|---|---|---|
| Sigma 10-18mm f/2.8 | Fast aperture | Sony/Fuji APS-C |
| Rokinon 14mm f/2.8 | Low price point | Full-frame |
| Canon EF-S 10-22mm | Weather sealed | Canon APS-C |
| Tamron 10-24mm | Vibration control | Multiple mounts |
For Nikon users, the AF-S NIKKOR 10-24mm f/3.5-4.5G ED provides excellent wide-angle coverage, while Canon APS-C shooters can rely on the EF-S 10-22mm f/3.5-4.5 for dependable aurora captures.
Camera Settings for Night Sky Success

Mastering your camera settings serves as the foundation for capturing stunning Northern Lights photographs.
You'll want to set your aperture as wide as possible (typically f/2.8) to maximize light collection, while keeping your shutter speed between 1-12 seconds to capture aurora movement without blurring. Set your ISO between 3200-8000, depending on conditions, and switch to manual focus, setting it to infinity.
Don't forget to use a tripod and enable your camera's 2-second delay to minimize shake. Using your camera's live-view mode will help achieve precise focus on distant stars and auroras.
A sturdy tripod and 2-second timer delay are essential tools for achieving crystal-clear aurora shots without camera shake.
If you're shooting in moonlight or near artificial lighting, lower your ISO to 800-3200 to prevent overexposure. For the truest aurora colors, set your white balance to 3500K.
Capturing in RAW format will give you more flexibility during post-processing, especially when dealing with noise reduction.
Must-Have Accessories for Cold Weather Shoots
Now that you've optimized your camera settings, protecting your gear and staying comfortable in frigid conditions will make or break your Northern Lights shoot.
Your first line of defense should include a Think Tank Emergency Rain Cover and a Promaster Cold Weather Camera Parka to shield your equipment from harsh elements. The parka's fleece-lined interior provides crucial insulation while maintaining full access to camera controls.
Don't forget about your own comfort – layer up and use specialized photography gloves like RucPac Extreme Tech or The Heat Company models to maintain dexterity.
For stability, choose either the lightweight Promaster Chronicle Carbon Fiber Tripod or the portable 3Pod Wander.
Keep spare batteries warm in your pockets and bring power banks for extended sessions.
Combat moisture with silica gel packets and keep your lenses pristine using a ProOPTIC cleaning kit and rocket blower to remove snow.
Tips for First-Time Aurora Photographers

Before heading out to photograph the Northern Lights for the first time, you'll need to master a few fundamental camera settings and techniques.
Start by setting your camera to manual mode and opening your aperture as wide as possible, ideally f/2.8. Set your focus to manual and adjust it to infinity for sharp images of the aurora.
You'll want to experiment with shutter speeds between 5-25 seconds, depending on the aurora's activity level. For ISO, begin around 3200 and adjust based on conditions. Setting your white balance to 3500 Kelvin will help capture the most natural aurora colors.
Don't forget to shoot in RAW format for better editing flexibility later. Scout your location during daylight hours to find compelling foreground elements and minimal light pollution.
Remember to dress warmly and pack extra batteries – they drain quickly in cold weather. Use a sturdy tripod and remote shutter release to prevent camera shake.
Frequently Asked Questions
How Long Should I Expose Each Shot of the Northern Lights?
You'll want to expose your Northern Lights shots between 1-12 seconds. Start with 5 seconds at f/2.8 and ISO 3200, then adjust based on the aurora's brightness and movement speed.
Can I Photograph the Northern Lights With My Smartphone Camera?
Yes, you can capture the Northern Lights with your smartphone. Use night mode, a tripod, and manual settings in specialized apps. While not as detailed as DSLR photos, modern phones can take impressive aurora shots.
Will Lens Condensation Damage My Camera in Cold Temperatures?
While condensation won't typically cause permanent damage, it can temporarily affect your camera's performance. You'll want to protect your gear by using plastic bags and allowing gradual temperature adjustments when moving between environments.
Should I Shoot in RAW or JPEG Format for Aurora Photography?
You'll want to shoot in RAW format for aurora photography. It gives you more flexibility to adjust exposure, white balance, and reduce noise in post-processing, which is essential for night sky images.
How Do I Focus in Complete Darkness When Photographing Auroras?
You'll want to manually set your lens to infinity focus or use a bright star as a focal point. Check your LCD screen's live view and make fine adjustments until the stars appear sharp.
In Summary
Get ready to chase the aurora with your new DSLR setup! You'll capture stunning northern lights by choosing a camera with excellent low-light performance, pairing it with a fast wide-angle lens, and mastering manual settings. Don't forget essential cold-weather gear to protect your equipment. With patience and practice, you'll soon create breathtaking images of nature's most spectacular light show in the night sky.


Leave a Reply