
For basic equatorial wedge alignment, start by leveling your tripod on stable ground and setting the wedge angle to match your latitude. Next, align the polar axis toward Polaris (or Sigma Octantis in the southern hemisphere), using a compass to find true north. Finally, fine-tune your alignment using the altitude and azimuth adjustments until your polar scope shows Polaris in the correct position. Proper alignment guarantees smooth tracking and sharper images throughout your observation session.
Positioning Your Wedge and Tripod for Success
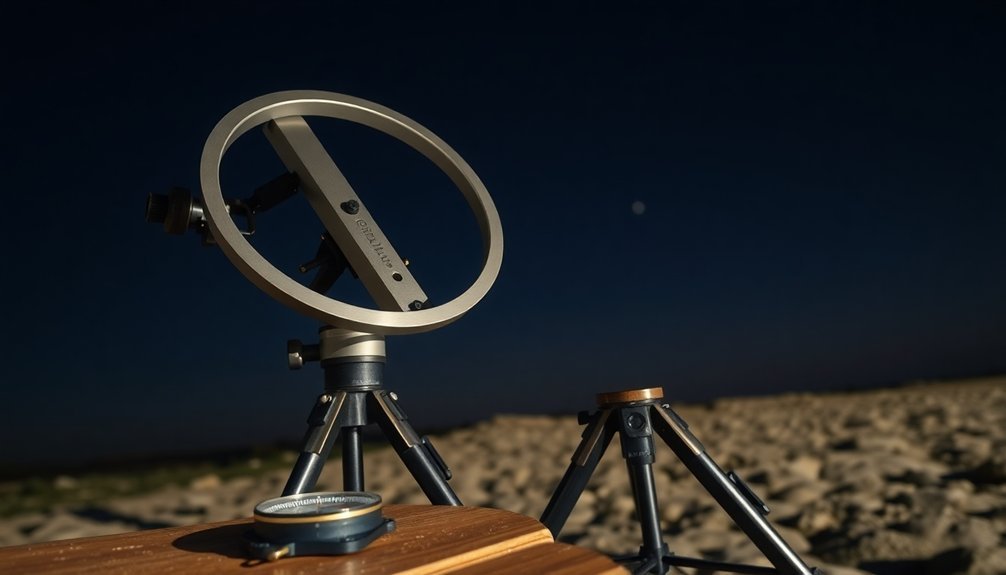
Before diving into complex alignment procedures, you'll need to establish a solid foundation for your telescope setup. Start by placing your tripod on the most level surface available, then install cross-braces to maximize stability on uneven terrain.
Using the built-in spirit level or an external one, carefully level the tripod base. This critical step prevents tracking issues later.
Next, use your compass to roughly align the setup toward true north—you'll make precise adjustments later.
Secure the equatorial mount to your tripod, ensuring it can support your telescope's weight. Position the mount so that the weights point North when in home position. If you'll be moving frequently, consider adding wheels or using a hand truck for easier transport.
Remember that proper initial positioning dramatically reduces the time needed for final polar alignment.
Initial Alignment With Celestial Reference Points
Once you've established a stable foundation for your telescope setup, you'll need to align your equatorial mount with the celestial pole. In the Northern Hemisphere, Polaris serves as your primary reference point, sitting approximately 1° from the true North Celestial Pole.
Use a compass initially to find north, remembering to account for magnetic declination in your area.
Always begin with true north, not magnetic north. Adjust for your local declination to establish a proper foundation for polar alignment.
- Point your mount's polar axis toward Polaris while adjusting the latitude setting to match your location.
- Look through your polar alignment scope to center Polaris in the appropriate position on the reticle.
- Confirm your mount is positioned along the meridian (north-south line) for accurate tracking.
- Make fine adjustments using the altitude and azimuth knobs on your wedge.
- Verify your alignment by tracking a bright star for several minutes without drift.
A properly aligned mount allows for long-exposure imaging without star trails appearing in your photographs.
Fine-Tuning Your Wedge for Optimal Tracking
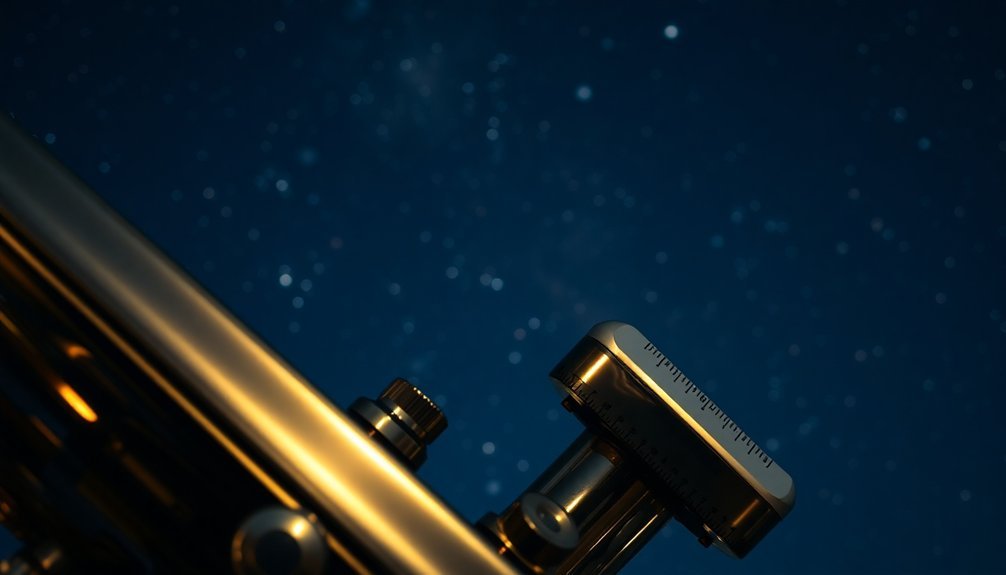
After achieving initial alignment, you'll need to fine-tune your equatorial wedge to assure precise tracking during long observation sessions.
Confirm the wedge angle perfectly matches your latitude, keeping the polar axis perpendicular to Earth's axis.
Level your mount thoroughly to prevent adjustments during tracking and create stability for extended exposures.
Use declination and right ascension controls for precision adjustments.
Consider implementing drift alignment with software like PHD2 to fine-tune based on star trails.
For best results, balance your equipment properly and secure all connections.
The OTA must remain parallel to the base for accurate tracking.
If possible, utilize technology like Polemaster for exacting alignment.
Remember that at the equator, the wedge angle should be set to 90 degrees while decreasing as you move toward the poles.
Monitor for drift during sessions and maintain a log of your adjustments to improve your setup process over time.
Frequently Asked Questions
How Do I Align My Mount in Light-Polluted Urban Areas?
In light-polluted areas, you'll need to use a polar scope or smartphone app to locate Polaris, perform rough alignment first, utilize light blocks when possible, and refine with tools like Polemaster for precision.
Can I Achieve Proper Alignment Without Seeing Polaris?
Yes, you can achieve proper alignment without seeing Polaris. Use drift alignment, software like N.I.N.A. with Three Point Polar Alignment, or smartphone apps that compensate for your location's magnetic variation.
How Often Should I Recalibrate My Wedge During Observation Sessions?
You should recalibrate your wedge when you notice drift in your target objects, after significant temperature changes, or if your equipment experiences vibration. For longer sessions, check alignment every 2-3 hours.
What Impact Does Temperature Change Have on Alignment Accuracy?
Temperature changes cause expansion and contraction of your mount's components, affecting alignment precision. You'll notice drift in tracking accuracy as metal parts shift, especially during significant temperature drops throughout your observing session.
How Do Seasonal Changes Affect Equatorial Mount Alignment Procedures?
Seasonal changes don't greatly affect your equatorial mount alignment procedures. You'll still align to Earth's axis using the same techniques year-round, as the planet's axial tilt remains constant relative to your location.
In Summary
By mastering these three essential steps for equatorial wedge alignment, you've set yourself up for successful astrophotography sessions. Remember that practice makes perfect—you'll get faster and more accurate with each setup. Don't be discouraged by initial challenges; even experienced astronomers continually refine their alignment techniques. Now you're ready to enjoy longer exposure times and drift-free tracking of celestial objects.


Leave a Reply