For beginner autoguiders on EQ mounts, consider these five solutions: ZWO ASI120MM Mini with a 50mm guide scope ($250 package), Orion Magnificent Mini Autoguider (pre-assembled simplicity), ASI174 Mini paired with Astromania 60mm scope (enhanced sensitivity), SV165 30mm/120mm interchangeable guide scope system, and the PHD2 software with ASI Air control option. These combinations work excellently with Sky-Watcher EQ6-R Pro and EQ35 Pro mounts. Discover how proper setup transforms your imaging capabilities beyond what you thought possible.
5 Best Beginner Autoguiding Solutions For EQ Mounts

Three essential components form the foundation of any beginner autoguiding setup: a guide camera, a guide scope, and compatible software.
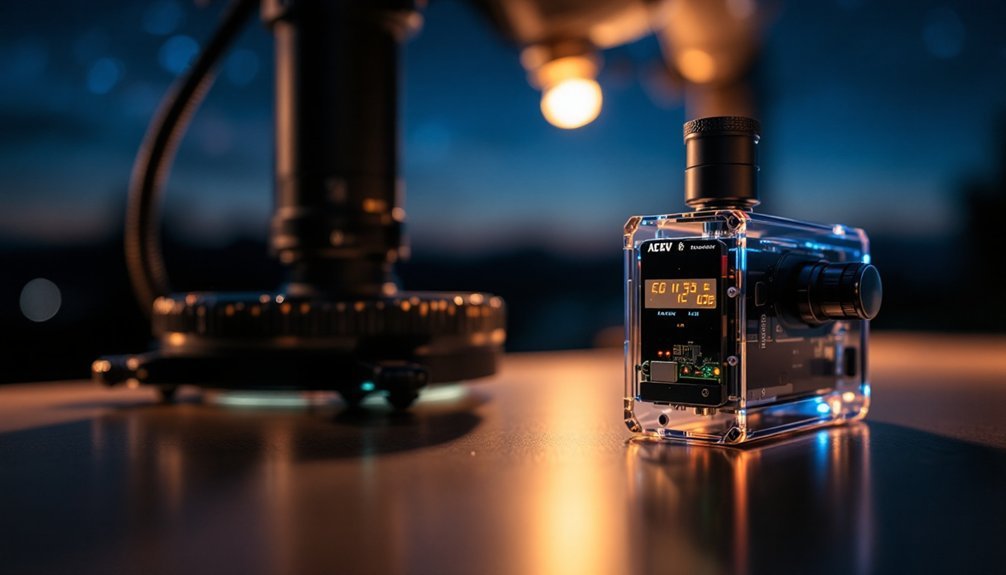
For cameras, the ZWO ASI120MM Mini and ASI174 Mini offer excellent performance while remaining budget-friendly. Pair these with the Astromania 60mm or William Optics 50mm guide scope for a reliable combination.
Mount selection matters greatly – the Sky-Watcher EQ6-R Pro and EQ35 Pro provide solid platforms for deep-sky imaging with autoguiding capabilities. These mounts include autoguiding ports that allow direct connection to your guide camera system.
For software, PHD2 Guiding offers powerful features while ASIAIR provides a more user-friendly experience for those intimidated by complex interfaces.
The good news? You can assemble a complete autoguiding package starting around $250, making this critical astrophotography upgrade accessible even if you're just beginning your journey into guided imaging.
Understanding Autoguiding Fundamentals for EQ Mounts
The foundation of successful deep-sky astrophotography rests on accurate tracking, which is where autoguiding becomes essential.
Precise tracking forms the backbone of deep-sky imaging, making autoguiding an indispensable tool for serious astrophotographers.
While equatorial mounts track the sky's rotation, they still contain mechanical imperfections that limit long exposures.
Autoguiding corrects these minor tracking errors by using a secondary camera (guide camera) attached to a guide scope. This system monitors a single star, detecting tiny movements and sending correction signals to your mount through either ST-4 cables or ASCOM connections.
You'll need four key elements: a way to collect light from a guide star, a guide camera to capture it, software like PHD2 to make guiding decisions, and a connection method to your mount.
When properly implemented, autoguiding allows several-minute exposures, dramatically improving your signal-to-noise ratio and producing sharper, more detailed images.
Remember that most affordable beginner-class mounts benefit from autoguiding at exposure times of 30 seconds or longer.
Budget-Friendly Guide Camera and Scope Combinations

Building a cost-effective autoguiding system doesn't require breaking the bank. You'll find several reliable combinations that deliver solid performance without excessive cost.
The most popular starter package combines a 50mm mini guide scope with a ZWO ASI120MM Mini camera, typically under $250. For slightly improved performance, consider upgrading to a 60mm guide scope from Astromania or Starwave paired with the same camera.
If you're looking for simplicity, the Orion Magnificent Mini Autoguider offers a pre-assembled solution, while the SV165 30mm/120mm guide scope provides versatility with interchangeable options.
Weight and balance are essential considerations, as is software compatibility with platforms like PHD2. For optimal performance, remember that guidescopes should ideally be at least 1/10th the focal length of your main imaging telescope.
Don't overlook used equipment—refurbished setups can offer significant savings while still delivering reliable autoguiding performance.
Essential Software Tools for Reliable Autoguiding
Successful autoguiding depends heavily on your software setup, with PHD2 standing as the industry standard for both beginners and experienced astrophotographers. It's free, works across Windows, Mac, and Linux, and offers an intuitive interface alongside powerful tracking capabilities. Regular program updates ensure software improvements that optimize autoguiding performance and fix bugs.
| Software | Key Benefits | Platform Compatibility |
|---|---|---|
| PHD2 | Extensive mount support, real-time graphs | Windows/Mac/Linux |
| N.I.N.A. | Seamless PHD2 integration, full imaging control | Windows |
| ASI Air | Smartphone control, no laptop needed | iOS/Android |
For Sky-Watcher AZ-EQ6 Pro and similar mounts, verify your software supports ASCOM drivers for direct control. Most importantly, master your software's star selection tools and calibration settings—they'll make the difference between frustrating sessions and capturing stunning deep-sky images.
Step-by-Step Mount Setup for Precise Tracking
Setting up your mount properly forms the foundation of effective autoguiding, even more so than the software you've just configured.
Begin with accurate polar alignment, as this minimizes tracking errors before autoguiding even starts. Remember that your mount's actual payload capacity for astrophotography is typically 30-50% less than the stated visual capacity.
Perfect polar alignment is your first step—true astrophotography capacity is often half what's advertised for visual use.
- Carefully balance your setup with the counterweights perfectly offsetting your optical tube and camera—improper balance creates mechanical stress that even the best autoguiding can't overcome.
- Connect your guide camera to the mount using the ST-4 port, ensuring secure cable management to prevent tugging during long exposures.
- Fine-tune your mount's guiding speed settings to match your equipment—typically 0.5x sidereal rate works well for beginners. For optimal guiding performance with the EQ6-R Pro mount, setting the slew speed to 8X mode has proven most effective based on testing with various preview speeds.
Frequently Asked Questions
How Does Light Pollution Affect Autoguiding Performance?
Light pollution reduces autoguiding accuracy by lowering contrast and signal-to-noise ratio. You'll experience difficulty detecting guide stars, requiring higher sensitivity settings that introduce more noise into your guiding system.
Can I Use Autoguiding for Planetary Imaging?
You don't need autoguiding for planetary imaging. Since you'll use short exposures stacked together, most mounts track adequately without it. Save your autoguiding setup for deep-sky objects requiring longer exposures.
What Causes Periodic Error in Tracking Despite Proper Autoguiding?
Despite proper autoguiding, periodic error persists because it's caused by mechanical imperfections in your mount's worm gear. Autoguiding only corrects errors after they occur, while these imperfections create predictable tracking variations that require preemptive correction.
How Often Should I Calibrate My Autoguiding System?
You should calibrate your autoguiding system at the start of each imaging session. Recalibrate if you change targets considerably, experience temperature shifts, or notice poor guiding performance during long sessions.
Can Autoguiding Compensate for Poor Polar Alignment?
No, autoguiding can't fully compensate for poor polar alignment. While it corrects minor tracking errors, it won't prevent field rotation issues that occur when your mount isn't properly aligned with the celestial pole.
In Summary
You're now ready to plunge into autoguiding with confidence! Start with any of these five beginner-friendly solutions and you'll see immediate improvements in your astrophotography. Don't worry about perfect setup initially—you'll learn as you go. Remember that practice makes perfect, and each imaging session will build your skills. Soon you'll be capturing longer exposures with pinpoint stars like a seasoned pro.


Leave a Reply