
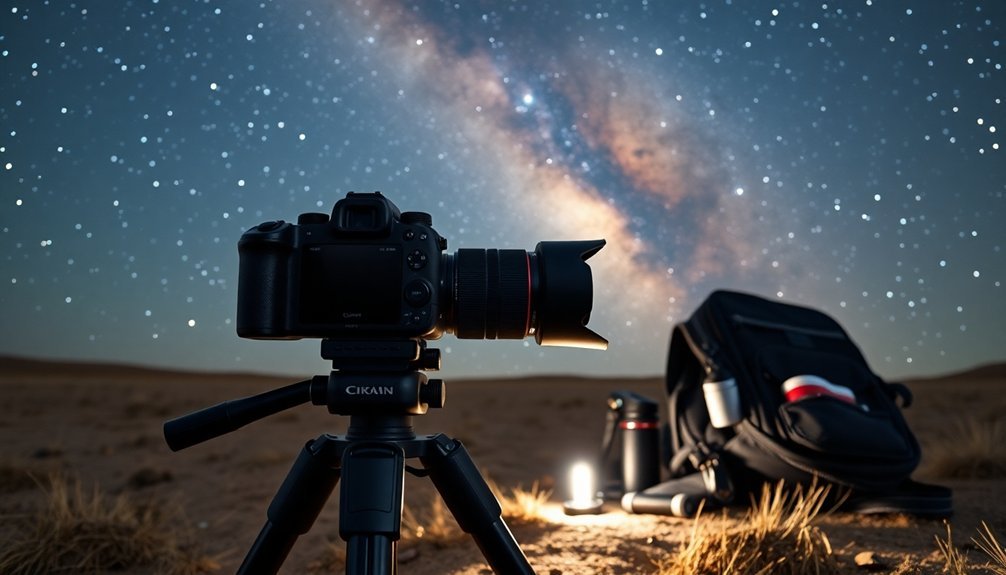
To start capturing the night sky, you'll need five essential pieces of gear: a camera with manual controls and good high-ISO performance, a fast wide-angle lens (f/2.8 or wider), a sturdy tripod to prevent blur, a remote shutter release to avoid camera shake, and planning apps like PhotoPills to find dark locations. While entry-level DSLRs work well, full-frame sensors offer superior light capture. Discover how these tools can transform your starry shots from blurry to brilliant.
Choosing Your First Camera for Night Sky Shooting
When stepping into night sky photography, choosing the right camera can make or break your early attempts at capturing the cosmos.
You'll want to focus on key features rather than brand names or high price tags. Look for a camera with manual controls and good high ISO performance (around 1600-6400). The red-light mode on your camera's LCD screen can help preserve your night vision while checking settings.
While full-frame sensors are ideal for their superior light capture and noise reduction, don't rule out APS-C cameras if you're on a budget. Both DSLR and mirrorless options work well, with mirrorless offering the advantage of silent shooting.
Consider entry-level models like the Nikon D3300, which can deliver impressive results without breaking the bank.
You'll also want to guarantee your camera accepts essential accessories like tripods and remote shutter releases. If cost is a concern, don't hesitate to explore quality used equipment from reputable sellers.
Must-Have Lenses for Starry Skies
Once you've selected your camera body, choosing the right lens becomes your next key step in night sky photography. For ideal results, you'll want a lens with a wide-angle capability of 20mm or less and a fast aperture of f/2.8 or wider to capture more light in dark conditions.
Wide-angle lenses of 20mm or less with fast apertures are essential tools for capturing the night sky's breathtaking beauty.
If you're using a DSLR, consider the Canon EF 16-35mm f/2.8L III USM for its exceptional image quality. For mirrorless cameras, the Canon RF 15-35mm f/2.8 L IS USM offers versatility and stabilization. Using a stable tripod setup is essential when working with these professional-grade lenses for long exposure shots.
On a tighter budget? The Rokinon 14mm F/2.8 provides an ultra-wide angle at a fraction of the cost.
Remember to prioritize sharp image quality and minimal distortion to capture stars as clear points rather than smudges. A smooth focus ring is essential for precise manual focusing in the dark.
Setting Up Your Camera Support System
A rock-solid support system serves as the foundation of successful night sky photography. You'll need a sturdy tripod that can handle your camera's weight while remaining stable during long exposures. Choose one with adjustable legs for uneven terrain and a smooth-tilting head for precise positioning. Taking photos during low wind conditions will help ensure the sharpest possible star images.
| Essential Support | Key Features | Why It Matters |
|---|---|---|
| Tripod | Sturdy construction | Prevents blur from vibration |
| Leveling base | Horizontal adjustment | Perfect for panoramas |
| Remote trigger | Wireless/wired control | Eliminates camera shake |
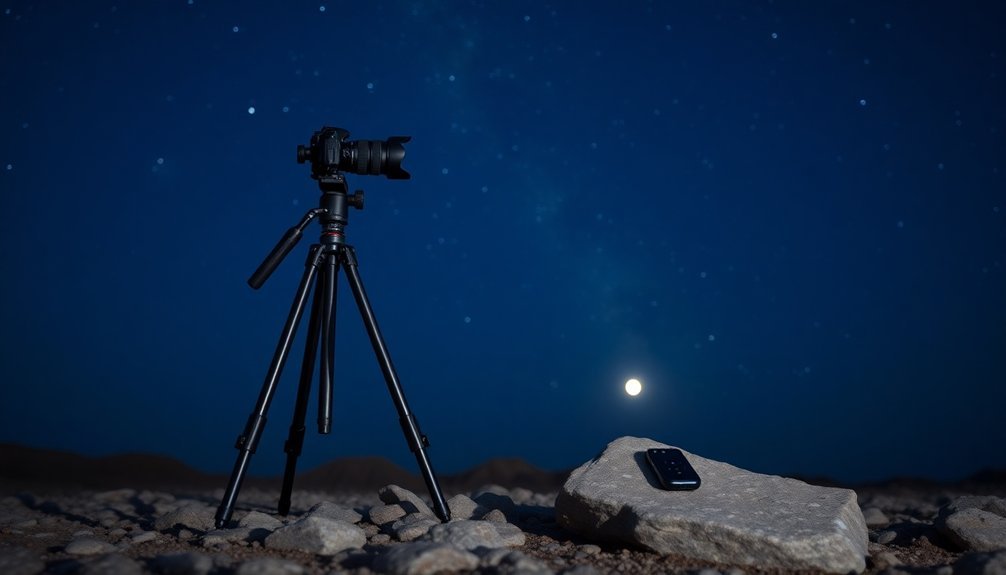
Don't forget to add weight to your tripod setup in windy conditions. A remote shutter release or wireless control through your camera's app is vital – touching the camera during exposure can ruin your shot. For maximum stability, avoid extending the tripod's center column and keep the legs at a wider angle.
Helpful Apps and Digital Tools
Modern digital tools have revolutionized night sky photography, making it easier than ever to plan and execute your shots.
Digital technology has transformed night sky photography from a complex art into an accessible pursuit for photographers of all levels.
You'll want to start with planning apps like PhotoPills or SkySafari 7 Pro to identify celestial events and ideal shooting times. PhotoPills includes Night AR mode for previewing potential shots in the field. These tools help you visualize compositions before heading out.
For location scouting, Dark Site Finder and Light Pollution Map are essential to find areas with minimal light pollution.
When you're ready to shoot, apps like NightCap Pro and Deep Sky Camera give you manual control over your smartphone's camera settings.
After capturing your images, you'll need editing software like Adobe Lightroom or Deep Sky Stacker to enhance details and colors.
Don't forget to join astrophotography communities on social media platforms where you can learn from others' experiences and share your work.
Key Accessories for Night Photography Success
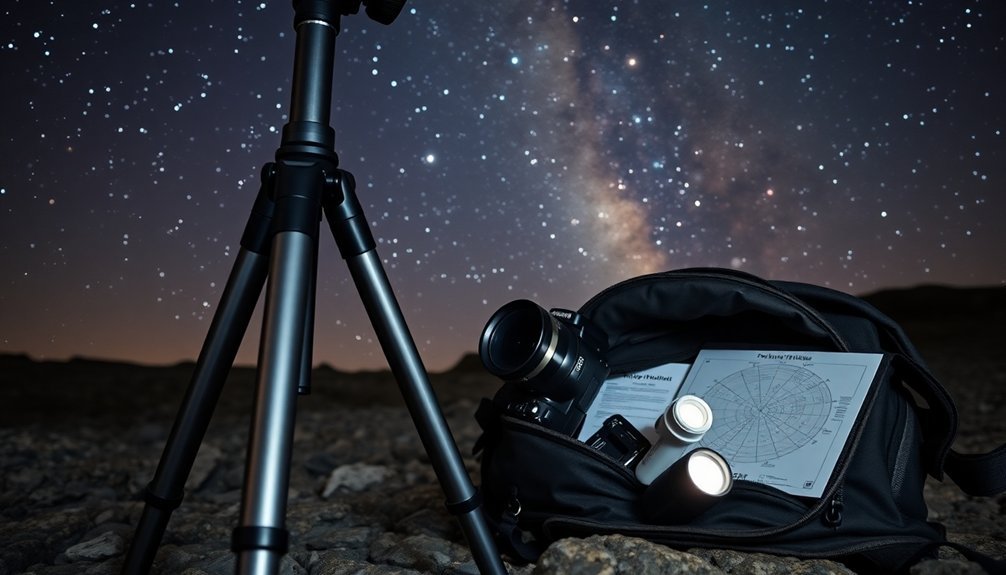
Successful night sky photography depends heavily on having the right accessories to support your camera setup.
You'll need a sturdy tripod to eliminate camera shake during long exposures, and a remote shutter release or intervalometer to prevent vibrations when triggering your shots.
A ball-head mount will make adjusting your camera position much easier in the dark, while a headlamp with red-light mode helps preserve your night vision as you work. Filters can help reduce the effects of light pollution when shooting near cities.
Don't forget protective gear like camera straps and weatherproof bags to safeguard your equipment.
For more advanced shots, consider a star tracker or tracking mount – these devices compensate for Earth's rotation, allowing longer exposures without star trails.
While full tracking mounts offer more capabilities, portable star trackers are an excellent compromise for beginners.
Frequently Asked Questions
How Do I Prevent Lens Condensation During Long Night Shooting Sessions?
You'll prevent lens condensation by using a lens hood, attaching hand warmers with socks for insulation, and letting your gear slowly adjust to outdoor temperatures. Active heating strips or small fans work too.
What's the Best Way to Clean Night Photography Gear in Dark Conditions?
Use a red light to maintain night vision while cleaning. Gently blow off dust with a blaster, then breathe on your lens and wipe with a microfiber cloth. Don't forget gloves to prevent fingerprints.
Can I Stack Filters for Night Sky Photography?
While you can stack filters, it's not recommended for night sky photography. You'll lose light and risk unwanted color shifts. Instead, stick to a single high-quality filter for better results.
How Often Should I Check Sensor Cleanliness for Night Photography?
You'll want to check your sensor before each night photography session and at least every 1-2 weeks if shooting regularly. Always inspect it after shooting in dusty conditions or changing lenses frequently.
Should I Use Lens Stabilization When Shooting on a Tripod?
You'll generally want to turn off lens stabilization when using a tripod, as it can cause unwanted drift. However, in windy conditions, leaving it on might help reduce vibration effects.
In Summary
You're now equipped with the essentials for capturing stunning night sky images. Start with your camera, add the right lens, set up a solid tripod, download helpful apps, and pack those vital accessories. Don't feel pressured to buy everything at once – build your kit gradually as you develop your skills. Get out there, experiment with your gear, and start creating amazing astro images tonight.


Leave a Reply