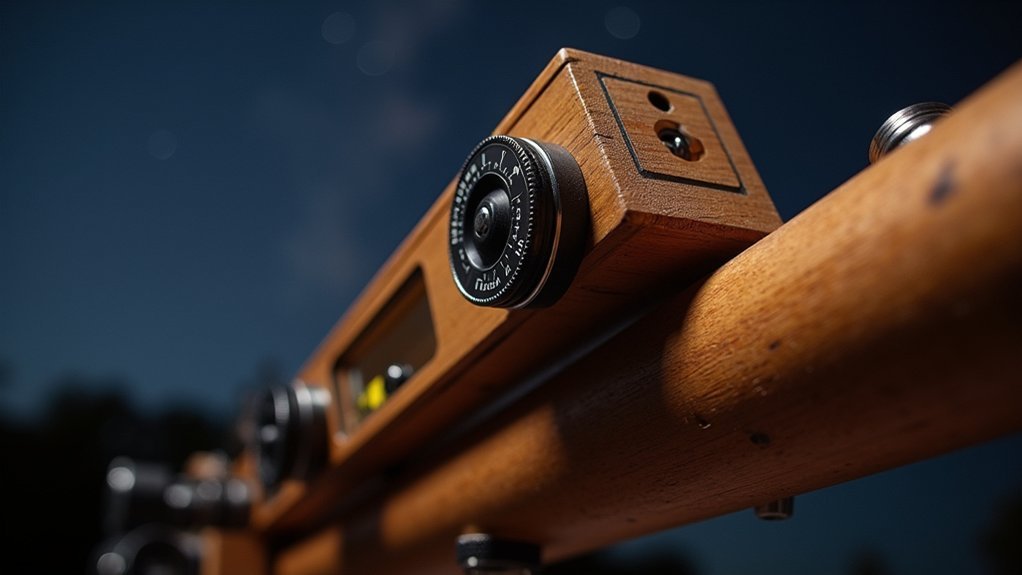
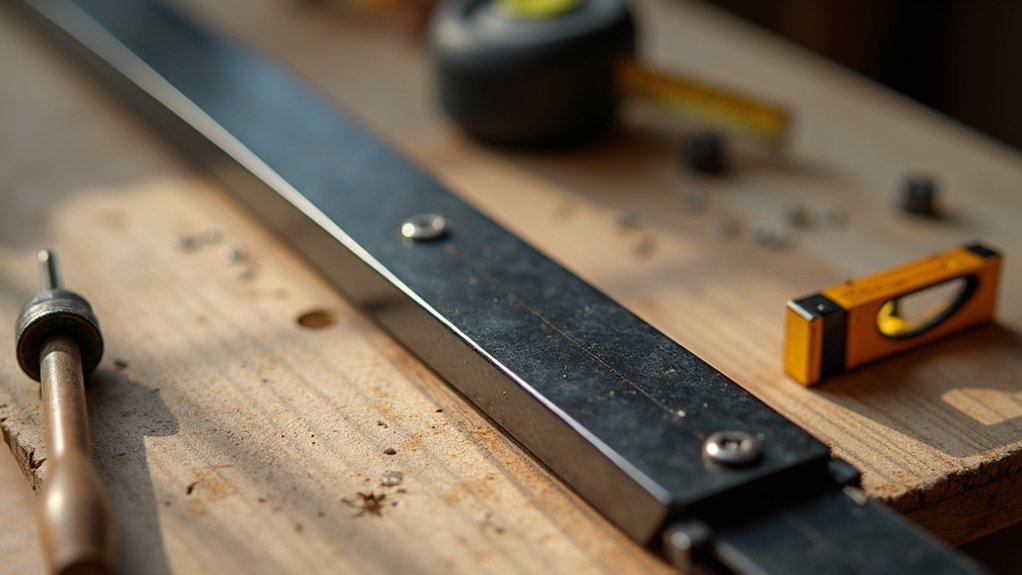
To perfect your barn door tracker, align the hinge precisely with the polar axis and use a stepper motor for consistent rotation. Secure gears with set screws to minimize backlash and opt for quality metal components. Implement a curved rod with proper radius to correct tangent errors. Balance weight distribution with strategic counterweighting. Finally, guarantee accurate polar alignment by setting the hinge angle to match your latitude. These optimizations will transform your astrophotography results from merely good to truly stellar.
5 Ways To Perfect Your Barn Door Tracker
While building a basic barn door tracker allows for entry-level astrophotography, perfecting your setup requires attention to several critical details.
Precisely align your hinge with the polar axis to dramatically improve tracking accuracy—even slight misalignment will compromise your results, especially in areas with light pollution.
Install a stepper motor that maintains a consistent 1 RPM speed for smooth, precise adjustments that keep pace with celestial movement.
Balance your barn door tracker by adding a counterweight opposite the motor to eliminate wobbling during long exposures.
After completing polar alignment, don’t forget to calibrate your red dot finder with the North Celestial Pole.
For better mechanical reliability, replace plastic gears with finer-toothed metal alternatives to minimize slippage and enhance your tracker’s performance.
Precision Gear Alignment and Backlash Reduction
Because your barn door tracker’s accuracy depends heavily on its mechanical precision, proper gear alignment and backlash reduction are non-negotiable aspects of your setup. Secure your gears with 3/16″ or 4mm set screws drilled into the motor shaft to minimize rotational play.
| Component | Backlash Reduction Technique |
|---|---|
| Gears | Choose high-quality metal with fine teeth |
| Shaft | Maintain precise measurements for positioning |
| Mount | Create proper bearing surfaces to reduce friction |
| Connections | Drill secure set screws into motor shaft |
| Maintenance | Regularly calibrate after any adjustments |
Always opt for metal gears over plastic—they provide superior meshing and stability. Position each gear with exact measurements to prevent slippage that causes tracking errors. Remember to check and recalibrate your alignment after any modifications to counter emerging backlash issues.
Curved Rod Implementation for Tangent Error Correction
Despite the mechanical precision you’ve achieved with your gear system, standard barn door trackers still suffer from tangent error—a deviation that occurs when linear motion attempts to replicate circular celestial movement.
To minimize this issue, implement a curved rod in your tracker. A properly curved threaded rod with approximately 7.15 inches of radius will closely follow the natural arc created by Earth’s rotation, considerably reducing star displacement in your final images.
Ensure your rod’s thread pitch matches the curvature precisely; any mismatch will compromise tracking accuracy as the drive mechanism engages.
For peak performance, regularly calibrate your curved rod using a digital level and align it carefully with your finderscope. This attention to detail allows for smoother camera movement while maintaining proper alignment with the celestial pole during extended exposures.
Strategic Weight Distribution and Counterbalancing
Beyond mechanical precision and tangent error correction, your barn door tracker’s performance hinges greatly on proper weight distribution. To achieve stability, place a counterweight opposite the motor that equals or exceeds the weight of your motor and equipment. This balance prevents tipping and maintains alignment during operation.
Install your motor using oversized mounting holes to allow for fine-tuning adjustments that optimize gear meshing and reduce system stress. Confirm all components—particularly the red dot finder, motor, and counterweight—align along one axis for accurate tracking throughout your exposure period.
Test your tracker’s weight distribution regularly during setup by checking for any tendency to drift or tip. Make necessary adjustments before beginning long exposures or critical photography sessions to guarantee smooth, consistent tracking performance.
Advanced Polar Alignment Techniques

When pursuing astrophotography excellence, precise polar alignment stands as the foundation of successful long-exposure imaging with your barn door tracker.
Position your tracker’s hinge parallel to the axis around which Earth rotates, pointing directly at the North Celestial Pole.
Align your tracker’s hinge with Earth’s rotational axis, precisely targeting the North Celestial Pole for optimal stability.
Use a finderscope to locate this position near Polaris, remembering it’s about 1 degree away from the actual star.
Set your hinge angle to match your local latitude using a digital level or smartphone app for accuracy.
Test your polar alignment by watching for star drift in your viewfinder.
If you notice movement, make small adjustments to your tracker’s altitude or azimuth until stars remain stationary.
These incremental refinements are critical—even minor misalignments notably impact tracking performance during longer exposures, potentially ruining otherwise perfect shots.
Frequently Asked Questions
How to Keep a Barn Door on Track?
To keep your barn door on track, align the hinge with the polar axis, install floor guides, adjust rollers regularly, add track stoppers, and choose quality materials like stainless steel for durability and smooth operation.
How Does a Barn Door Tracker Work?
A barn door tracker works by slowly rotating your camera to match Earth’s movement. You’ll align its hinge with the polar axis, power the motor at 1 RPM, and it’ll track stars for clear astrophotography.
In Summary
You’ve now learned how to elevate your barn door tracker from basic to exceptional. By addressing gear alignment, implementing curved rods, balancing weight distribution, and mastering polar alignment, you’ll capture crisp, streak-free astrophotography. Don’t be afraid to experiment with these modifications—each improvement builds on the last. Your dedication to perfecting this simple yet effective tracking mount will reward you with stunning night sky images.


Leave a Reply