For astrophotography success, set your white balance around 5300K (daylight) for natural star colors. Adjust to 3200K-3800K in urban areas to neutralize light pollution, or 4000K-4500K for rural skyglow. Always shoot in RAW to maintain post-processing flexibility. When using filters, increase settings by 500-1000K. Consider calibrating with G2V stars for true color reference. Try white balance bracketing in challenging conditions. These seven approaches will transform your night sky captures from amateur to breathtaking.
The Perfect 3400K-3900K Range for Urban Light Pollution
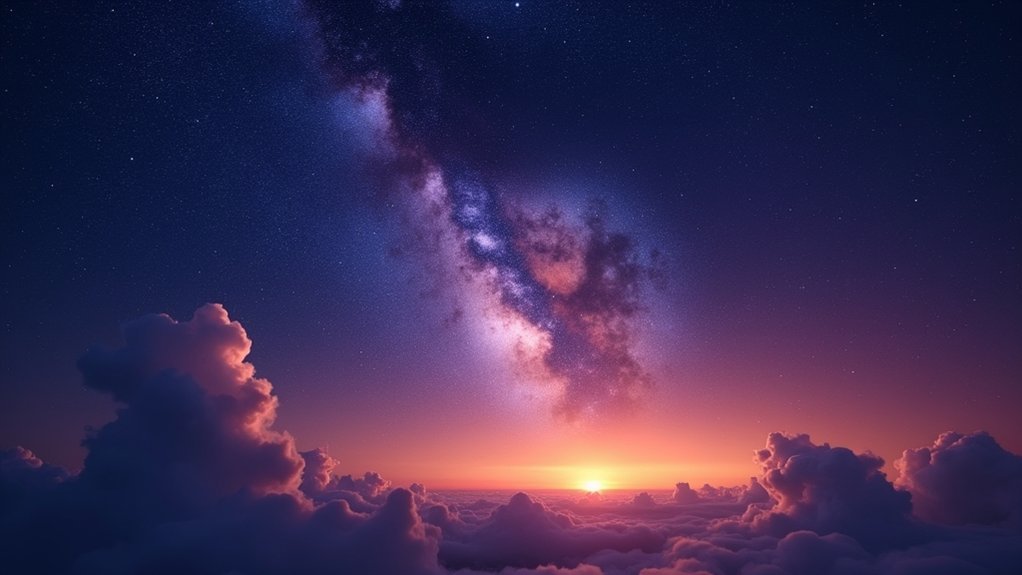
Despite what many astrophotography guides suggest, the 3400K-3900K white balance range isn’t actually ideal for urban night sky photography. This range produces images that are too warm, creating unnatural coloration in your celestial subjects.
Instead, you’ll achieve better results using daylight white balance (around 5600K) even in city environments.
Daylight white balance delivers superior results for urban astrophotography, even under city lights.
When shooting in light-polluted areas, consider using specialized filters like Marumi StarScape that absorb specific wavelengths from artificial lighting. These filters allow you to maintain more natural colors without extreme shifts.
Always shoot in RAW format for maximum post-processing flexibility. This gives you the freedom to adjust white balance during editing, which is essential when dealing with urban light pollution. Auto white balance settings can work as a starting point when shooting RAW since all color temperature adjustments can be made later in post-production.
Why G2V Stars Are Your Ultimate White Balance Reference
When setting up your astrophotography session, G2V stars serve as the gold standard for white balance calibration. These stars, like our Sun, have a spectral signature that aligns perfectly with what we perceive as white light. By calibrating on these 5,500K temperature stars, you’ll achieve natural color rendition in your deep-sky images.
- G2V stars guarantee balanced RGB channel values when used as white reference points
- They provide objective color representation unlike auto white balance settings
- Human vision naturally perceives G2V spectral output as white, creating consistency
- Using daylight white balance (around 5500K) mimics G2V calibration
- Tools like PixInsight can help identify suitable non-saturated G2V stars in your frame
While identifying these stars can be challenging, the accurate color reproduction is worth the effort. For dedicated CCD users, finding reference stars from the Hipparcos catalog provides the most scientifically accurate calibration method.
RAW vs. JPEG: The Critical White Balance Decision
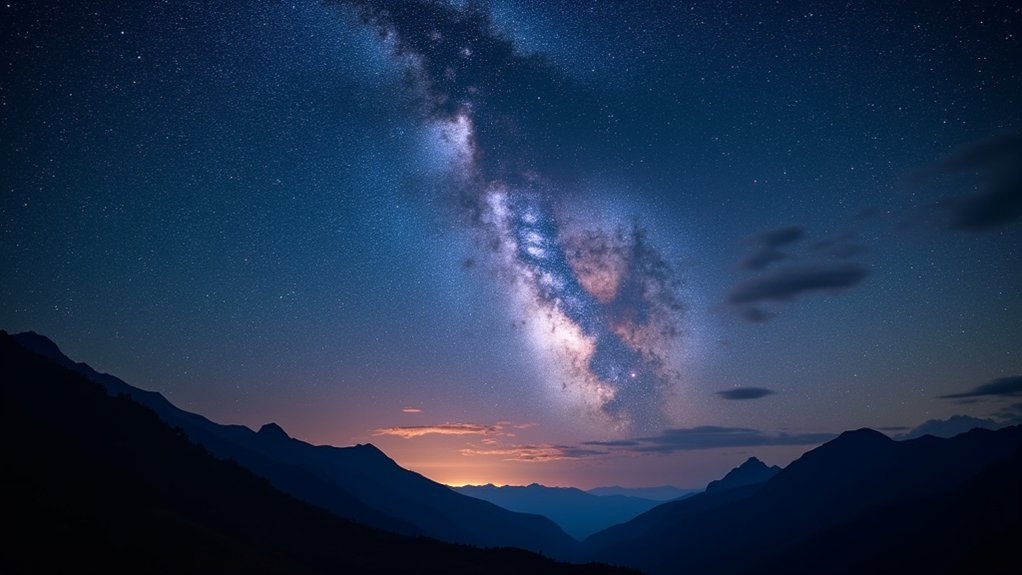
Choosing the right file format represents one of the most significant decisions you’ll make for astrophotography white balance control. RAW files preserve complete color information, allowing you to adjust white balance during post-processing without degrading image quality. With JPEG, your white balance is fundamentally “baked in” at capture. Lightroom’s automatic white balance feature works more effectively with RAW files than with JPEGs when correcting astronomical images.
| Feature | RAW | JPEG |
|---|---|---|
| WB Flexibility | Full adjustment freedom | Limited, fixed at capture |
| Image Quality | Maintains quality during edits | Degrades with adjustments |
| Workflow | Requires post-processing | Ready to share immediately |
For astrophotography, where precise color temperature is vital, RAW’s flexibility gives you creative control without compromising quality. You’ll capture better dynamic range and can focus on composition rather than perfect white balance settings during your imaging session.
Mastering Manual Kelvin Adjustments for Mixed Night Skies
Although automatic white balance settings may work for daytime photography, they consistently fail to capture the true essence of the night sky.
You’ll need to master manual Kelvin adjustments to accurately represent celestial scenes. The ideal temperature depends on your shooting conditions and target objects.
- Use 3200K-3800K in urban environments to neutralize orange sodium vapor pollution
- Select 4000K-4500K for rural areas to balance natural skyglow and preserve star colors
- Adjust 500-1000K higher when using light pollution filters
- Choose 4500K-5200K to maintain the vibrant turquoise and green tones of airglow or auroras
- Consider 4000K-4500K for Milky Way core imaging to enhance dust lane contrast
Experimenting with white balance presets can be beneficial when shooting in RAW format since adjustments are possible in post-processing.
Remember that shooting in RAW allows non-destructive white balance adjustments during post-processing.
White Balance Bracketing Techniques for Unpredictable Conditions
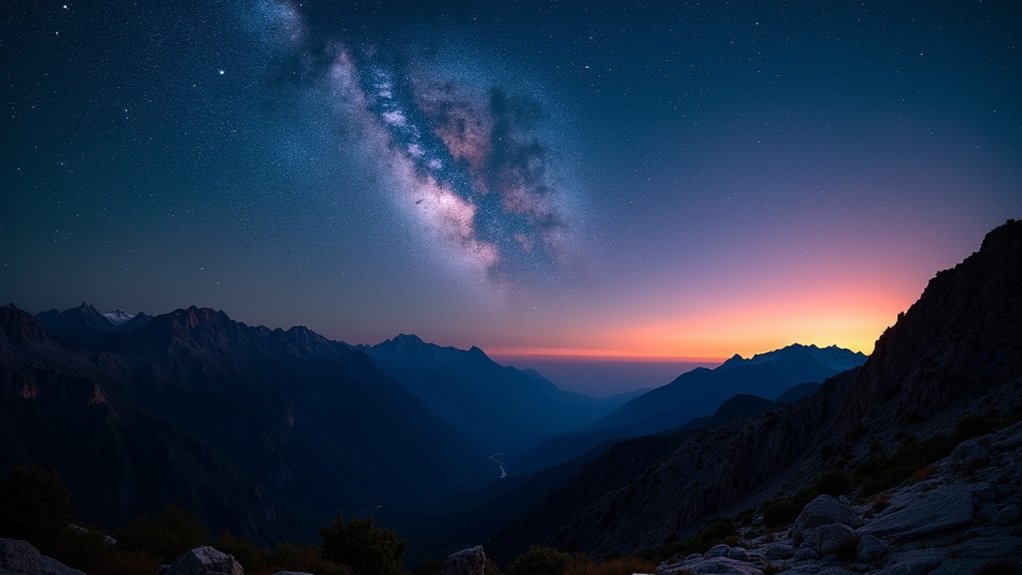
Despite your best planning efforts, unpredictable night sky conditions can sabotage your astrophotography color accuracy. White balance bracketing provides a practical solution by capturing multiple images with different white balance settings in a single session.
When facing variable atmospheric conditions like airglow or light pollution, set your camera to manual white balance mode and capture 3-5 shots with temperature increments of 300-500K. This technique works best when shooting RAW, giving you flexibility in post-processing.
Keep ISO and exposure parameters constant while varying only the white balance. This isolation simplifies your selection process later. Similar to how ISO bracketing enhances dynamic range capture in complex subjects like the Orion nebula, white balance bracketing improves color accuracy across varying lighting conditions.
For maximum effectiveness, combine a warm base setting with progressively cooler brackets to cover the spectrum of potential color temperatures your celestial subjects might display.
Post-Processing White Balance Correction for Nebula Colors
When processing nebula images, RAW format becomes your greatest ally for white balance correction. You’ll retain maximum flexibility to adjust colors without degrading image quality.
Accurate nebula colors require careful calibration using neutral reference points in your image.
Achieving true nebula representation demands precise calibration anchored by neutral reference markers throughout your celestial composition.
- Use photometric color calibration tools like Siril or Astropixel Processor that reference star catalogs for true color reproduction
- Make targeted adjustments to specific color ranges rather than global changes
- Leverage background areas as neutral references to eliminate light pollution tints
- Apply subtle corrections to maintain natural appearances of red and purple nebula regions
- Consider deconvolution techniques to enhance clarity, revealing delicate color nuances
Be aware that excess green is a common issue in astrophotography that often requires astro-specific processing programs to address effectively.
Remember that over-adjustment leads to unnatural coloration. Your goal is to represent celestial objects accurately while removing environmental color casts that diminish your image’s authenticity.
Avoiding the Blue Dominance Trap in Dark Site Photography
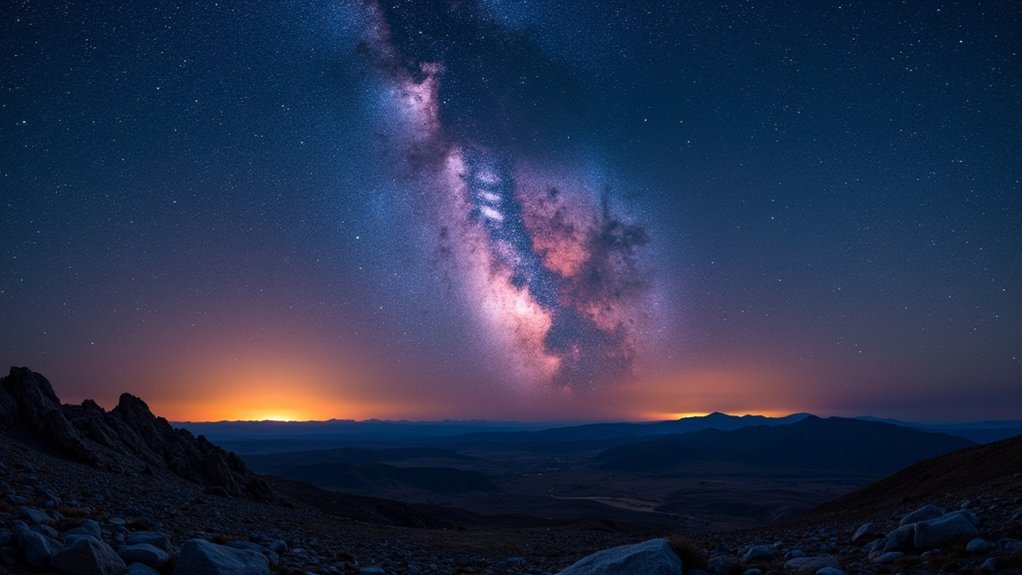
Many astrophotographers encounter the blue dominance trap when shooting at dark sites, where images develop an unnatural azure cast that masks the true celestial colors.
This typically occurs when your white balance is set too cool for nighttime conditions.
To combat this issue, adjust your white balance to between 3200K and 4000K, which better suits the night sky’s natural color temperature.
Avoid using the daylight preset (5300K), as it’s often too warm for astrophotography.
For peak results, consider white balancing using a G2V star as your reference point. This provides a neutral white point similar to our sun.
When possible, shoot in RAW format, giving you greater flexibility to fine-tune white balance during post-processing without sacrificing image quality. Remember that unmodified cameras typically produce the most natural star colors with daylight white balance settings, despite the common urge to adjust toward cooler temperatures.
Frequently Asked Questions
Can White Balance Settings Affect Star Colors in Double-Star Photography?
Yes, white balance settings directly affect star colors in double-star photography. You’ll need proper white balance to accurately capture the true color differences between paired stars without unwanted tints or color casts.
How Does Camera Sensor Type Impact Optimal White Balance Choices?
Your camera’s sensor type directly affects white balance choices. With monochrome sensors, you’ll need RGB filters and post-processing adjustments, while color sensors let you set white balance during capture but often require manual tweaking.
Do Modified Astro Cameras Require Different White Balance Approaches?
Yes, modified astro cameras definitely require different white balance approaches. You’ll need custom white balance settings to compensate for their altered spectral sensitivity, which allows more hydrogen-alpha wavelengths but creates pronounced red color casts.
Should White Balance Settings Change When Using Narrowband Filters?
When using narrowband filters, you don’t need to worry about white balance settings. Since they only allow specific wavelengths to pass through, you’ll be focusing on capturing monochromatic data for later color composition in post-processing.
How Do Atmospheric Conditions Like Humidity Affect White Balance Needs?
Higher humidity scatters blue light, warming your images. You’ll need cooler white balance settings to compensate. Moisture also reduces contrast, requiring more aggressive color calibration during post-processing. Always shoot in RAW for maximum adjustability.
In Summary
You’ve now got the tools to tackle white balance in your astrophotography journey. Remember, whether you’re shooting in light-polluted cities or dark skies, the right white balance setting makes all the difference. Don’t be afraid to experiment with manual Kelvin adjustments, bracketing techniques, and post-processing corrections. Trust G2V stars as your reference, shoot in RAW when possible, and watch out for that blue dominance trap. Happy shooting!



Leave a Reply